Strawberry Chips

It is the Time of Strawberries again and I am spending several hours daily picking, sorting, and processing strawberries.

© Charly, all rights reserved. Click for full size.

However, since we still did not eat half! of the various strawberry, figs, and other jams and marmalades that we made last year, I have decided to try and use the fruit dehumidifier on them.

© Charly, all rights reserved. Click for full size.

I was worried a bit they will lose aroma and/or color, but neither happened. They are still bright red (that might still change over time) and very aromatic. Enclosed in jars they should hold for years in our cool dark cellar. And unlike marmalade – which is way too sweet for me to eat regularly – I can add them to my breakfast yogurt together with other dried fruits from our garden (prunes and apples) almost daily without adverse effects, so they should disappear over time hopefully quicker than the marmalade (which we cannot manage to give away, let alone eat). Even running 24/7 at 60°C, the dehumidifier cannot manage to dry all strawberries that I gather daily and the smaller and unseemly fruits still have to go into marmalade, which thus will continue to accumulate. Next year I will plow over some of the strawberry patches, this is simply too much.

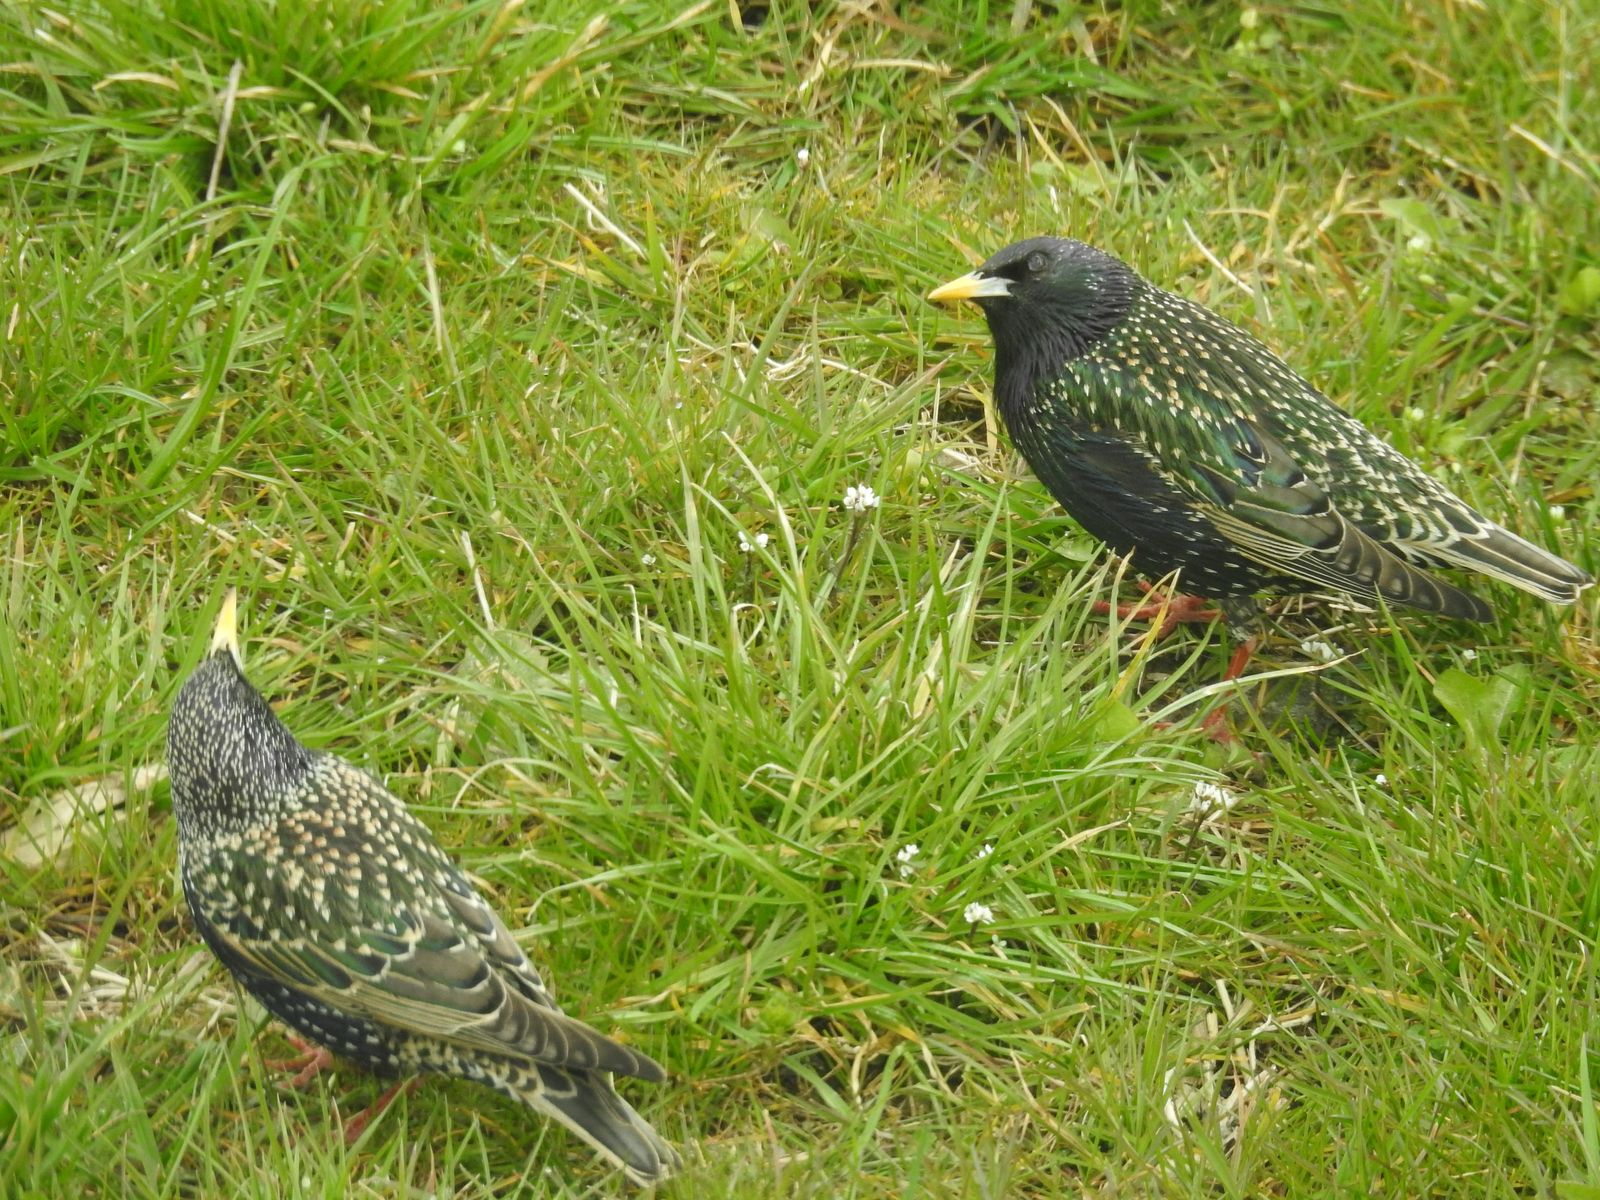
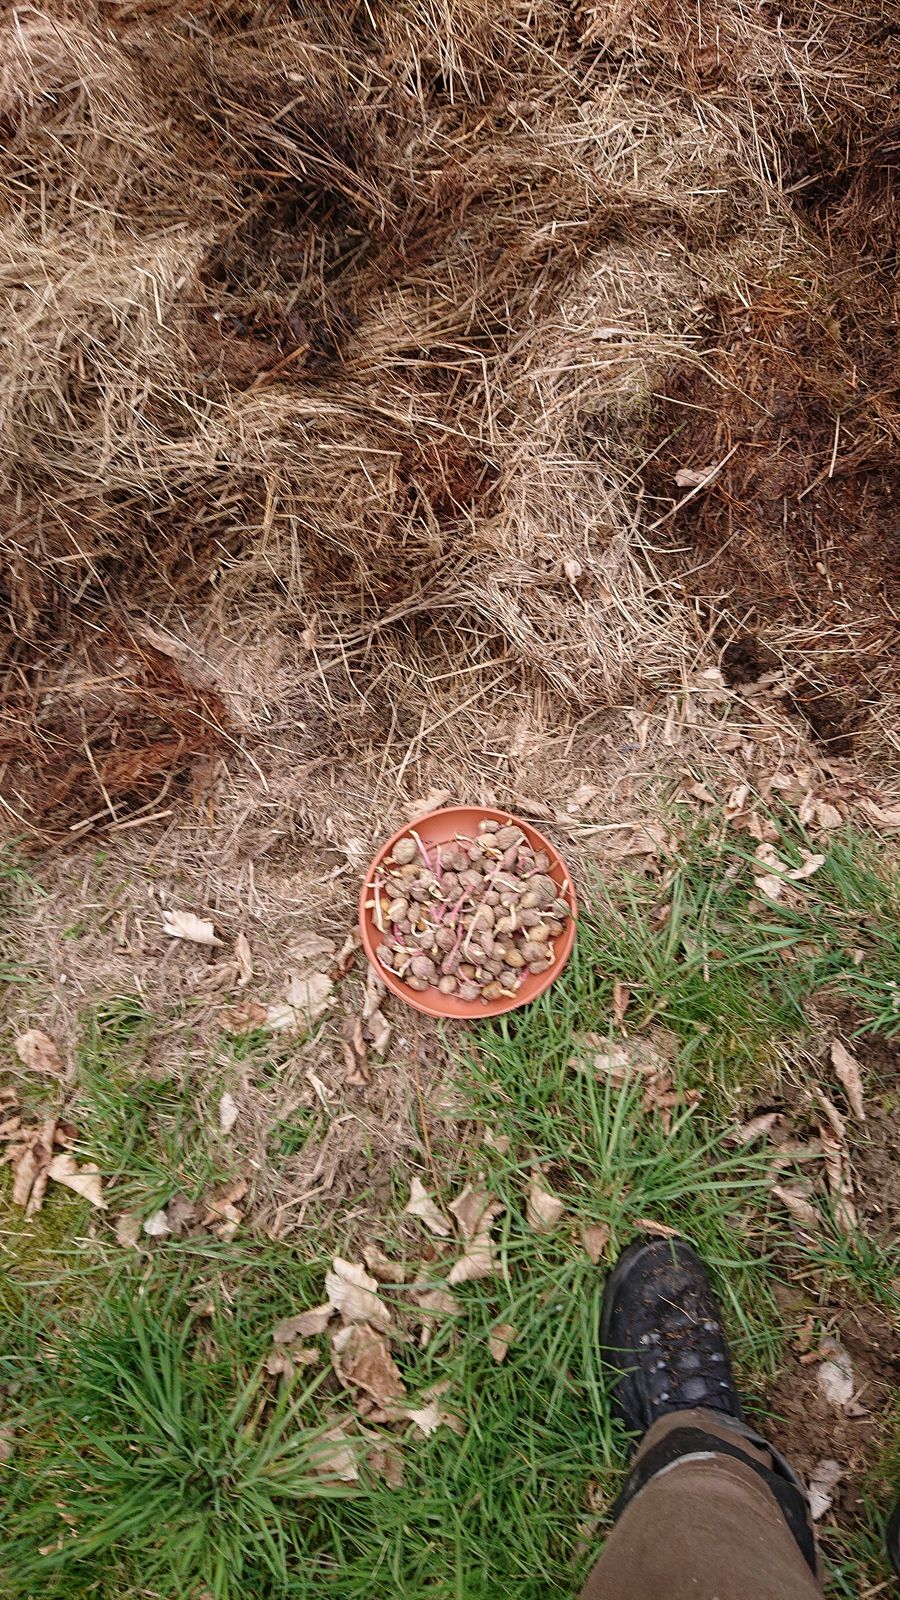
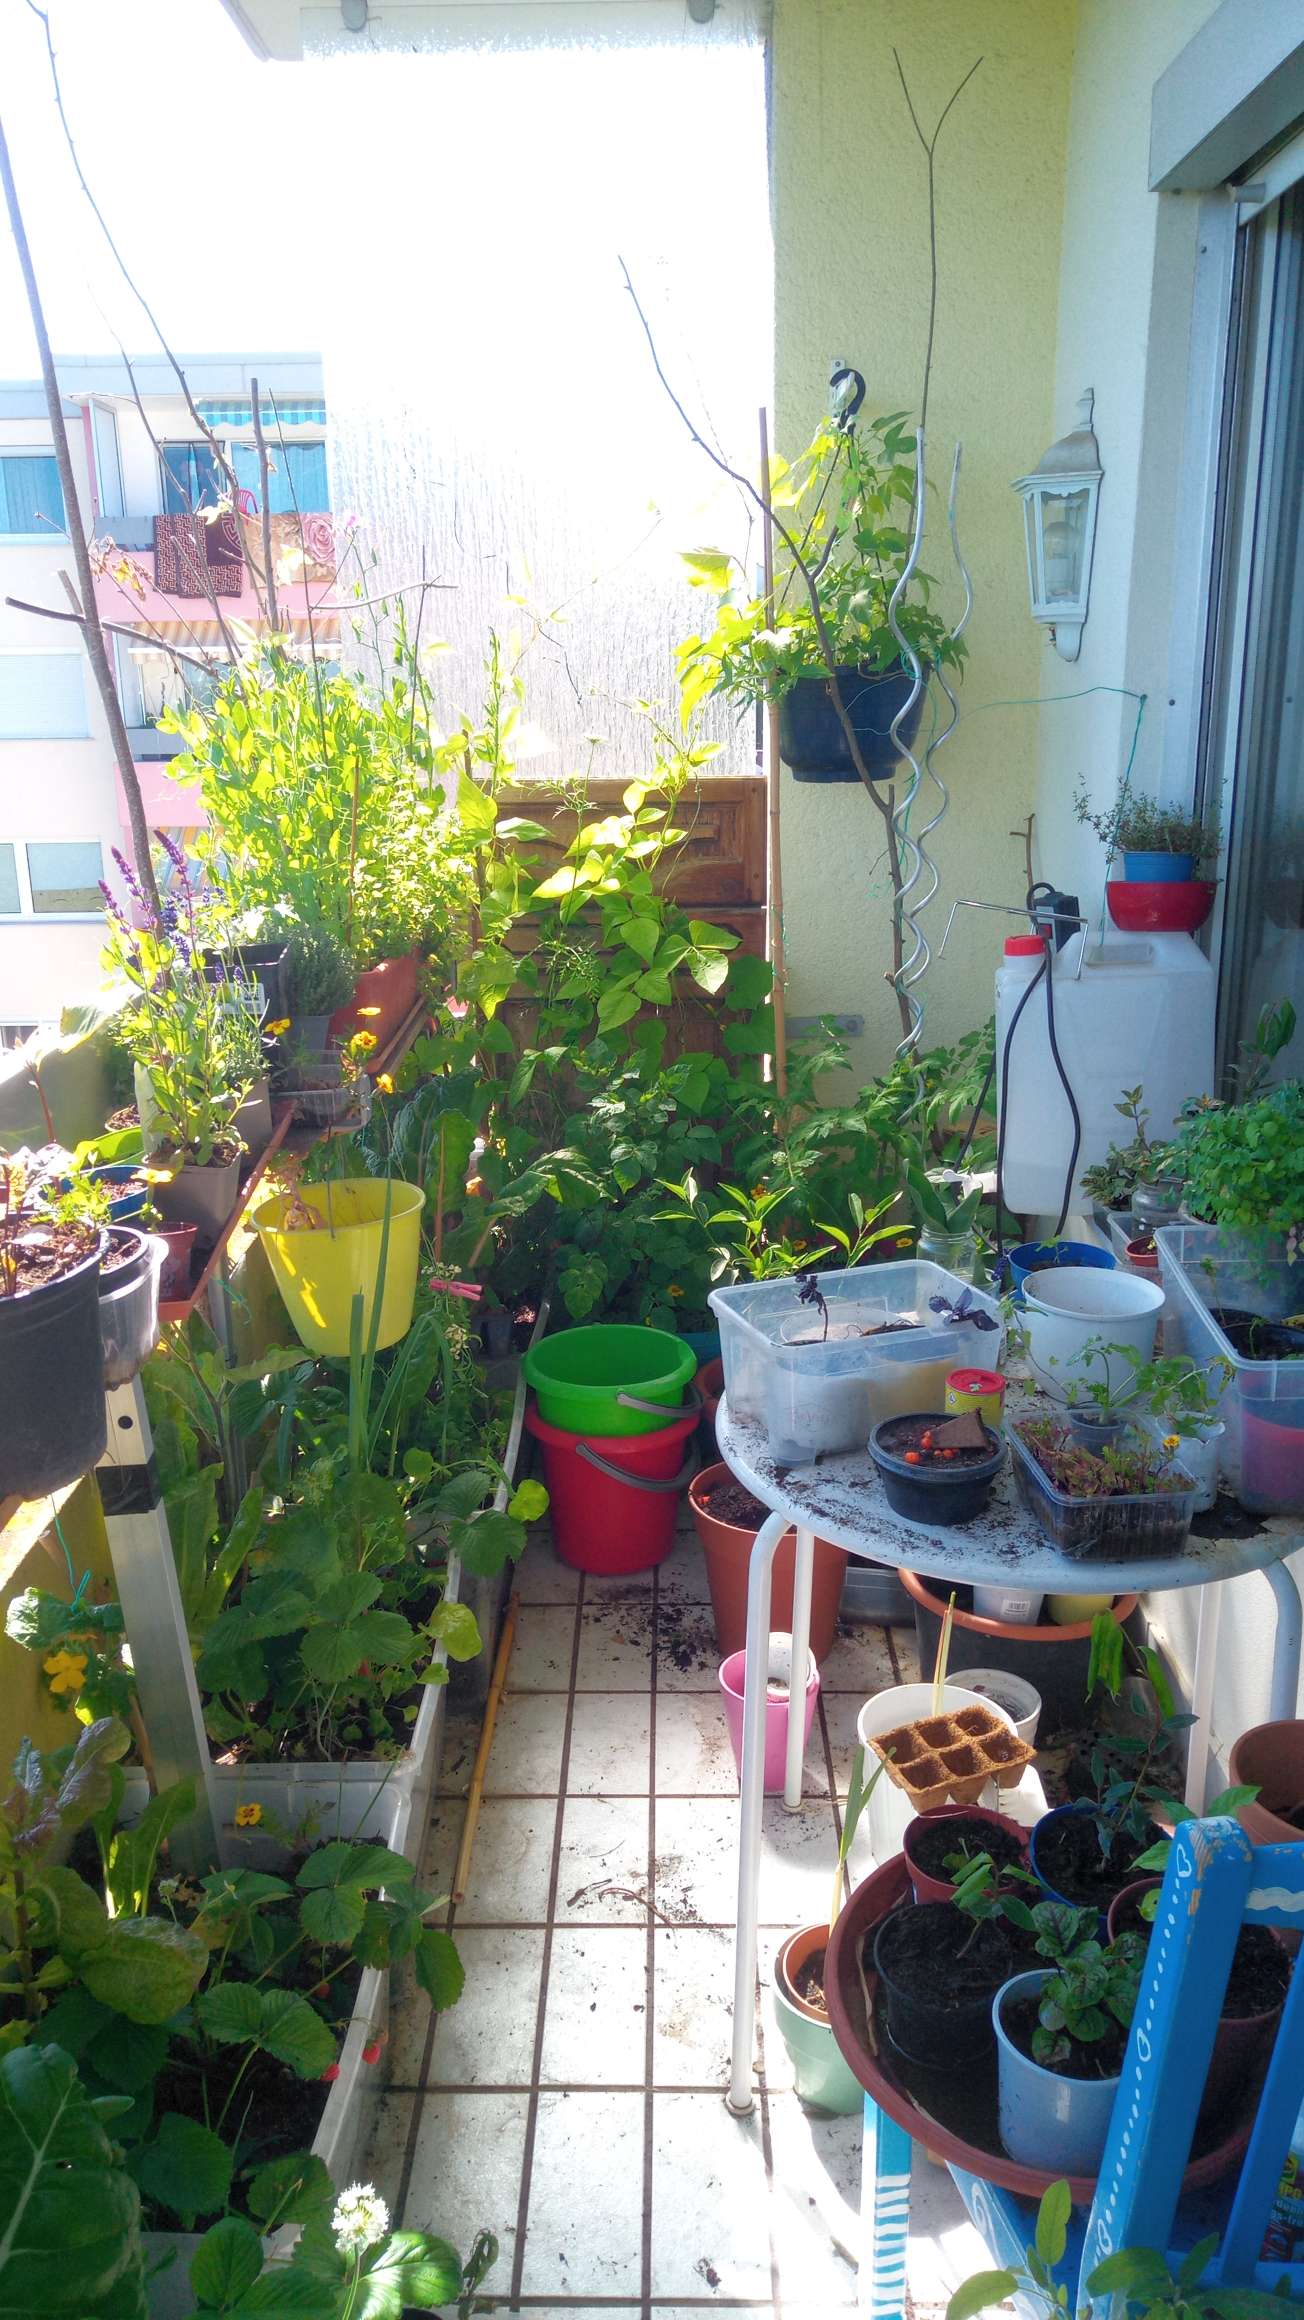
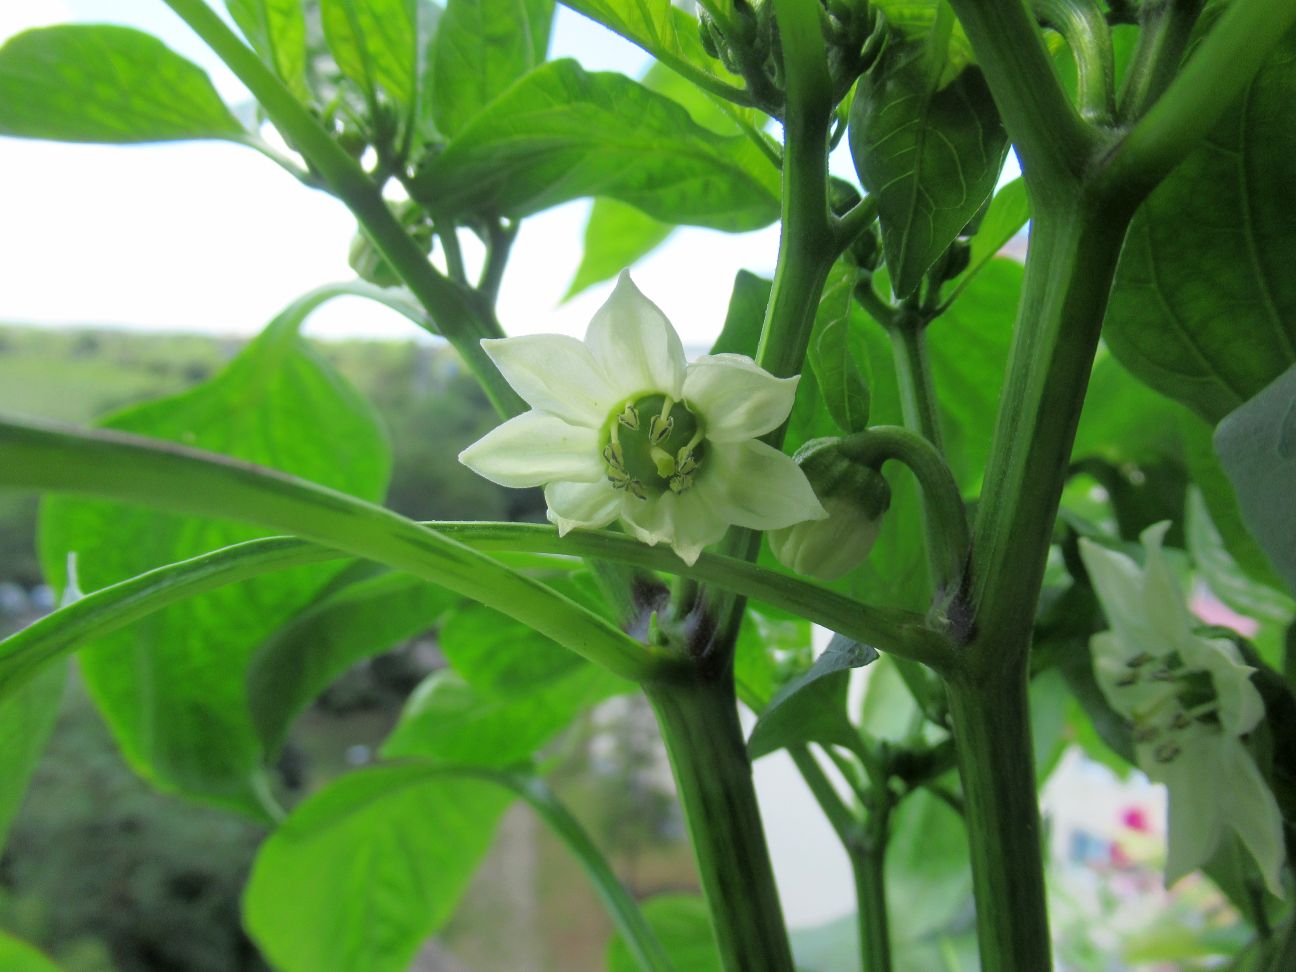
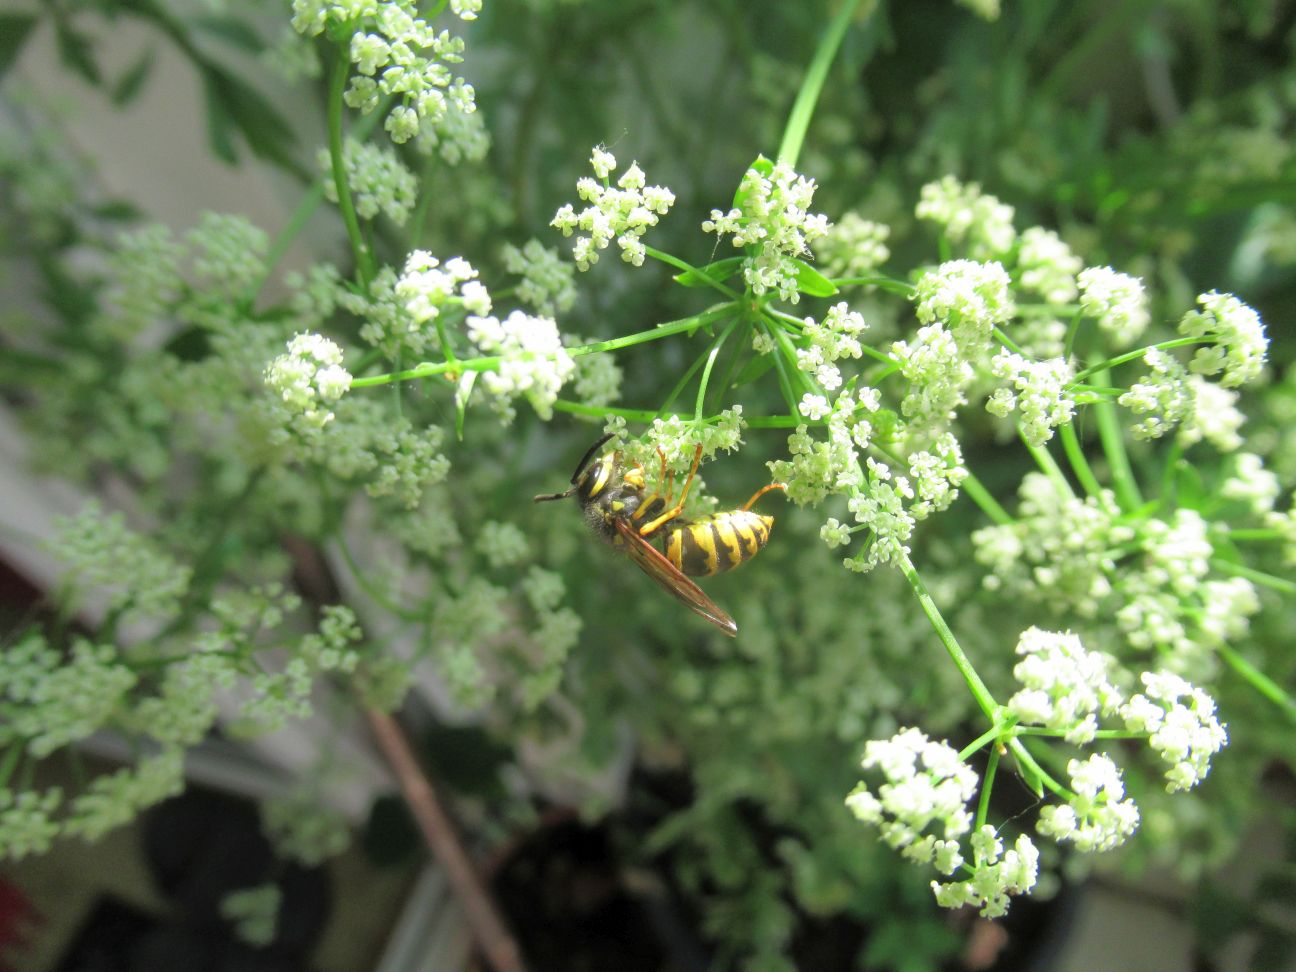
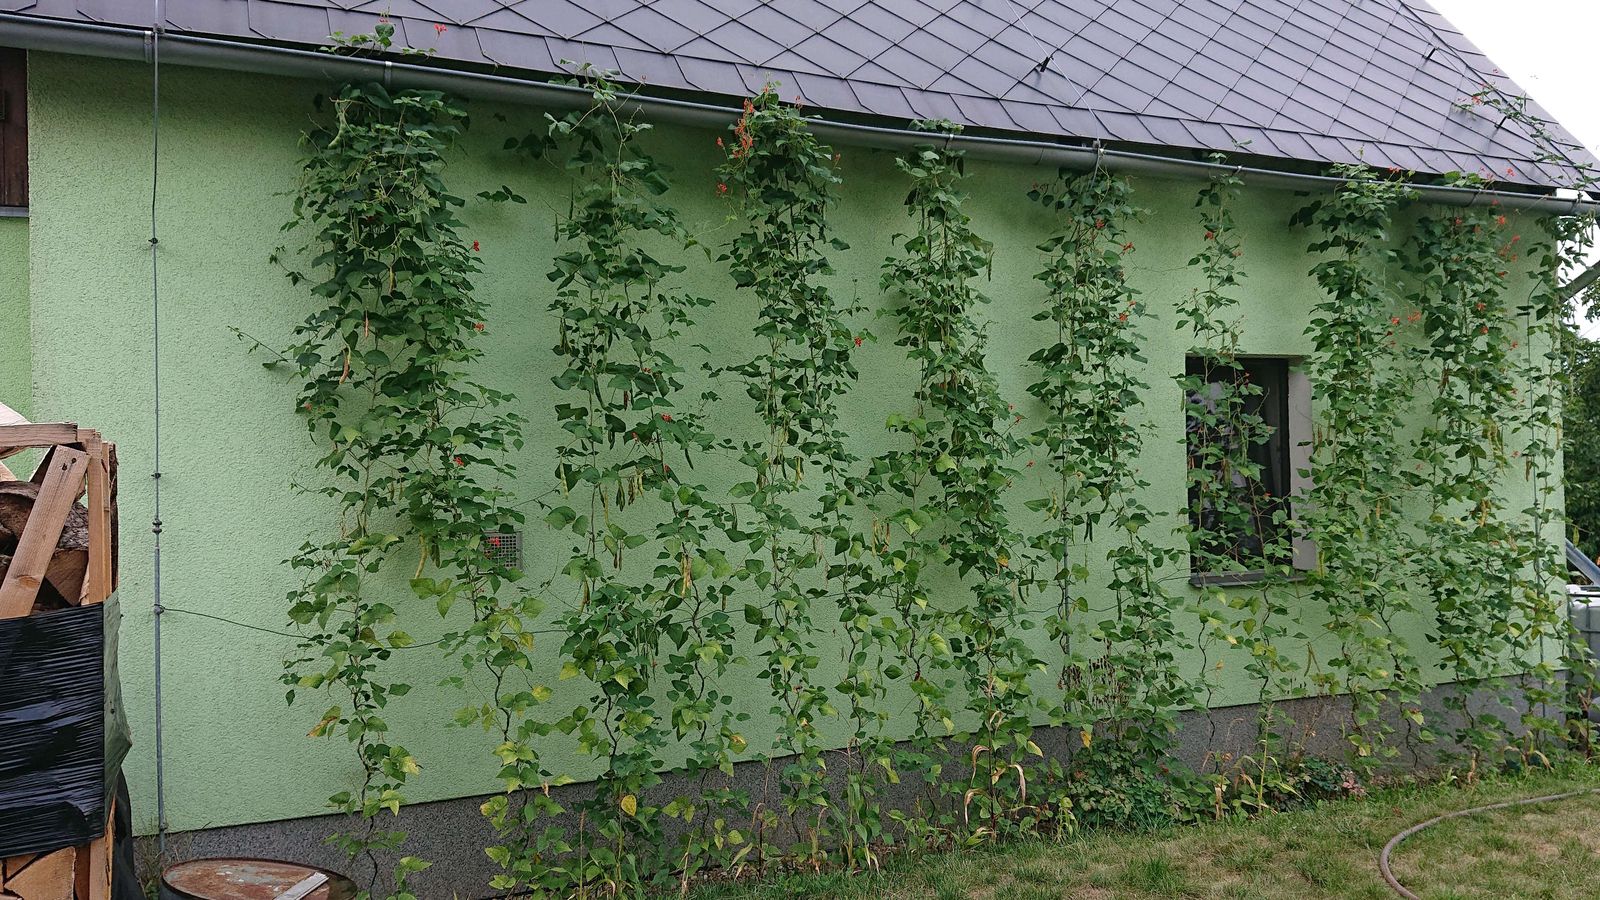
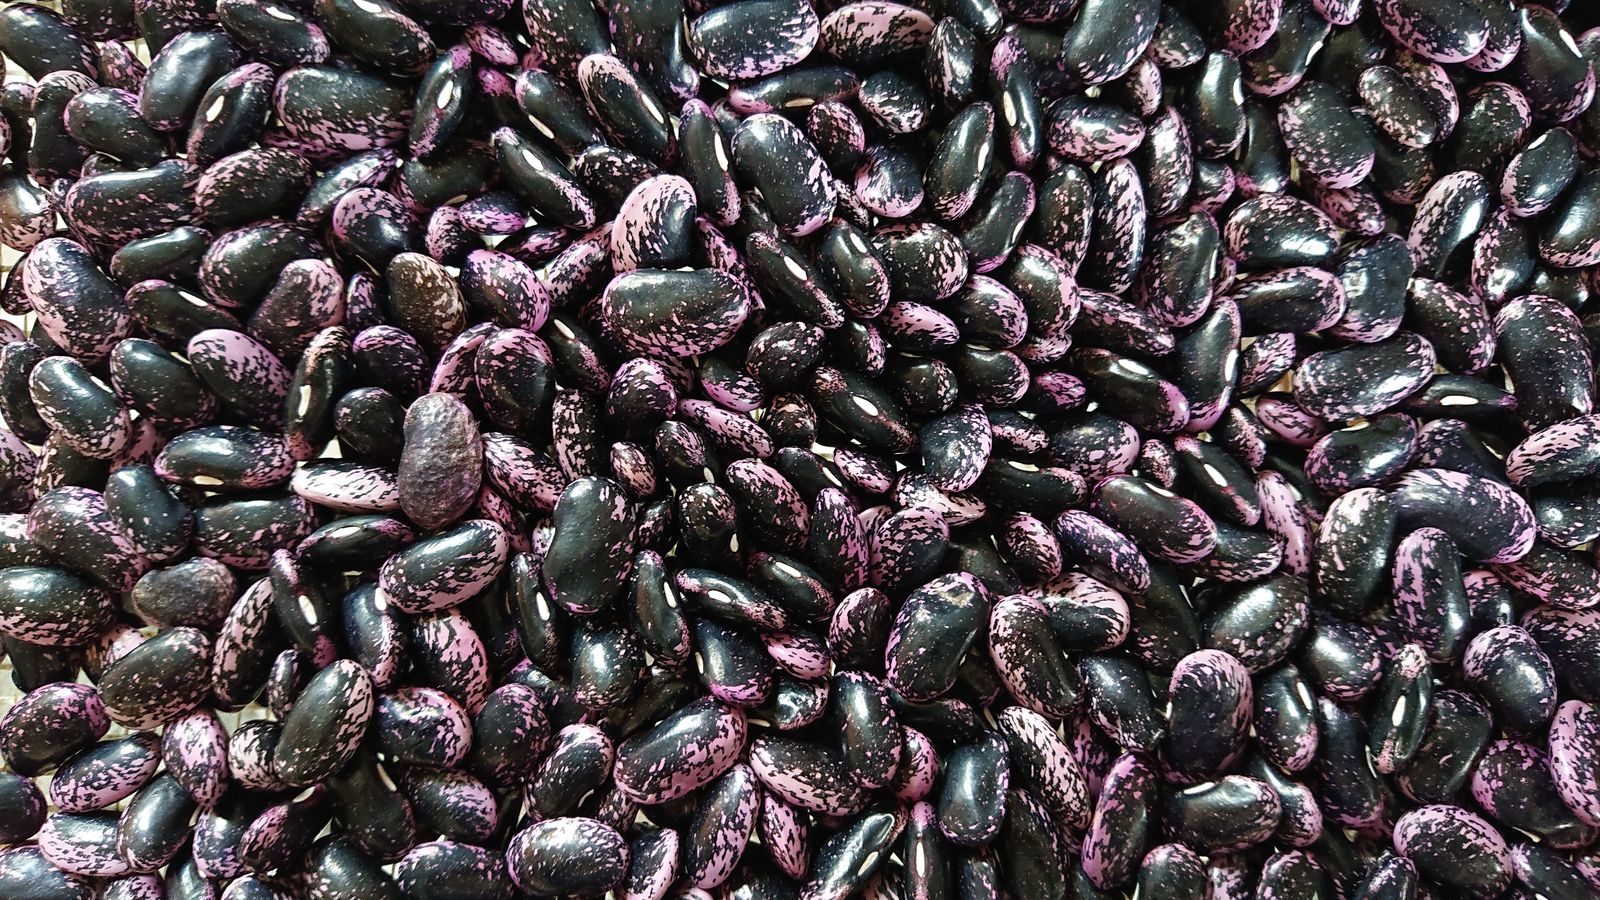
Blast it. I wish that more useful and edible foodstuffs grew here as well as strawberries and walnuts. I had no luck with sweet corn or red beets this year, most seeds did not even germinate. With garlic and onions, I had zero luck for several years too. And this year’s pole beans were partially destroyed by voles and partly by the too-harsh sun (although I still have enough plants to hope for a reasonable harvest), and my only apple tree appears to be dying from water vole damage. And those little fuckers ate all of my tulips as well, so I did not even have pretty flowers in the spring. I still had no luck in finding a remedy that works on these pests.

The Gardening: Almost Done!

We finished putting up the greenhouse and started to fill it:

Front view of a small greenhouse

©Giliell, all rights reserved

3/4 view of a small greenhouse

©Giliell, all rights reserved

As you can see, the foundations we found were a mixed blessing: The walls we had to put on top are huge. That’s 2 tons of concrete, they’re about 25-30 cm wide when 15-20 would have sufficed. People who know how to do that shit may be able to actually do that, we didn’t and we’re quite proud, considering that neither of us ever did anything like this. Putting up the house itself was pretty easy, all in all. Now it needs to be filled. I put down old concrete blocks in the middle to form a path, now I need to fill about 30 cm of ground. Because I want to plant tomatoes, and since tomatoes will suck the ground free of nutrients, I organised a load of horse dung from a colleague. Sorry that my tomatoes are no longer hardcore vegan. I already put in the first 5 cm or so on Sunday. I can tell you, shovelling horse dung into a greenhouse in 27°C  is not for people who enjoy breathing. Hopefully I’ll get the rest filled next weekend, so my poor tomatoes can finally move in, as well as the nice fig tree that I bought.

But do you know what the absolute best thing is about this whole project: I absolutely enjoy doing these things with my husband. Shovelling shit and pouring concrete may not be romantic, but working hand in hand on something for weeks and liking it, that’s compatibility.

Bonsai for Beginners – Part 10 – Money Tree

Previous post.

You have seen my money tree Crassula ovata before. It is probably my oldest bonsai tree, now somewhere near 60 years old and it is still healthy and it still grows strong. This is how it looked this spring before pruning.

© Charly, all rights reserved. Click for full size.

Money tree is probably the best tree for anyone who wants to begin growing bonsai or having just a few of them without spending a lot of time with care. It is extremely easy to propagate – virtually any cutting of any size, including a single leaf, can take root and grow into a new plant. It grows reasonably fast, but not extremely fast – a few cm to a dm a year – and it makes nice, thick trunks in just a few years. It is not very flexible regarding shapes and it cannot be formed by the use of a wire but it can be formed by simple pruning into interesting informal shapes nevertheless.

Money trees are extremely low-maintenance. They survive severe neglect, not being watered for weeks on end. They can survive both in direct sun and in half-shade (although shade makes them spindly and unseemly). Aphids and other common pests leave them alone, and birds and rodents too. They are not choosy about substrate either and they need not be re-planted for years without suffering. Probably the only thing that can reliably kill money trees is a combination of wet and cold – but they can survive a dry cold of around 10°C without a problem.

Here is my tree after pruning.

© Charly, all rights reserved. Click for full size.

The tree was cut back a lot and thus it looks a bit unseemly right now but that will be rectified in a month or so. When cutting money trees the cuts do not need to be treated in any way – another plus – because the cut piece will dry and fall off at the closest pair of leaves/buds on its own, leaving a clean and closed surface behind it.

And here is a bucket of pruned offcuts.

© Charly, all rights reserved. Click for full size.

Each of the offcuts could be grown into a new tree if I desired to do so. Indeed I have in the past used some of these off-cuts to grow new plants and one of them I gave to one of my friends. That is how I learned its only weakness – his mother was watering the plant too zealously when he was away and it succumbed to root rot. But I have kept some of the pieces that I have cut off in the past and I composed them into a nice little bonsai forest, about 10 years old now.

© Charly, all rights reserved. Click for full size.

This demonstrates another specific need for money trees- deeper pots. They do not make strong structural roots like true trees so they need a bit of depth to anchor them properly.

The best routine for money trees: in the summer put outdoors in full sun, out of the wind and rain, and water regularly when the weather is warm. Do not water when the weather is cold and rainy. When temperatures drop to ~10°C at night, move indoors, into a light but cool-ish place, and do not water at all or at the most once-twice a month a bit of splash. In the spring cut back strongly to promote new growth. If kept indoors all year round, the best would be a south-facing window and the plant needs to be turned twice a week at about 90° to prevent it from bending towards the window. Use substrate for succulents and deeper pots with big enough drainage holes. With just a bit of care, you can have a plant that will look well for decades and won’t die on you if you need to go on a business trip and leave it alone for a few days.

Bonsai Tree – Persimmon Still Mysterious

Previous post.

This year the tree took its time to start growing – it only started a few days ago, at the beginning of May. I was already worrying again since this is the only specimen that I have and if it dies, it is unlikely I would ever be able to replace it – it took about ten years to find one seed, dammit. But it started to grow, finally. and it looks promising.

© Charly, all rights reserved. Click for full size.

Last year it grew three branches on the main stem in the end. I cut them all down this year and they all are sprouting 2-3 buds so it is branching out, which is good.

We shall see what form the tree chooses. Preliminarily it appears to be suitable for formal broom style. I am reluctant to use wire on this wood at all, it grows relatively fast in thickness and length so there is a great risk of ingrowth, plus it is a very hard and strong wood so it would probably be prone to breaking when stressed incorrectly. And broom style often does not require the use of wire, just judicious pruning. And spreading the soft twigs apart early in the spring, which can be done by simply inserting a piece of cardboard between them as a temporary spacer. Which I did last year and I probably will have to do this year again since the tree still has a very strong tendency to grow straight upwards. That is normal for seedlings and it should slow down as it matures.

I have also worked on my other bonsai, repotting them. When they are picture-worthy again, I hope to write a few more articles about species suitable for beginners. Right now, I am very tired. A bit more than usual because in addition to re-planting the trees, I have also built a shade over them. It was necessary because my trees suffered greatly these last few years when it rained very sparsely and the summer heat was abnormally intense. I had to, on occasion, put some trees manually into the shade near the house, so I have decided this year to bring shade to all of them right from the start. I hope it will also mean I will need less water for the trees during the summer.

© Charly, all rights reserved. Click for full size.

I have re-purposed welded U-poles for a clothesline that we used to have in our garden before we got an electric clothes dryer. I put the poles over the bonsai bench and instead of clotheslines, I spanned between them thick 4 mm wires. And instead of hanging up clothes, I spanned a shading net between those wires, using our old clothespins. Should the clothespins not hold up to windy weather, I will sew the net to the wires with a rope. Although I do hope the clothespins will suffice because I will need to take the nets off again before winter.

Bonsai for Beginners – Part 9 – Larch

Previous post.

I hope to have the spoons to write at least a few posts about bonsai trees again and today I will write a bit about one genus that I consider very suitable for beginners – larches. Among coniferous trees, larches have several huge advantages.

  1. They are deciduous and create brachyblasts with terminal buds that can almost always grow into twigs/branches for several years, thus they are one of the very few conifers that can be scaled back significantly and kept at a small size for decades with minimal effort.
  2. The roots tend to grow very fast in length but they also respond very well to cutting back, branching out from the cut, and above it.
  3. The seeds germinate reasonably reliably and can be collected from grown trees. Seedlings sprout everywhere around a grown tree, being a de-facto weed in nearby gardens.
  4. Larches are very sturdy and can survive adverse conditions like frost or short drought reasonably well. They can also survive slightly rougher handling than other trees and have a reasonably large time window when they can be re-potted safely.
  5. They create very dramatic and dynamic shapes even without the use of a wire. Two of my three larch trees were never wired.
  6. They need porous and airy substrate but if put into a well-drained pot they will tolerate almost anything except maybe wet heavy clay.

You have already seen one of my larch trees in the past. And today I have made pictures of the rest and I will write something about how to care for them.

First, the tree that was in the previous post, how it looks this year before re-poting.

© Charly, all rights reserved. Click for full size.

As you can see, it has grown slightly bigger, but not that much considering it’s been six years. And it is flowering again, showing that it is indeed a mature tree and not just a few years old seedling. But it had to be put in a slightly bigger pot because there is a limit to how much back the crown can be cut – new twigs can only sprout from brachyblasts, they cannot be cut back beyond them, and the roots must be of adequate size for the crown to prosper. So with a larch tree, either start with an oversized pot or expect to increase pot size every few years ever so slightly. The base of the trunk has visible roots and is covered with moss and lichen – as it should be.

The next tree demonstrates the sturdiness of larches.

© Charly, all rights reserved. Click for full size.

Initially, it was very similar to the first tree (and they both are from seeds planted in the same year). But two years ago, most of this tree’s crown has not survived dry summer followed by a tough winter. But it bounced back remarkably from a lower branch and as you can see, it has acquired quite a character in just two years. To help the tree to recover its strengths, I have put it into a slightly larger and deeper pot and I will continue to do so for another year/two depending on how it fares. But it looks quite well and the dead wood is now part of the composition. And the tree has now a genuine story behind it – it was not my deliberate destruction that created it but nature itself. Such dead wood is oftentimes part of a composition of a bonsai tree and it needs to be preserved. I am soaking it once/twice a year with an antifungal polysulfidic sulfur solution. It will slowly preserve and also somewhat bleach the wood. If I decide I do not like the dead branch, it can be cut and it will heal in a year or two.

And the best for last.

First, a picture from 2003, shortly (several years) after I acquired the tree.

© Charly, all rights reserved. Click for full size.

Originally, the tree grew near railroad tracks, on a rocky slope, in an orientation that was turned about 90° CCW to how it is in this picture. It was cut down at least four times – you can see where the trunk suddenly ends (cut 1), then there is one dead branch (cut 2), a living branch that suddenly ends (cut 3), and a thinner branch that overgrew all the rest from under until it too was cut. It was clear to me that the tree will ultimately be destroyed so I poached it from its location with a clear conscience and re-planted it in my garden. Because it grew in a rocky location, I could not get a nice rootball with it, just two long thin roots and a stump of the main root that I had to cut. That was the beginning of several years-long journey of restoring the tree’s roots. Each year I have cut back the roots a bit so they branch out, treating the cuts with crushed charcoal, and as it developed thinner roots nearer and nearer the trunk, I have slowly shortened the stump of the main root until it was completely gone. After about five years or so the tree could be planted in a pot, originally as you see it above.

The tree also had an unseemly hollow in the trunk where the original first tip was cut and that had to be filled. I treated the hollow with fungicide, then with a bit of resin I glued in a piece of cork and waited for several years too. The tree developed a callus over the cork and the trunk healed and developed nice bark. And now, after two decades, it is a pride of my collection. It is also the only tree that prompted me to give it a name – The Reclining Dragon.

© Charly, all rights reserved. Click for full size.

As you can see, I have in the end completely changed the direction in which the tree grows, and instead of a windswept informal standing style it has a windswept semi-cascade style. A tree like this should be grown in a different pot according to Japanese bonsai rules but I like the way it looks now. I am searching for a suitably big stone to make a pot even better suiting its dramatic looks.

It is flowering this year too, so it is now covered in beautiful teensy red (female) and yellow (male) cones.

© Charly, all rights reserved. Click for full size.

If you wish to start growing bonsai trees, you cannot go wrong with larch if they prosper in your climate. The one major downside they have is that they are susceptible to being infested with aphids, especially wooly aphids. But they respond well to being treated with insecticides.

Starlings and Potatoes

It’s not a dish, it’s that time of the year. Today was the first day I saw starlings in my garden and I managed to snap a few pics too, although I could not open the window – firstly they would whoosh and secondly I would need to remove several plats from the windowsill first.

© Charly, all rights reserved. Click for full size.

© Charly, all rights reserved. Click for full size.

© Charly, all rights reserved. Click for full size.

© Charly, all rights reserved. Click for full size.

Shame that I could not make better pictures, the light was just right to show the green metallic sheen on their feathers.

And since the ground unfroze and it is unlikely to freeze again, I have taken out the moldy remnants of last year’s potato harvest and sorted out about 100 tiny sprouting potatoes.

© Charly, all rights reserved. Click for full size.

I did not plant them in the regular vegetable patch though. I have prepared a small plot in the fall by covering it with mown and dried grass and I put these tiny potatoes on top of the soil below the rotting grass.

© Charly, all rights reserved. Click for full size.

It is an experiment to check how (whether) they will prosper. Even if they fail, the mated grass cover has at least succeeded in suffocating all other plant life below it (grass and moss) and that portion of the garden will thus be prepared for flattening and rejuvenating the lawn. The potatoes were really tiny, as you can see, so no matter what, no big harvest is to be expected. Best case scenario – I get bigger seeding potatoes for the regular vegetable patch for next year.

The regular patch will this year be covered with beans, sunflowers, corn, and maybe beets and onions. Now that the weather is warm, I will have about a month of busywork in the garden and only after that I will be able to go back to making knives again.

Coppice Harvest

I wrote previously that I am trying to use my needlessly big garden to grow firewood in a coppice. It would be a great success if not for water voles who are a sworn enemy of anyone growing any trees for any purpose. However, these last few days were warm-ish for winter and thus I had the opportunity to not be an utterly useless lump of meat for a few days – I cut down the coppiced/pollarded trees and sorted most of the wood into piles. Twigs for the shredder, thinner trunks for growing beans in the summer and being cut into firewood afterwards, and thicker and/or crooked trunks to be cut into logs right away.

© Charly, all rights reserved. Click for full size

It looks more than it really is, the volume will be significantly reduced once the twigs go through the shredder. I estimate it to be approximately 10-15% of my yearly use of firewood. Blast the voles, without them, it would be probably around 50%. They even destroyed multiple of my established 3-5-year-old trees, so the coppice did not in fact grow bigger since 2019 at all and it is entirely due to voles. They destroyed approx 70% of the planted hornbeams, and nearly 100% of the poplars this area of my garden is not wet enough for the willows to prosper so it is still useless land that needs to be mown and is of no real use to anybody. I have started to plant local maples, ashes, birches, and hazels instead of the poplars but those get often destroyed by voles too and they do not grow even remotely as fast. Fuck the little fuckers. Did I say I hate water voles? I hate water voles.

But the work made me feel well. I really needed to go outside and do something during daylight.

Greening the Balcony – Part 3

Avalus continues his balcony gardening adventures and he has shared some more thoughts and pictures. This is from somewhere mid-summer, I only got now to actually publishing it.


The Blooming Buzzing Balcony
Things are establishing, the tomato plants are continually exploding and I get a bowl of salad every day, although with late June, it gets so hot that the salads are racing to bloom. And they are not alone. So today we look at colorful hot plant sexy bits.
First, a quick overview of what changed in the meantime.

© avalus, all rights reserved. Click for full size.

Yes, more green, tomatoes racing up, and the added board gets really bent by all the pots. Time for a support beam. A yes, parts of an old alu camping bed will be perfect!

© avalus, all rights reserved. Click for full size.

On the other side, my usual chaos, more greens, a rescued kumquat bush hiding behind the table, on the table more plants waiting to be potted. The tomatoes on this side take their time. In previous years, these would grow much faster. Both pots got fresh earth so it is probably down to the variety.

© avalus, all rights reserved. Click for full size.

Enjoy!

© avalus, all rights reserved. Click for full size.

Nasturtium. The camera really struggles with their red shine. I really like putting these in salads or on just bread with cheese and butter. Yum-yum!

© avalus, all rights reserved. Click for full size.

Sweet potato with an extra earth bee. Sadly the other won’t bloom and all the flowers fall off. I really would have been interested in growing them from my own seeds next year.

© avalus, all rights reserved. Click for full size.

Ornamental Pea. I have them in a wide variety of colors but they grew down the outside of the balcony and I can’t get a good image (I am very afraid of dropping my camera).

© avalus, all rights reserved. Click for full size.

A very prickly aubergine, I think I will need to cut most of them off, as the plant is still pretty tiny and I don’t think it could support the many flowers it produces.

© avalus, all rights reserved. Click for full size.

Fiery red climbing bean, green leaves, blue sky. Contrast!

© avalus, all rights reserved. Click for full size.

Tomatoes. I can’t wait for tomato season, my sister is already drowning in fruits.

© avalus, all rights reserved. Click for full size.

Cucumber. They had a slow start and are not as sprawling as the years before. Maybe it is because of old seeds.

© avalus, all rights reserved. Click for full size.

Mystery capsicums, probably sweet peppers. This one I bought but the tag had fallen off.

© avalus, all rights reserved. Click for full size.

Tagetes, bumble bees really love them.

© avalus, all rights reserved. Click for full size.

Strawberries, a monthly variety that steadily produces new fruit and is nearly as expansive with its shoots as the non-blooming sweet potato.

© avalus, all rights reserved. Click for full size.

Stalked celery. Somehow, the wasps really love these flowers.

© avalus, all rights reserved. Click for full size.

Sage, this is a very small steppe variety. I bought this to attract more pollinators to the balcony. I think it worked and the smell is fantastic.

© avalus, all rights reserved. Click for full size.

Red cloves or small onions, leftover from last year.

© avalus, all rights reserved. Click for full size.

And more Beans to close it off.
Soon there will be more. The Echinacea paradoxa is still growing, as are the sunflowers and the calendula. Then there is the thyme and one of the salads I left standing.
Overall, I notice a distinct lack of honey bees on the balcony (and in general) this year, the bumble and earth bees are also few and far between. On the other hand, I get several types of wasps that crawl all over my balcony (and occasionally me, which is a bit unnerving). The climbing beans have had dozens of flowers but so far only three have started to fruit, all the others just fell off, which is disappointing. The tomatoes fared better, but a number were stung by stinking bugs and developed a rot. But these are acceptable losses, one should never expect to have 100% success while gardening.

Next time, I think I will take a closer look at my “exotics” – tropical and half-tropical plants and my experiences. Because I really just can’t throw out avocado and mango pits, or pass by sprouting ginger in a shop … .

Runner Beans Riches

Our south wall used to be shaded by a rabbit shed, later converted to a chicken hoop. Ever since I demolished that, the sun was directly blazing at it. It does not heat the house much because it is well insulated, but I felt somehow that the space is wasted. After some thinking, I have decided that it would be an ideal space for growing runner beans, one row, close to the wall. Runner beans do not mind the low-quality soil, so they do not need to be fertilized and thus there is no risk of polluting our well which is down the slope exactly on the opposite side of the house.

Last year was somewhat poor, the beans did not grow that much. There was enough rain, but not enough sun for them to really prosper. Even so, the harvest was big enough that we still did not eat it all.

© Charly, all rights reserved. Click for full size

This year the weather was extremely hot and dry again. However, we managed to collect enough rainwater in the spring to be able to water the beans the whole time sufficiently, so they prospered enormously and covered the whole wall.

© Charly, all rights reserved. Click for full size

They are still blooming and they will continue to grow until the first frost.  I will probably wait for two more weeks, then I will harvest all green immature pods and clip the plants so they do not waste energy on growing and instead mature the remaining pods quicker. But maybe I won’t bother. The harvest looks extremely promising even so, I will have to convince my mother to cook beans more often. I like them better than chicken anyway.

© Charly, all rights reserved. Click for full size

I am thinking about buying seeds of other vine beans and planting them next year en masse on the vegetable patch where this year grew potatoes. But I like runner beans the best because they are big and thus they require the least work per weight when shelling. We used to have white runner beans too, but  I haven’t seen them in shops for a long time. I could not put seeds consistently aside, because the white and red beans hybridized and after two-three years I had neither white nor purple beans but a mish-mash.

Greening the Balcony – Part 2

Avalus continues his balcony gardening adventures and he has shared some more thoughts and pictures.


Visitors from the Past and Visitors I want to go past!

(This is from about the middle to the end of May.)

Content warning: A spider at the very end!

Green stuff is growing and exploding everywhere!

© avalus, all rights reserved. Click for full size.

Salads, tomatoes, nostrums, herbs, and potatoes.

© avalus, all rights reserved. Click for full size.

More salads, cucumbers, strawberries, and radishes. One sweet potato in the middle for good measure. The climbers will be led along the different rails or suspended on strings dangling down from the piece of wood, that also serves as an extension to the rails for balcony boxes.

© avalus, all rights reserved. Click for full size.

And on the other end of the balcony climbing beans, mangold, more potatoes, more salad and tomatoes On the bottom you can see capsicums. These really did not want to germinate this year, they took over four months to get this tiny.

© avalus, all rights reserved. Click for full size.

In the boxes, the bush beans are coming up, the ones on the right were from very old seeds, most did not germinate. The ones on the left are from new seeds. I did not take a picture of the broccoli box, but you can see, that it is still blooming. At a later date, it will sadly fall victim to tragedy.

© avalus, all rights reserved. Click for full size.

This year, I used up a lot of old seeds I collected over the years, just to see if they were any good. I did not expect much and was proven right, out of around sixty seeds I got three snowpeas and four to five weak bush beans. Then I got rid of the rest of the old seeds by digging them deep under the soil and, surprisingly, I was greeted by fresh pea sprouts three weeks later. Of course, this was after I bought and planted fresh seeds. Well, more peas!

I just really like peas! The trellis is made from hazelnut sticks I gathered in the surrounding area. It looks very flimsy but held up to a massive storm already.

Also, notice something odd about this sweet potato?

© avalus, all rights reserved. Click for full size.

There is a pumpkin, either muskat or hokkaido, growing on the left. How did it get there? Last fall I peeled pumpkin seeds and threw the supposedly empty shells in the empty bin and then later planted a sweet-potato shoot on top of the chaff. I very carefully removed the pumpkin plant. It will travel to my parent’s garden and will get a nice spot in their old compost pile. You can see the extracted plant in one of the pictures above.

© avalus, all rights reserved. Click for full size.

This spring I cut down my sage (it was getting constant mildew and was too sprawling) and decided to try and multiply it via cuttings. So, I used some paper pots I had left over from last spring, trying to grow some kind of tomatoes. Nothing came of these seeds, the pots have been completely dry for a year. And this year, of course, three tomatoes germinated! I wonder what kind they will be.

With greens, there are aphids.

© avalus, all rights reserved. Click for full size.

Especially my capsicums were hit hard, with leaves getting all curly or falling off altogether. As of writing in mid June, they are still very weak.

© avalus, all rights reserved. Click for full size.

But with aphids, there come fierce predators! Here is a ladybug hunting on basilicum.

© avalus, all rights reserved. Click for full size.

I have no idea what caterpillar/larva this is, but the empty aphid husks tell a gruesome story of brutal murder.

© avalus, all rights reserved. Click for full size.

The same goes for these bright orange larvae that are dining on the aphids. Probably some kind of wasp?

Sadly, with aphids also come ants.

© avalus, all rights reserved. Click for full size.

In a garden, I like to have them around but on the balcony, they sadly have to go. That is the one time I use poison to get rid of creatures, but in past years I learned the hard way that ants become a huge problem in compact spaces, herding aphids and eventually invading the apartment.

© avalus, all rights reserved. Click for full size.

Here is a very different caterpillar, happily munching on a cabbage. The cabbage itself was a result of an experiment: What would happen, if I were to just plonk the centrepiece of a cabbage I ate in a glass of water? It grew and has given me some nice leaves so far. I have no real plans for the cabbage other than pick some leaves every now and then, so the caterpillar can stay. Enjoy your meal!

And for PZ, a newly hatched batch of tiny cute orb weaver spiders and their mom hiding in the rosemary. There are many of them around on the balcony, their nets are getting filled with winged aphids!

[Read more…]

Frog Chillin’

Today I was watering bonsai trees in my bonsai hospital (where my last Japanese maple tree already probably succumbed to the heatwave). I am using the water from the pond at the end of my sewage cleaning facility for that. And this is the sight that greeted me today.

© Charly, all rights reserved. Click for full size.

Every day when I come there I hear several splashes as the frogs sitting around the edges of the pool jump into the water when I disturb them. Today I got lucky and this one was just chilling in the water and did not scamper until I plunged my watering can into the water.

I take this as a sign that my sewage cleaning facility works well, despite the official tests coming just on the edge with regard to ammonia content. I haven’t seen any tadpoles, unfortunately, but I do have happy frogs every year, plenty of dragonfly larvae and water beetles, an occasional water mollusk, and as you can see, the water is so clear that one can see right down to the bottom of the pond. It will get a bit worse in the fall when the trees shed leaves, especially the walnut tree, but that has nothing to do with the sewage cleaning efficacy.

Fig Season Starts

© Charly, all rights reserved. Click for full size.

I picked over 800 g of fresh figs today. It is figs and yogurt for dinner tonight. Eating them all before they spoil will be challenging – this variety is supposed to be eaten fresh and these first ones are extremely sweet. It never ceases to amaze me that I can harvest figs in my garden.