Bonsai Tree – Taking Things Slow

Previous post.

My persimmon tree got me worried this spring again. It looked perfectly healthy when I was repotting it, but I had to trim a lot of roots in order to promote good growth – the main root was a bit too much as a carrot. But it had plenty of lateral roots too, so I did not think cutting it will be a problem. I have also trimmed most of the last years’ growth in order to promote the tree to branch out a bit.

The roots did not support splitting the plant into two, but that is not a problem, I will be happy to have bonsai with two trunks. But the tree, again, did stubbornly did not grow. Outdoors was everything green already and growing like mad, and this one did nothing. It was indoors the whole time, so I do not understand how it could be so heavily influenced by weather (this spring was delayed by more than a month), but possibly it was.

I was fretting and checking the tree regularly. Both twigs were still springy and the bark was fresh-looking, there were no obvious signs of the tree dying. Just no growth.

Last week I have put the tree in the greenhouse, in the hope that the warmth and high humidity will wake it up already. And it might have worked.

© Charly, all rights reserved. Click for full size.

Well, the tree is growing, but it seems unwilling to branch out. Maybe persimmons are plants with strong apical dominance. We shall see whether I will persuade it to branch out or not.

On the right, you see a new addition to my plants collection, a mango grown from seed. My aunt gave me mango fruit in the fall, which I, unfortunately, could not eat because I was seriously revolted by the smell. It was not spoiled, it just smelled unpleasant to me, like raw peaches (to which I am allergic). At least my parents found the smell pleasant and the taste too. And the stone went straight into substrate afterward. It looks promising and might make a passable bonsai too. And it seems to grow much faster than the persimmon since it is a tropical plant and does not have a real need for wintering.

Baby, it’s cold outside

In one of Pratchett’s best novels, Nightwatch, Sam Vimes travels back in time and takes part in the “Glorious Revolution” (twice, actually), with its motto of Freedom, Reasonably Priced Love, and a Hard Boiled Egg, and its symbol of lilac in bloom, which happens on the 25th of April. I remember Caine being very fond of that day, posting pics of lilac. For me, living in a place where spring comes earlier than North Dakota and wherever Pratchett lived in the UK, by that time, the lilac had already bloomed, taking its sweet perfume with it.

Except this year, with its extraordinarily cold April. This year, the lilac has not yet dared to open its flowers.

©Giliell, all rights reserved

Most nights still had freezing temperatures and lots of plants are four weeks behind their usual schedule, which creates a problem for your dedicated hobby gardener: I planted the seeds according to the usual timeline, and most beds are also ready, only that it’s way too cold to plant anything outside:

©Giliell, all rights reserved The garden as o two weeks ago. The lower terraces are ready for planting, but the weather isn’t.

This means everything is still inside, although I usually carry about 50 plants outside in the morning and carry them back inside in the evening. Say hello to the cocktail tomatoes.

©Giliell, all rights reserved

I’m also running out of pots, because most of them have now been replanted three times and had to ask my mum for planting pots. What I really couldn’t keep inside for longer is the squash, so I planted it outside, hoping it would survive. By now, none of the plants look happy, some of them also don’t look alive:

©Giliell, all rights reserved

I can only hope that it will regrow those leaves, otherwise the squash will be entirely shop bought this season. As they were last year, when all my plants insisted on having male flowers only.

In the meantime I’m taking joy in the growth of my corn. Intellectually I knew that in order to get that high, it had to grow like mad, but knowing and seeing are two different things.

The two upper terraces in the garden will become “milpa” beds, also known as the “three sisters planting”, an old central American planting technique where you plant corn, beans and squash in the same area (hopefully the squash will survive…). The corn provides stability for the beans to grow on, the beans provide nutrition for the ground, and the squash protect the soil from drying out and being washed away. This was the little one’s idea and I must say, the idea of fresh corn on the cob is intriguing. So, cross your fingers for warmer weather and surviving squash (also the fucking slugs have been at it already. There’s a whole garden for them to eat, they can’t tell me they need to eat my squash).

Tiny Vegetable Patch Inspectors

The inspectors are tiny, not the vegetable patch. That is quite huge (over 40 square meters). It took me 1 hour to plow it all and that knocked me out for two days. Now I am breaking the dirt lumps and making the beds for the veggies which I expect to keep me busy for a week. Last year we had only one huge patch with potatoes, this year it will be split into several small ones for peas, onions, beans, and cucumbers.

And today when I had my lunch break, several small birds came to inspect my handiwork and feast on earthworms and insects brought to the surface – the redstarts are back, a sure sign that spring has really begun. These birds never come to the feeder, they are strict insectivores and they really enjoy the vegetable patches after the rain or when the surface is disturbed.

© Charly, all rights reserved. Click for full size

© Charly, all rights reserved. Click for full size

© Charly, all rights reserved. Click for full size

© Charly, all rights reserved. Click for full size

I assume that these are all black redstarts Phoenicurus ochruros, because those I usually see around here. But there might be some common redstarts Phoenicurus phoenicurus among these four pictures this time or even all of them. These are all females and those are hard to distinguish, species-wise, for me. Today was one of the rare instances when I have also seen male common redstart, but he, unfortunately, whooshed before I got him into focus.

Oh My Potato!

There is a lot of talk about sustainability and growing your own food etcetera. So I wish to share this year’s results of our efforts in this regard, specifically potatoes.

In the spring we bought 20 kg of potatoes for about 40 € including shipping. We planted them to a patch approximately 40-50 square meters and now my father has great fun harvesting them.

Typical potatoes, ones that go into the cellar for storage look like this.

© Charly, all rights reserved. Click for full size.

Then there is also a lot of “beads” which are very small potatoes, and a lot of potatoes that are damaged by weeds, slugs, bugs etc. Those need to be consumed first. But this year it looks like we do get reasonable amount of big potatoes in good condition. And whilst the saying in Czech goes “Čím hloupější sedlák, tím větší brambory” (“The dafter the peasant, the bigger his potatoes”), I think that saying just reflects the enviousness in human nature. Because getting reasonably big potatoes, regularly, is not easy.

The main problem with potatoes is that they need light, humous soil, and the soil in our garden is more like heavy clay. In the vegetable patch, it is a lot better, because that soil is a result of careful cultivation over several decades of tilling the clay with compost, manure, wood ash, and fertilizer. Still, it is far from ideal and way too sticky. So this year I have tried to improve the soil further by adding a lot of organic material directly around the potatoes during planting, specifically crushed reed stalks from my sewage water treatment facility. It seems to have helped – a few plants were planted without the reed stalks and their potatoes were visibly smaller. Also, the soil with the crushed reed is easier to tilt and falls easier apart. So it seems I have a use for the reed stalks, which until now were a waste-product.

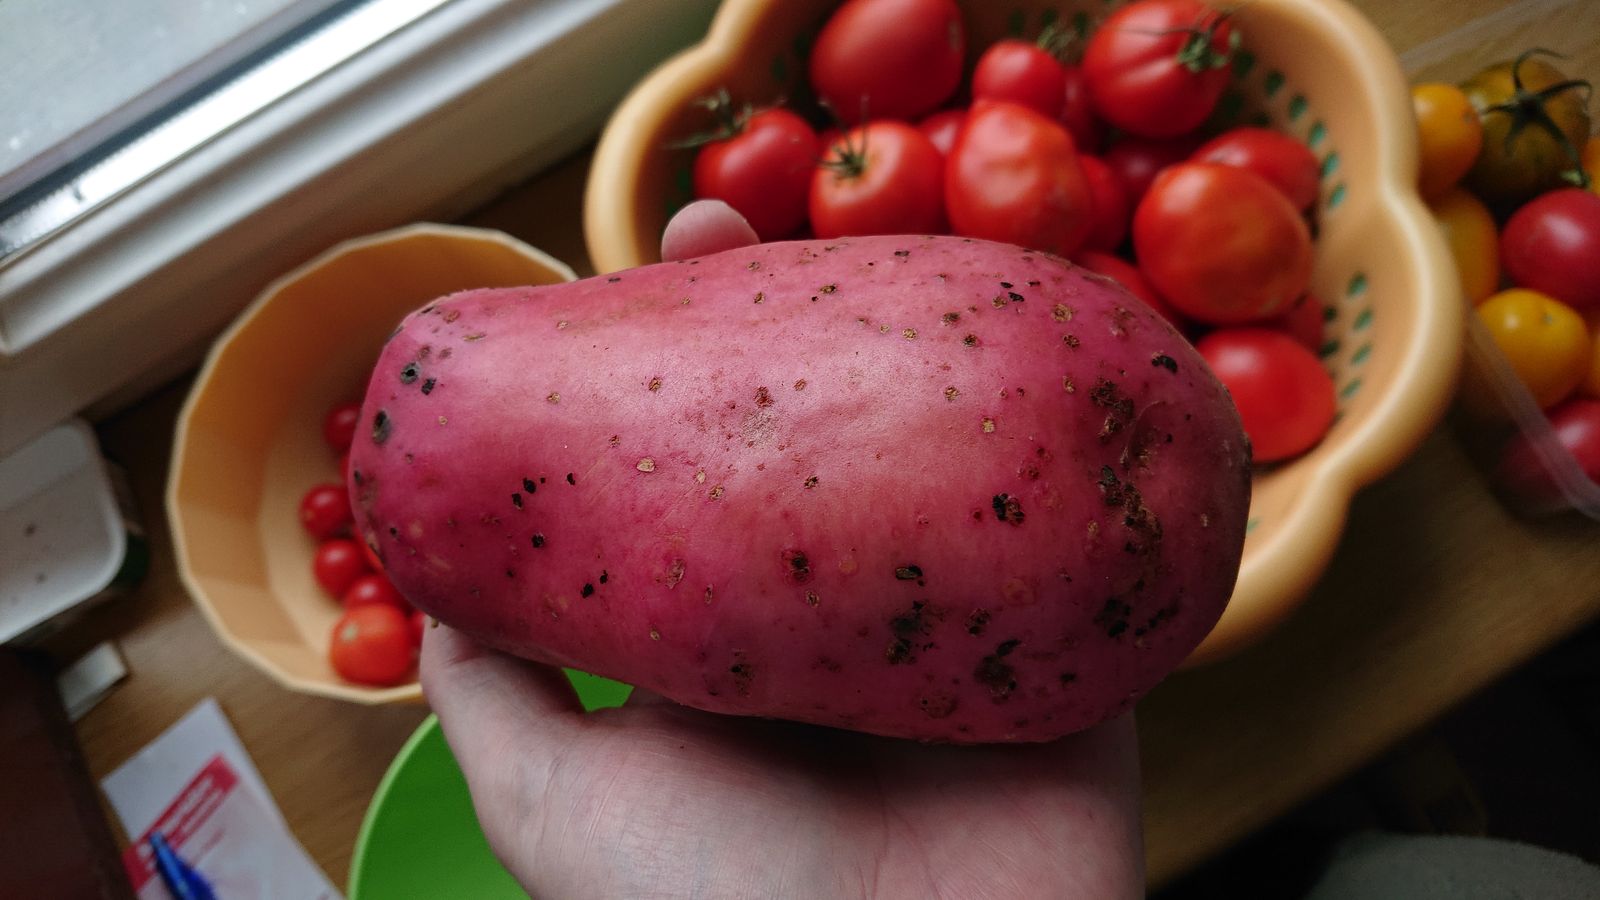
But even without those, each year when we grow potatoes, there are outliers like this ca. 500 g (>1 pound) specimen.

© Charly, all rights reserved. Click for full size.

Pieces like these bring great joy to my father, who currently really has fun with garden fork tilling the patch and getting the potatoes out. We have a small tractor, but my mother has urged me not to use it and leave my father to do the work manually – he needs the exercise and enjoys doing it. And although he impales some potatoes on the fork, the damage is smaller than the plow would do. For example, this 950 g specimen got impaled and needs to be eaten asap, but a plow would probably just cut it in half.

© Charly, all rights reserved. Click for full size.

Well, that one is really an outlier. It can feed the whole family for a day. It would be great if they were all like that, but that is alas unattainable.

Ok, enough bragging and back to the sustainability issue and soil care a bit.

We have planted circa 200 plants. We get at least 120 kg of potatoes from it, so on average 600 g from each plant. That means we could, theoretically, set aside 20 kg for next year and still have 100 kg to eat. So how does that help us re: self-sustainability? It is just about 600 g of potatoes per week per person in our household, so two-three servings. That is a lot, being a significant money saver. But it still does not bring us anywhere near to being self-reliant.

The first obstacle to that is of course the sheer amount of land needed for true self-reliance. I almost have the land, but the soil quality on most of it is very poor and it would take years of back-breaking work to bring it up to scratch with the vegetable patch.*

The second obstacle are nutrients. Potatoes have about the highest yield per area of all crops that I can grow here, but they also deplete the soil of nutrients really, really fast, and can destroy it. I do not need to go too far to see a real-life example of this – my neighbor does not make compost, does not take care of her vegetable patch the way we do, and she did grow potatoes always in the same spot for many years. The soil got sour, and the potatoes were getting so small it was not worth the effort anymore.

The third obstacle is pests and diseases. We solve this problem by twofold approach – we spray the potatoes against mold and beetles, and we only grow them every second year. It seems to work out well, but should we try to be self-reliant, it would double the needed land again. We alternate them with onions, pumpkins, and legumes, which also produce reasonable harvests, but nowhere near to be significant on the same amount of land. Alternating the crops also reduces the amount of pesticides we use, since onions and legumes do not need to be treated.

The fourth obstacle is the sheer amount of work needed. My father does most of it, with me only doing the most difficult parts like plowing, and it takes a lot of time and effort throughout the year. To feed all three of us that effort would be tenfold.

This makes me highly skeptical about growing your food on the windowsill or front porch. But even so, I think it is a great idea to plant some vegetables in pots on your windowsill or front porch if you can, just do not expect any wonders regarding the amount you will get.

What you can expect though, is great taste. Supermarket bought vegetables cannot hold a candle to anything you grow by yourself.


  • The poor soil quality around here is one of the main reasons why many fields were converted to pastures and meadows after the Iron Curtain has fallen.

All the Pretty Little Flowers 1: The frontyard

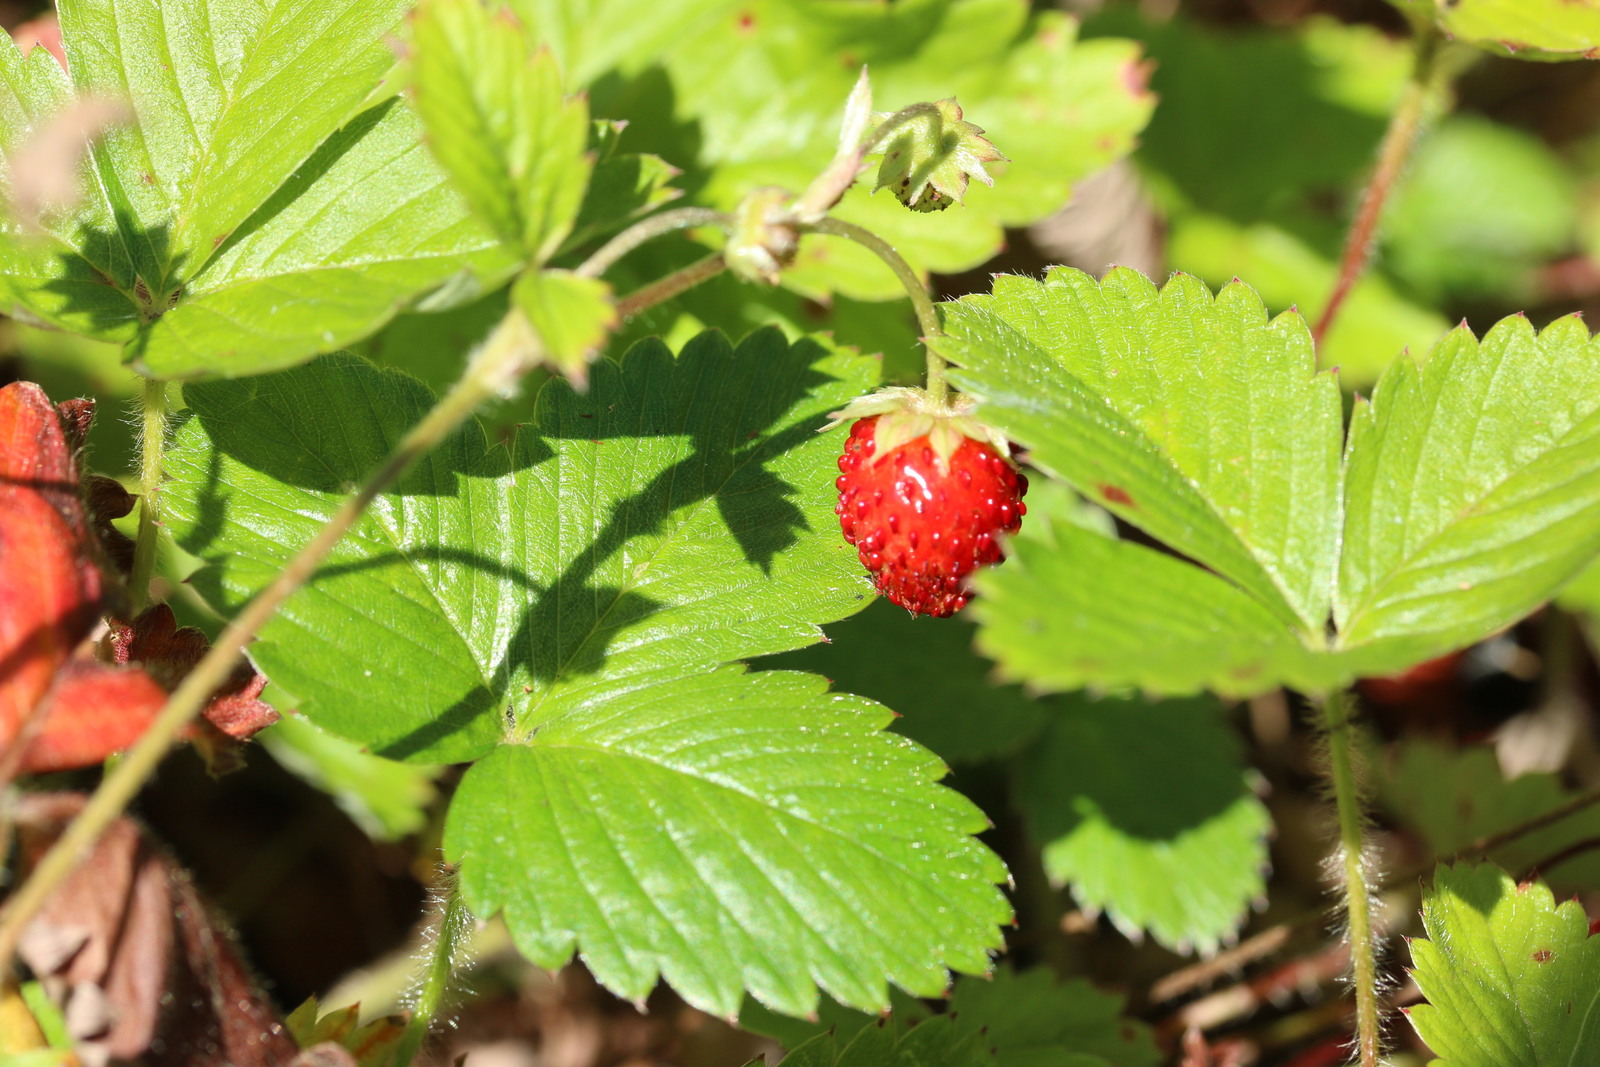
Pz has been raging and ranting about lawns and lawnmowers and I wholeheartedly agree. It also prompted me to do a bit of bragging about the sheer beauty of not having a lawn. Let’s start with the front yard, which was carefully weeded when we bought the house. Here’s another aspect of those lawn and front yard regulations: To keep them up to “standards” you need time to do it or money to hire somebody else to do it. I quickly reduced weeding to an absolute minimum. Nobody touches a dandelion in MY front yard. One thing that happened quickly was that wild strawberries overtook most of the ground. They do many things at once:

First, they protect the ground from drying out.

Second, they provide flowers for pollinators.

Third, they taste so good.

©Giliell, all rights reserved

In spring I built a plant tower in an empty space that had previously been occupied by some useless evergreen bush that got thankfully eaten by caterpillars. I also planted some regular strawberries there.

©Giliell, all rights reserved

Guarded by my little dragons

©Giliell, all rights reserved

M

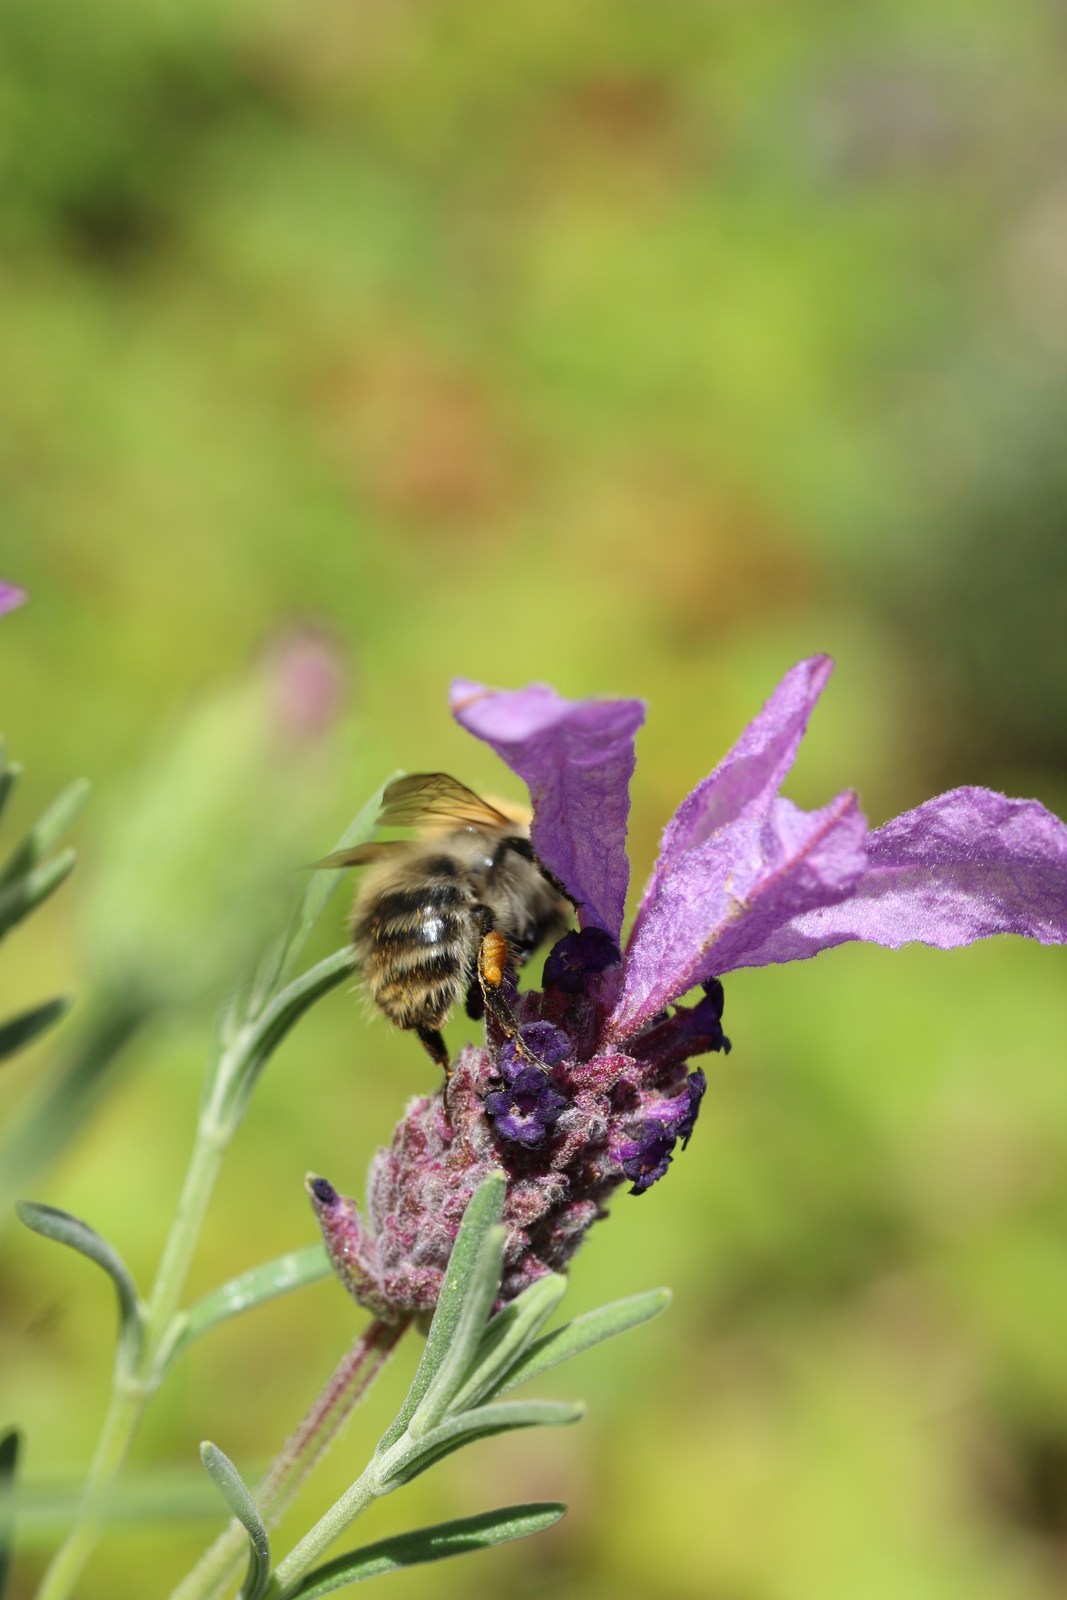
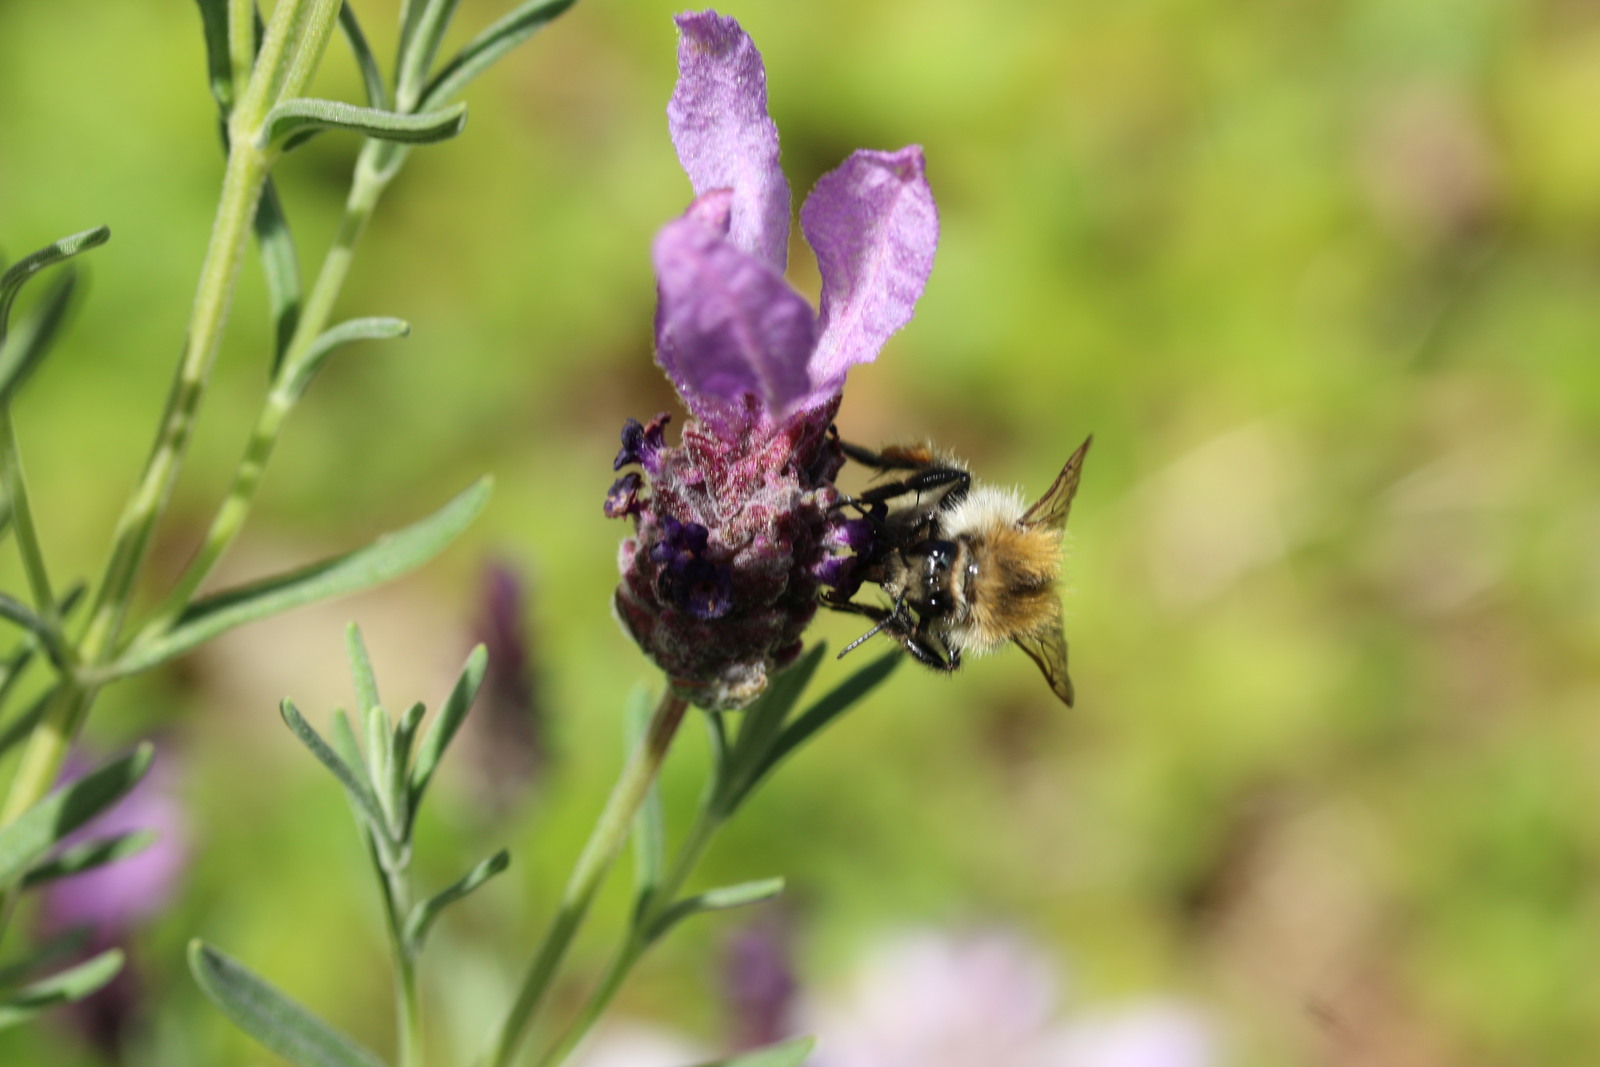
If you want to make bees happy, plant lavender. It will also make you happy. Lavender is low maintenance, just cut off the dry stalks in autumn and ok with dry weather. I don’t know if it can survive Minnesota winters.

©Giliell, all rights reserved

©Giliell, all rights reserved

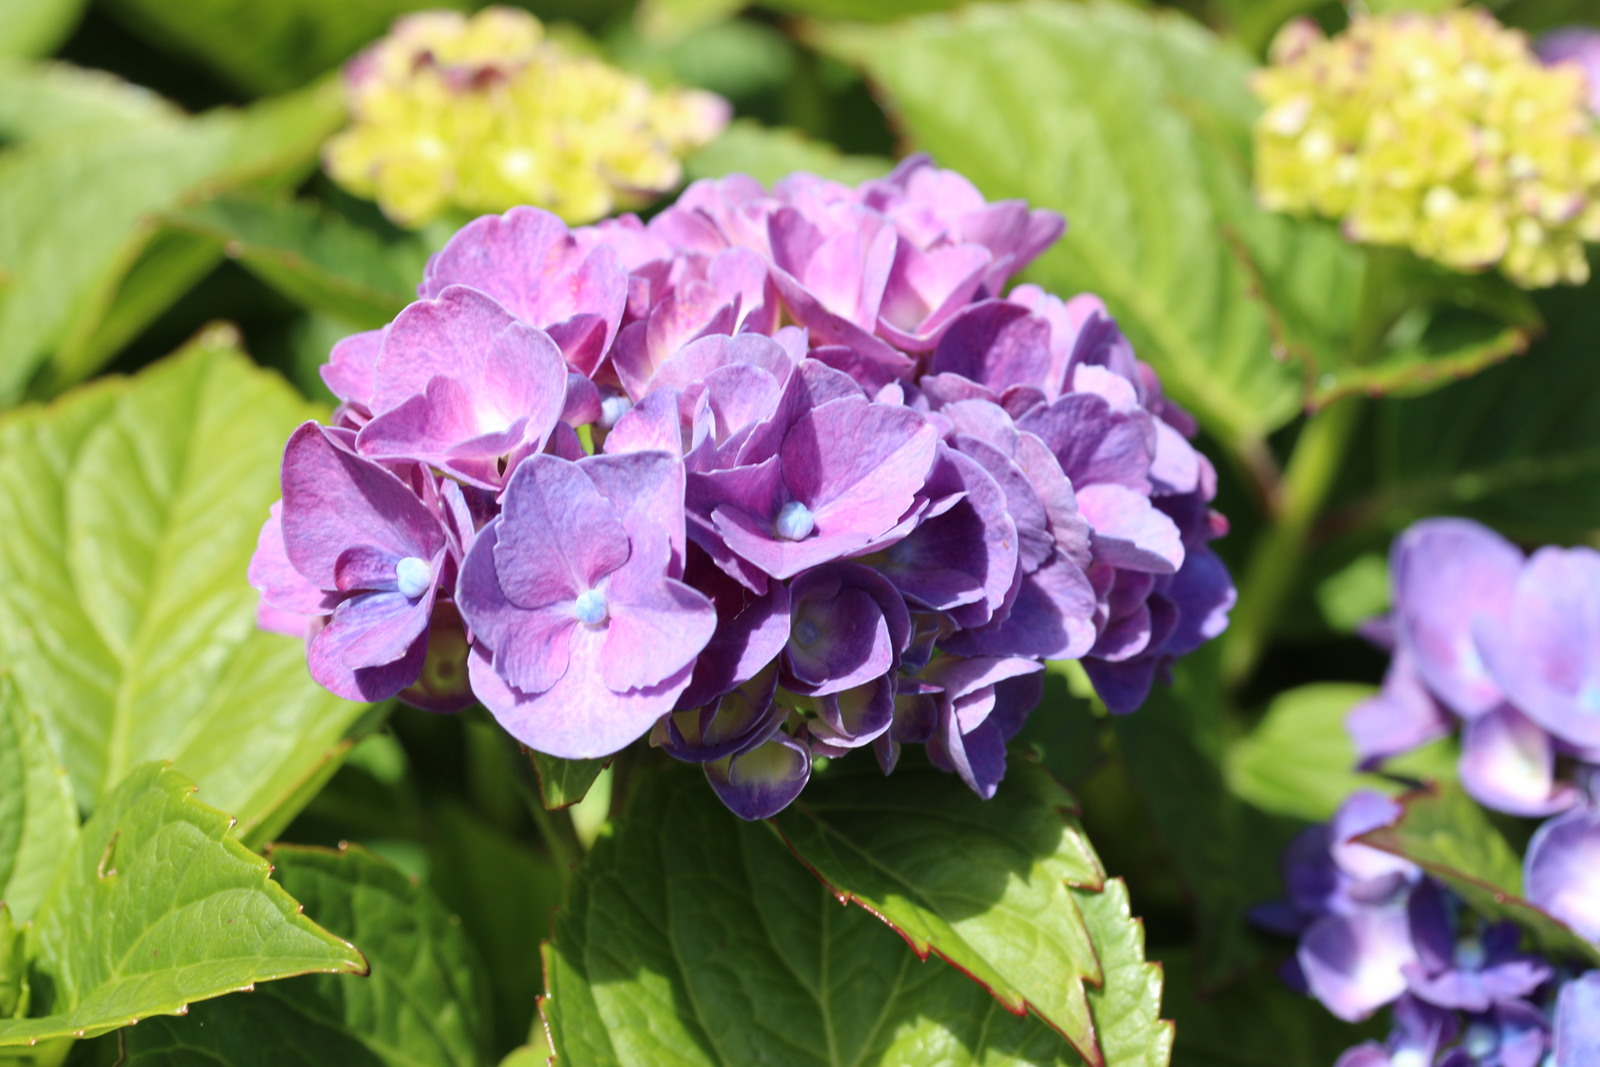
Probably no German frontyard is complete without a hydrangea. They are lovely, but high maintenance (needing much water, cutting, right ground) and absolutely no good for insects. Like most plants here they are a leftover from the previous owner. I figure that with so many bee friendly plants around I can afford a couple that only look nice.

©Giliell, all rights reserved

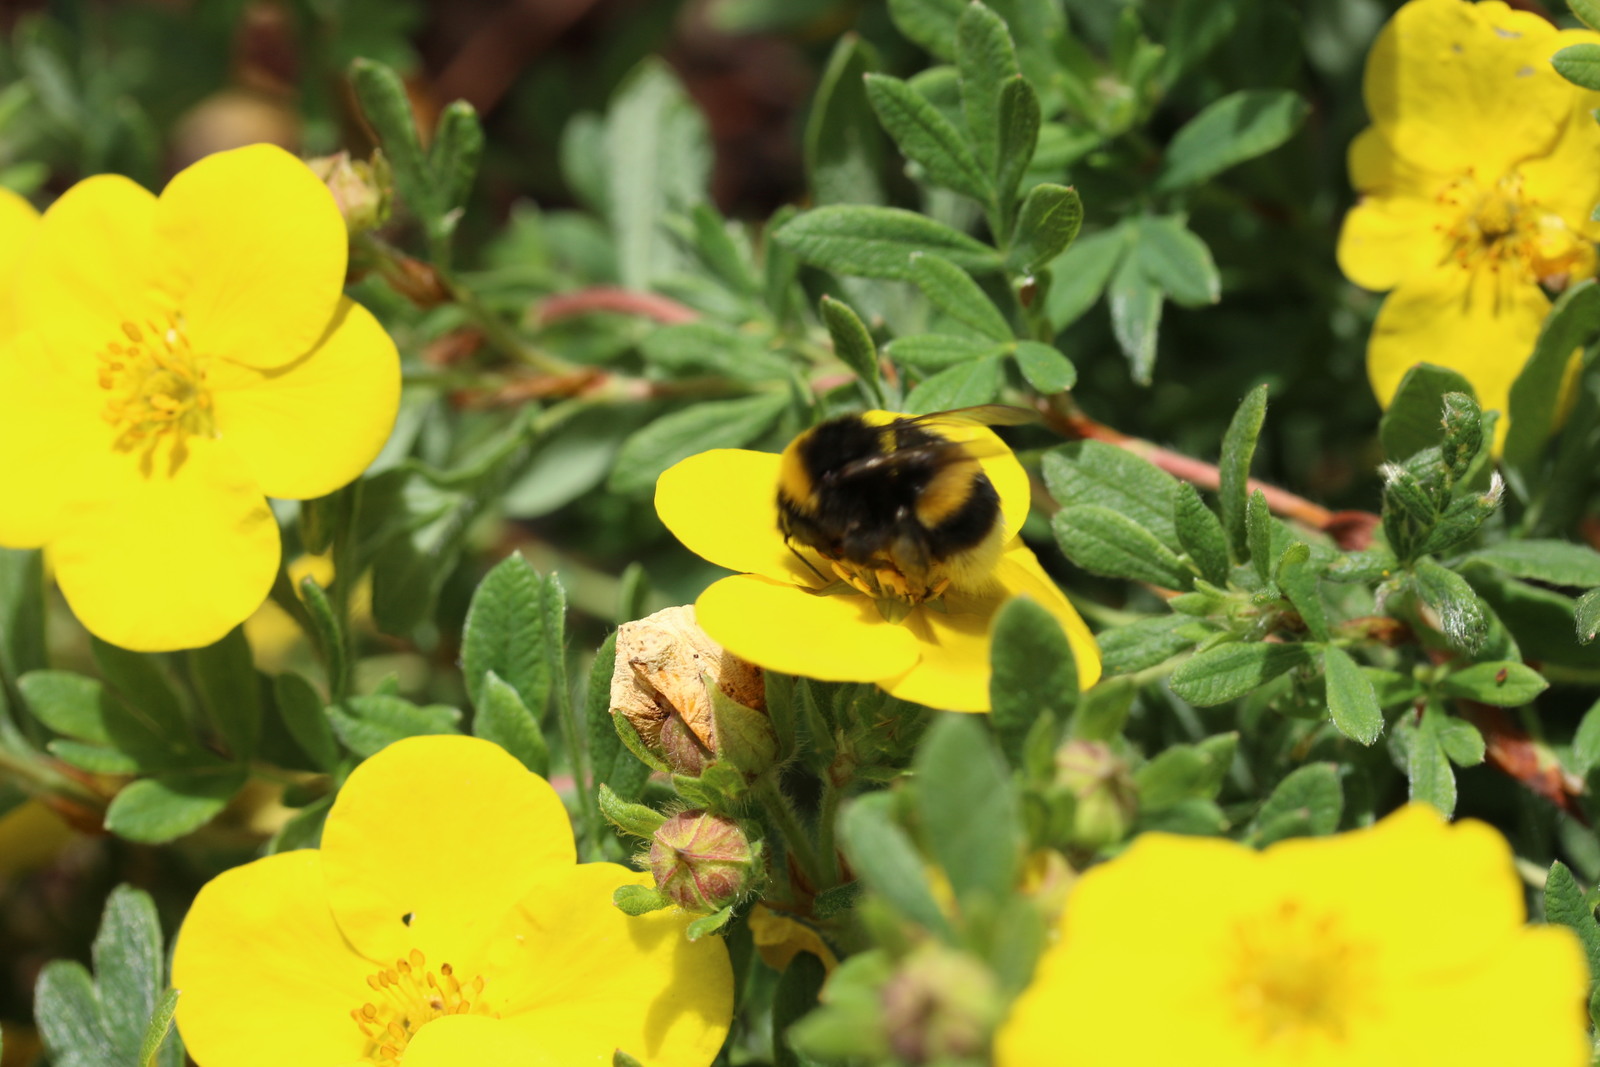
I have no idea about most of the plants that grow here. They were already well established when we moved in. Some of them have already bloomed long ago. I basically get flowers from March to October.

©Giliell, all rights reserved

©Giliell, all rights reserved

©Giliell, all rights reserved

Also one corner has been taken over by some wildflowers. I like them, the insects like them. We’re good.

©Giliell, all rights reserved

Oh, and btw, the next door neighbour has a lawn (I’m not criticising her, she’s 90 and still living all alone). It’s a sad brown area right now and the grass always creeps into my yard which means that I have to do the weeding there.

Gardenscaping: Where the Solution of one Problem Creates Three Equally Interesting Ones

Last time we saw the garden we had a new terrace and stairs, but were still far away from it being finished, which it still is. Since then I gave the old bench a new coat of paint and we got new garden furniture and somebody competent is working on a handrail. What we still need is a lamp. The easiest thing would be to screw one to the side of the house, but when has easy ever been an option? the plan is to put a lamp post in the upper corner of the slope, at the end of the terrace.

©Giliell, all rights reserved

In this pic that’s the upper right hand corner, basically where the wooden fence starts. This way it should give light to the small terrace, but also to the stairs. Also I want a small fountain there so we need electricity anyway. Therefore we spent most of Saturday doing what we’re good at: me telling Mr what he should do and him doing what I told him. Sounds pretty much like some sexist trope about the domineering wife and the poor hapless husband, but it links to the concept of the mental load: The fact that in heterosexual relationships the women are usually the ones who have to do the planning and coordination and sadly, our family is a poster child for this in most parts. Mr has gotten better over the years (often because I simply refused to to do it. If we agreed that it was his task then I would simply unburden myself. No more checking in, no more doing the thinking), but on the whole the mental load is still mine. It doesn’t help that he’s really not good at planning in several steps. He’s more of a Scrabble guy than a chess player and his plan was to start pouring a concrete base at the top where the lamp should go and worry about the slope later. Supposedly after the first heavy rain washed down the earth including the concrete base.

At my suggestion (haha) we started securing the upper part of the slope:


©Giliell, all rights reserved

What looks like just a couple of stones was the backbreaking work of several hours. The slope goes in two directions: into our garden and towards the neighbour’s garden. And we had to start somewhere in the middle, because that stone that looks like I had drunk the gin tonic before and not afterwards is turned over on purpose: It covers the drainage pipe from the terrace, making sure the water can exit freely. To prevent animals from getting in there we put in a tin with holes in the bottom. I’m curious at how this will work out, but it’s raining today so I’ll take a look later. This means that we had to start right there, that was our fixed point, and work our way up and to the sides and down as well. Every other stone has a steel bolt at least 30cm into the ground and a layer of concrete to secure it. And some drainage because I do want to plant something in those stones. The first row is always the hardest because it needs to be very level. Sure, the stones will always have their irregularities, they won’t all be the exact same height, but if you’re off there, you’ll be in a lot of trouble later. That means putting the stone (15kg) into position, checking, lifting it off, altering the ground, putting it back, checking… Yes, my arms are hurting, why do you ask? Especially since our ground is full of stones and pebbles that will just not give a millimetre, no matter how hard you push down.   And the worst part: because the whole terrain is helter skelter it looks like they’re all askew because all the other supposedly “straight lines” you’re looking at are, in fact, not straight, which is probably a metaphor or something for my life  but that’s off topic.

In the background you can see some boulders to further stabilize the slope. We still had these lying around, but we’ll need to get more of them to create a girdle on the lower edge to prevent the ground from being washed out. It will also create a nice habitat for lizards and insects, because with all the work we’re doing and all the alterations we’re making to suit our desires, that is always an important aspect. That’s the allotted “wildflowers” side of the slope anyway. I hope to get enough of the stones set in time to plant the pumpkins and courgettes. We’re not lazy, we’re environmentally friendly! We’ll spend a lot of time in the garden this year (I seriously cannot understand people who are planning their holidays this year. No, not even within Germany), so we better make it look inhabitable.

Bonsai for Beginners – Part 8 – Pests, Pets, Partners & Posterity

Previous post.

There is yet another thing that I feel needs addressing before I dive fully into describing individual taxa and how to care for them, and that thing being the beings that might share your household with you and your trees.

Let’s start with a sad anecdote about partners. I don’t have a partner, but my older brother is married. And when I started expanding my bonsai collection and some of my trees started to look really impressive, he wanted to try it too. I have him one really good indoor bonsai, Cupressus californica and one mediocre but with good potential Ficus benjamina. The trees prospered for a while and looked good, but my sister in law shuffled them around the house to places where they “look good” until she shuffled them on top of the cupboard above the kitchen counter. When I have seen this on my visit, I warned them that the trees won’t survive that, because they need a lot of sunlight in vegetation. It is possible to display trees in a hallway or some other place for a while to decorate your home, but ultimately they are living beings and their needs must be met. My sister in law made appreciative noises and pretended to care, but she only shuffled the trees into places where they were even worse off. Until they died, as I predicted.

I have begun to suspect ill intent, but I could not prove anything and I could not say anything even if I had proof. My brother was determined to have bonsai trees, he bought some, he even successfully poached some from the forest against my advice, and I bought him a healthy Pinus pentaphylla, the most iconic Japanese bonsai species, and I chose a tree with really great potential. The trees seemed to prosper for a while, and then they suddenly all died and my brother lost all enthusiasm at all that labor wasted.

For a long time – until last year, in fact – I thought he has just been unlucky. Trees die, it happens to me all the time. But recently I learned that he was a victim of a concentrated effort of his wife’s family. His father in law got bitter after he split with his mother in law, he got drunk and he babbled out what really happened to someone and it came in a roundabout way to me. They deliberately sabotaged all my brothers’ hobbies and I was deemed as persona-non-grata in the household. Their family deemed all hobbies as a waste of time, only activities that make money or are work around the house were allowed. And I came in there with my perfidious influences on my brother and their grandchildren like reading books and growing useless trees in a pot and reminding my brother of his own hobbies like making models and playing chess.

The high-end trees that I gave my brother were indeed deliberately shuffled off into places where they withered and died, under the pretense of appreciation. And when they could not do that with the outdoor trees because my brother put his foot down and claimed a piece of garden for his hobby and told them to back off, they have secretly put dish detergent into the barrel he used to collect rainwater for his trees. To my knowledge, my brother still does not know this and I won’t tell him. He is happily married. But I can’t stand his wife and his mother in law.

So before you start growing bonsai trees, make sure that people who share your household are OK with it. Do not just assume they are.

I also do not have children. And I do not currently have any pets, but I used to. For both children and pets apply the same rules as for any garden- or potted plants. Make sure that anything poisonous is out of their reach so they cannot nibble at it. Or better yet, make sure they cannot nibble at any plants at all. If you are cat-owned, you will have to make extra sure your owner does not knock any pots off the shelves to teach you a lesson.

Some plants are more poisonous to birds than they are to mammals, so if you have parrots and let them out of their cages, you too need to be extra careful. For outdoor bonsai, this does not seem to be a problem. Local birds never nibble on local flora if said flora is inedible or poisonous, and I never had them nibble on small trees when big ones are nearby either. And I have never seen local birds try eating indoor plants when I put them outside. Indeed having a bird feeder near bonsai trees has even helped a bit with pests because the birds do like to sit in the trees and they pick off any wintering eggs and pupae they find while there – especially tits are helpful in this regard.

The almost inevitable companion in your household once you start to grow any kind of plant are pest insects.

Worst of these are scale insects. They tend to attack mostly evergreen plants with hard leathery leaves, like Laurus, Ficus, Citrus, and Myrtus and once these fuckers get a foothold, it is really difficult to get rid of them. I have managed to finally destroy them by a combination of mechanical removal with concentrated water spray from a small nozzle- that allows for mechanical removal from even the least accessible nooks and crannies -but the spray must not be so strong so it would poke holes in the leaves. What also helps is to wash leaves and stalks with a cloth soaked in rubbing alcohol or cheap vodka, to destroy the eggs. Sometimes even more drastic measures are necessary, like severe pruning of the tree and trimming of all leaves. Insecticides are usually useless, they do not penetrate the hard shells very well.

Wooly aphids are similarly persistent and obnoxious and similarly difficult to get rid of. Here I did not in fact succeed and I am battling with them for years now on one pine. The problem with these is they tend to attack conifers like Pinus, Picea, and Larix and they nest themselves into the nooks and crannies around the needles, twigs and in the bark recesses, where they cannot be reached at all. Some even attack roots and those are usually a death sentence. I used to keep them at bay with a timely spray of daisy extract with a drop of detergent, but daisies disappeared around here for whatever reason and since then I am only left with washing them off mechanically either with water spray or with a toothbrush. I might need to try a commercial insecticide.

Aphids can also be a problem. Birds and spiders do help with their management however, and they are much more susceptible to insecticides and even ordinary mechanical removal than the previous two. They tend to attack mostly soft, freshly growing stalks and leaves of Hibiscus, Tilia, Acer, and others with similar growth patterns (probably my new persimmon would be susceptible too by the looks of it).

Since these pests prefer different plants, mixing the species on your windowsill/bench etc. does help to prevent their spread. Yes indeed, social distancing works for trees too.

Ants are not a pest in and of themselves, but they can spread all three above mentioned pests around your collection outdoors if they are present, because all three produce honeydew and ants love them.

Spiders in a bonsai tree are desired and should not be disturbed if possible. I am sure there are some people who would like to know this.

Fungal (and bacterial) diseases come in many varieties and are mostly species-specific. You must make your own research should you encounter one. Some species are more prone to them than others. The best help is prevention and fungicidal spray. If a tree catches a fungal disease that attacks wood it is usually the end of it. You might try cutting away the whole infected branch and burning it – you might catch it in time and save the tree, but most likely it will get damage that takes years to heal, even if it survives. Fungal diseases that attack leaves /needles are less threatening and can be mitigated by the removal of old fallen leaves/needles in the fall, but not always. Even these mild fungal diseases are detrimental to the tree so they should be avoided.

On the other hand, mycorrhizal fungi are desired. Even a bonsai tree starts to prosper and grow better if it manages to get mycorrhizal fungus on its roots, the effect this has on for example oaks is remarkable- I have observed nearly double growth rate in trees with fungus against those without it, but I did not conduct a proper scientific experiment, so you only have my word for it.

Lichens on roots, branches, and bark are also desired, they add the illusion of old age. They are also an indicator of health and proper care because they grow very slowly and are finicky.

Therefore any application of fungicidal sprays on bonsai trees must be done with care and deliberation and in a targeted manner and not in a “spray and pray” fashion.

One pest that I have not seen mentioned in any of my bonsaist literature are water voles. They do not get to the trees on benches, but if you take them off the benches for wintering during a tough winter, they can get in and wreak total havoc. In 2011 I have lost this way several prime trees and many others were damaged to such an extent they still did not recover. Voles also destroy a significant portion of any trees that I plant in my garden, I was unable to replace my cherry tree due to them and I have to plant new trees in my coppice two-three times before they survive long enough to be vole-proof. Having a cat helps, although they do not like to eat voles too much. But they do kill them and scare them off. The problem in my garden was also less severe when we had a dog, And it was nearly non-existent when an owl was nesting in a nearby spruce tree. However the 2011 disaster has happened when we had two outdoor cats and a dog, but the voles were safe under half a meter of snow. Voles are a mortal enemy to me. Forget capture and release traps. You can either be on the side of the trees or on the side of the rodents, not both. So killing traps, regularly checked and put safely with proper bait in order to not catch shrews or birds by accident, it is.

And lastly – it should go without saying that if your tree is visibly infected or infested, you should not display it. Especially not in an exhibition where it could infect other trees. Visible infection or infestation is an instant disqualifying criterion in competitions, and rightly so. As a beginner, look for any of these when buying a tree and do not take any that is visibly ill. You do not want to carry these unwanted guests into your household.

Bonsai for Beginners – Part 7 – Styles, Sizes and Composition

Previous post.

In any endeavor, there are purists, assholes and assholish purists, i.e. snobs. No doubt in bonsai circles is no shortage of such people too. I have not met any because I am not involved in any society. I have zero contact with other bonsaists and I like it that way.

I am of the opinion that if it looks like a tree and is grown in a pot, then it is a bonsai. And if it makes the owner happy and the tree is healthy, then that is all that is necessary and it is nobody else’s business to give unsolicited advice on how the tree should look.

However, that does not mean that there are no recommendations that are pertinent for any beginner regarding the style, size, and composition of their first bonsai tree.

First, let’s talk about size. Bonsai come in sizes from just a few cms to several decimeters or even over 1 m tall. And here come in play two factors – the space you have available and your physical strength. Your tree must have enough space to grow in height and width as well, and it must get enough light to thrive. For outside trees, this is not usually a problem, but for indoor, the tree(s) container(s) should be of such a size that you can put them on your windowsill diagonally and the tree(s) should not be higher than about half of the window. That way you can turn them 90° twice a week to achieve even growth and they will get enough light.

© Charly, all rights reserved. Click for full size.

And in regard to strength, square-cube law comes into play, I learned this the hard way. When you double the size of a tree and its pot with equal proportions, the weight increases eight-times. A pot that is visually just slightly bigger can become deceptively heavier and it can happen that the tree is unmanageable without help. Trees at circa 50 cm are a big handful for a single person and anything bigger than that might need an extra hand. But they look soooo damned good and impressive…

As for style, there is a whole Japanese terminology that I have never bothered to not forget. Sure, I have it in a book somewhere and I read up on it thoroughly, but it is not useful to me now. That is not to say that it is not useful at all. As all terminology, its purpose is descriptive, in order to allow better communication. And since I do not communicate about my trees too often, I do not need to remember it. If I need to describe my trees sometime, I can always look it up.

The word “descriptive” is key here. A bonsai is a tree in a pot by definition, so the only criterion here is it should look like a tree. My advice to a beginner would, therefore, be to try and shape the plant you have to look like a tree – any tree – and not try and shoehorn it into some specific style.

Both size and style are to a certain extent also species-dependent. Some trees can take heavy abuse and be contorted into wild shapes, some are fragile, sensitive and brittle, some have huge leaves, some tiny etc.

Regarding composition, the usual rules of art apply. For example, the tree and its pot should fill a picture with 4:3 or 16:9  ratio, the golden ratio applies etc. Most people have an adequate aesthetic feeling to do this properly in my opinion, There are, however, several bonsai-specific rules that are important to mention.

The tree is a statue that has a front and a backside, but it is three-dimensional. So branches should point in all directions, not only to the sides. But no branches should point straight forward towards the observer, it creates an unpleasant feeling when observing the tree, it actually strains the eyes a bit.

The trees are meant to be observed with approx 1/3 of the tree at eye height- for example when they are on a windowsill, you should be appreciating them when seated. In order to achieve the best result, the tree trunk should be bent ever so slightly towards the observer. It creates an optical illusion that makes the tree appear slightly bigger than it actually is. Trees that straight create an illusion of being bent backward and that, again, is not entirely pleasant to look at.

Big wounds, if they are not part of the composition, should be hidden on the back or on the sides. Wounds, like dead branches and hollows,  that are part of the composition should, of course, be visible and therefore positioned either on the front or on the sides. If wounds on the front side are not avoidable, the tree should not be displayed until they heal, but that is not a problem for me – or for a beginner.

And lastly, the pot is a part of the composition, so its shape and color should complement the tree, but it should not clash with it or compete with it. A straight-lined square pot will look strange with a tree that is all twisty-bendy, and plain brown pot will look a bit drab with a plant that has bright red leaves or flowers. When in doubt, an ordinary bowl works most of the time.

Hopefully, I have not forgotten anything important here. Next time I will maybe finally write about a concrete species and how to care for it.


Bonsai for Beginners – Part 6 – Where to get your first tree

Previus post.

Where you should get your first tree, and what kind of tree should it be, depends on where you live, where you want to keep it and what experience you have. I am living in a temperate climate and therefore my personal experience is limited to the plants that grow around here plus some subtropical and tropical plants that I grow indoors. I also have very limited – and universally negative – experience with Australian flora, so, unfortunately, I cannot give too much info about that. But whatever I write here should be applicable throughout Eurasia and North America.

So first thing first – where you should get your first tree? If you have indoor plants, you should first look whether you have a suitable plant already that could perhaps be converted to bonsai. There is plenty of commonly grown indoor potted plants that are also suitable bonsai species. Two of my most impressive and valuable trees were converted from 40 years old plants that my mother grew.

If you have a garden and want to have an outdoor bonsai, then I would recommend using local species or some decorative species that you might already have. You can either try and take a twig and plant it – many species take root easily – or look around your garden for a seedling that started to grow where it should not have, perhaps too close to a hedge or similar.

Such plants have a huge advantage over anything that you buy in that you can be reasonably sure that they can prosper in the environment you can provide for them and you might already know how to care for them.

Do not buy anything that has “bonsai” in the name. Neither a good expensive tree nor one of the mass-produced cheap ones in supermarkets. In the first case, you probably would not be able to take proper care of the tree yet, and in the second case you would not be buying a bonsai but a crippled plant that can become one in a few years at the best, or will die soon no matter what you do at worst. The cheapo “bonsai” from supermarkets can be a good source of twig cuttings for your own planting though, sometimes it is the only way to get your hands on certain species. And absolutely never buy “bonsai kit”. There is no such thing as bonsai seeds. Those are ordinary tree seeds in fancy packaging and without proper care will, therefore, grow into ordinary trees – if they germinate at all.

Do not poach trees in the forest or on someone else’s property. There are environmentally friendly and IMO morally OK ways to do it – for example trees that grow near train tracks or roads and are periodically cut down for maintenance because they are a weed – but it is still illegal and you should not do it without the permission of the property owner. And then there is, of course, the morally reprehensible poaching in parks and mountain forests. In Japan poaching of trees for commerce has lead to significant environmental damage in mountainous areas for example. Yup, the Japanese are not above commercializing their heritage and destroying their environment in due course. And to poach a tree without it dying requires a lot of experience, take my word for it.

If you lack suitable species at home and cannot find anything in your garden and therefore must buy something, then buy plants of suitable species at your local gardening store. Look for plants that do not have overtly visible scars from grafting and are healthy and with a bit of luck, you can find a tree that can be converted into a bonsai within one-two years.

And here a very short and incomplete list of species/genera, in three categories. The taxa are listed in no particular order from the top of my head. I only write about species/genera that I have personal experience with or can reasonably extrapolate to from closely related taxa. And because English tree nomenclature is a complete nonsensical mess, I will only use Latin names.

  1. Ideal for a beginner:
    Indoor – Myrthus communis, Hibiscus sp., Laurus nobilis, Fuchsia sp., Crassula ovata, Serissa foetida, Adonium obesum, Punica granatum
    Outdoor – Acer sp., Betula sp., Larix sp.,  Ulmus sp., Taxus sp., Ligustrum sp., Buxus sp., Carpinus sp., Tilia sp.
  2. Not ideal, but still suitable with caveats:
    Indoor – Ficus sp., Euphorbia milli, Portulacaria afra, Olea europaea
    Outdoor – Juniperus sp., Thuja sp. Cupressus sp., Chamaecyparis sp., Thujopsis sp., Pinus sp., Fagus sp. Malus sp., Prunus sp., Illex sp. Cedrus sp., Tamarix sp., Crataegus sp.,
  3. Not suitable for a beginner at all:
    Indoor – Podocarpus sp., Eucalyptus sp., Annona sp., Citrus sp., Camelia sp., Cuphea hissopifolia
    Outdoor – Picea sp., Fraxinus sp., Salix sp., Populus sp. Vitis vinifera, Forsythia sp., Corylus sp., Visteria sp., Calluna vulgaris, Vaccinium sp., Azalea sp., Rhododendron sp., Sambucus sp., Hedera helix

Each of these taxa may get their own extra article in due course. I will start with some of the most suitable ones.

Bonsai for Beginners – Part 5 – Last Bit of Tree Physiology (possibly)

Previous post.

You didnae thunk I was done, didya?

I talked about the influence of apical dominance on tree buds, I talked about types of growth, but I did not talk about tree buds themselves. So let’s do that now.

Not all tree buds are created equal. As written in the last article, in some trees the buds are just small leaf-precursors bunched up together, in some trees they are covered by modified leaves to protect them during winter and in some trees they contain thus hidden precursors to whole twigs. However, there is more, much more, to them than even that.

You have probably noted that most buds form at the base of leaves and needles, but that is not the only place where they form. They can occasionally also form on injuries, from the meristematic tissue, just like roots can in some plants. And while the buds that form at leaf bases, but do not develop because they are inhibited by apical dominance sometimes may lose their ability to grow altogether, but in many trees, they can be re-activated and start growing under the right conditions. In some trees, buds can even form on roots, and that is where suckers come from – and those can be pretty annoying.

As a beginner, you are best off with plants that have at least one of these two properties – either forming meristemic buds on injuries or waking inhibited buds. They are both godsent. Plants without these properties can be grown as bonsai, and indeed are grown as bonsai, but they require often specific approach and advanced techniques.

The reason for this is simple – contrary to what I found to be a popular belief, bonsai do not grow slowly and keep their shape. They do grow slower than they would normally, but this is achieved in part by cutting the roots and by cutting the twigs. When you stop pruning your bonsai, in a few years you get a huge mess (which many people find out when they buy the mass-produced little trees sold as bonsai in supermarkets). And when you plant it in free soil and stop pruning, in a few years you get a normal-sized tree. This means that bonsai get bigger each year, but you once they reach the size you want, you need to keep them near that size for a long time. And that means occasionally having to cut back to older wood, removing twigs and branches and growing new ones in their stead. In some plants, this can only be achieved by grafting.

That is, unfortunately, another strike against coniferous trees, especially pines and spruces. I have seen what seemed like a revived old-tree bud sprout from a spruce trunk, but it is a rare occurrence that I think happens only under very exceptional circumstances. On a pine that cannot happen at all.

That is still not all. There is more to tree buds than that.

Many trees are grown as bonsai not for the beauty of their foliage, but for their blossoms. But trees often require special conditions in order to form blossoming buds. Sometimes it is given by the age of the tree, sometimes by the position of a tree-bud on the twig, sometimes by both and some more like the temperature in winter etc. This issue is quite species-specific and cannot be summed up succinctly.

So for a beginner, the best option is trees that can grow back from older wood and that are not grown for their flowers but for their leaves/needles. That does not mean however that you should avoid other plants altogether, it only means that once you start seeing any success with those, you are no longer a beginner.

Next, I will write where to get your first tree and write a short list of species/genera suitable for beginners. Later on, I will write about each of those in more detail.

Bonsai for Beginners – Part 4 – Another Bit of Tree Physiology

Previous part.

This bit is, alas, often not discussed in bonsai literature as much in detail as it should too. Some books mention it in passing, some do not mention it at all. The talk is about types of tree growth. (note – the used terminology is my own, I have long since forgotten the official technical terms and anyway I am too lazy to search for them in foreign language)

There are three basic types that every bonsaist needs to be aware of, and it is vital to know which type each of your plants has because they determine what kind of care they require to get turned into a bonsai and survive the procedure.

1 – Continuous growth.

This does not mean that the plant grows continuously throughout the year, although usually when a plant does grow the whole year, it has this type of growth. But the growth might slow down or stop completely in certain conditions, like drought or cold or insufficient daylength. However, when the growth slows or stops, it does so without any apparent change in the plant’s physiology. No special structures develop, the plant just stops growing and when the conditions get right again, it continues. The “buds” are simply a bundle of small leaves/needles bunched up together.

In temperate regions, typical representatives of this type of growth are some evergreen conifers, like junipers or thujas. It is most typical for many subtropic trees – citruses, olives, and hibiscus. And of course tropical plants and succulents, like a ficus and money tree. This type of growth have mostly evergreens, although there are deciduous plants with it – for example, russian olive (Eleagnus angustifolia) and fig tree (Ficus carica), but they are the exception, not the rule.

2 – Continuous growth with a hibernating stage.

During the season, these plants just grow like the first type, adding leaves to their twigs continuously and growing in length. But when the conditions start to signal the end of the growing season, not only do they stop growing, they create specialized wintering buds. These buds then contain a relatively undifferentiated beginning of the next twig. When the hibernation ends, the buds shed their protective layers (modified leaves) and from them emerge twigs that again start to grow in length and adding leaves as much as they can manage.

This type of growth is typical for deciduous trees in temperate regions, like willows, poplars, maples, hazels and many more. I am not aware of any evergreen with this type, maybe holy (Illex sp.).

3 – Growth in spurts.

Some trees take the hibernation stage to the next level. The wintering buds do not contain just the beginning of a new twig, but a complete one with non-differentiated buds. At the beginning of the growing season these whole twigs emerge from the buds, they stretch in lengths and gain girth, but they do not add any new leaves or buds – the number of those has been determined previous year already.

This is typical for firs, pines, spruces and many other coniferous trees of temperate regions. From the top of my head, I only can remember one deciduous tree with this growth type – beech (Fagus sp.).

For a beginner, types 1 and 2 are the best option. Those are comparatively easy to manage, they mostly heal easily from pruning and the pruning itself can be often done at almost any time of the year or in wide enough window not to need to fuss about it too much.

Type 3 is difficult, and thus alas another point against pines. These types of trees cannot have twigs trimmed just anytime and anywhere, they often require being cut during very specific time otherwise the next year’s buds will form where you do not want them.

The worse in this regard are spruces, whose growth is nearly completely unmanageable. That is why you won’t see many very old spruce bonsai trees. More on that later.

Bonsai for Beginners – Part 2 – Necessary Tools

I hope I will finally be able to do this series justice since I am starting to re-pot my trees this year. Part one was here.

You do not actually need some very sophimasticated or expensive tools to start growing bonsai trees, but even if you only aspire to have one, these are the essentials that you will need. If you have a garden or potted plants, you probably already have some or even most of them.

First – not depicted – flower pot(s). Bonsai are typically grown and shown in beautiful elaborate glazed bowls, proportioned to the tree. But ordinary flowerpot will do in a pinch – important is the plant, not the pot. Some trees can also be grown on a flat stone or a hollowed-out piece of wood etc. Anything that holds the substrate together will work, but if you intend to display the tree anywhere, the pot should be chosen accordingly. An ugly pot detracts from a beautiful plant. If you get your first bonsai tree in the form of one of the mass-produced little ones, you will probably get a passable pot with it. If you start your bonsai from a cutting or a seed, it will take several years before you need something more ornate than an ordinary flower pot. However, from the start you should keep one thing always in mind – for most bonsai styles the roots need enough space to grow to the sides, so wider and shallower pots are better than narrow deep ones.

And now for the tools on the picture, from left to right, top to bottom.

A container for storing all your tools. Whether you have one tree or many, you will usually need more than one tool at one time, so it is good to have them packed in such a way that you can take them all with you when needed, and neatly put them away when not, since they will not have any other use.

A tree balm. Either acrylic or wax/resin-based. You need something to dress cutting wounds. Acrylic-based balms are the best and some sort of ordinary acrylic paint will do too if nothing better is available. Wax/resin-based balms are perfectly OK for most conifers and for big trees, but some deciduous bonsai trees do not respond to them well, it seeps deep into the wood and can kill buds, even branches.

A mesh (plastic, glass) or pottery shards to cover the holes in the pot.

A wire. For holding the mesh over the hole and for forming the tree. Depicted here is thin steel binding wire, PVC coated. Alluminium or copper wires are better but more expensive and harder to get. A string will do in many cases, but it is more difficult to work with.

Root growth stimulator. You will need to cut roots, and in some instances, you will need to encourage the plant to grow new ones.

Charcoal. Best is low-quality charcoal from soft or rotten wood, even better one that was already lit and water-quenched several times. The reason for this is that such charcoal is very brittle and porous and can be easily crushed in fingers to a fine powder and applied to the cutting wounds. It is important for dressing bigger root wounds of all trees – it prevents fungal spores and microbes from entering them. For trees that excrete latex from wounds, it can also be applied to dry the latex quickly and seal the wound on branches and twigs too.

Bamboo BBQ skewers and chopsticks. To tease apart fine roots and comb out old substrate from the root ball when re-potting the plant.

Two pairs of pruning shears. They should be visually different, since one pair you will use for roots only, and one pair will be exclusively for branches. That is not only to prevent dragging spores from the dirt into the branches but mainly because the shears for roots will blunt faster and would tear the branches instead of cutting them neatly.

Pliers. The combination pliers will suffice since they can cut the wire too. But I have dedicated wire cutters as well.

Ordinary shears. You may need to cut leaves or very thin and fine twigs. Pruning shears are too coarse for that kind of job. Some very old shears are fine, and if you are able, grind the bevels to a steep knife-like angle.

A knife. Not only for grafting, that is improbable for a beginner, but it gets used also for cutting f.e. a piece of wood into a temporary spatula to apply tree balm.

A flat brush. To carefully clean the surface of the tree trunk without damaging the bark, to sweep away needles/leaves from exposed roots, and to tidy the surface of the substrate.

A flat hook. Or a very blunt knife or a spike or something similar to soften old hardened soil in the pot, to cut it away from the sides where it often gets stuck and to pry away more difficult root-tangles.

A trowel. Enuff said.

A substrate. Ideal substrate depends on the plant(s) you intend to grow – more on that when I will write about individual species – but most plants will survive in a substrate consisting of equal parts of coarse sand, high-quality topsoil (f.e. collected from molehills) and peat/compost. Bought substrates are OK, but I would recommend to mix them with soil and sand anyway, they contain a tad too much organic material. It is also recommended to heat any substrate, whether bought or self-made, to at least 70°C prior to planting to kill any germs it might contain. For that, you might need a tin pan and a baking oven, or a plastic bowl and a microwave.

If you start growing more trees, your toolbox will expand and no doubt you will buy some of the more beautiful and specialized ones. But all these will fit into a little bag and they are all you need to start. All the tools in the picture are ones that I am consistently using for over a decade by now, some even for several decades. None of them are expensive or difficult to get. Why buy a fancy tool, when an old one does the job just as well?

The garden

I promised some pics of the “finished” garden, so here they are.

©Giliell, all rights reserved

The stairs. You can see there’s still a lot of work ahead. We need to terrace the left side and refill part of the right side. The left side will be the veggie garden, the right side left again to wild flowers and insects. We also need to put some slates on top of the wall. The wall at the top is open. It will be filled with ground and planted with herbs and flowers.

©Giliell, all rights reserved

Upper terrace. This is our place for spring and autumn. It gets sun all afternoon, the stones heat up and store the warmth, while it’s sheltered from the wind.

©Giliell, all rights reserved

Lower terrace. The place for barbecues and garden parties. It’s always cooler down there than anywhere else (though there are also always more mosquitoes). We wanted to replace the fence in case 30-50 feral hogs coming into the garden (more like 3-5 wild boars, but they can do a lot of damage), but I was in hospital. The area behind the missing fence is “ours” rented from the city at a pittance), but we haven’t done there much yet. I want to build a greenhouse using the old windows you can see in the pic. One day…