The Great Gardening of 2025 – Part 10 – First Fruit Flowers

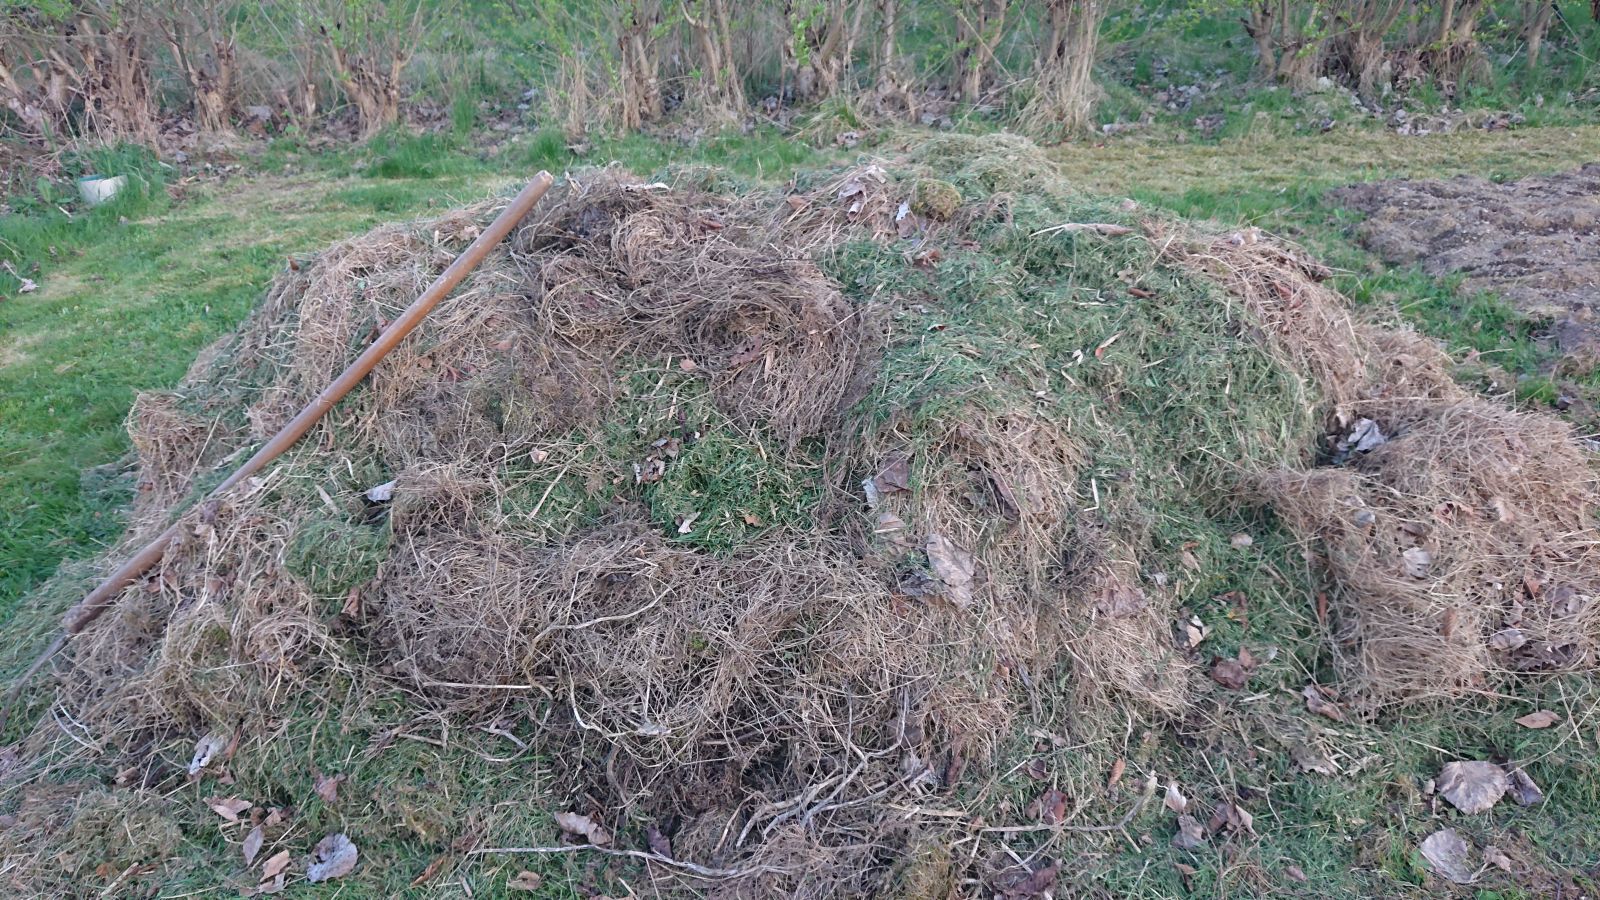
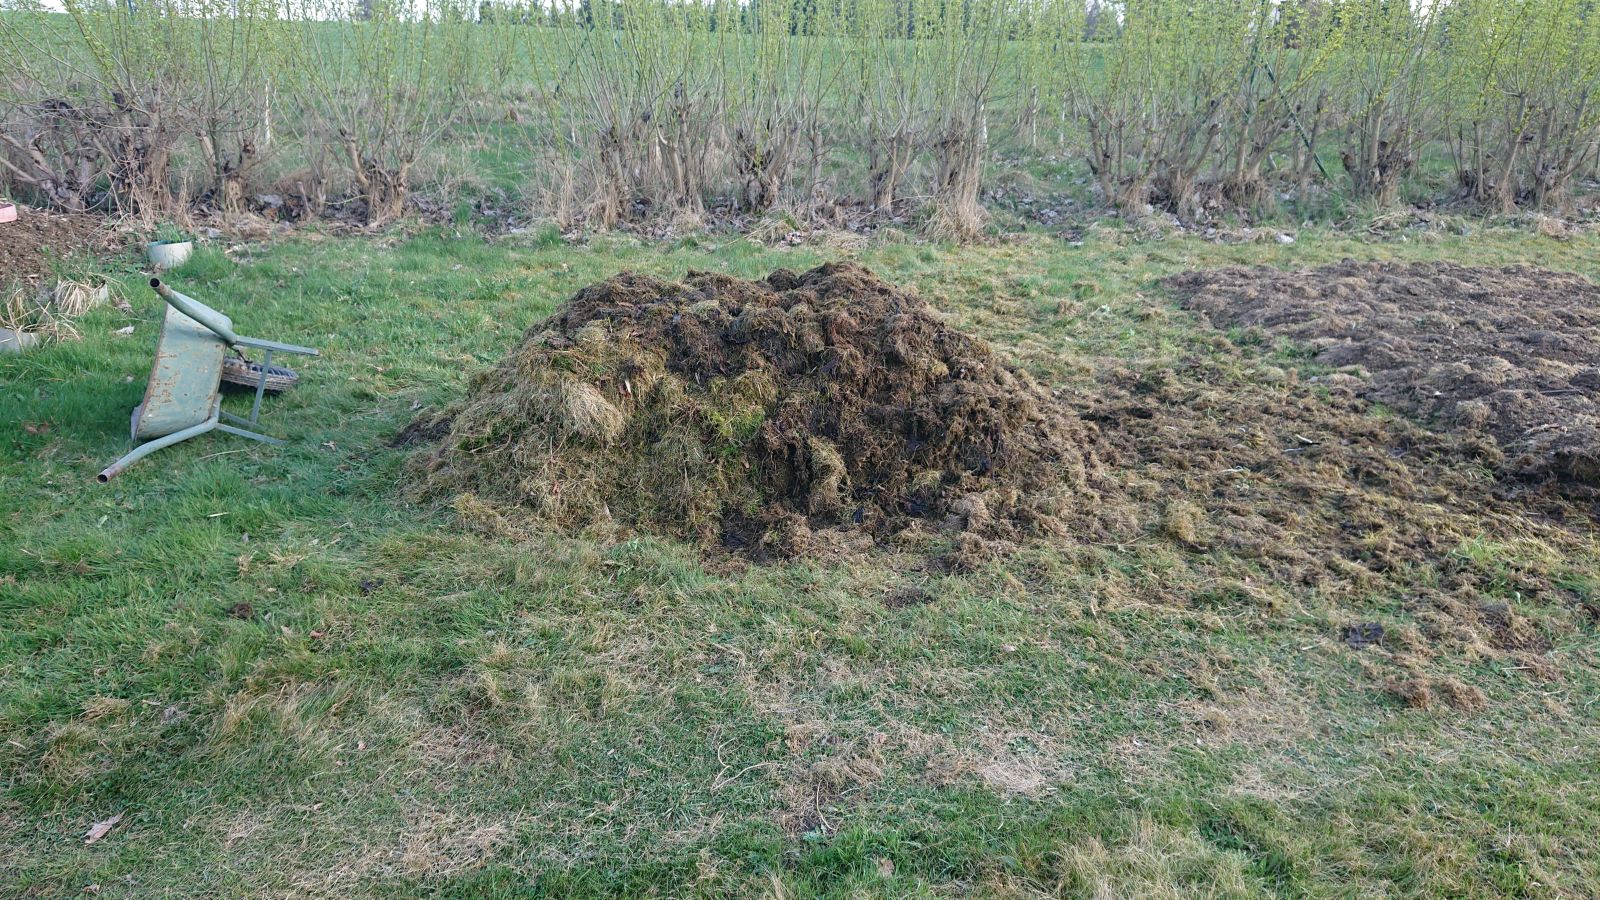
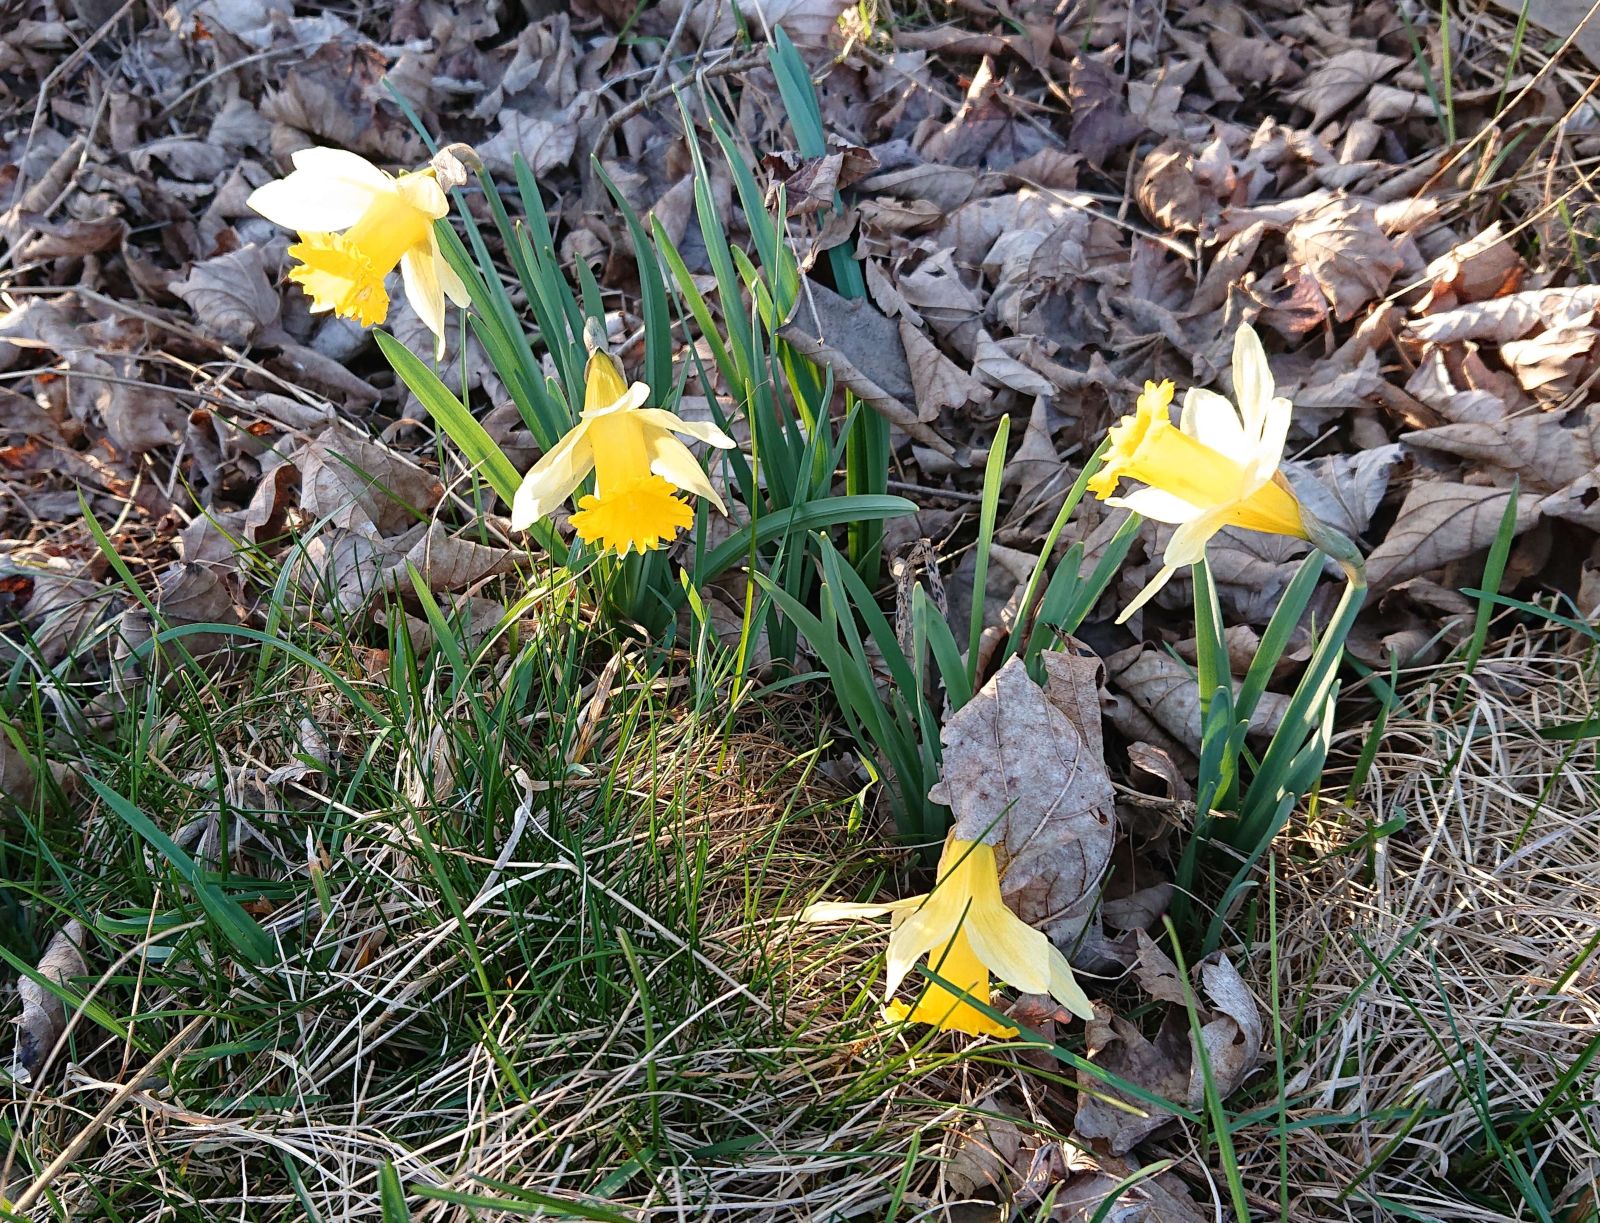
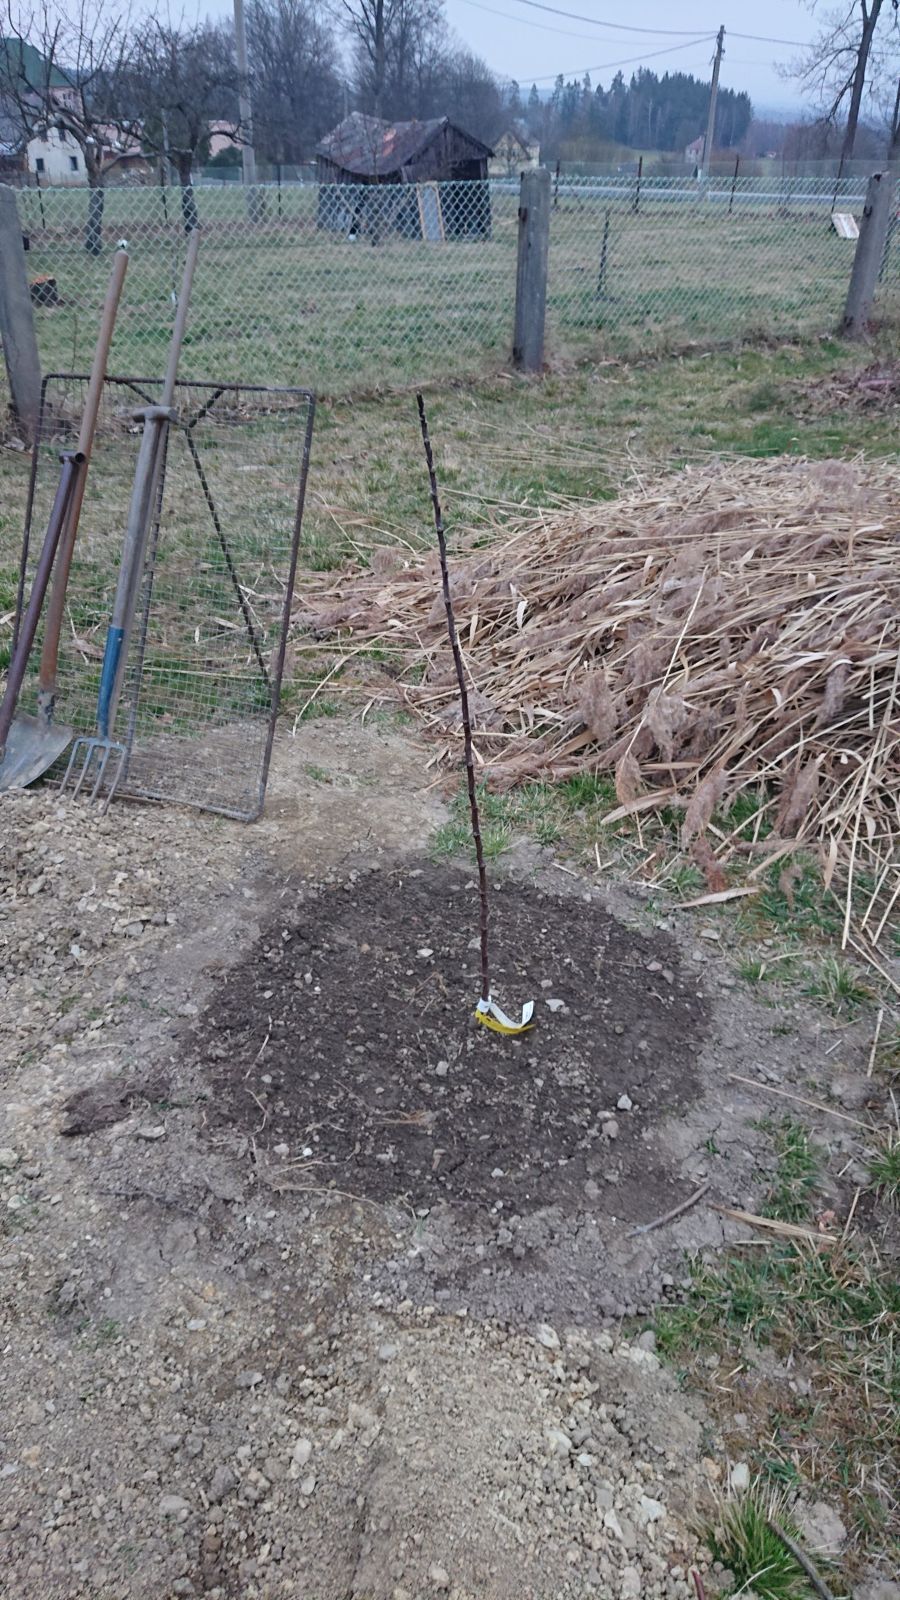
The first fruit tree started flowering – the rootstock of my plum.

© Charly, all rights reserved. Click for full size.

© Charly, all rights reserved. Click for full size.

I planted one of these separately and tried to graft the plum on it again, so I have two trees. The graft failed, but the tree continued to grow and eventually flower. I also let a second tree to freely sprout from root suckers because it was growing so vigorously that the plum itself might have problem to actually keep the roots alive. I have seen this happen to aronia grafted on mountain ash and thus I left mountain ash root suckers to grow on my aronia too and it has thus outlived other plants by about a decade by now and it still looks healthy. I do not think the old gardening wisdom of removing all suckers all the time is all that wise in this regard because trees need to have a harmony between what is above and below the ground. The voles managed to destroy some other trees by gnawing the roots faster than they can recover, and in my opinion, it is also possible for trees to die when too slow-growing graft is put on to vigorous stock. It is just my opinion based on my personal experience; I am not aware of any studies on the subject. I do not think one is forthcoming because it would take several decades of dozens of trees to be grown in the same environment and meticulously documenting all outputs. Which won’t happen, it would take too long for even a post-graduate researcher to see the fruits (no pun intended) of their labor.

I actually like the flowers of the rootstock and it is a shame that while it flowers extensively, there is very little fruit on it. Because although the fruit is more stone than flesh, it is actually very tasty. I like the flowers anyway and not everything in the garden needs to be useful to me directly. Although I would argue that providing early food to polinators actually is useful to me down the line.

© Charly, all rights reserved. Click for full size.

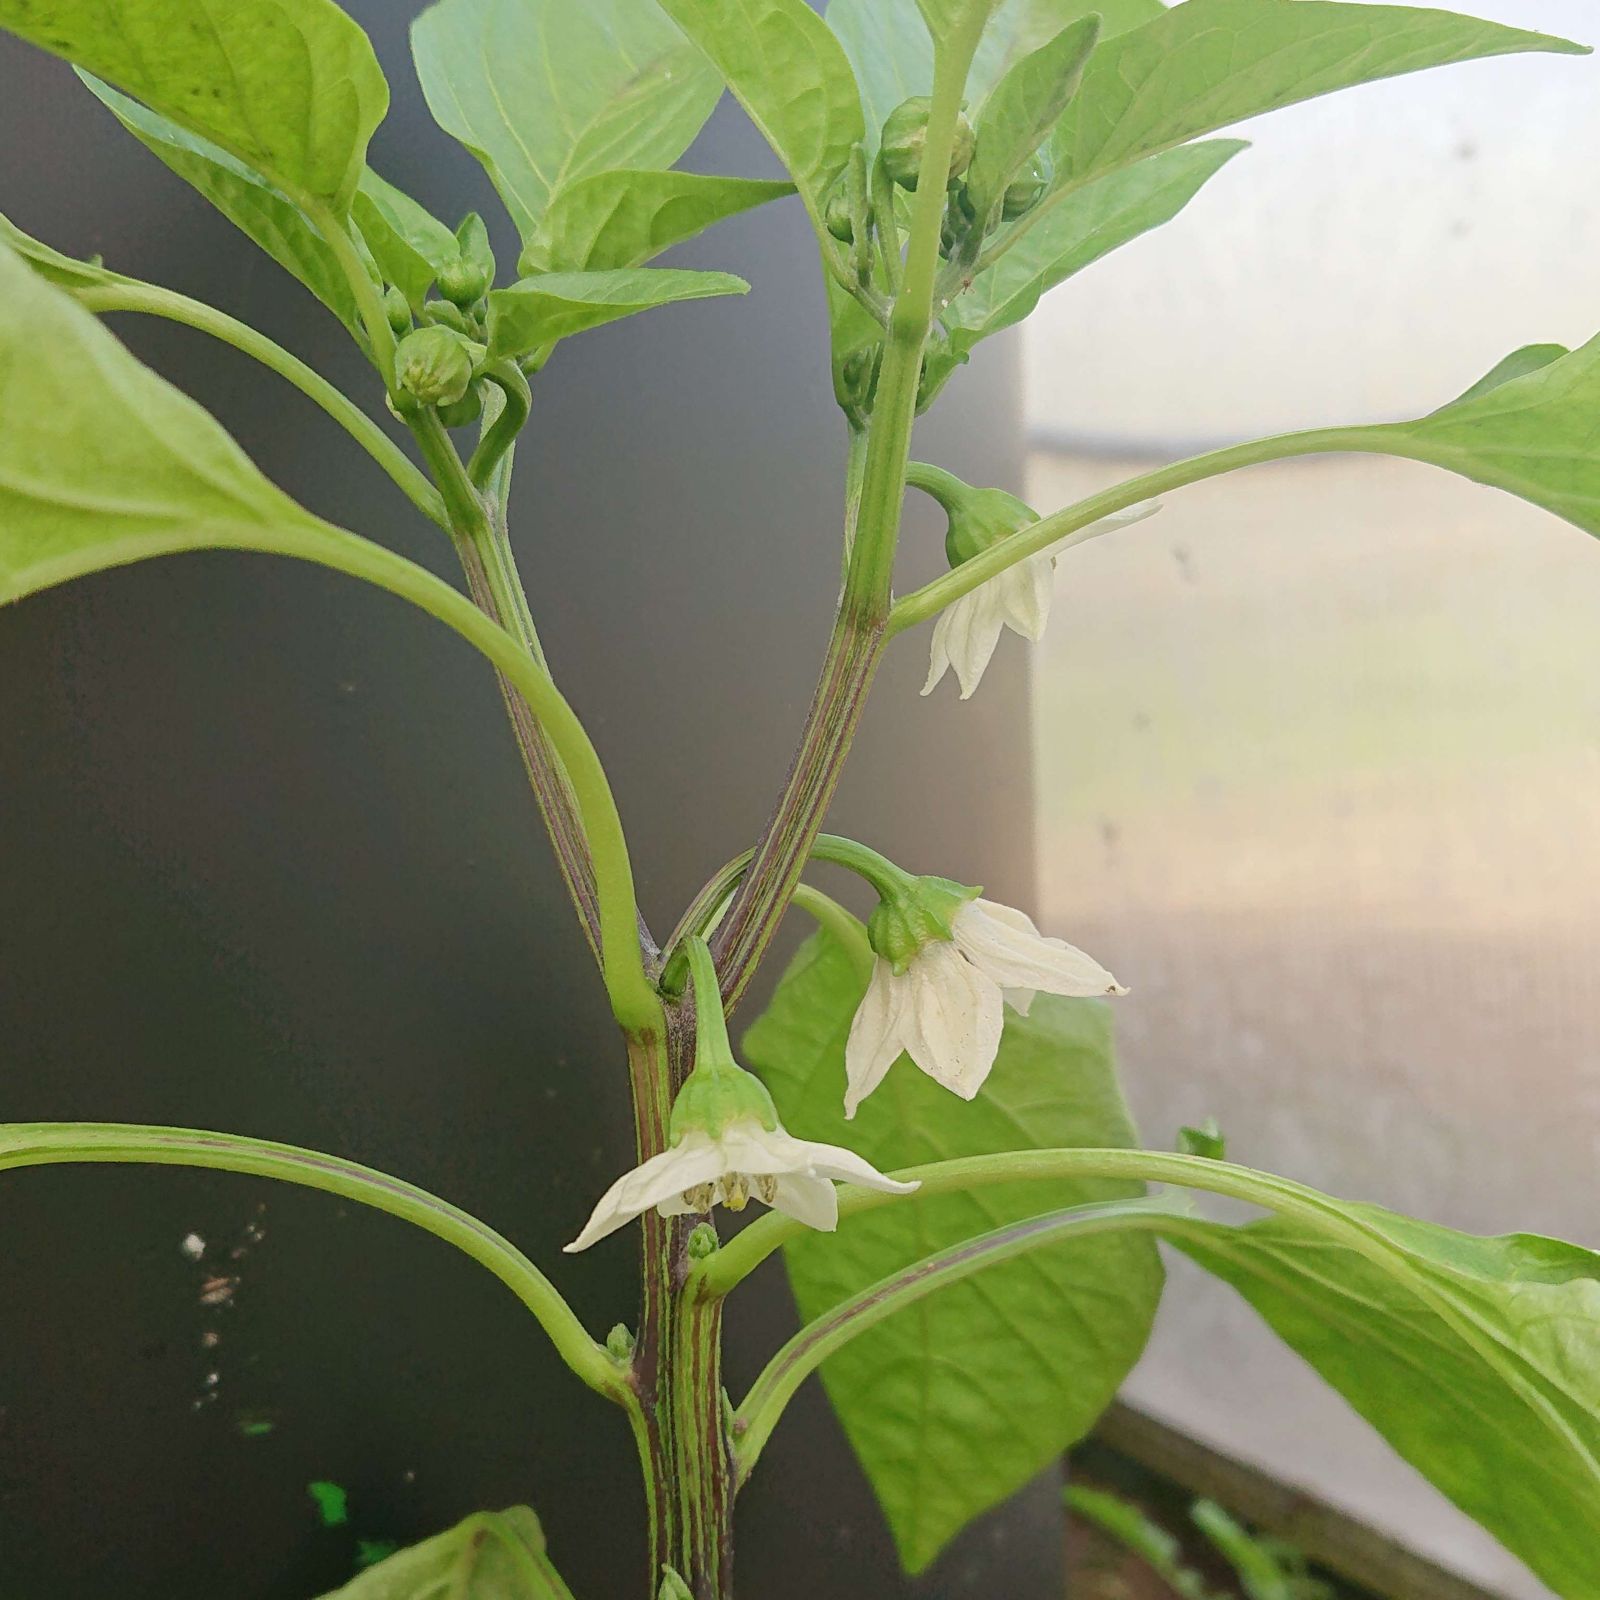
I put the bell peppers in the greenhouse, but I have not planted them in the ground yet. A bout of frost still can hit us, and I want to be able to move them indoors in case that happens. Nevertheless, the plants are apparently doing well because they have started to flower. I had played a bee with a fine brush because it was still too early for actual bees to get into the greenhouse, even if I left the door open. Which I do not do now, it is often still too cold.

I also re-potted basil and oregano into individual pots, 21 plants of each. The jury is still out on whether they survive and if I manage to grow a sufficient supply of my favourite spices.

© Charly, all rights reserved. Click for full size.

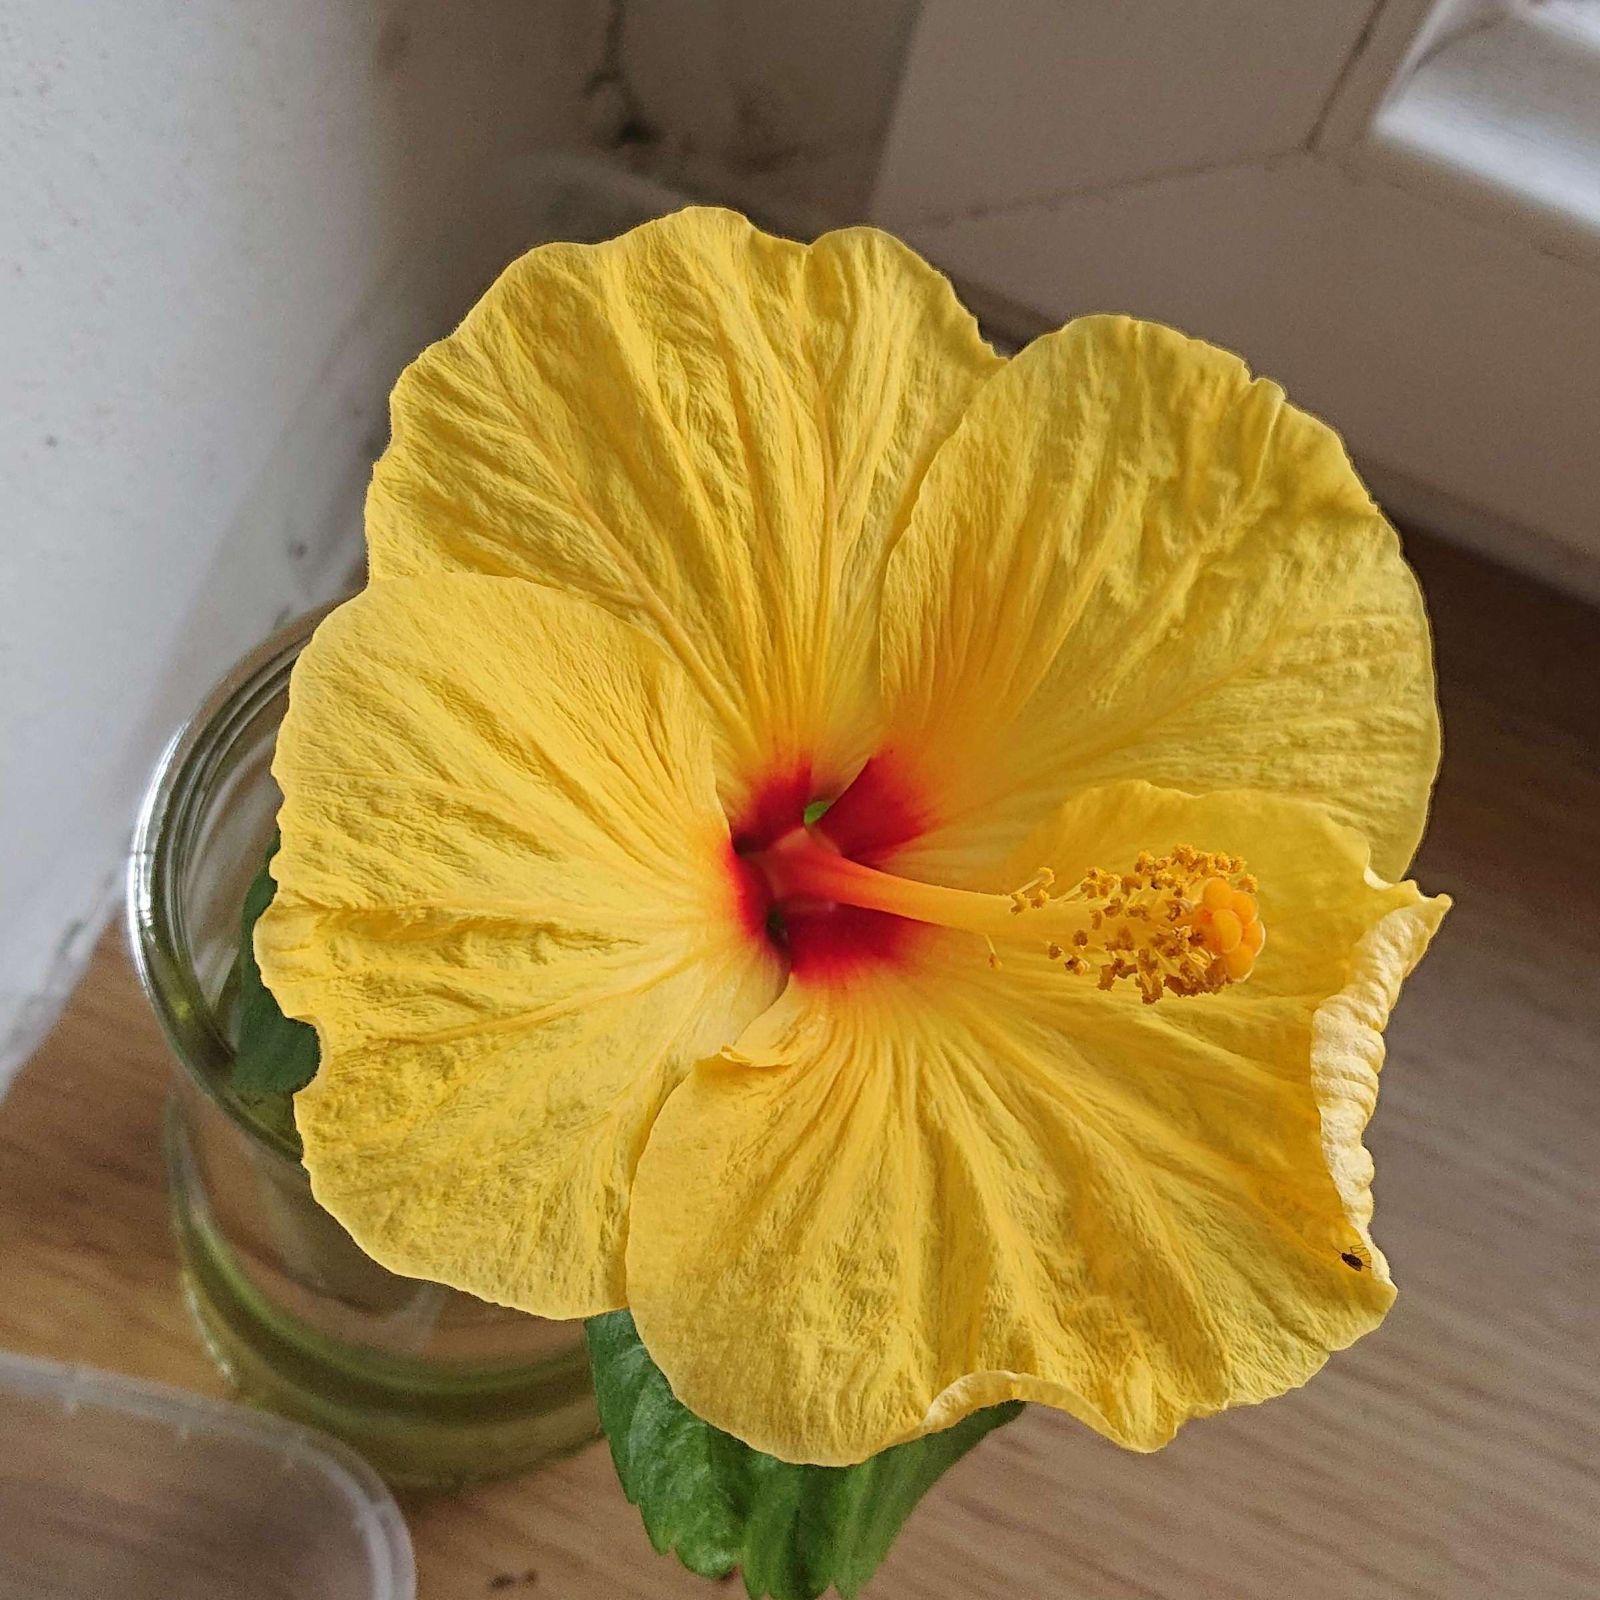
And the last flower is on a cutting of a hibiscus that my mother put in a glass of water. Normally, these cuttings drop the flower buds, but this one did not. There won’t be any use out of this, and it is not, strictly speaking, gardening-related. I include it because I think it is beautiful.

The Great Gardening of 2025 – Part 9 – Overabundance of Onions

Initially, I bought three packets of onion seeds and two packets of overwintering onions that were planted in the fall together with the garlic. But two of three seeds did not germinate at all and the germination rate of the third one was abysmal. I bought further two packets of seeds and those had high germination rates, but they were still tiny and I was not very confident they would grow much. Thus I ordered several further sets of onions. It was difficult to estimate how much to order since they are sold by weight, not by number. I decided to go for four onion sets and one shallot set á 250 g.

© Charly, all rights reserved. Click for full size.

To make it quick and easy to plant them in my favorite triangle pattern, I made a thingamajig to mark six holes at once. First I used it to scratch three parallel divots in the soil and then I poked in and wriggled it about a bit to mark the holes.

© Charly, all rights reserved. Click for full size.

It worked like a charm, I was planting onions like no bee’s knees. I planted all the onions in a 10×10 cm pattern, and the shallots in 20×20 cm pattern.

© Charly, all rights reserved. Click for full size.

I also continued to pick stones that got in the way while planting. Even after working on this soil for over half a century, sometimes even sieving portions of it, I still reliably got half a bucket full of stones.

© Charly, all rights reserved. Click for full size.

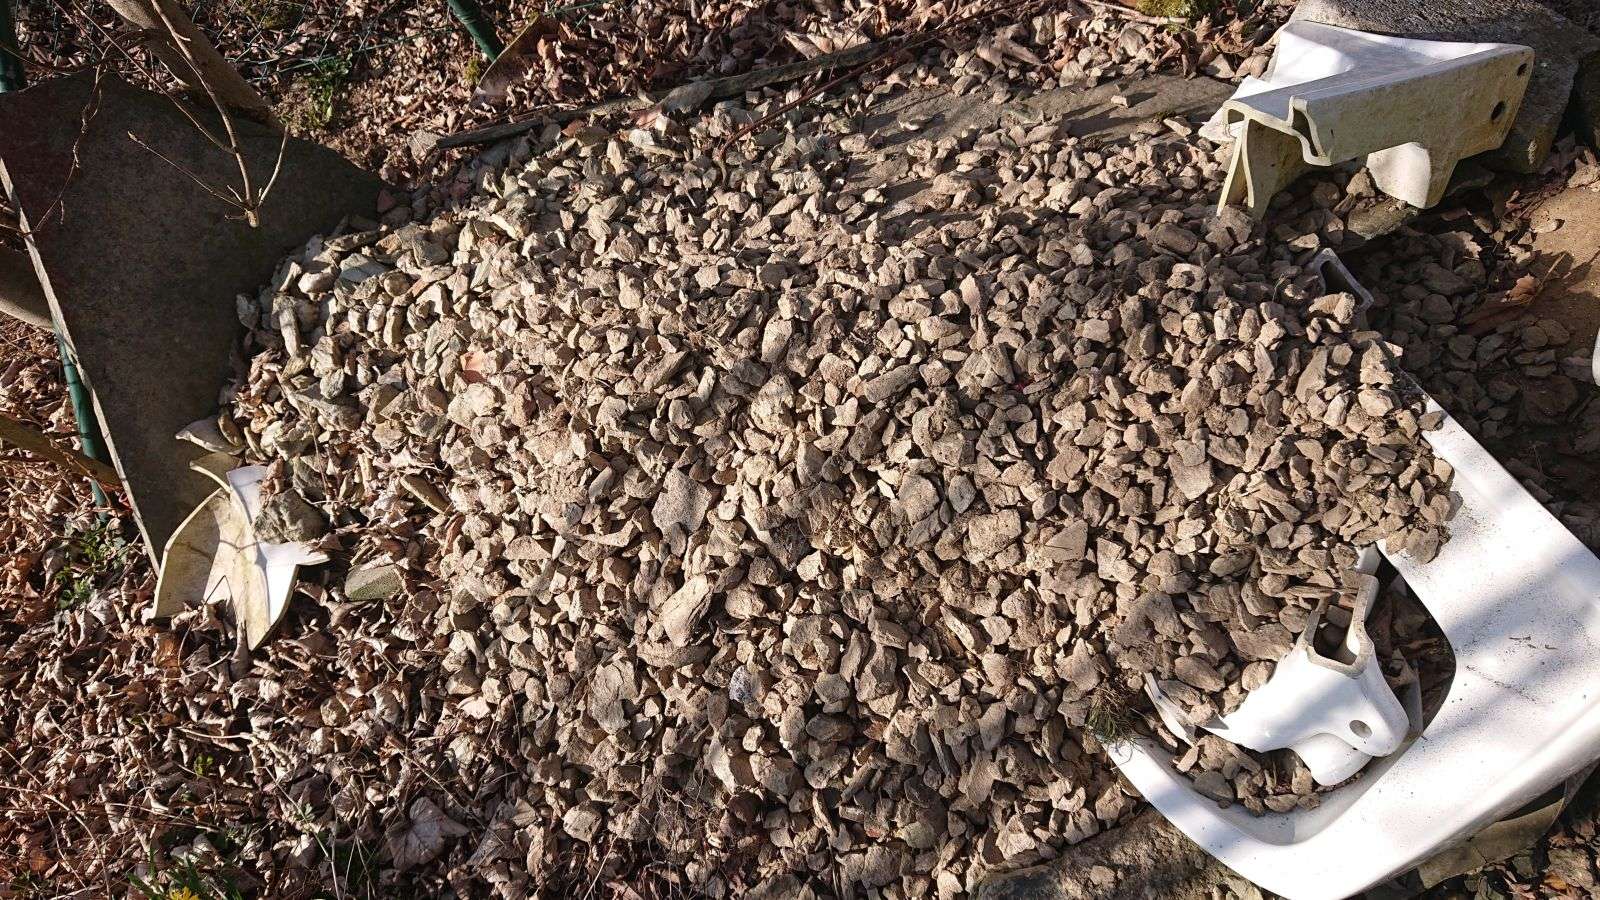
And here you can see the pile of stones behind my garden shed, with the broken bathroom sink for size comparison. All this is from picking stones from the vegetable patches over the last year. Last summer, I used up almost all the stones on this pile to repair my walkway. Now it looks like I did not touch it and it is likely to continue growing until the next time I find a use for them.

© Charly, all rights reserved. Click for full size.

With the onions firmly planted in the ground, I lightly brushed the soil over them with a broom. Onions are not supposed to be planted deep so this should suffice.

© Charly, all rights reserved. Click for full size.

There still may come late frost but I decided to plant the onion seedlings too since they were getting in the way and on my nerves. I overcrowded those since I will not be trying to grow them into big bulbs – if they survive, they will probably be used mostly green.

© Charly, all rights reserved. Click for full size.

I delineated my onion patches with willow twigs and watered them thoroughly. As you can see, they take up a lot of space. Twice as much as I wanted them to in fact. The sets contained a lot of tiny onions, and as can be seen in the picture, one variety even contained a lot more than the other three (ca 30% more) despite them all having the same weight. If they all survive and grow, I could end up with more onions than I can reasonably need and I will have to try to trade some for something else or force them upon unsuspecting family members and friends.

© Charly, all rights reserved. Click for full size.

I also planted green peas using the same thingamajig. It too worked like a charm and  I am very glad I made it. It makes the work so much quicker that it saved me the hour and a bit I spent making it several times over. I will probably make another one with 15 sm spacing for crops that need slightly more space.

© Charly, all rights reserved. Click for full size.

The peas will need support so I cut a bunch of approx. 80 cm long willow twigs and put them in a sunny place to dry up. I do not need to poke them in the ground near the peas before they poke out of the ground. It is better to let the stakes dry out as much as possible before using them, otherwise they take root.
© Charly, all rights reserved. Click for full size.

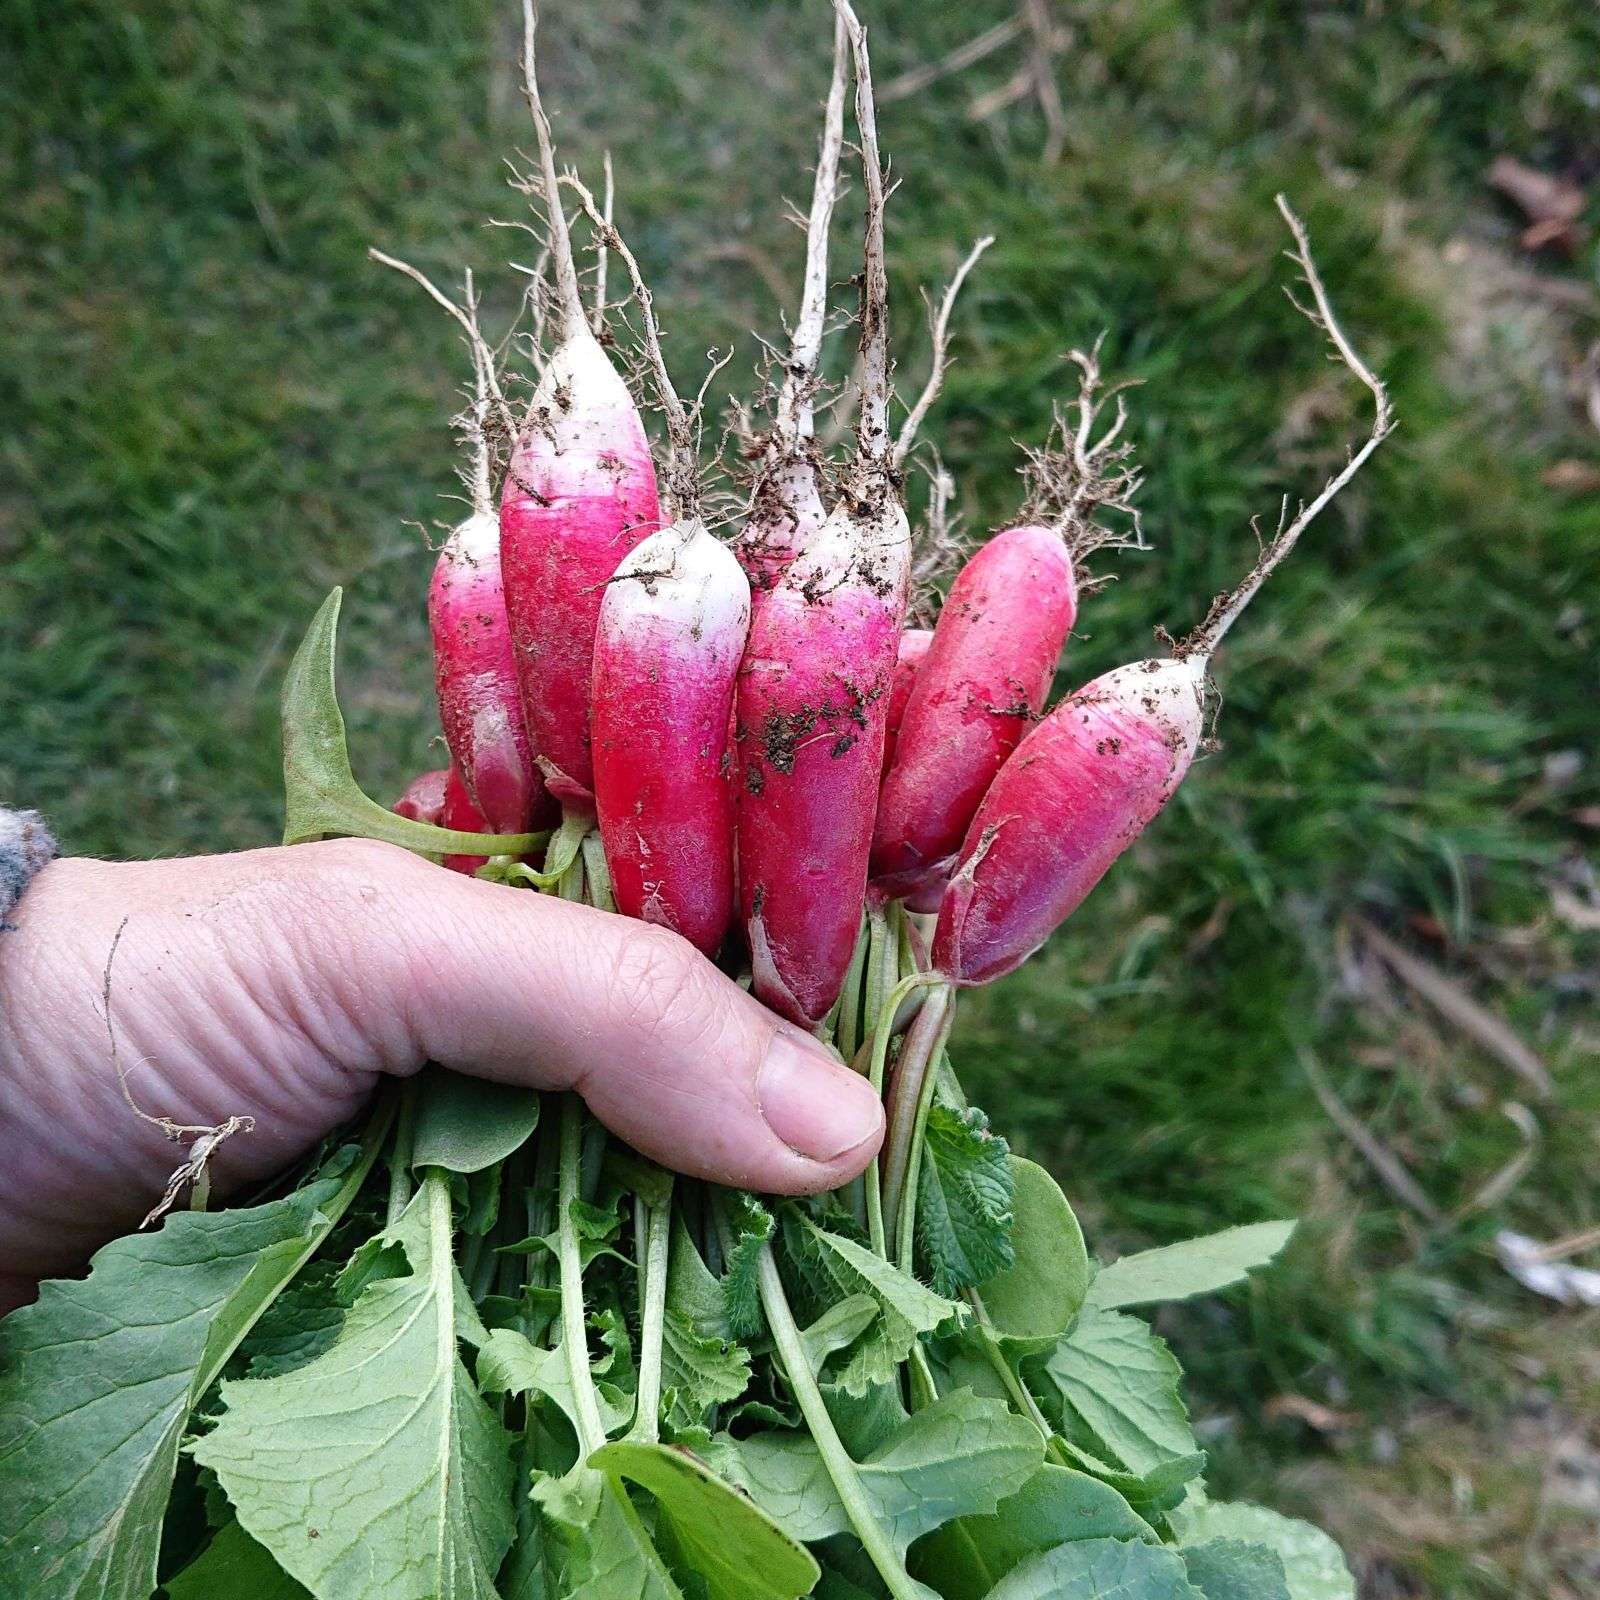
And yesterday I started harvesting radishes. From now on for about a week, these will be daily condiments accompanying our dinners. They are delicious and once I am done with them, I will tell you how much (in kg) I got from one packet of seeds.

The Great Gardening of 2025 – Part 8 – Complicating Carrots

I’ve never grown carrots. We do not really have the soil for it – it is heavy clay with lots of stones.  We also have a lot of wireworms around here and they do a lot of damage to everything underground. And we have wild carrots and related plants in the surrounding meadows and thus we also have carrot flies. My father tried to grow them once, without success. This year, I decided to give it a try and grow a few. And I did several things to maximize my chances of success.

The first was that I deep-plowed my main vegetable patch, as I said before. And I continued to take stones out of the soil on that patch, which, even after decades of doing so, still produces several buckets every spring (I got three this year again already). If I did not know better, I would have thought that stones grow from the soil and not the other way around. But still, this huge vegetable patch is most definitively the least stony area of my garden.

As the second thing I decided to not sow the seeds directly into the ground but in small seeding trays made from paper egg packages. My father removed the bottoms and filled them with substrate. I wetted the substrate to compress it a little.

© Charly, all rights reserved. Click for full size.

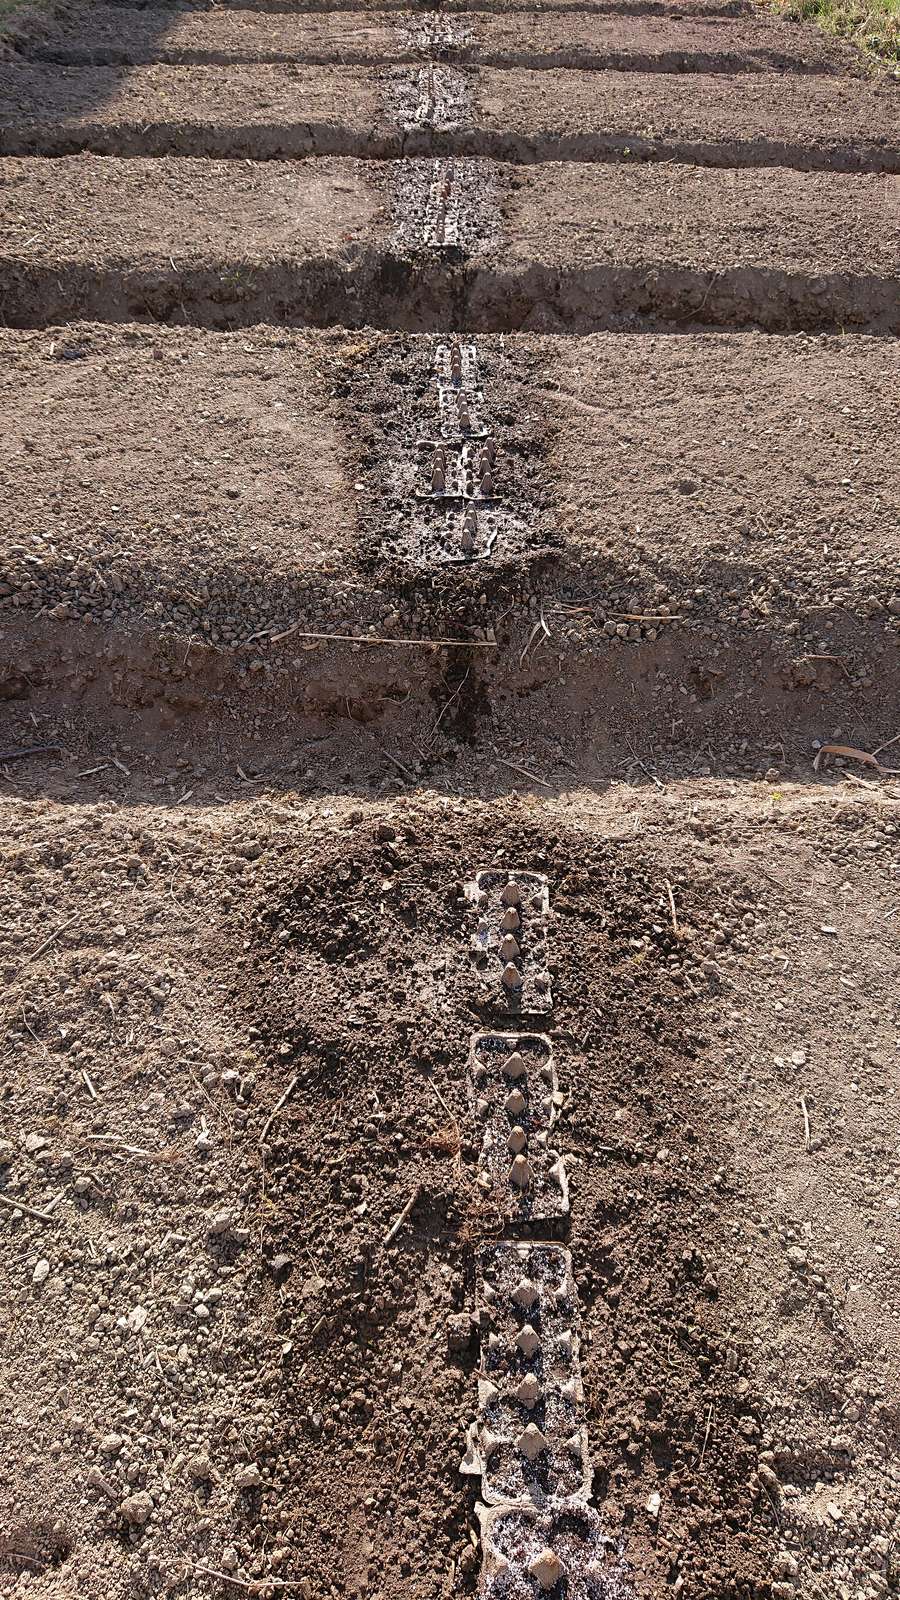
After that I let the seeds germinate on a wet paper towel in a receptacle under a lid. Carrots have a relatively poor germination rate directly in soil and they have to be thinned afterwards. The process of thinning allegedly attracts carrot flies and I wanted to avoid that. Today I carefully picked germinated seeds with a BBQ skewer and I placed one of them into each receptacle in the egg trays. I planted 228 seeds this way (12 trays á 10 and 6 trays á 18).

© Charly, all rights reserved. Click for full size.

I planted the whole trays in the center of the vegetable patches. That way they will be as far from the surrounding grass as possible, which should shield them a bit from both carrot flies and wireworms.

And lastly, for today, I thoroughly watered the planted trays. We shall see if it is a success and they at least poke out of the ground. I have no idea how long it should now take for something green to show up. The only thing I can do now is to water them and wait.

Tomorrow I will start planting onions around these trays. Those should allegedly further repel pests and they also allegedly should not compete much with the carrots. I will probably stop the onion planting about 20 cm from these trays anyway so the carrots have an adequate amount of light.

The Great Gardening of 2025 – Part 7 – Planting Potato Patches

Like every odd-numbered year, I did not buy seeding potatoes. I merely planted leftover potatoes from last year – those that were too small and too green to be edible. They were not as tiny this year as they were in 2023  so I might be getting slightly better results. Hopefully. I planted all three varieties that I was growing last year and this winter we did find some interesting things about them.

First, let’s talk about dehydrating potatoes for long-term storage.

© Charly, all rights reserved. Click for full size.

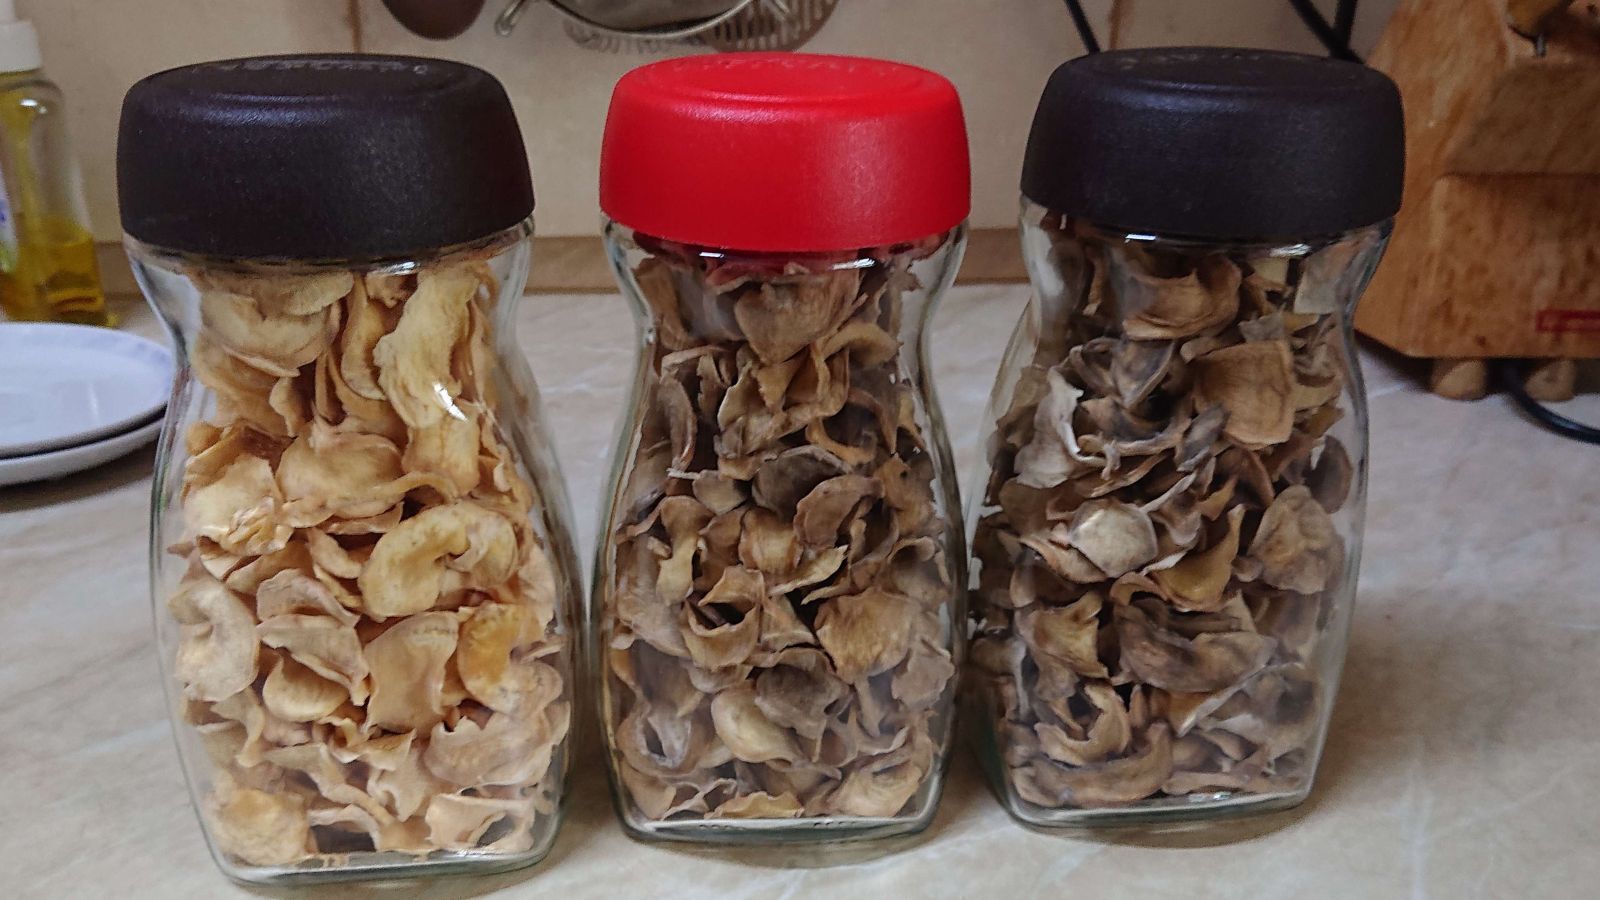
From left to right are the varieties Dali, Esme, and Marabel. As you can see,  two of the three varieties tend to discolor to dark brown, sometimes almost black, when being dehydrated raw. We tried several things we found on the internet – blanching, washing them with water, washing them with vinegar – and none really helped. It is a purely cosmetic thing which does not bother me at all, especially not when used for making potato mushroom soup which turns dark brown from the mushrooms anyway. But since the Dali looks really nice, they could be potentially rehydrated and made into other foods – purree, cakes, etc, where the dark color might be off-putting. So we decided to dehydrate predominantly the Dali and we used the other two for immediate consumption and for making dumplings that can be frozen for later use.

Another interesting thing we found out this winter by accident was actually really surprising. Last year I wrote that the Marabel potatoes sprouted first from the ground and thus were most damaged by late frost. But they seem to be the most resistant to sprouting in the cellar – they remained fresh and unsprouted right until the end of winter when we ate the last of them. And even now when I was planting them, they had barely visible eyes whereas both Dali and Esme had long, leggy sprouts all over them.

© Charly, all rights reserved. Click for full size.

I originally planned to bury them in the compost but I changed my plans and decided to try to grow spinach in that place instead, so I had to repeat my experiment from 2023, only without the planting patch being properly prepared over winter. I simply put the potatoes on the lawn in rows of 10 and then put both old and fresh moss and grass clippings between the rows, doing my best to not damage the long sprouts on Esme and Dali (in the picture are Marabel).

© Charly, all rights reserved. Click for full size.

I put a little soil on top of the rows to cover the potatoes. After they sprout out of the soil I will put more moss, grass clippings, and soil in the rows again to cover them even more. Overall I made three patches circa 3×3 m, each with 80 potatoes. I will probably have to add some highly diluted mineral fertilizer into the water for these patches in order for them to have an adequate amount of nitrogen since there was not enough grass and way too much moss.

It was a whole day of work and I hope it will pay off. I have no reason to think it won’t. I won’t get as much per potato as I would if I buried them in the compost but I hope to get at least 40 kg of potatoes from each patch even so. We shall see how that turns out.  Right now we have enough dehydrated potatoes (circa 50 glasses) for making soups for a year and maybe more. The freezer contains enough potato dumplings for several months too, so we do not actually need to buy potatoes possibly until the harvest. Except if we want to eat french fries, for which these varieties are not suitable anyway.

The Great Gardening of 2025 – Part 6 – Starting Strawberries

There is again a dead animal under the fold at the end of the article, although this time I am not to be blamed for its death.

The spring officially begun and hopefully, this is the last time we switch from astronomical time to summer time. I hope that decision lasts and I won’t have to deal with that nonsense for the rest of my life. Another sign of real spring beginning is that the narcissi started to blossom. I cut a few for my mother and put them in a vase like every year.

© Charly, all rights reserved. Click for full size.

Warmer weather spurned me to start working on the strawberries. The raised strawberry bed needed a major overhaul. You have seen it before. For an ideal harvest, I would just pick off some of the excessive plants but that was not possible – the bed was starting to collapse in on itself and the strawberries had nowhere to grow. One reason for that was a loss of organic material due to decomposition – I used substrate rich in organic material to fill the bed originally and that has lost a lot of volume over the years. The second reason was rodents, who dug up holes under the bricks and caused them to tilt inwards. So I dug out all the material and I put some aluminum slabs under the bricks to keep them steady even if a mouse digs under them.

© Charly, all rights reserved. Click for full size.

I filled the raised bed with fresh substrate, containing less organic material and more natural soil from my garden. Then I planted back an adequate amount of strawberries and I still had a full bucket left over. With that, I started a new circa 1×4 m bed near my greenhouse and I planted about 12 plants near each of the three freshly planted fruit trees. That way I will have an incentive to water them and I should get some use out of that piece of land even before the fruit trees start to actually bear fruit. In my typical fashion, I forgot to take pictures of any of that.

© Charly, all rights reserved. Click for full size.

Just as I was finishing, the weather forecast that the Antarctic vortex is sending cold air our way and the temperatures will plunge below freezing again for two days. So I watered the beds and I covered them with reed stalks to insulate them. Two days of dark will not harm the plants, they will certainly do less harm than frost would.

© Charly, all rights reserved. Click for full size.

Here you see on the left the stump of my late apple tree. The stump might sprout, but it also might be completely dead. We shall see. The huge bird’s nest in the middle is the mound made from moss in which I planted two blueberry plants and on which strawberries propagated spontaneously. I only thinned out those strawberries and covered them with reedstalks too. On the right is then the raised strawberry bed and the first stages of my sewage cleaning facility.

© Charly, all rights reserved. Click for full size.

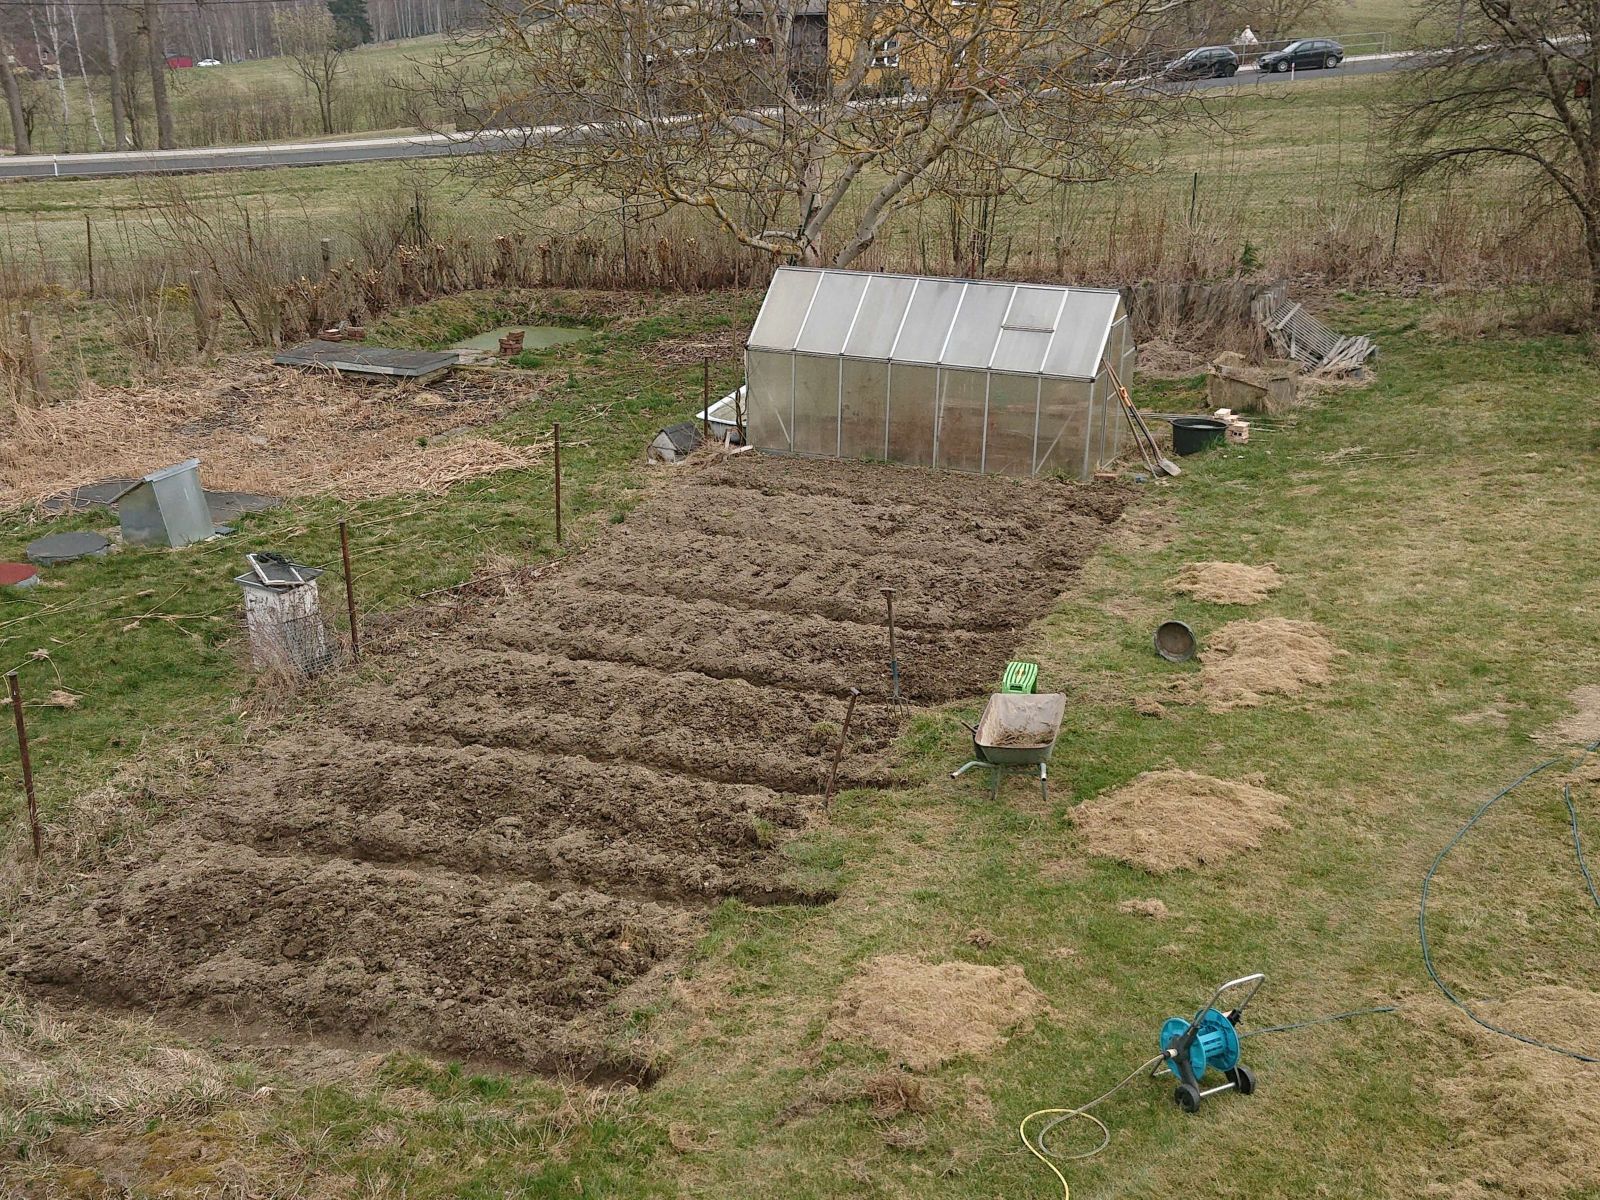
I divided my small field into seven vegetable patches by digging ca 25 cm trenches as walkways between them. The patch adjacent to the greenhouse is the one that I planted with strawberries and then too covered with reeds.

Theoretically, I did not need to dig the trenches this deep but I prefer to do it. I get slightly deeper beds that way and need to bend slightly less when working on them afterward and I am not needlessly compacting good fertile soil with my heavy boots. It took me a whole day since my back was not entirely fine and I also had to do more work. As you can see, on the right the trenches go apparently into the lawn. That is not the case, it is the other way around – the lawn grass is encroaching onto the vegetable patches. That was always a problem, therefore about ten years ago I delineated the vegetable patches with concrete grit paving stones. They are completely hidden by the grass and they cannot stop it from going into the beds, but they do provide a hard boundary to which I can work back. Which I could not do with the plow, unfortunately. I had to do that manually, with a pitchfork and spade and a lot of elbow grease. Now all the beds are clean and delineated, I only need to wait until the frost spell is over and I can break up the lumps with an electric hoe and flatten them. After that I can start planting – I will start with onions and carrots and in whatever space is left I will plant beans and peas.

© Charly, all rights reserved. Click for full size.

When digging the grass out of the patches, I found this fellow underground. I did not kill it, but I did not put any effort into saving it either. It is technically a pest but they never emerged in my garden in numbers big enough for me to notice them at all. Although there is occasional news about them emerging en masse in warmer regions and decimating fruit trees. With global warming, this could potentially happen here too, I guess. It is something to watch out for as the weather gets warmer. I also found two or three of their grubs but I did not take pictures of those.

And lastly again one dead animal. It is not all pink and cozy in the garden.

[Read more…]

The Great Gardening of 2025 – Part 5 – Breaking Back

Content warning: at the end below the fold is a picture of a dead animal that some people might find disturbing.


Adding thermal mass to my greenhouse seems to be working well so far. There is not that much sun but yesterday the barrels did heat up at almost 23°C in the upper half and they effectively prevented it from overheating during the day and subsequently slightly heating it in the night. I already put in there the growing trays with onion seedlings and they are doing reasonably well so far.

© Charly, all rights reserved. Click for full size.

I put a bunch of old aluminum bars across them to serve as a shelf. My father got a lot of them somehow, somewhere when I was a kid and they are very useful around the garden. Practically all my outdoor shelves are from these. I think they are discarded old laths from industrial weaving looms. Some of them have a lot of parallel grooves worn out on one side.

© Charly, all rights reserved. Click for full size.

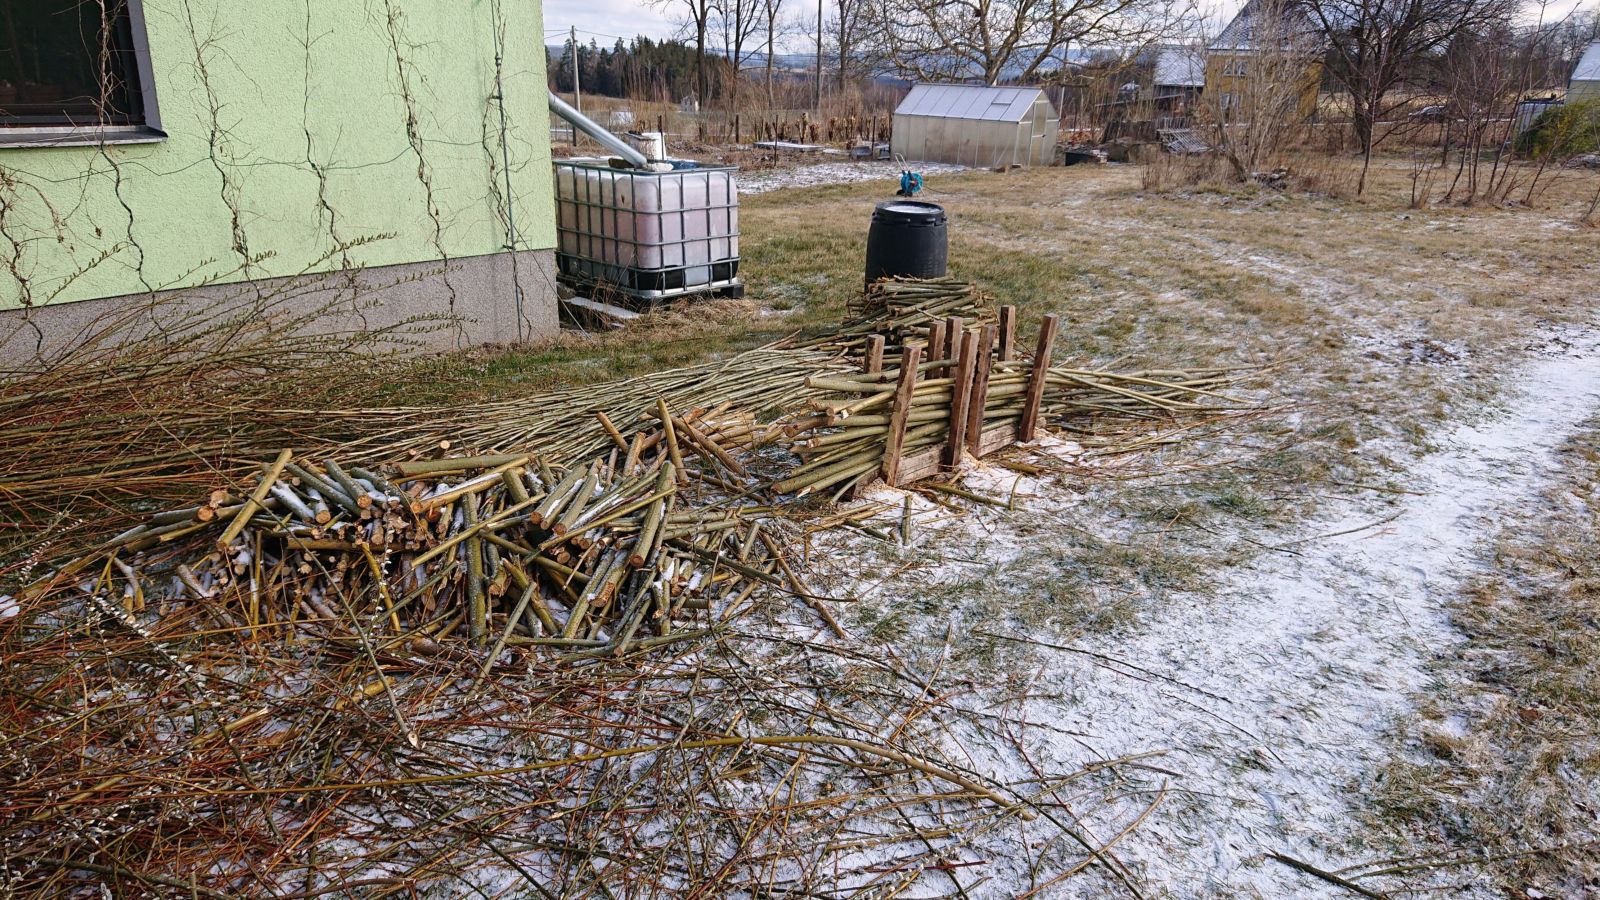
Like every year, I have to harvest and process the wood from my coppice. Although this year I don’t have that much of it since I harvested almost all of it last year and thus this year I only had a significant amount of thicker poles from the pool at the end of my sewage cleaning facility. I did, however, cut and prepare 200 poles for growing beans. I have big beans plans for this year.

© Charly, all rights reserved. Click for full size.

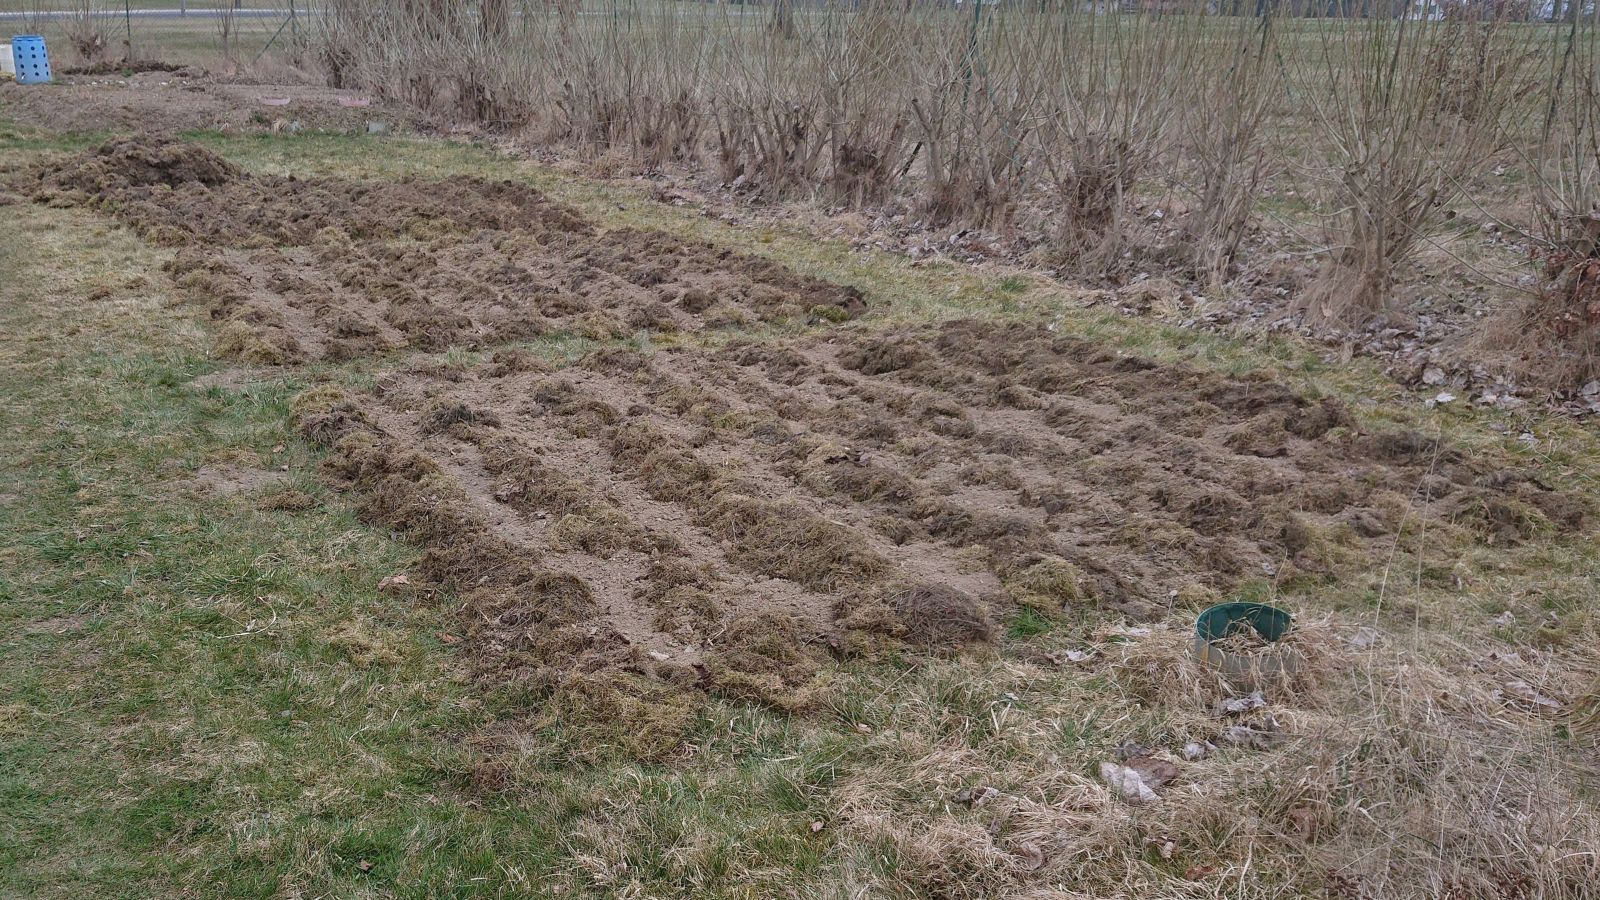
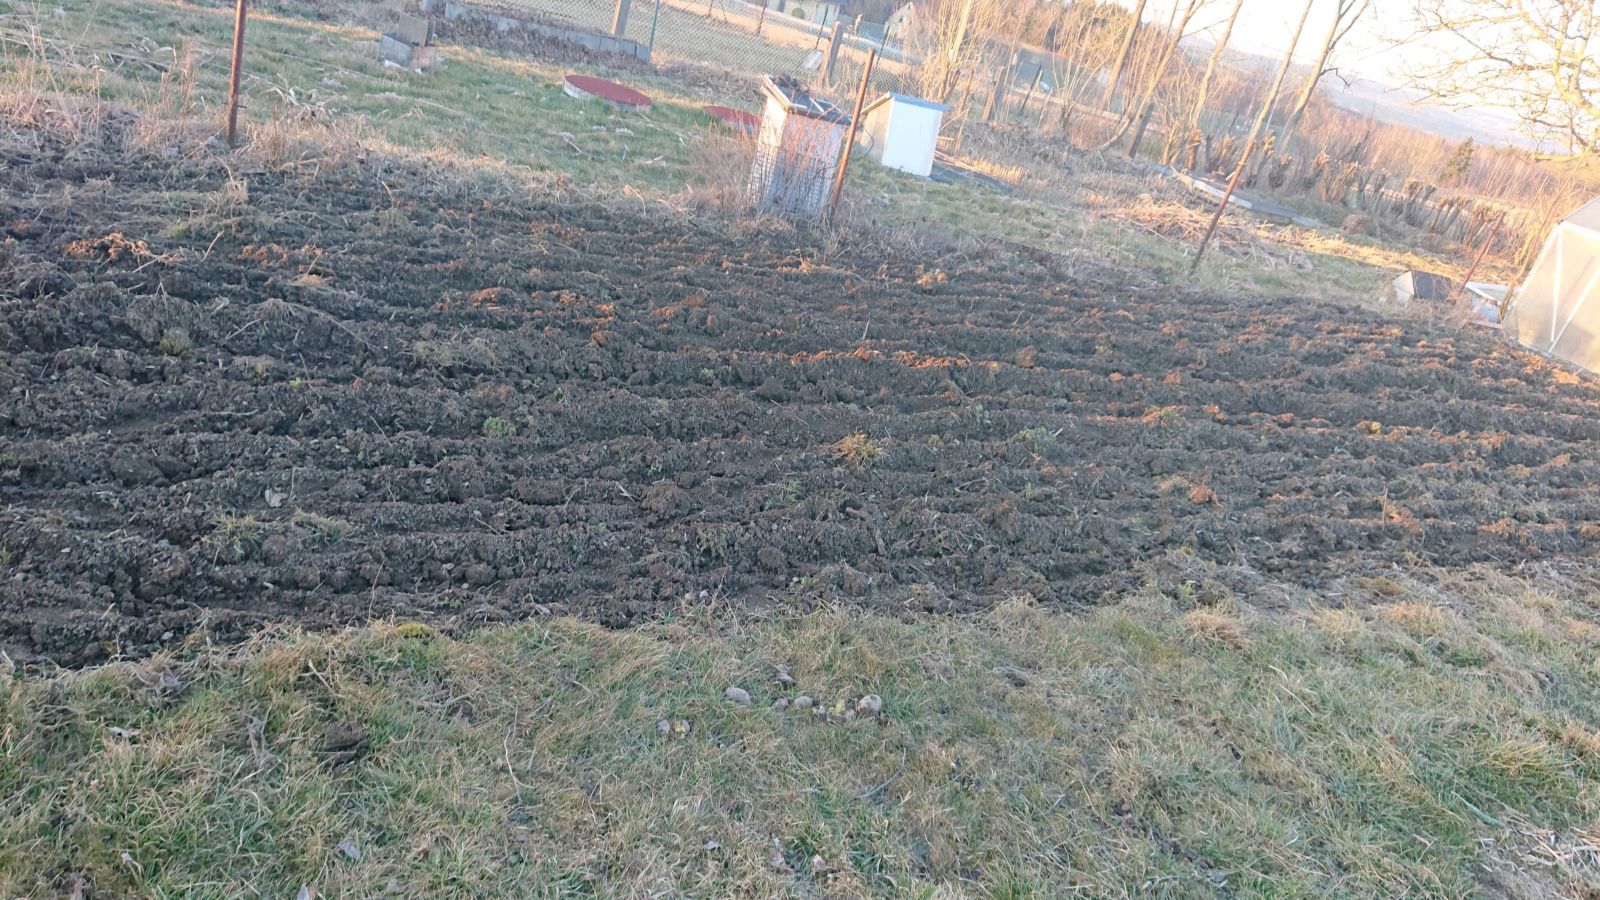
The weather was very pretty and warm for a few days, with virtually no rain. That lack of rain is going to be a problem if it does not change soo, but at least I could till my “field” last Monday. I was expecting to be completely knackered after this but I felt surprisingly well and chipper the next day. I planned two days rest but I felt really well so that I continued to work on Tuesday.

© Charly, all rights reserved. Click for full size.

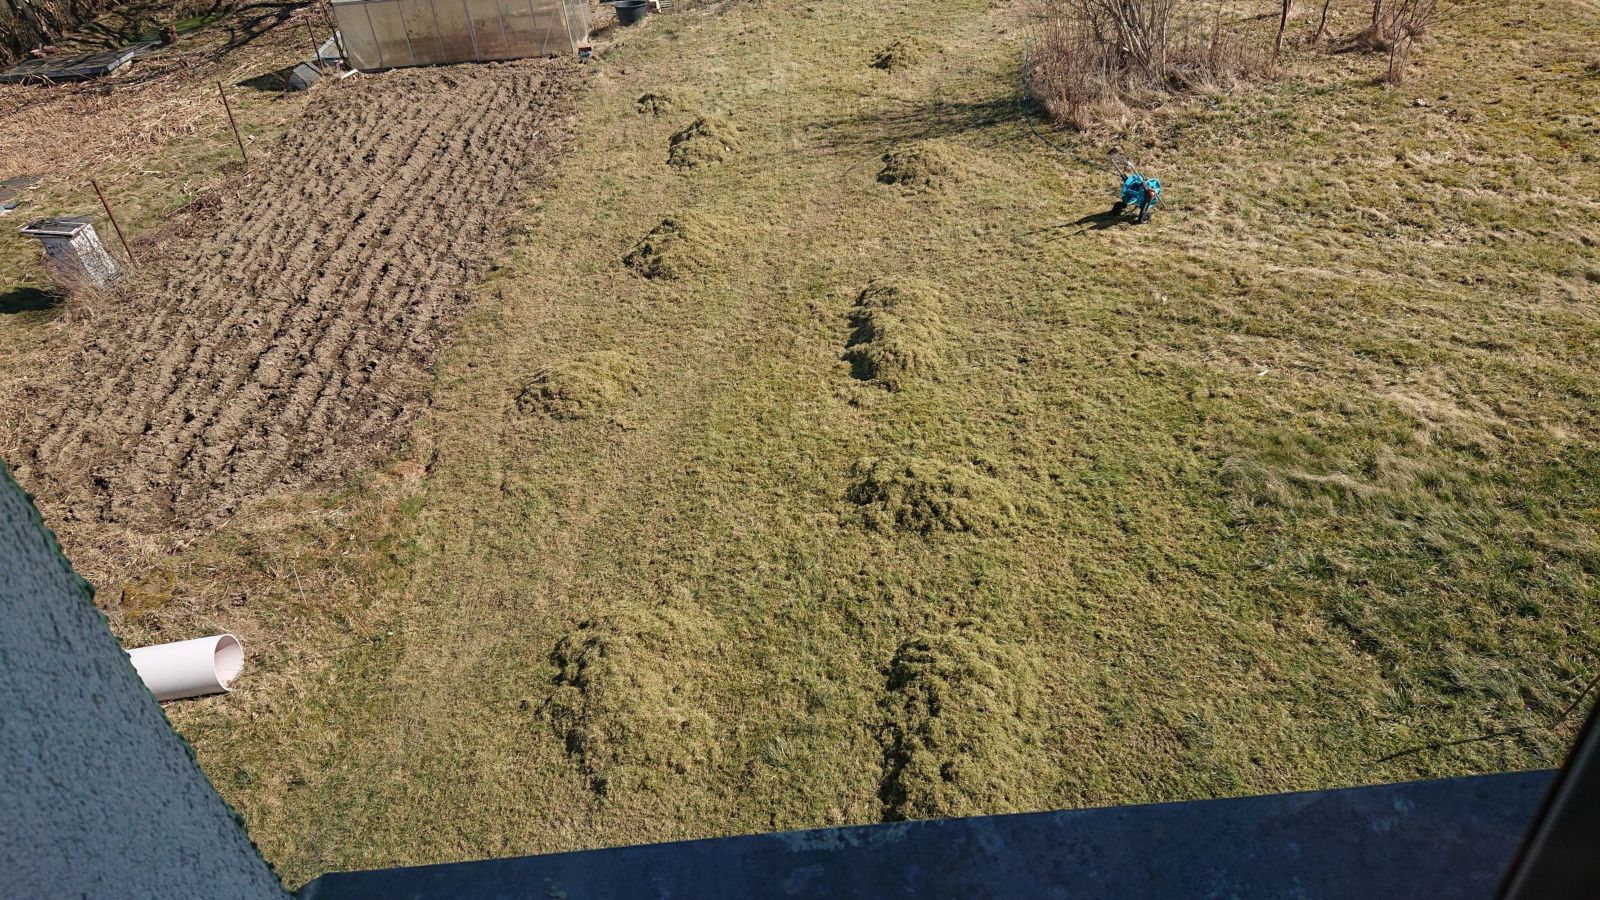
Tuesday morning I was carting my parents around to various doctor appointments and shopping but in the afternoon I did have a few hours left. So I took my electric verticutter from the garden shed and I used it to get some of the most egregious moss growth out of the lawn. I intend to use this moss to grow potatoes from last year’s leftovers. It won’t work as well as planting proper seeding potatoes in the ground but it should work well enough to be worth it. I was tired after this, but still not too much. I wanted to have a rest the next day but I got delivered three new fruit trees – one pear and two apples – that needed planting asap. The delivery of the trees was actually slightly delayed, otherwise I would not bother with the moss.

© Charly, all rights reserved. Click for full size.

To protect the tree roots from vole damage for at least a few years I dug a hole with approximately 1 m diameter and 30 cm deep. I put a wire mesh in it to protect the sides On the bottom I put stones that I sorted out during the digging and also some thorny brambles from wild brambleberry. I managed to plant one tree on Wednesday and after that I was tired and my back started to hurt. I thought that I would definitely need a rest after I planted the trees. Wrong!

I did not just need a rest, I could barely get out of bed. I had terrible pain in my lower back. I am susceptible to this if my back gets cold so I have to wrap up for work outdoors. But the treacherously sunny weather made me incautious and I did not dress properly for the moss removal and that came to bite me in the ass with vengeance. On Wednesday I felt slight pain and I dressed warmly, but it was too late. Muscles around my sacrum got inflamed and whenever I tried to bend or walk it was like having knives stuck in my pelvis. The worst was when I had to sneeze or cough.

© Charly, all rights reserved. Click for full size.

This is where I had a stroke of luck. My nephew came for a visit on Friday. He planted the remaining two trees, helped with heating, and did some shopping while I was barely able to lie down and moan.

Normally when this happens, a few days of dry heat and rest is enough but this time I had to take medication. I started with Paracetamol and when that did not help, I switched to Ibuprofen. I do not like taking analgesics but sometimes there is no other way since I could not even sit at the computer, I had to lie down most of the day. This Wednesday I was finally capable of a short walk, albeit with a cane.

© Charly, all rights reserved. Click for full size.

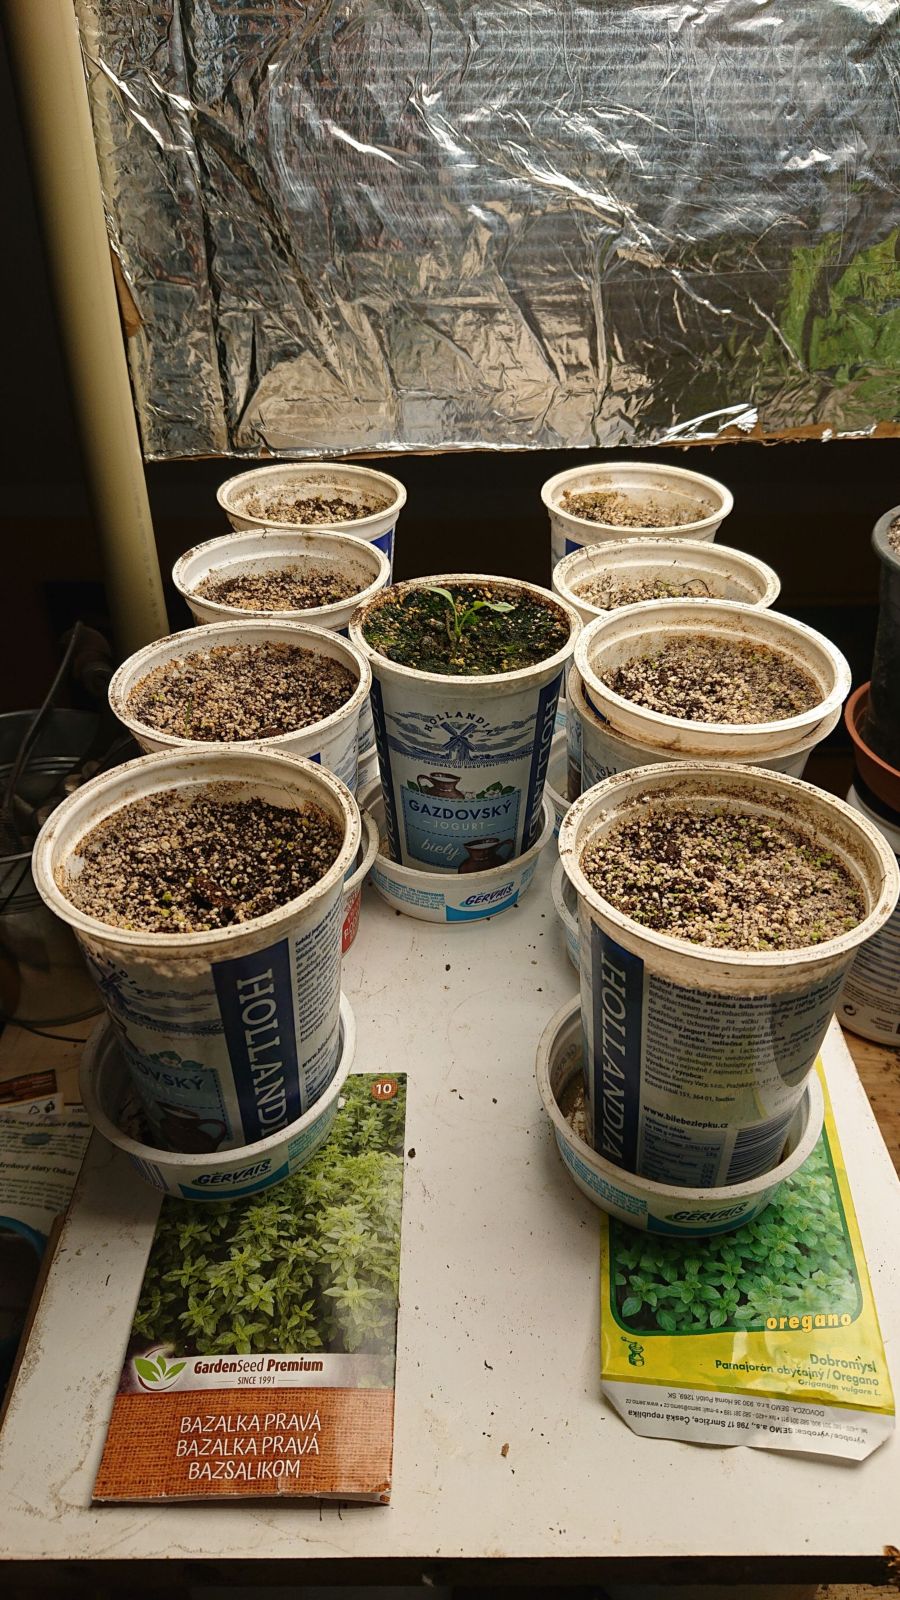
Being able to walk means being able to prepare some soil and plant some seeds. So I filled eight yogurt cups with soil and sown oregano and basil. I have never grown these spices/herbs although I use them in almost every recipe. I am curious as to how they will grow. Does anyone here have experience with how many plants I should plant for a reasonable harvest (1 jam jar of dried shredded stalks)?

© Charly, all rights reserved. Click for full size.

The bell peppers thrive under the grow lights reasonably well. I had eight big plants, four of which I gave to my nephew and four of which I repotted today into bigger containers because they were already outgrowing the yogurt ones. I also have a fifth pepper plant, you can see it between the basil and oregano. That one is stunted because the cotyledons did not free properly from the seed shell and thus it did not have proper nutrition at the start. But it seems to be growing and it might catch up with the rest so I did not throw it away yet. Overall I planted 10 seeds and an 80% germination rate is reasonable.

And now a bit gruesome theme, that fits the title of this article too.  [Read more…]

The Great Gardening of 2025 – Part 4 – Garlic Poking Out

The garlic had a bit of trouble poking through the moss mulch so I removed it two days ago. After that, I got terrible tendinitis in flexor tendons of both of my feet and I could barely walk for nearly two days. Luckily it subsided almost as quickly as it started but I did not manage to re-do the mulching before late frost came. The plants should survive it but it is a bugger nevertheless.

© Charly, all rights reserved. Click for full size.

I planted five varieties, and I noted them in the picture. The label for each patch is in its lower left corner. Let us say something about them, starting from the left upper corner. I bought one seeding kit for each variety which consisted of three bulbs, except the last one, which only had two.

Rusinka – the bulbs had huge cloves, but only a few of them in each bulb, I got 23 cloves. It is a purple hardneck variety that allegedly originates from Russia (I am immediately prejudiced against this innocent plant) and it should be fairly frost-resistant. I did not do an exact count now and I can’t do one on the photo due to the bamboo obstructing the view a bit, but it seems that cloves survived winter so far. Huge cloves are a plus but I would prefer to have more of them in each bulb so I do not need to save up too high a percentage of plants to continue growing the variety.

Slavín – the bulbs were reasonably big but had some small-ish cloves – I got 30 cloves overall. This is a purple hardneck variety too and it seems all cloves survived winter and are doing reasonably well. I hope this one does well, I would like to have some choice in my garlic in the following years.

Janko – on delivery, very similar to Rusinka but it had even fewer but bigger cloves in each bulb. I only got 13 cloves. Thus the potential problem remains as with Rusinka. We shall see how this one does. I think all 13 cloves poked out of the ground.

Benátčan – this is the only white softneck variety that I decided to try and whilst I would like to have such a variety in my garden, I am preliminarily not optimistic. I got 50 cloves from the three bulbs and some of them were positively tiny. Even if the garlic is delicious, it is a pain in the ass to work in the kitchen. The plus side, according to the seller, should be a very long shelf-life. We shall see, how it fares. Allegedly softneck varieties do not do so well at my altitude.

Havel – another purple hardneck variety and this one I did not actually buy. My nephew bought two bulbs in the farmer’s market for food but the bulbs were so pretty that I decided to plant the cloves. I got 13 big cloves from just two bulbs and the cloves were pretty evenly sized which is a definitive plus if that continues to be the case. Even in the picture, it can be seen that all 13 cloves survived and are now bigger than all the other varieties. I did not like the president whose name this variety carries but I am still somewhat prejudiced in its favor. I hope it does well, especially I hope it survives this bout of frost since I am still slightly limping and cannot go outside to mulch them again.

After the harvest, I will decide which ones to continue to grow and which ones to discontinue. Nematodes can be a problem with garlic here, although my father used to grow it a lot when I was a kid. And my neighbor used to grow garlic every year right up to the year she died. We shall see how this garlic experiment goes. I would like to grow at least two varieties that do well. To cover my needs, I need to grow approximately 50 bulbs for food and an equal amount of cloves for planting for next year.


The Great Gardening of 2025 – Part 3 – Massivating Mah Greenhouse

I will probably write a lot about my gardening adventures this year, both because I will do a lot of experimental stuff and also because I think there should be something to read on the FtB that is not entirely serious, especially in these serious times.

© Charly, all rights reserved. Click for full size.

The crocuses started to poke their heads out of the ground, and the garlic too. I only took a picture of the first crocus, the garlic is more useful but less interesting. I haven’t seen any starlings yet, so the time is not entirely up to plant potatoes. But I have seen first bumblebees searching for nesting places and also first butterflies (probably tortoiseshells or some other Nymphalid species that overwinters).

© Charly, all rights reserved. Click for full size.

I used the warm and sunny days to plant my first outdoor crop of this season – spinach. I have never tried to grow spinach so I do not know how it will do. I do hope it will do well. The packet said to plant rows 15 cm apart and space the seeds 6 cm within the rows. I changed that to a hexagonal pattern of approximately 10 cm apart. I like planting in hexagonal patterns because it covers the space better and allows the plants to grow more evenly in all directions. It is more difficult to weed, but I generally do not bother with weeding after a certain time because I do not have the time and strength for it anyway. The ground here was covered with woodchips over the winter, I raked those aside for planting and after the spinach plants poke out of the ground, I will put them back as mulch and weed suppression.

I have sown approximately 5 sqm with spinach and we shall see what comes out of it. After the first batch is harvested, I will continue with the second row of spinach, the soil should be rich enough in nitrogen to handle it, it is nearly pure old compost. And it is right next to the coppice so it will be in the shade at noon time during the summer, which should work well for spinach. I hope. Like I said, this is my first time.

© Charly, all rights reserved. Click for full size.

The radishes in the greenhouse came out of the ground nicely, it looks promising so far. I will wait a few more days and I will sow the second packet of seeds nearby.

© Charly, all rights reserved. Click for full size.

And this is the title of this article.  I know there ain’t such a verb as “to massivate” but I made it up for what I did here – I added mass to my greenhouse. Not for weight, but for heat.

I bought three metal barrels used for industrial storage and transport of marmalade. There were actually still rests of it inside and it was not entirely easy to clean out (it smelled nice but I didn’t dare to eat it and I tossed it on the compost heap). After I cleaned them, I painted them matte black on the outside and smeared a bit of linseed oil inside on the bottom to seal any potential corrosion nuclei in the seams and some scratches. After a few days of waiting for the linseed oil to dry, I filled them with water.

That adds 600 l of water to the greenhouse in a form that should be heated up by the sun during the day and cool off – thus heating the greenhouse – in the night. The barrels take some space but that is not a problem, actually. I put them instead of the shelf where I put my seedling trays in the spring and citrus trees in the summer. I will now put lids on these barrels and my old shelf across the tops and I will have the same growing space that I did before, while hopefully extending my growing season for a few weeks thus getting slightly more tomatoes, peppers, and figs. We shall see how well this works. The barrels were not extremely expensive (about 140 € including the spray paint), but still more than a year’s worth of tomatoes – I would have to grow a surplus of either 30 kg of bell peppers or 60 kg of tomatoes to make up for them. Nevertheless, I hope they will reduce my stress in the spring and fall by not having to worry so much about sudden changes in temperature killing my seedlings or plants or my citrus trees.

Last year, I had approx 25 kg of tomatoes and I will use that as a baseline for my calculation of the “amortization” time for these barrels. As in, if I get 10 kg of tomatoes more, I will estimate the amortization to be 6 years.

If they hold the heat well enough to keep the greenhouse frost-free during a mild winter, I will leave my citrus trees inside over winter too. That would be a huge saving in work.

The Great Gardening of 2025 – Part 2 – First Sowing

You might think that it is too early to sow anything, and you would be right for about 99% of crops that can be grown in my area. But the weather got warm enough this week to prepare my big greenhouse. It was a lot of work because I worked on the soil significantly.

© Charly, all rights reserved. Click for full size.

Firstly I used an old baking tray the whole winter to prepare a lot of charcoal from woodchips made from twigs cut off my hornbeam fence. I filled the tray with wood chips and put it in my house heating oven towards the end of the heating cycle each day. That way the produced wood gas is not wasted because it burns in the oven and is used to heat the house. And I got some fine charcoal at the end. In the picture is the tray filled with spruce board offcuts that I am using now to make coal of larger sizes. Unfortunately, the tray got deformed and cannot be used anymore, but about that soem next time (I made a better receptacle to make charcoal).

© Charly, all rights reserved. Click for full size.

I got about 100 l of fine charcoal but I did not make a photo of it. So here is a slightly blurry picture of approximately the same volume of charcoal of bigger sizes. This bigger charcoal will be put in plastic mesh bags and then used in the last filtering stage of my sewage cleaning facility. After it soaks up the phosphorus and nitrogen etc. from my waste water, it will be put into the compost and soil. In the meantime, I soaked the fine charcoal from wood chips in fertilizer and used it to complement the soil in the greenhouse rightaway.

© Charly, all rights reserved. Click for full size.

Some people sing the praises of this charcoal (aka biochar), some say it does nothing and it is just the fertilizer that is of use. I have no way of knowing who is right but I did find some scientific articles that got positive results with it and since I can make the charcoal without needlessly adding CO2 to the atmosphere and I need to use charcoal in my sewage cleaner anyway, I decided to give it a shot. It meant though that I had to dig up all the soil in the greenhouse and mix it with the charcoal in a ratio of approximately 9:1, also 10% charcoal by volume.

© Charly, all rights reserved. Click for full size.

You can see there were some bigger lumps of charcoal in there, those will probably get broken up over time. The wooden stakes marking the rows of my first sown crop are not very visible, but they are there.

Like I said, it is mostly too early for sowing anything but in my quest to maximize harvest from my garden, I bought seeds of three different varieties of radish. The first one can be sown at the end of February in the greenhouse, which is exactly what I have done. The second one can be sown in March, also in the greenhouse. And the third one will be sown in April outdoors. If it goes well, I should have a few months of steady supply of radishes.

Both greenhouse-grown varieties should be finished at about the time when I can plant my tomatoes and bell peppers in their stead. This way I should get two crops from the same space. I have done this already, albeit with only one variety, so it is not completely new and should work.

The Great Gardening of 2025 – Part 1 – LED There be Light

I decided to significantly change the way I treat my garden this year. My goal is to raise as much food as I can and that means a wide variety of crops grown in a wide variety of ways. I am planning to write about the endeavor to maximize my edibles from my huge garden and this is the first post in a series about that.

And although I am cash-strapped, I had to begin by buying some LED-lights. Because I want to grow onions and peppers from seeds,

© Charly, all rights reserved. Click for full size.

Onions and peppers need a really long time to germinate and grow in size sufficient enough to be planted outdoors. I tried to sow three types of onion but so far only one started to grow, which bums me out. So far I had very little success with onions in my garden, I hope to change that but preliminarily I have little reason for optimism.

After (if) the onions are big enough to move into the greenhouse, I will use these lights to start my tomatoes, pumpkins, beans, and corn indoors too. I do hope that this way I will get plants big enough to resist slug damage later on. Once the plants are big enough, the slugs should not damage them anymore. I also want to try growing these in a novel-ish way, so stay tuned for that.

When I am not growing anything under the lights, I now have a consistent diffuse light for photographing my handmade products, something that I needed for some time by now.

Just Beets

I do not like pickled red beets, and neither does my father. But my mother likes them so I sown two packets of seed into one bed about 3×1,5 m. They did not look like much for most of the summer but like the pumpkins, they took off in August rather spectacularly. I was expecting a harvest of about 6 kg, I got 18.

© Charly, all rights reserved. Click for full size.

There were some impressive specimens in there, but there was also a lot of vole damage. About half the roots were gnawed on, some almost completely eaten. I would prefer if those fuckers were at least systematic in their damage and ate the whole root before starting to nibble on another. It is a lot more work to process a damaged root.

Even so, the harvest was significant and I just spent three whole days mostly working on this. We only have one pressure cooker and some beets were so big that they took up most of the space inside so it was almost non-stop boiling. My mother then peeled them and chopped them up to her preferred size and we canned them.

© Charly, all rights reserved. Click for full size.

It was a lot of work for little financial gain since pickled beets are fairly cheap. Financially, we would be actually losing money on this if I had better use of my time. But I don’t so my mother now has two-years worth of beets to snack when she wants to.

This does bring up a thing that has been on my mind a lot lately. I looked up some gardening things on YouTube and as it is, the algorithm started to recommend a lot of gardening videos all of a sudden. Some of them are good and I am always happy to learn, some are entertaining but not worth much, and some are downright fraudulent and/or stoopid (like pretending to grow a banana plant from banana peel).

It seems that there is a big fad going around about self-sufficiency and sustainability and these beets are a prime example of why that is simply not possible for most people.

I have over thirty years of experience in gardening and I have a huge garden (over 1500 ㎡). I also have very poor and rocky soil in my garden, and slugs, and water voles. But even if I had the best chernozem there is, and ideal pest control (cats, btw, do not usually hunt water voles, though their presence does deter them a bit), I could not be self-sufficient even if I did nothing else. Because whilst I can pull sometimes really impressive harvests even with the poor soil I have, and I could have rabbits, a goat, and/or poultry to eat the non-edible parts of plants and grass and slugs, etc. there is still one thing that can throw a stick into the spokes that is completely unpredictable and uncontrollable – the weather.

I wrote about how bad things looked in the summer this year. Some crops bounced back, some didn’t – very little onions and garlic, almost no strawberries (although that was intentional), no nuts, and no tree fruit whatsoever. And that is how things always go in small-scale growing. I can grow in a good year enough of some specific crop to last more than one year, but never the full spectrum and if it can’t be reliably preserved, it is waste anyway. To grow a full, balanced diet reliably, large-scale growing and, more importantly, trade over large-ish distances, are necessary.

The Great Disapotatoment

For the last few years, I have regularly grown three potato varieties – Marabel, Esme, and Dali. All three performed reasonably well, and I had some spectacular harvests. You may remember my last year’s experiment with growing potatoes under grass clipping, without tilling the soil. From less than one kg of tiny potatoes, I got approximately 40 kg of reasonably sized ones so I decided to try the same thing on a large scale, i.e. on my 40 m2 vegetable patch. I bought 10 kg of seeding potatoes from each of the above-mentioned varieties. I also planted again a mixture of all three varieties in the form of tiny potatoes left over from the previous year.

In the pictures here are all the potatoes from the main patch, not those from the secondary one.

First Marabel, a yellow variety with pale, whiteish flesh.

© Charly, all rights reserved. Click for full size.

This variety started to sprout first and thus was the most negatively damaged by the late frost. I got about 36 kg of potatoes fit for storage and about 6 kg of damaged potatoes that had to be processed straight away.

Then Esme, red potatoes with bright yellow yet floury flesh.

© Charly, all rights reserved. Click for full size.

These sprouted later and the plants did not look all that impressive, but there were more seeding potatoes in the 10 kg than of the previous variety, they were smaller. I got about 71 kg suitable for storage and again circa 6 kg that had to be processed immediately.

And lastly, Dali, a yellow variety with bright yellow, firm flesh.

© Charly, all rights reserved. Click for full size.

© Charly, all rights reserved. Click for full size.

With this variety, the seedling potatoes were smaller too and thus there were more of them. I harvested approximately 61 kg fit for storage and about 8 kg to process immediately. It was also this variety that gave me the biggest potato of this year, an 850 g chunk.

© Charly, all rights reserved. Click for full size.

The overall harvest was thus circa 168 kg for storage and circa 20 kg of potatoes that had to be processed immediately (and those 20 kg are weighed after they were processed and all the waste thrown out btw). In the end, approximately 190 kg was harvested from 30 kg of seeding potatoes. Enough to meet all our needs for the next six months and we will have to spend a significant amount of time during winter to dehydrate or otherwise conserve them because we certainly won’t manage to eat them all before the weather starts to warm and they start sprouting. The cellar is rather cramped.

© Charly, all rights reserved. Click for full size.

So why I am not completely satisfied with the result?

Firstly from 30 kg of seeding potatoes, I would need to harvest at least 250 kg to be satisfied and 300 kg to be impressed. I estimated earlier that about 20 % of my potato patch was heavily damaged by the late frost, and that now appears to be a really good estimation – those 20 % are approximately what is missing to reach the desired 250 kg.

Secondly, an occasional impressive specimen notwithstanding, most of these potatoes are really small and quite a lot of them are partially green so there will be a lot of waste even from those in storage (and I will have to take care to ventilate the cellar properly to avoid build-up of noxious gasses). This is in part due to the used method – I did not have quite enough grass to cover the whole patch with a thick enough layer and as I mentioned previously, I lost some of that grass to strong winds in dry weather shortly after I planted the potatoes. As a result, they were partially exposed to the sun and that is not good. Partially green potatoes are edible, but all the green stuff needs to be cut away and thus I can expect about 5 to 10% waste. It is a thing to consider when trying this method in the future again.

Thirdly, that over 10% were so badly damaged by pests – voles and insects – is a bad sign. One of the reasons for trying the no-till method of growing potatoes was to prevent impaling a significant portion on the fork or cutting them with the plow. When growing potatoes the traditional way, I had higher yields and less pest damage.

Fourthly, I had a higher-than-usual amount of tiny potatoes under 2 cm – an estimated 10 kg. Normally those can be carefully washed and fried/baked with skin and eaten whole. But this year most of them are partially green so they are useless – they are too small to peel and cut off the green stuff and too green to eat whole. I will plant some next year, but the truth of the matter is, they are mostly waste.

As far as labor savings go, it was significantly less work to both plant and harvest them. I cannot complain about that at all, even though it was still a lot of work and after three days of picking, washing, drying, and weighing potatoes I was completely knackered.

In conclusion, the no-till method of growing potatoes has its plusses but significant pitfalls too. The potatoes are more susceptible to both weather and pests and tend to produce a lot of greens.

I will probably plow the patch now to mix in the old grass and the charcoal I added in the spring. Next year it will be peas, onions, and beans all around. I will cover a part of the lawn with grass clippings again to plant the leftover green and tiny potatoes in the spring, but I won’t be buying proper seeding potatoes next year. And the year after that, when I grow potatoes in the main patch again, I will probably return to the traditional method to get a higher yield from fewer seedings.


Can Ned Pump Kin Soup?

After a very bad spring, the pumpkin plants that I have did catch up in a big way. I already mentioned that, several times. I literally can’t give them away fast enough, I gave out over 30 kg and then I ran out of people to foist them on. Based on previous years, I expected about one-third of what I harvested in the end. I think the compost is to blame for this unexpected bonanza. I wonder what it would be like if the weather was not so cold in May and June and the plants did not grow stunted for the first half of the season.

But as the cold weather approaches and days shorten, the pumpkin plants did catch mildew on the leaves so I decided to cut them down and harvest all that was there. Now we need to process it.

© Charly, all rights reserved. Click for full size.

© Charly, all rights reserved. Click for full size.

We have a lot of marrows and pattypans. In addition to what I already mentioned, we also made some canned fruit mixing the marrows with plums (we had to buy those, ours have frozen this spring) and we plan to make some more with apples and pears (we have to buy those too). I am afraid it still won’t be enough and we will end up throwing some away because they spoil before we get to process them.

I came up with the idea of making canned soup. We never did that before but my reasoning was that when we can make canned tomato sauce that lasts for years, we should be able to make pumpkin soup and expect it to last too.

© Charly, all rights reserved. Click for full size.

We started by cutting the pumpkins into small cubes and throwing them into the pot with a bit of salt. They do release enough water to cook without adding any.

© Charly, all rights reserved. Click for full size.

When the pumpkin cubes soften, we either mash them or shred them with a food mixer into a thin paste.

© Charly, all rights reserved. Click for full size.

Sometimes we added cooked carrots and some spices, to have some variety. No two batches were identical. One thing we always added though is boullion soupstock cubes.

© Charly, all rights reserved. Click for full size.

The onion harvest was truly abysmal but I did get at least a few dozen smallish bulbs that were just big enough to cook and add to some of the cans whole.

The result is oversalted and concentrated paste that we put into screw-top jars just like the sauce. When preparing, we plan to thin it down with water to soup consistency, ad some fresh spices and maybe some other veggies (baby carrots, peas, corn) and cook for about 20 minutes before serving. I hope the experiments works well because we already made over 20 cans and we still have to make more.

© Charly, all rights reserved. Click for full size.

Pattypans are not that good for soup, although we did use some to bulk up the tomato sauces. However, we still need to eat those eight pieces in the picture and here I came up with an idea to stuff them not with shredded meat, but with standard stuffing made from bread, eggs, veggies, and salami. It is a whole meal on its own and one such pattypan baked with mushrooms or green beans is food enough for the three of us for two days. But we still can’t eat them fast enough.

To top it off, today I harvested the hokkaido squash pumpkins.

© Charly, all rights reserved. Click for full size.

I planted eight plants but six were destroyed by slugs and one remained stunted the whole summer and bore just one fruit. The other one, however, took off magnificently in July and August and bore about as much fruit as I expected all eight plants together when I planted them. One of these will be made into a dozen or so small glasses of mustard. Two I managed to push into my neighbor’s hands. I don’t know yet what we do with the rest. Maybe some marmalade and some soup too.

Part of the problem is that I also had to harvest the potatoes because it is supposed to rain the next week and it is better to harvest them before the ground turns to mud. As a result, we have a lot of potatoes that also need to be processed quickly – about which I will write tomorrow.