Alice Lounsberry. Gardens Nar the Sea. New York, Frederick A. Stokes Company, c1910.
via: The Internet Archive
Alice Lounsberry. Gardens Nar the Sea. New York, Frederick A. Stokes Company, c1910.
via: The Internet Archive

Mary Mapes Dodge. When Life is Young. New York, The Century Co., 1894.
via: The Internet Archive

Andrew Lang. The Green Fairy Book. Illustrated by H. J. Ford. New York, Longmans, Green, 1902.
This week it’s the Green Fairy Book and I’ve plucked a few of my favourite illustrations to share with you. Most of the artwork that I’ve chosen involves animals. My absolute favourite drawings, though, are from the last story in the book, The Three Dogs. Enjoy!
My next bobbin lace project was a picture of an orchid. It was inspired by the orchids that my father grows on the windowsill in our living room, but it is not, of course, intended to be an accurate representation of any specific plant/species. This time I did not use paper and pencil at all, I started rightaway drawing on my PC with my tablet and I ended up with this coloured sketch.

© Charly, all rights reserved. Click for full size.
From the sketch, I have made a template that could be printed out. The important thing to not forget by an assymetrical design like this is to mirror the image – the lace has a front and back. In this case not only all the knots are on the back side, but important is also the stalk of the blossoms which is in front of the right leaf.
© Charly, all rights reserved. Click for full size.
The final step was, of course, making the actual lace. It took me circa 40 hours. you can look below the fold whether it was worth the effort.

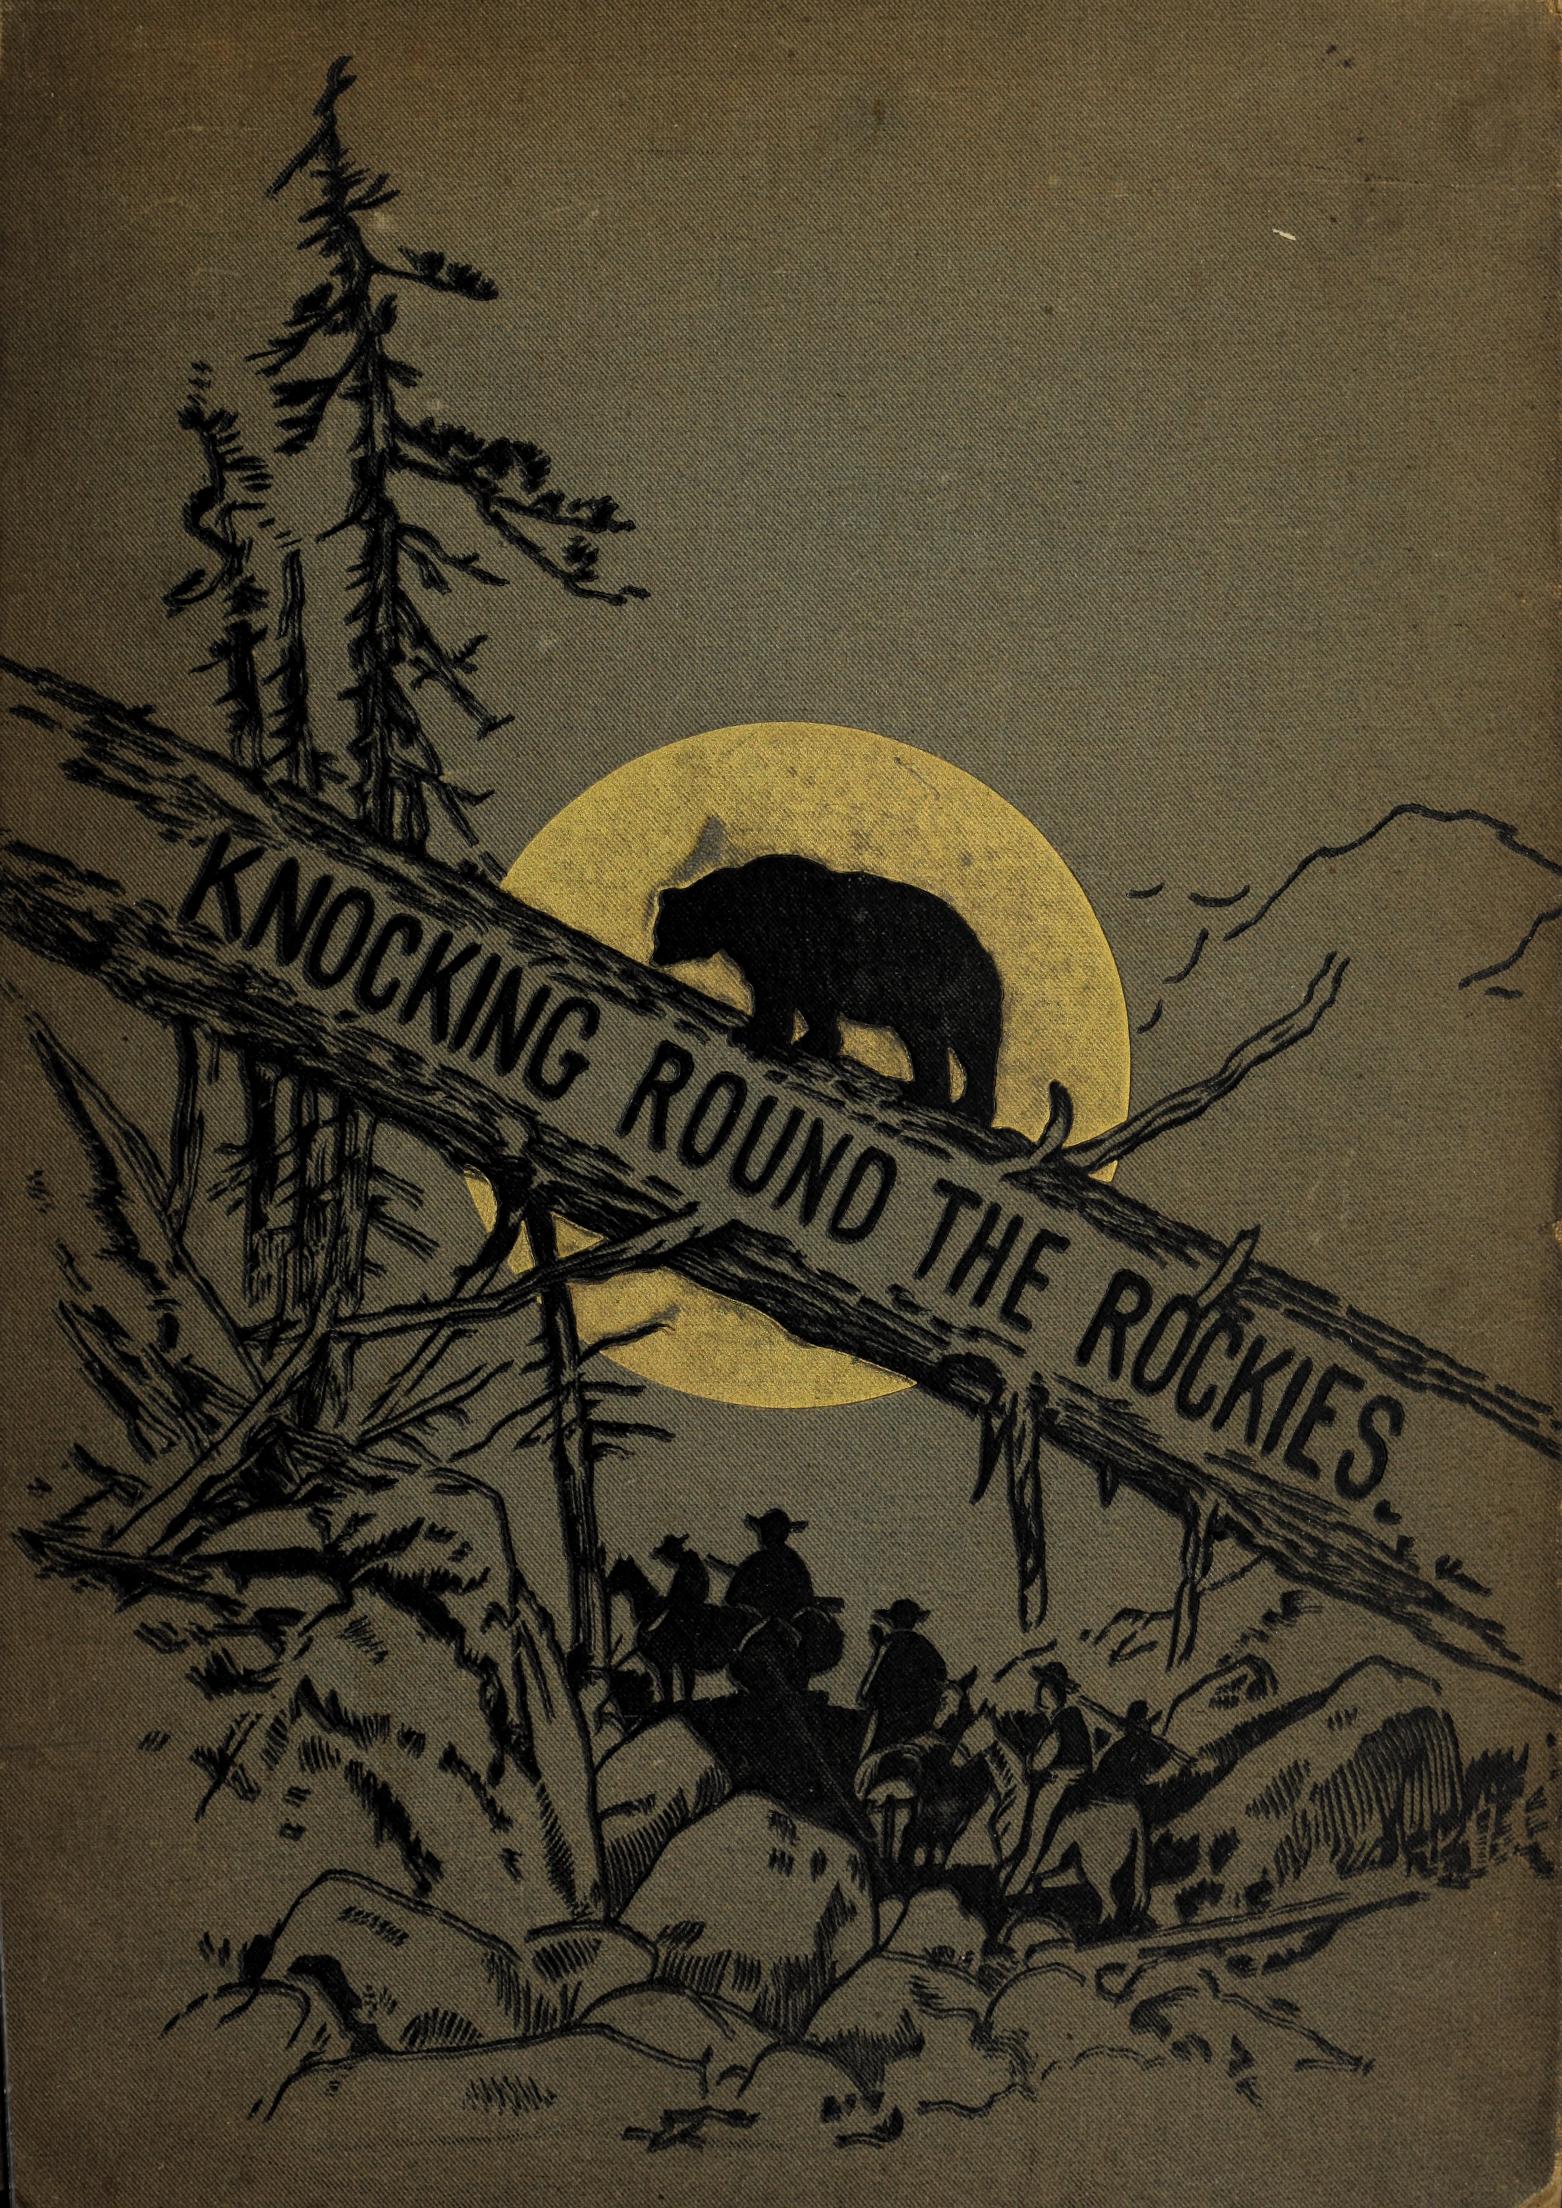
Ambrose Pratt. The Living Mummy. New York, Frederick A. Stokes Company, 1910.
Yesterday brought us news about the search for Oma, which reminded me that I probably met a distant relative of Jack’s fairy friends.
maybe Jack can ask them if they’re related, the little fairy was a bit shy and didn’t talk to me.

©Giliell, all rights reserved
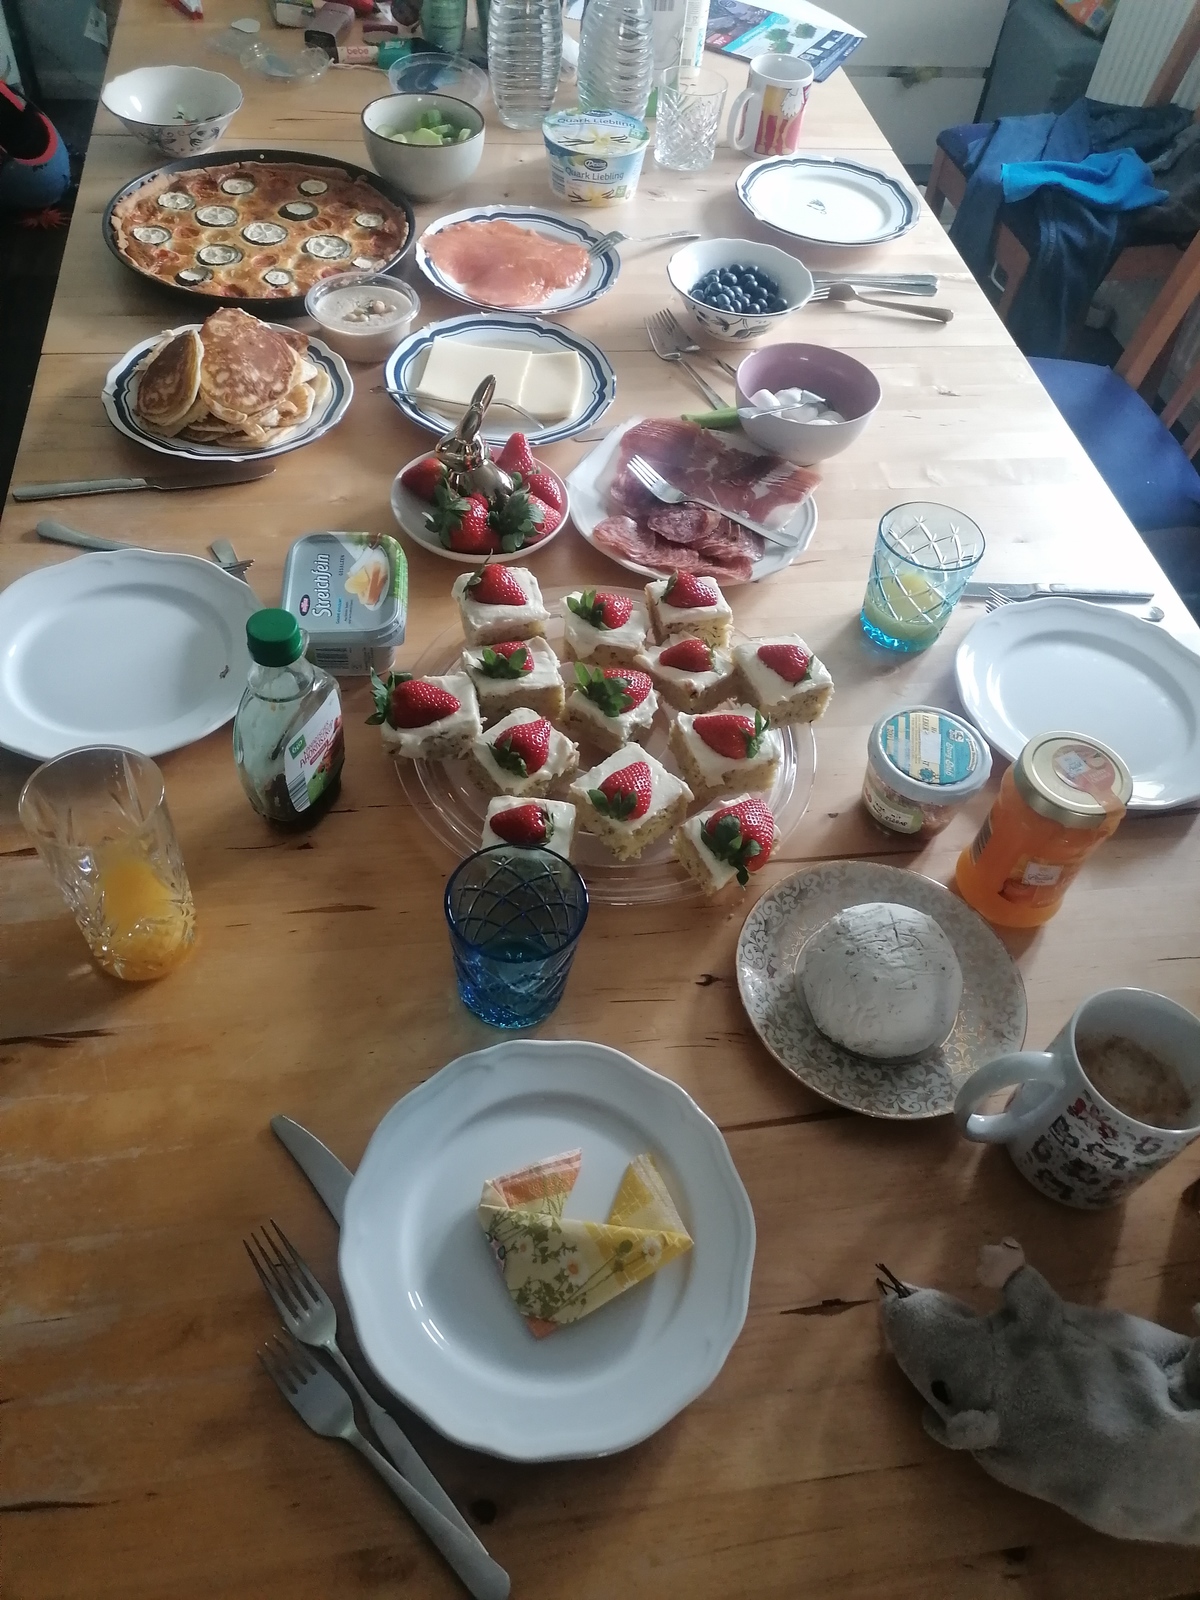
When we went to the wholesale supermarket I bought a whole crate of zucchini, which means we’ve been using them in a whole lot of dishes, and since they are true neutral, I also decided to make zucchini cake. It turned out really, really nice and it would be a shame not to share.
©Giliell, all rights reserved
Uhm, yeah. our easter brunch…
For the cake you need:
Grate the zucchini, mix wet ingredients (including the zucchini), mix dry ingredients, combine, bake a 160° with ventilation.
One thing that made me wonder about the recipe was that they told you to bake it in a 26cm (10″) round tin. Every experienced baker can see from the amount of ingredients that this is way too much and I’m sorry for the inexperienced bakers who flooded their ovens with cake batter. I baked it in a tray for about 30 minutes.
Another thing is that there’s really little sugar in the recipe. This means that it’s perfect for a sweet topping. The original recipe had a chocolate ganache, but I went for lime and cream cheese with fresh strawberries on top and it was just perfect. If you don’t want to add a topping I’d recommend adding something like another 100g of brown sugar for extra flavour and sweetness. Or you leave out the sugar completely, add more salt and grated parmesan, which should work as well.
Jack watches Freddy leave. ©voyager, all rights reserved
While Jack and I were waiting for Freddy Fox to make an appearance, Gnorman and I chatted amiably. I asked about his family, and he told me about his wife, Gmary and their children Gnancy and Gmatilda. They have a small farm in the eastern part of the forest, which is apparently where most of the Gnomes live.
“So are all the Gnomes farmers,” I asked.
“Nay,” said Gnorman. “Mostly, we be craftsmen. Cobblers. Tailors. Makers of fine furniture and the like. We Gnomes are good with our hands.”
“Say,” said Gnorman, looking at me pointedly, “would you by any chance be part elf?”
“I don’t think so.” I replied, “My dad used to tell me we were descended from Vikings, but he never mentioned elves. I’m pretty sure I’m 100% human.”
“I’m sorry for ya, Lass,” Gnorman chuckled, “but you do look Elvish, you know. You’re small for a human, and more than a bit crooked, and you’ve got them big ears.” Gnorman reached out and stroked the top of my left ear.
I hunched my shoulders at his touch and shook my head. Crooked! Big Ears! I harrumphed and was about to say something when Jack raised his head sleepily and said to me,
“Mummy, you’re beautiful. I like your crooked back. It curves just the right way to curl up in. And your ears are only a little bit big. They’re not nearly as big as mine.”
“Thanks, Bubba.”
“Hey, I smell fox,” Jack said quickly, turning his head to the left, “coming from that way.”
“Show yerself, Freddy,” Gnorman called out.
A thin, reedy voice called out from behind a fallen tree, “Heh, heh. Snort. In time, Gnome. Can these two be trusted?”
” More trustworthy than you, Freddy. Now, show yer face.”
Slowly a young, lean-faced red fox with piercing amber eyes rose out of the leaf litter and stood before Jack and me. His ears were tipped with black, and he was quite handsome.
“Hello, I’m voyager, and this is my dog, Jack,” I said pleasantly. Jack smiled at the fox, but his eyes were serious and full of caution.
“Fredlich Fleetfoot Fox. I don’t like dogs, so let’s get this over with quickly,” he snorted.
“Be nice, Freddy,” Gnorman growled. “Oma is still missing, and this whole situation is your fault. Jack is a good dog, and his human seems pleasant enough, and they’re going to help us find Oma.”
“Heh, heh. I din’t mean to lose her,” Freddy said defensively. “I knew she was tangled up in my tail, and I tried to flick her off a few times, but she wouldn’t let go.”
“She was likely too scared,” said Jack glowering at Freddy.
“No, that wasn’t it at all, you dumb dog. Oma said she wanted to go for a ride, and since it was a nice day, I thought I’d give her a bit of a treat. I was plannin’ on bringing her back,” he rasped.
“So why didn’t you,” Jack grumbled.
“Well,” he said, “once we hit the open field, Oma started whoopin’ and hollerin’ for me to get goin.” Freddy was getting animated. His long, full tail was waving quickly, and he started to bounce on his knees while he spoke.
”’Faster, Freddy,’ she kept sayin,’ and the sun was shining, and I was full of spring energy, so I started to run. Oma was hangin’ on tight, and called out ‘Wheee! Oh, this is sooo much fun.’ Then she said something about it being like ‘snurfing with sneals,’ and I din’t know what she was talking about, but she was laughing and giggling like a drunken imp, and kept calling out to me, ‘Yippee. Yahoo. Faster, faster, go like the wind, fox!’ and she was swinging off my tail, holding on tight with one hand while she held the other arm out tryin’ to catch the breeze. When we crested the hill, I felt her let go, but I’d slowed down enough to do a quick turn, and I caught her between my ears. She sat up there for a minute while I caught my breath and then I headed down toward home. That’s when Oma started to cry,” Freddy snorfled dejectedly and sat down.
“She was probably crying because she was scared,” Jack said.
“Snort! No, you dumb dog. That wasn’t it at all.” Freddy shouted.
Jack issued a low grumble and stared at Freddy, who suddenly stood up and took a few quick steps backward.
Looking down, Freddy continued, “Simmer down, dog and listen, will ya. Oma told me that she never had fun anymore. That since she got old, people treated her like glass and that she just wanted to do something exciting for a change. She asked if we could go a bit farther, and since it was a nice day and I din’t have anything pressing to do, I said yes.” Freddy said, looking up. His eyes were moist, and he seemed about to cry.
I softly asked him where they went, and Freddy perked up again.
“We went down the hill to the east and headed toward Drumbo. Oma had slid down my neck and was sitting on my back, so I told her she had to hang on with both hands, and she did, but then she wanted to go fast again, so I started to run. The wind was at my back, so I got up a good speed, and Oma was trying to sing a song about flying, but she kept laughing and getting the words wrong, and we was both having a good time. I don’t know when Oma let go, but when I stopped at the ditch for a drink, she was gone,” he paused, then sniffled, “I never meant for it to go wrong.” Freddy then stood up and turned around slowly, almost as if looking for something or someone.
Jack said kindly, “Things go wrong all the time, Freddy. It sounds like you were trying to be helpful, even if it was reckless. Can you tell me where you were when you noticed Oma was gone.”
“Well, it was near Punkydoodles Corners. I could see the sign from the ditch near the highway to the west. About a 10 minute walk. I called for Oma, but she didn’t answer. I looked everywhere – in all directions, but I couldn’t find her. I looked for a long time, too, and I asked around. I talked to a few other foxes and a stinky skunk and even a rather surly badger, but no one had seen her. That’s when I turned around and started back here to tell all of you. I looked all along the way, but I din’t find her. I was hoping there was some fairy magic that could bring her home,” Freddy said, hopefully.
“Fairy magic doesn’t work that far, you ninny,” spat Gnorman.
“That is a long way from here,” said Jack. “We’ll need to drive, Mummy.”
“That’s why we asked for your human to help, Jack,” said Gnorman. “you’s can get there quickly. It’d take us days to get that far.”
“Of course,” I said. “We can get there in about half an hour. Jack, is there anything else you need?”
“I need to smell your feet, Freddy,” Jack said, and he took a step toward the fox.
“No, no, no. Not my feet,” said Freddy. “I’m ticklish.”
“And your bum,” said Jack.
Freddy’s eyes got big. “Ah…no to that, too,” he snorted, stepping backwards again.
“Stay right there, Freddy,” Gnorman yelled, and suddenly he was no longer beside me, but behind the fox.
“Wow, Gnorman,” I said. “How’d you do that.”
“Fairies ain’t the only ones with a bit ‘o magic,” he smiled at me. “Now fox, sit still while Jack sniffs out what he needs.”
“How do I know I can trust him,” Freddy snorted, almost blubbering.”Because I’m a Labrador Retriever,” said Jack with a touch of exasperation, “everyone knows we’re the most trustworthy dogs. We’re also good at finding stuff. I have an excellent nose.”
“Well, if your nose is so great, why can’t you smell me from over there,” Freddy blurted out.
“I can smell you from here, but I have a better chance of finding Oma if I can get a more detailed idea of the trail you leave behind, and I need to smell you up close for that,” Jack said, adding, “Why is it such a big deal?”
Freddy snorted a raspy sort of growl, and Jack responded with a low, husky noise that made Freddy sit down quickly and hold up a paw.
“Thanks,” said Jack. “Now the other one.”
Freddy giggled as Jack sniffed his other front paw. “Good,” Jack said, “now the back ones.”
“You don’t need to smell those, too, do you?” Freddy cried.
Jack coughed gently and said, “back feet smell different from front feet. Of course, I need to sniff them too.”
Jack moved around behind Freddy and asked him to lift his back feet one at a time, sniffing while Freddy giggled.
“OK, now I’m going to smell your bottom bits,” Jack finally announced, “please lift your tail.”
Freddy started making little nyuck, nyuck noises, but a grunt from Gnorman silenced him, and he slowly lifted his beautiful, long, bushy tail.
“Honestly,” said Jack, “I don’t know why you’re making such a fuss. It’s normal to smell each other,” Jack brought his nose up and took a deep sniff. Then he reached his nose farther in to smell between Freddy’s legs.
“Hey, I didn’t say you could sniff me there,” Freddy jumped ahead a few feet.
“I need to get as much information as possible. Anyway, I’m all finished now,” Jack stood back.
“Alright, Jack. Are you ready to go,” I asked?
“Yes, Mummy. I know what Oma smells like. She smells like acorn caps, trout lilies and trillium roots with a faint whiff of the ocean. I’m pretty sure I can pick up the trail from where Freddy stopped for a drink,” Jack said, looking up at me. “Do you know how to get to that ditch?”
“You, bet, Bubba. I know that road pretty well. We’ll stop when I see the sign, and since I’m taller than Freddy, that should be before where he stopped. We’ll pull over and start from there,” I said, mentally planning our route.
“That sounds like the place to start,” said Jack. “Thanks for your help, Freddy.”
“Can I go now,” snorted Freddy, who had started to bounce on his toes.
“Off with you then, fox,” Gnorman grunted, and in a flash, Freddy disappeared back into the leaf litter and was gone.
“Off with the two of you, now, too,” Gnorman waved his arms at us. “Oma must be frightened and scared. And it’s gonna be cold tonight. We wants her home safe before then.”
“Don’t worry,'” said Jack. “We’ll find her, won’t we, Mummy.”
“You bet, Bubba,” I said, not really sharing his confidence. “Let’s go find Oma Troutchen.”
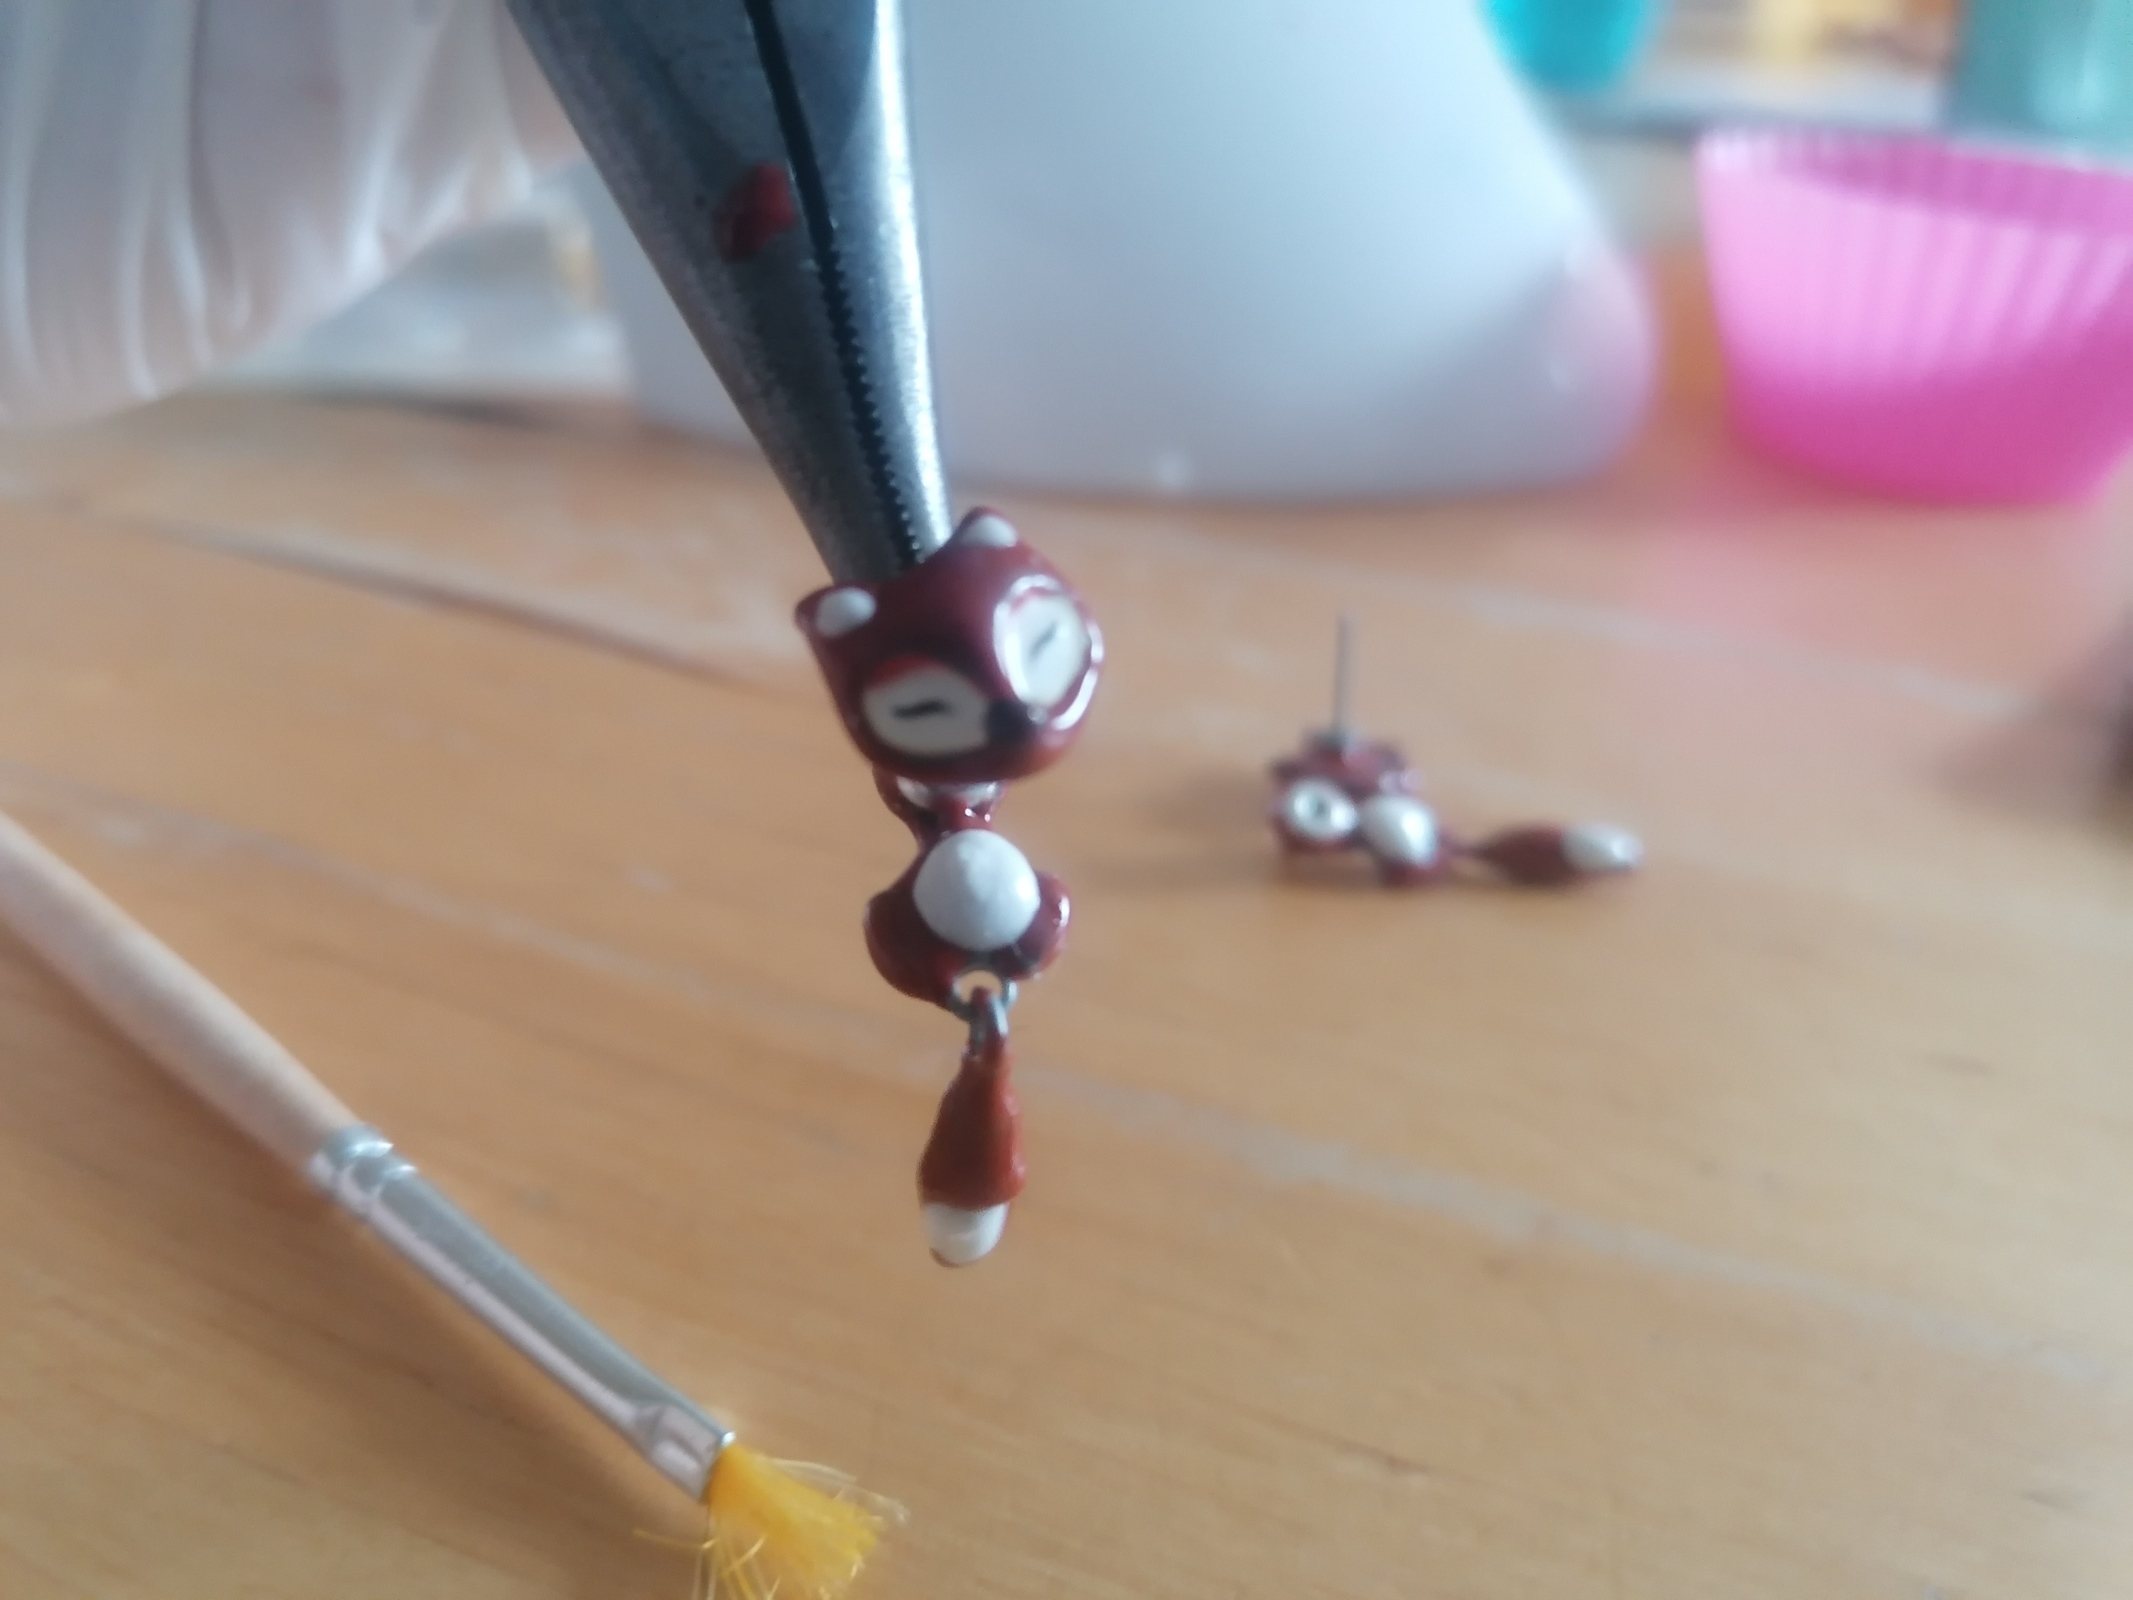
Apparently some people take off their earrings before taking a shower or going to bed. I’m not one of them (unless they have some parts that must not get wet or are huge ones for special occasions), so I tend to periodically ruin my cheaper earrings. The pair I was currently wearing is a cute fox where the stopper is actually the body of the fox so you have the whole animal dangling from your ears. Since I can’t go out and get new ones and also have some time I decided to restore them using UV resin.

©Giliell, all rights reserved
Here you see the sad remains after about three months of constant wearing. From behind it looked like the red was some kind of shrink wrap with little adhesion to the metal. First I cleaned off the remaining paint. The paint around the eyes looks like it’s proper enamel, so I left it at that.

©Giliell, all rights reserved
Next I coated the parts in several layers. One difficulty is the attachments of the tail, since resin would glue it to the body permanently. I worked carefully there with moderate success. Another thing is that resin leaves a lot of volume. The previous “shrink wrap” paint showed off the contours you can see above, but in the restored version they are gone. Foxy probably got a thicker winter coat. Also the colour is more brownish.

©Giliell, all rights reserved
Here’s the finished version. I quite like how they turned out. Kestrel would probably laugh at my clumsy painting skills, but I can live with that.

©Giliell, all rights reserved
©Giliell, all rights reserved
And here’s some bonus Pikachus. Because why not have a flock of them?
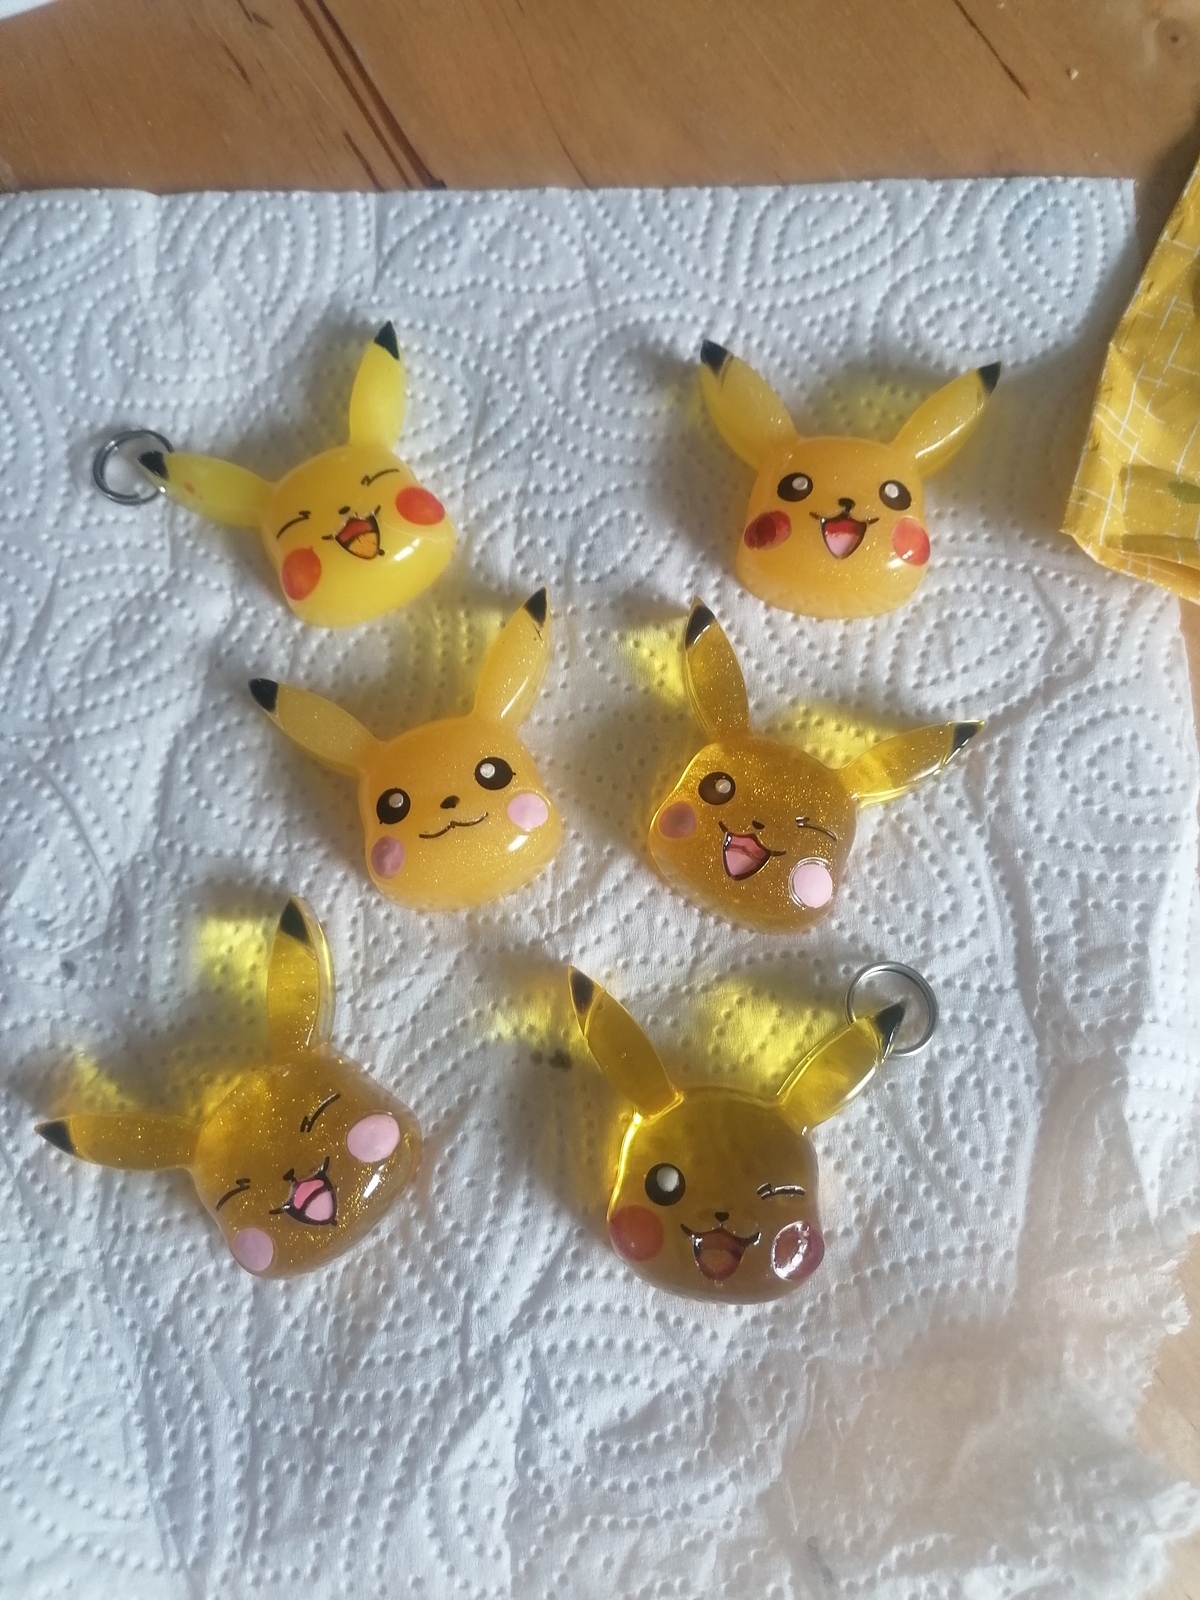
©Giliell, all rights reserved

M. L. Rayne. What can a woman do? Her position in the Business and Literary World. Petersburgh, N.Y., Eagle Publishing Co., [c1893].
via: The Internet Archive
From Nightjar,
Bird’s-foot trefoil, another wildflower in the pea family that is all over the place right now.
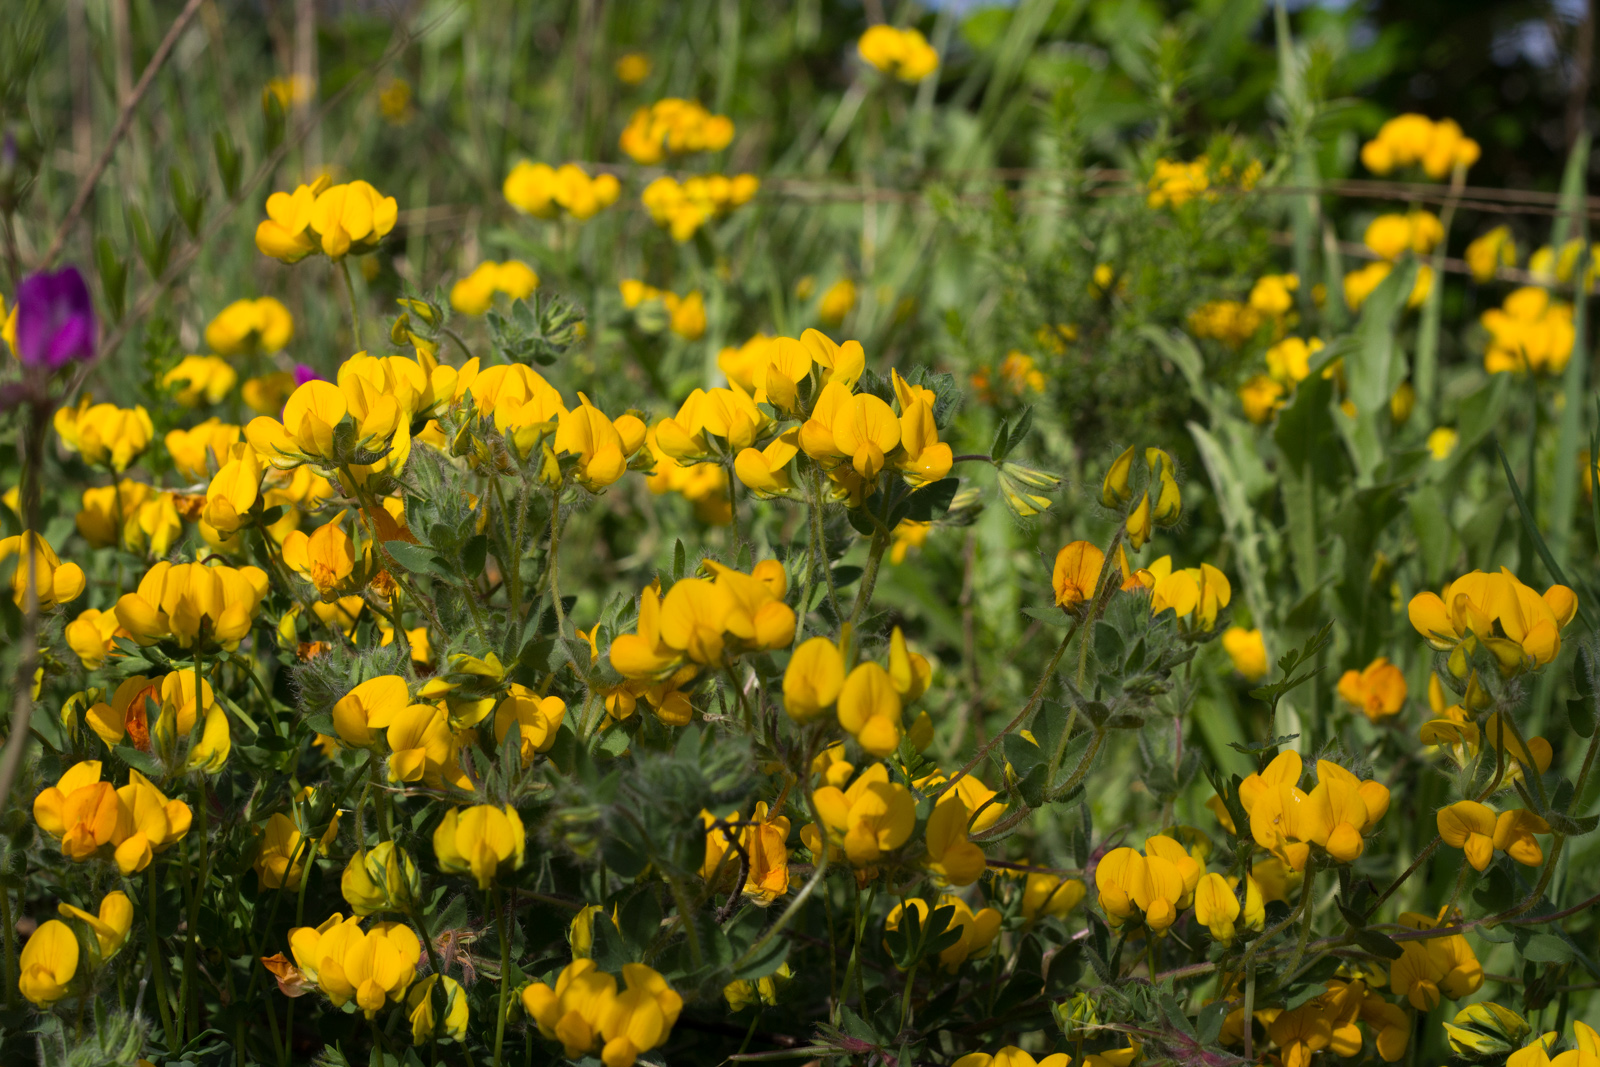
©Nightjar, all rights reserved

©Nightjar, all rights reserved
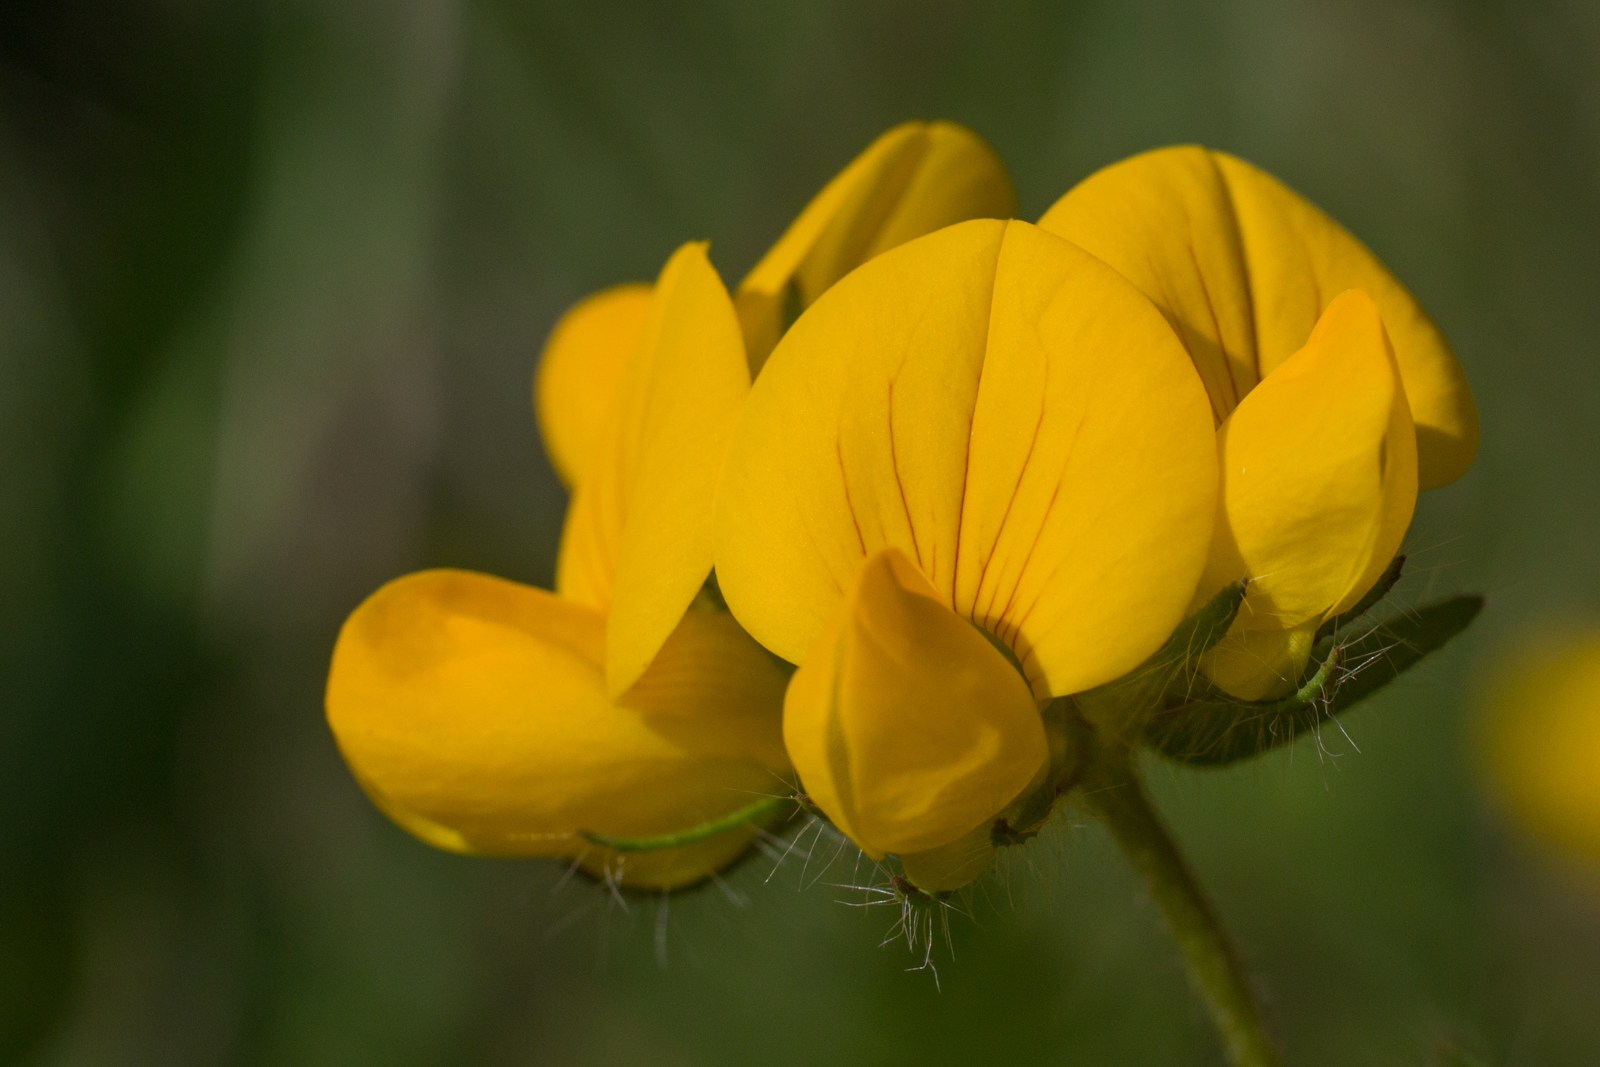
©Nightjar, all rights reserved