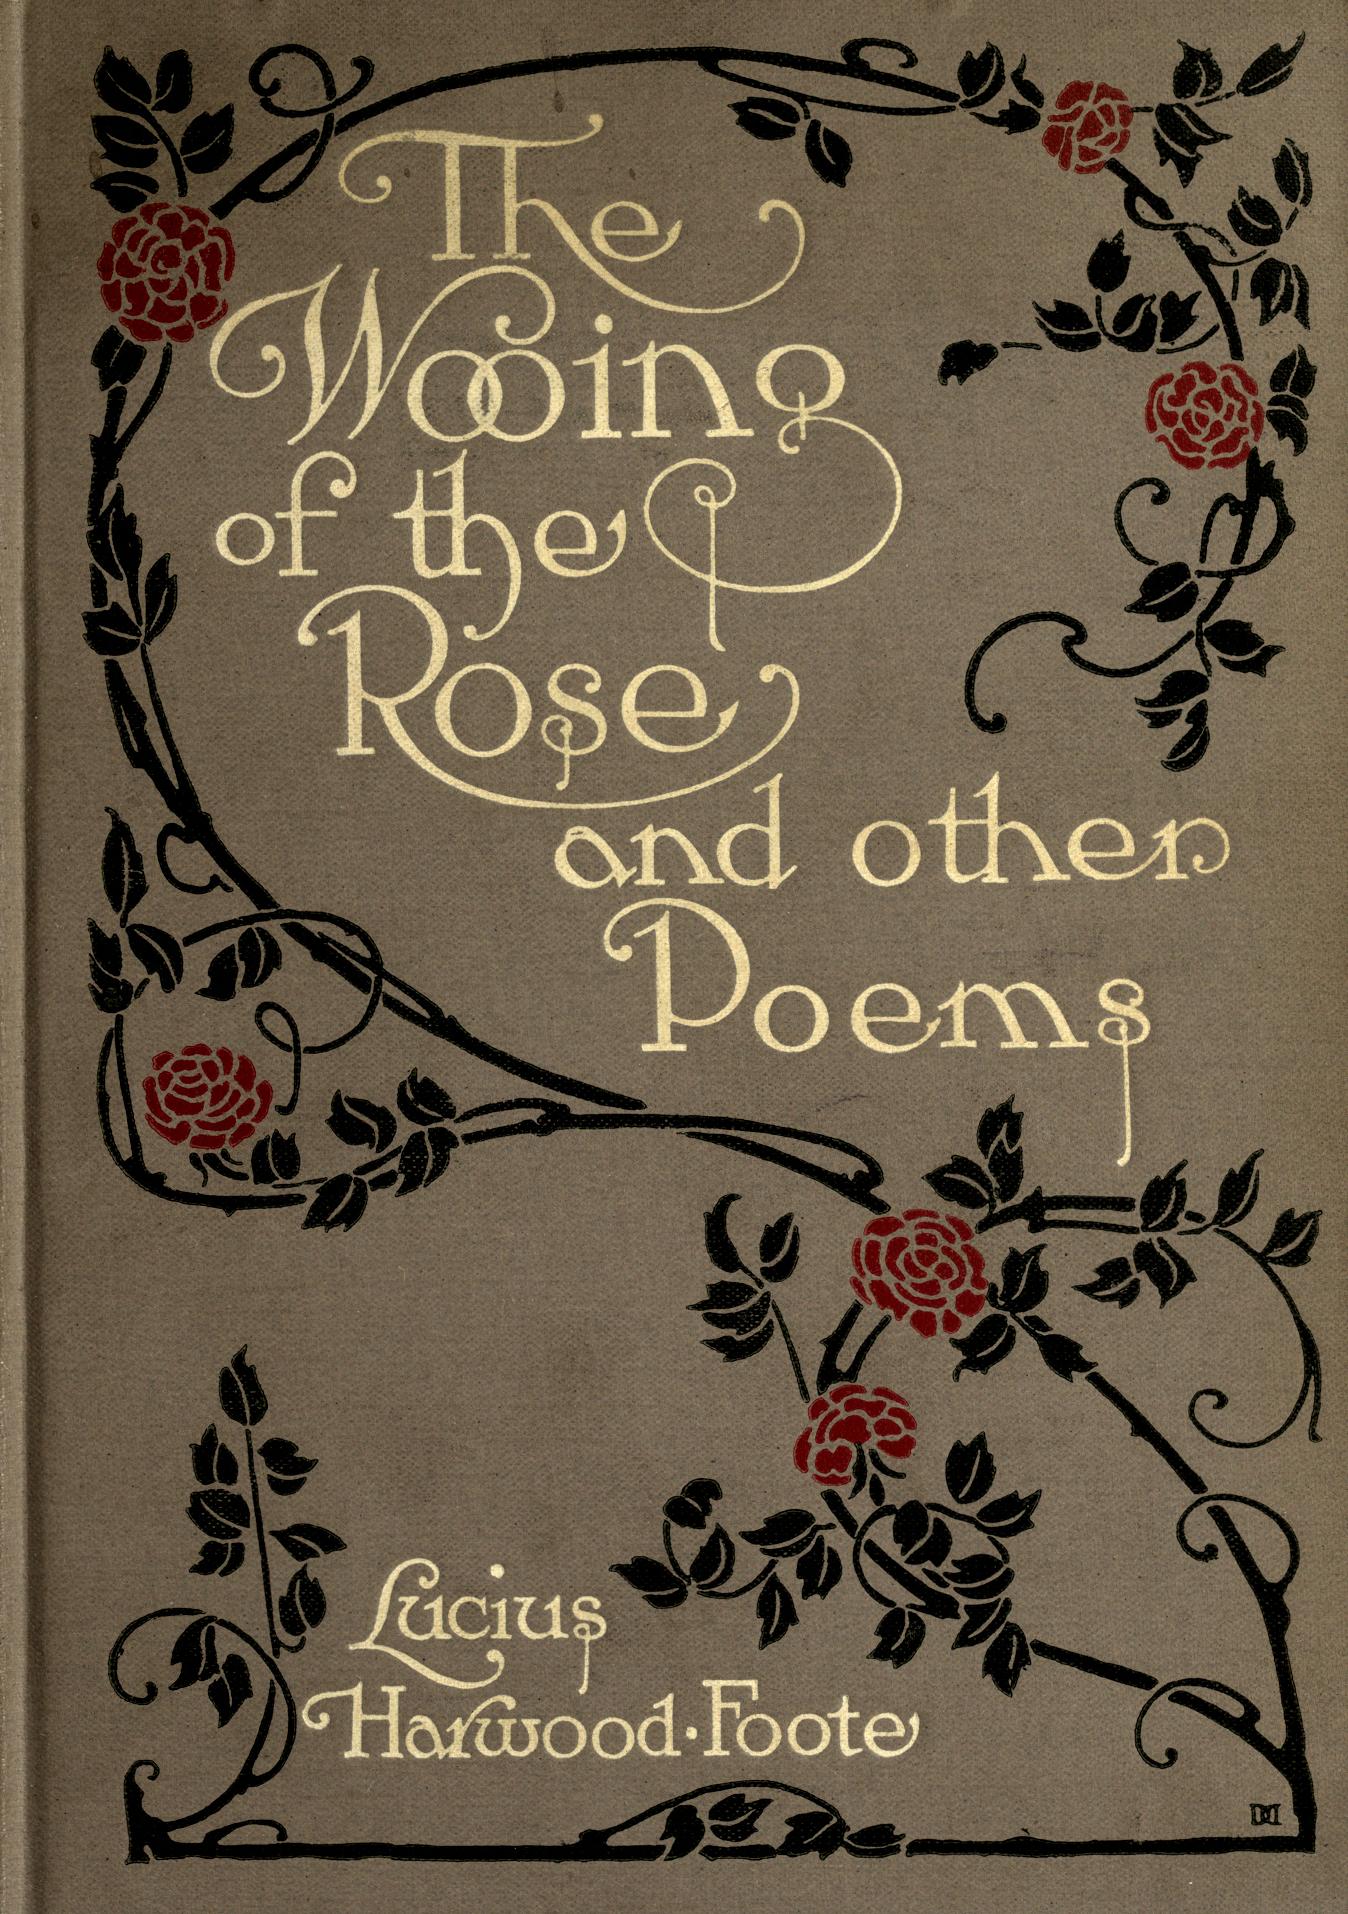
Lucious Harwood Foote. The Wooing of the Rose and other poems. New York, The Platt & Peck co, 1911.
via: The Internet Archive
Lucious Harwood Foote. The Wooing of the Rose and other poems. New York, The Platt & Peck co, 1911.
via: The Internet Archive
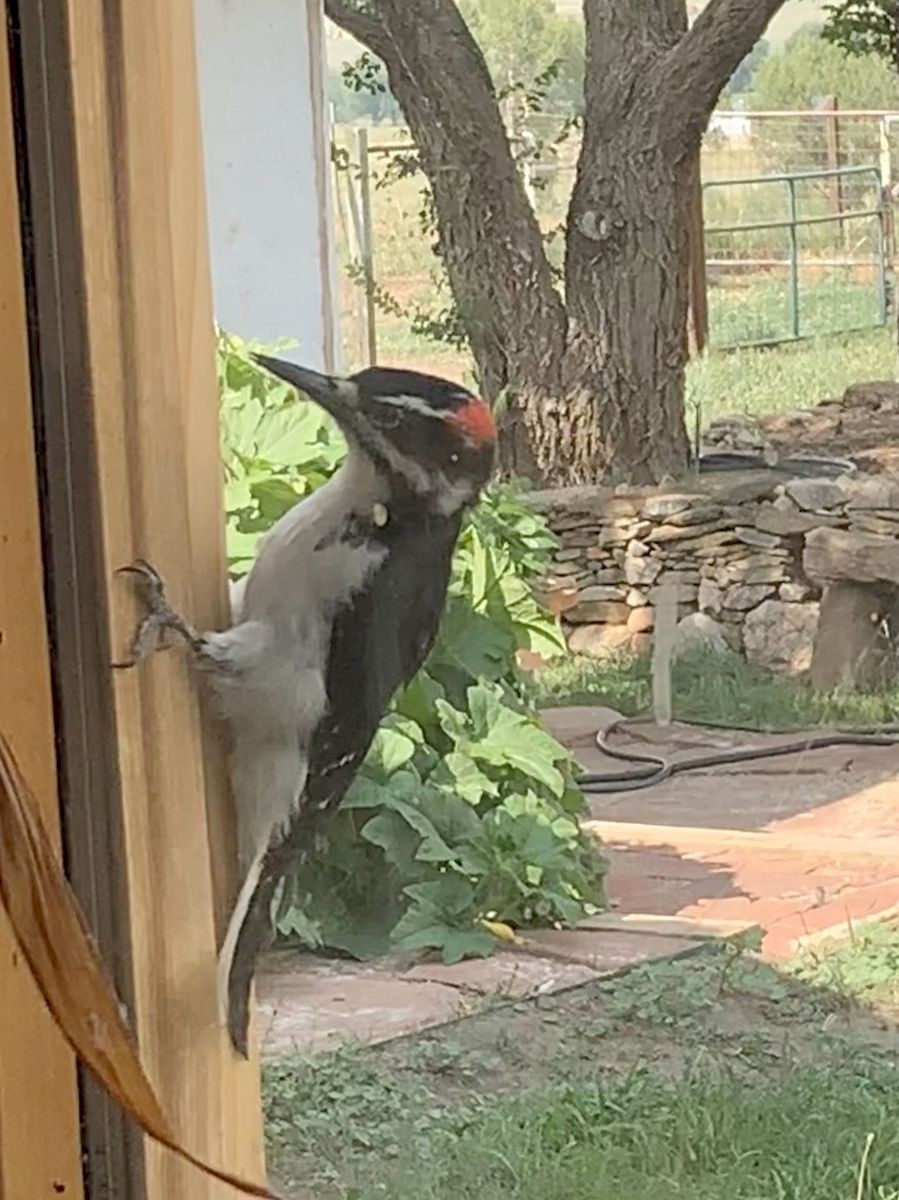
Kestrel has had another close-up encounter of the bird kind, and this guy cracks me up.
So there I was, minding my own business, when I heard this odd noise, a sort of squeak or chirp. I looked at the window and what did I see:

©kestrel, all rights reserved
Something looking back at me!

©kestrel, all rights reserved
He was pretty interested in what I was doing. Maybe he wants to learn how to weave!
©kestrel, all rights reserved
Or maybe he was just hunting for bugs. This is a Hairy Woodpecker and they are fairly common here. There is another type called a Downy Woodpecker that is virtually identical but much smaller than this guy. He could not see me through the window; he never would have tolerated me holding my phone up to him to take his picture if he had seen me.
A little info about the history of numbers.

Oliver Wendall Holmes. Illustrated by George Wharton Edwards and F. Hopkinson Smith. The Last Leaf. Cambridge, Houghton, Mifflin & Co., 1895.
This book contains a single poem – Holmes’ The Last Leaf’. This edition also includes a series of moody sketches that add to the sentimentality and poignancy. It’s a lovely old book. If you’re interested, I’ve included a few illustrations below the fold.
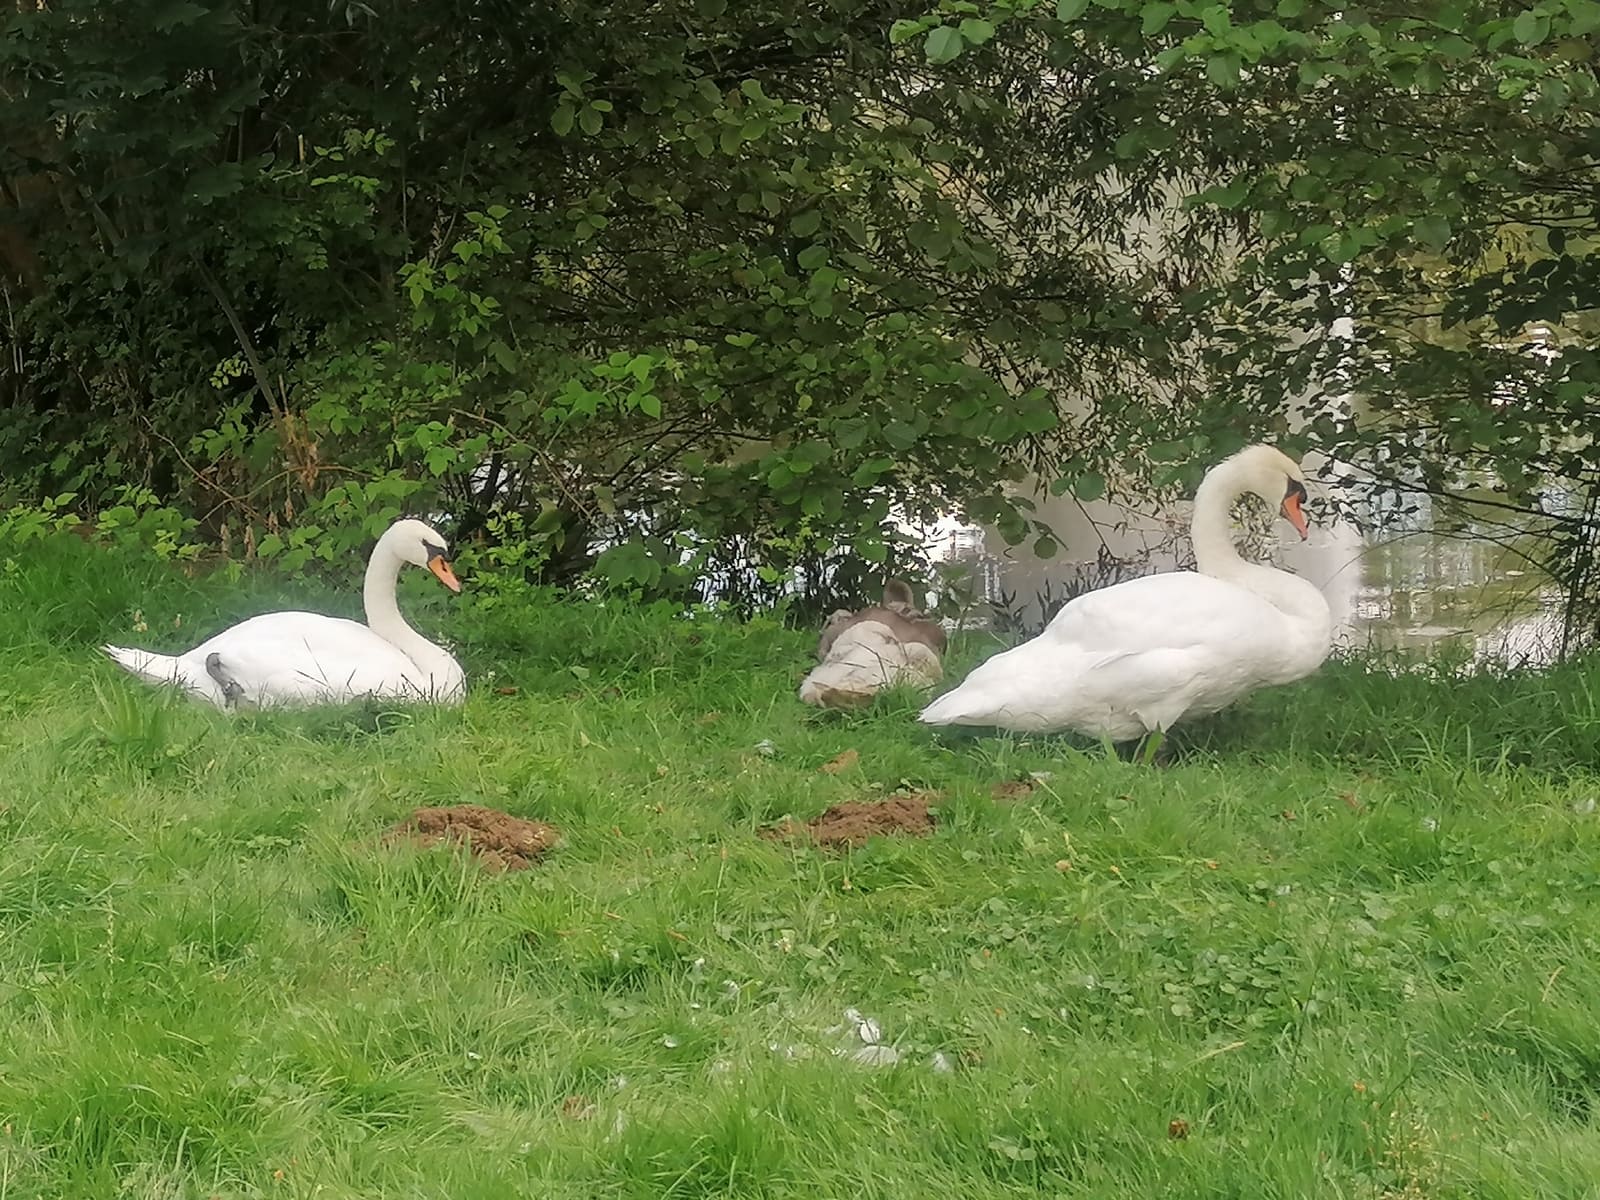
The pond we often visit for walks/Pokémon hunting used to have a swan couple. they were kind of the mascots of the village, featuring on signs, they were looked after and taken in during winter, but last year the unthinkable happened: a swan divorce! One of them left and the other one soon vanished (died?), so for the last year there were no swans. Now they got a new swan family, complete with cygnets.

©Giliell, all rights reserved
©Giliell, all rights reserved
BTW, shortly before I took these from a safe distance, a lady let her baby(!) up to one metre to the swans. But guess whom she would have blamed if the baby had gotten eaten…

George F. Swartz. Forest Trees and Forest Scenery. New York, Grafton Press, 1901.
via: The Internet Archive
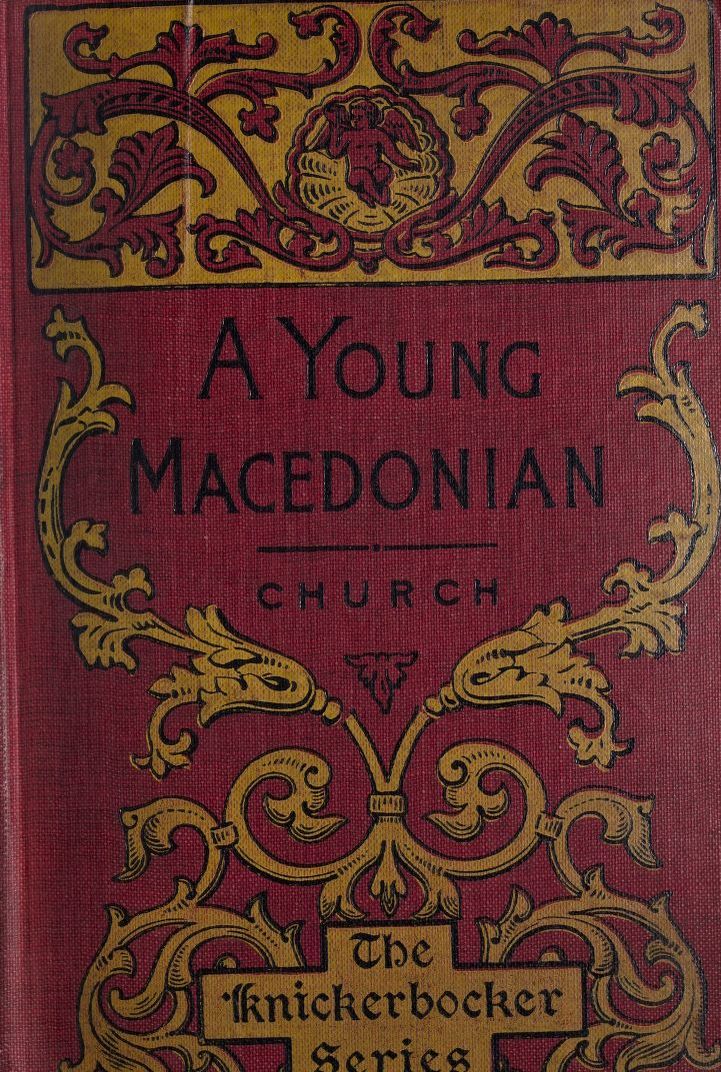
Alfred Church. A Young Macedonian in the Army of Alexander the Great. New York, London, G.P. Putnam’s sons, 1912.
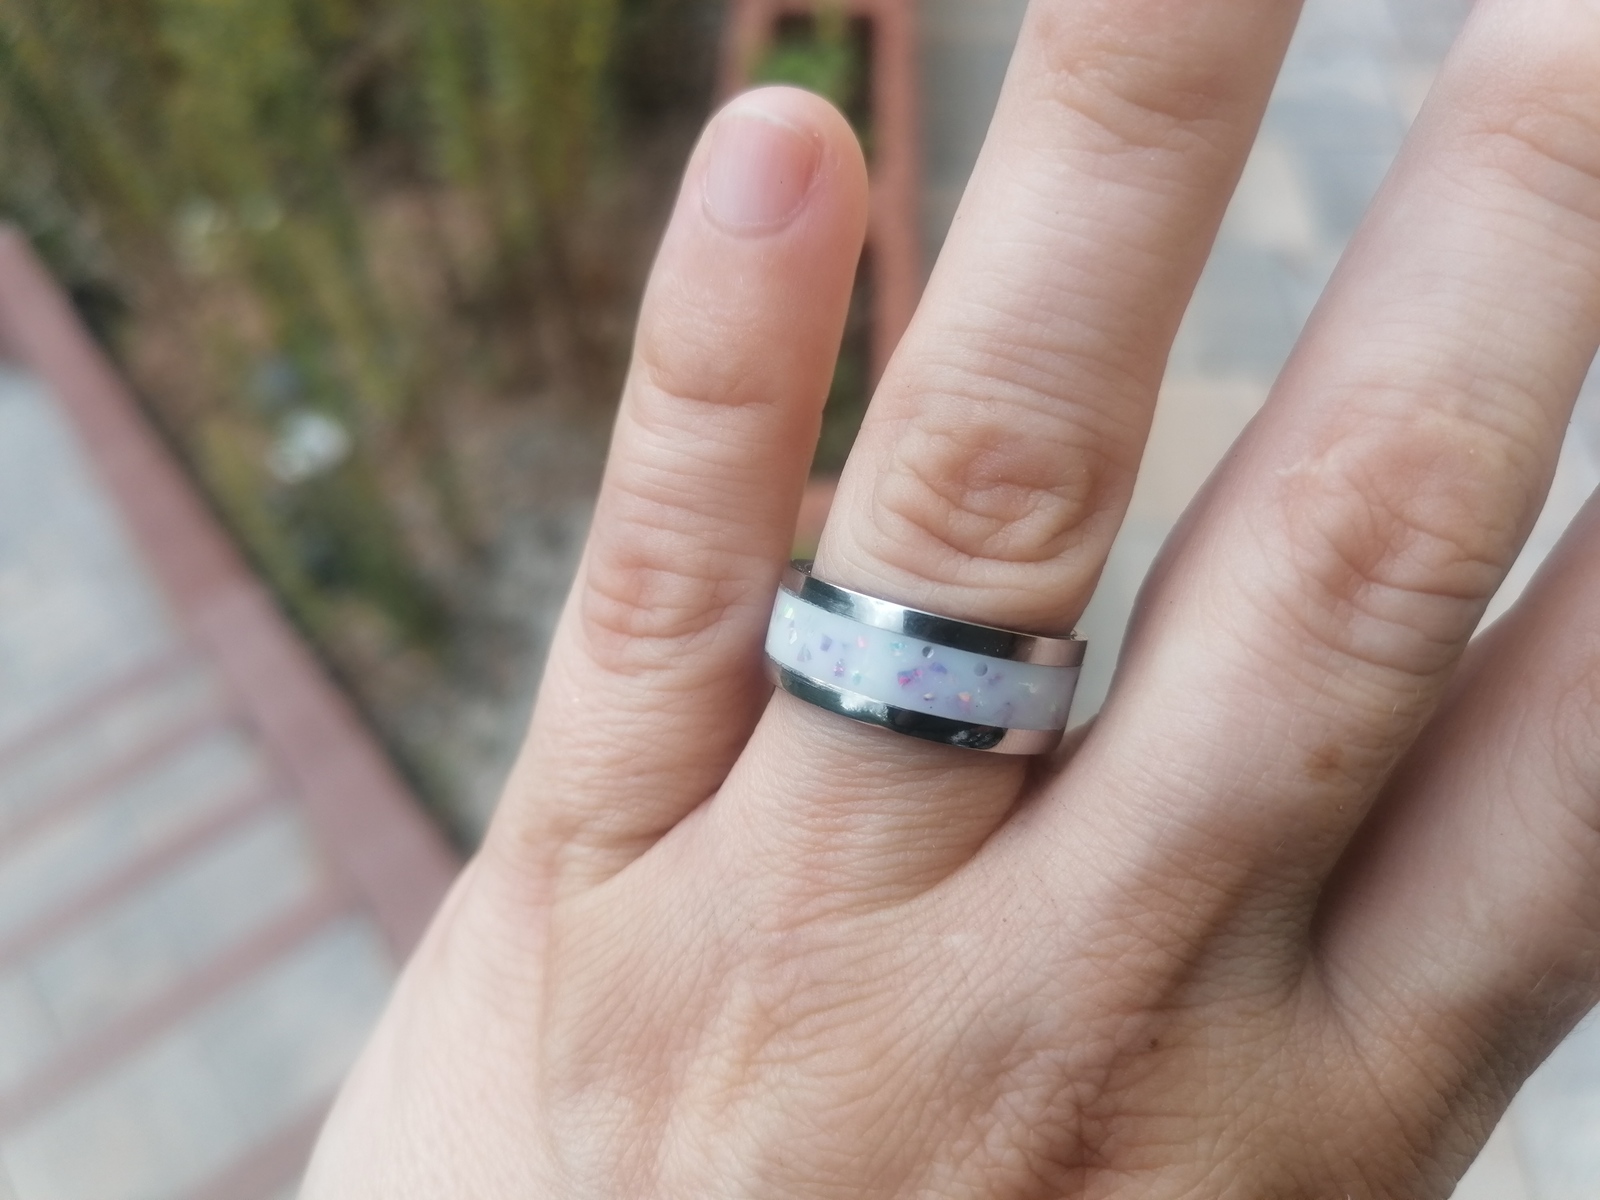
Well, nothing dramatic, just the fact that sometimes things that started easy may not keep going smoothly. After the easy time I had with the first resin and opal ring I decided to make some more, one for me and one for my sister. Only this time I ran into quite some trouble and had to do both rings twice. The reasons for this are pretty much black and white. Literally. Those were the base colours for my resin. First of all, they are tricky colours to start with as especially white pigments tend to misbehave. And yeah, I got all sorts of different dyes. Then, of course, they turn the resin completely opaque, which means the UV light has a hard time penetrating the resin and curing it.
With my first attempt at the white one everything seemed fine until I started sanding and hit a layer that had not properly cured all the way down and the whole thing flew off. For the next run I tried a different dye and while it’s not the white I’d have preferred, it cured all through (though I also took the time to cure again after sanding down the outer layer).

©Giliell, all rights reserved

©Giliell, all rights reserved
©Giliell, all rights reserved
It’s difficult to get a good pic here, because the steel will reflect the sunlight.
The black one had an additional problem. The opal came from a different seller and the pieces are smaller. This meant that in the first try they didn’t stick out like you can see above and I had to sand down inside the score. This ground the resin so thin it broke the first day of wearing. So back to the basement… In the second attempt I made the first layer thicker. While this stood the risk of sanding off the complete opal splinter, it also meant I didn’t have to sand down too much. I’m moderately happy with the result. The black turned greyish in parts and I’ll have to try a different dye again.

©Giliell, all rights reserved
I do not have the genius of Leonard da Quirm, but I do share one trait with him – I get easily distracted and sometimes spend several days trying to shave off a few minutes of some task or save a few bucks. Sometimes the effort definitively pays off – as in the case of my belt grinder or my forge burner, sometimes it is a success but with a question mark whether it was worth it – like the unbender (now I know it was worth it, btw, I have used it several times already and it is time-saver), and sometimes it is a bit of a flop, as when building a vacuum pump. If I had a definitive fail, I do not remember it, and so I allowed myself to get distracted again these last two days.
I have a problem with making metal bolsters, handguards, end-caps, and pommels. As in, it is difficult to get material thick enough to make them pretty, and even if it were not difficult, the result would be overtly heavy and thus would put the knife balance totally out of whack. The proper way to make bolsters and end caps is to make them hollow, and there are techniques for that. One of them is forging – as I did in the rondel dagger project. But that is labor-intensive, has poor reproducibility, and requires special tools anyway. Or I could buy prefabricates and adjust my design(s) to fit what is already on the market. Screw that!
So I have decided to make some new tools, and test them. The inspiration was a technique of minting coins before the invention of fly screw-press, which I have seen as a child in some black and white movie which has shown the making of Prague groschen at Kutná Hora. I remember nothing else about the movie except the part where they strike a punch on a silver blank with a hammer and thus make a coin. I think there was some drama and history in there too…
First I have made a die out of 5 mm high-carbon tooling steel. It consists simply of two holes – one for the bolster and one for the end-cap (I have chosen my small hunting knife as a pilot project because I think the design will be improved a lot by it and because I do plan to make more of these knives in the future). Second I have ground two punches out of square stock of high carbon tooling steel that I have scrounged at my previous job. Grinding the forms with angle grinder was not easy, but it was not insurmountably difficult either. I had actually a lot more trouble with welding onto it the 15 mm round stock for holding the punch in place and for striking – my welding sucks, bigly. And because at least the first strike needs to be real mighty, I have built a small wooden stand to hold the punch in place for that.

© Charly, all rights reserved. Click for full size.
With the assembly on the concrete floor, as you see it in the photo, I have given it a mighty whack with my puny Mjolnir. And I rejoiced because it was a success. To protect the floor from damage I have put it on a steel plate for subsequent tries and I went and punched four sets for the four blades that I have currently in making, three out of brass and one out of pakfong.

© Charly, all rights reserved. Click for full size.
The pakfong was a bit thicker than the brass so it gave me some grief, thus the surface is not so smooth on the end-cap – I had to whack it several times and it wandered off the die and I struck it without noticing it. But that should not be a problem, there is enough material in there to polish these dents out.
It took me mere minutes to punch all these, and after a long time, I was really, really happy for a bit. There are a few details to iron out – like making a better stand for the punch, making it so I can put it safely on my anvil, figuring out the ideal amount of overhang and so forth – but it functions as it is and it is a massive saving in time already. Whether the knives will really look better remains to be seen, but I am confident they will. Further, this opens a lot of new possibilities for knife designs for me.

Augustus Hoppin. A FAshionable Sufferer. Boston & New York, Houghton, Mifflin and company, 1883.
via: The Internet Archive

James G. Needham. Elementary Lessons on Insects. Springfield, Ill. & Baltimore, Maryland, C. C. Thomas, 1928.
via: The Internet Archive

Onoto Watanna. A Japanese Nightingale. New York & London, Harper & Bros., 1901.
via: The Internet Archive
