©voyager, all rights reserved
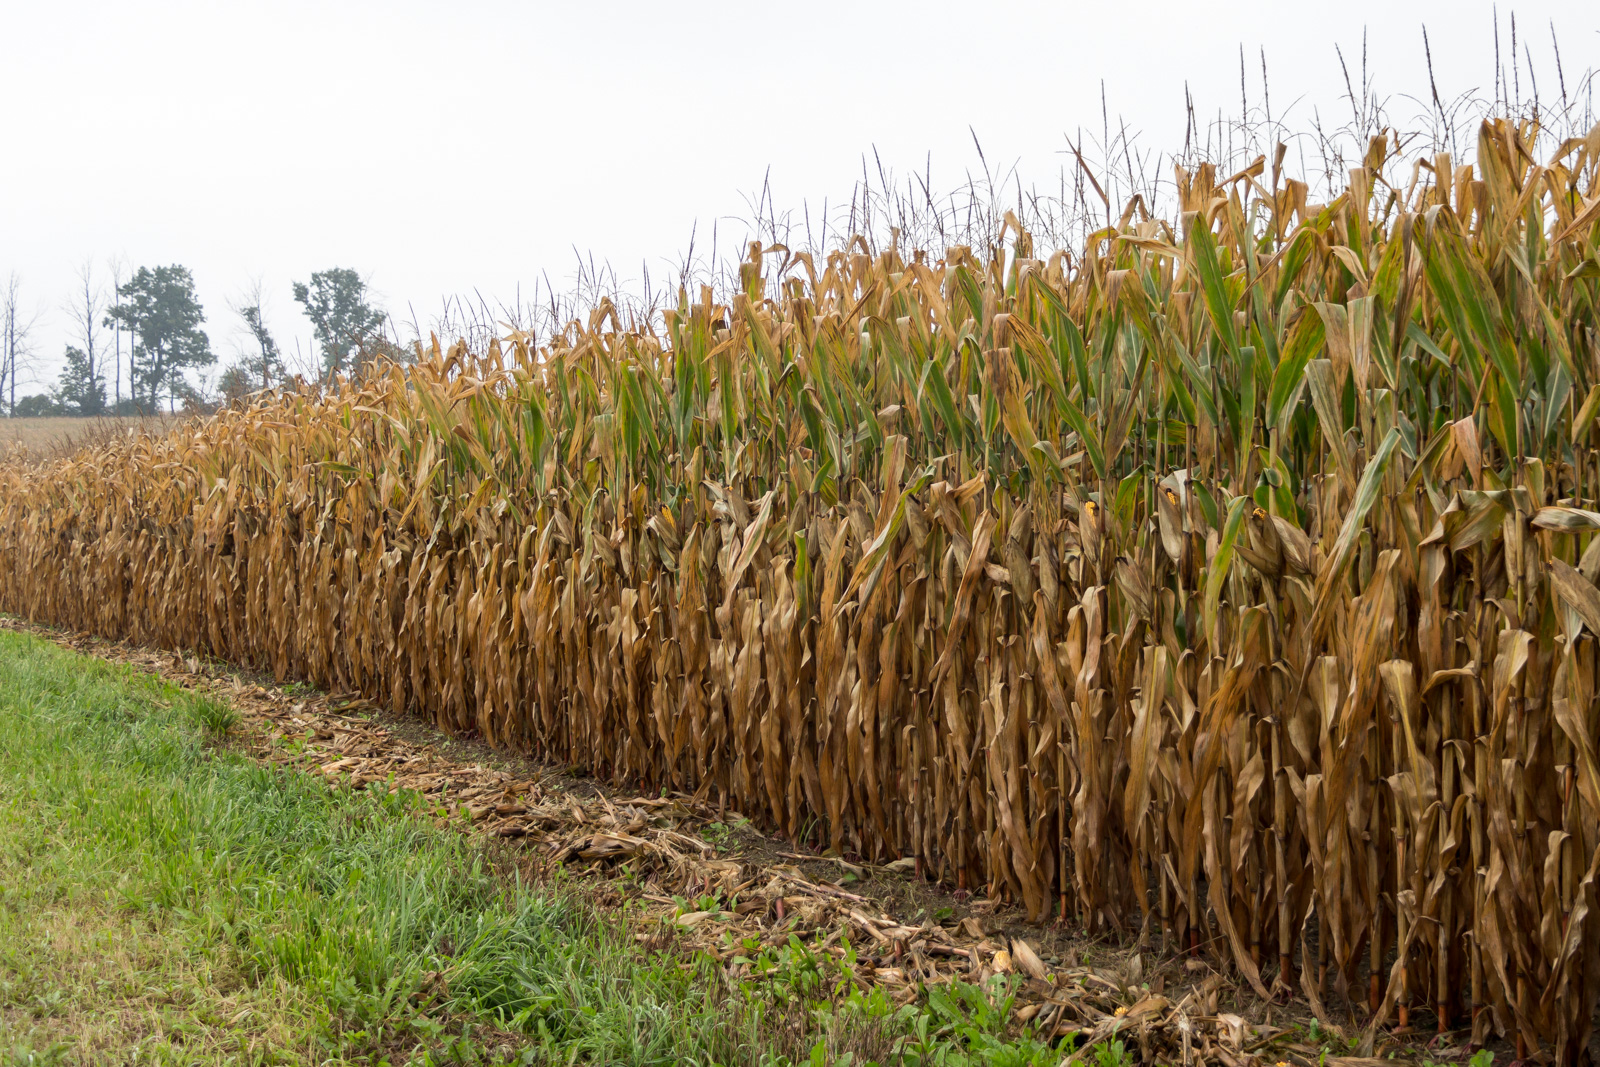
Most of the cornfields around us have been cut down and readied for spring, but there are always a few farms that leave the stalks insitu over winter. I’m not a farmer and have no idea why, but today I was grateful to find something/anything that wasn’t a dirt bare, wet brown field.