Nobody got hurt and nothing was permanently damaged. Other than that, the day did not go particularly well.
There are four of us in the class. The first attempt at a quench was unsuccessful: the blade was too cold and it did not harden down the entire length. Then, it was my turn and the clay began immediately to flake off into the forge. After me, it was Mike P.’s turn and his blade took an amazing curvature, as well as a 1.5″ twisting bend right in the middle. The final attempt by Neil was also put on “hold” due to extreme clay-flaking. That left us with two blades that needed to be normalized to soften them back up, then re-sanded and re-clayed. The other two blades (mine and Neil’s) needed to be scrubbed down and re-clayed.
I remembered a problem years ago, with collodion wet plates, where the collodion would pull off the glass. The solution was to “sub” the edges of the glass with a bit of egg white, which is sticky protein that dries to a very thin layer. It stuck to the glass and the collodion stuck to it. So I asked sensei if I could try an experiment and he asked for my reasoning (fair enough!) and he OK’d the idea. Once my blade was cleaned up and dry, I wiped it down with egg white and let it dry, then gave it another coat. After that, I applied the clay.
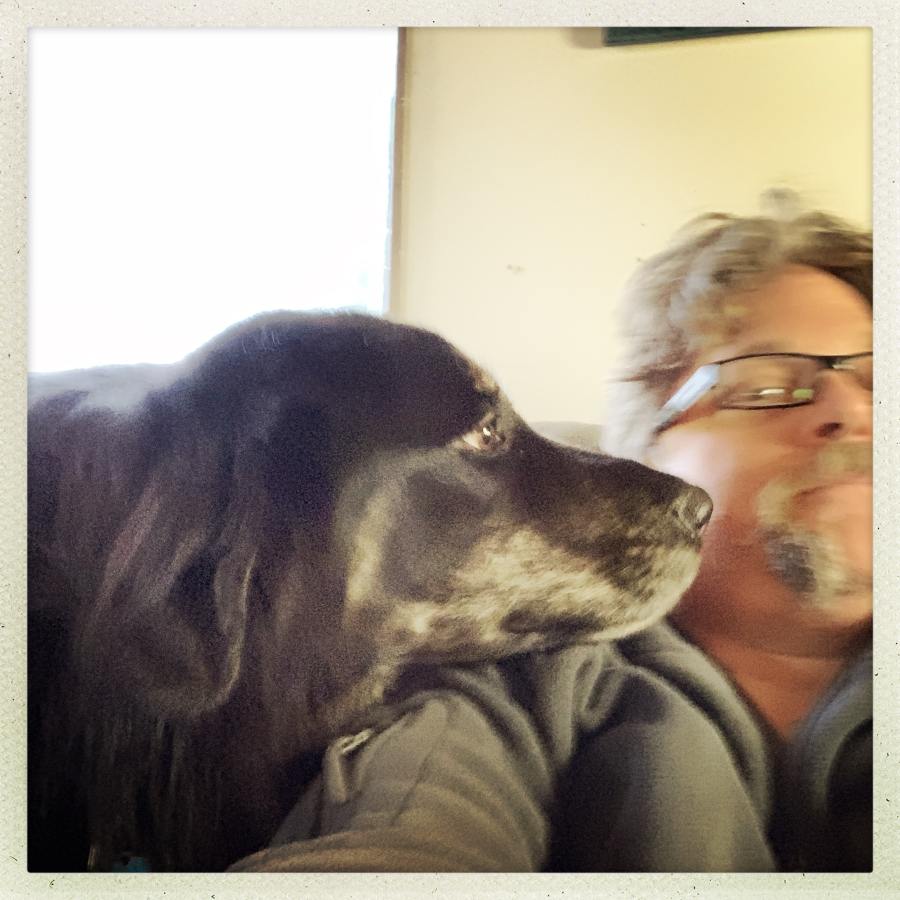
We broke for lunch and I got consoled by Samson.

Meanwhile, Mike’s renormalizing process went successfully and he was able to work the curvature and the warp out of the steel, then began the process of cleaning it for re-claying.
We expected the day to be busy and intense, followed by more intensity as we started grinding into our hardened blades to see what the temper-lines looked like. Instead it was a pretty relaxing day of conversation, joke-telling, and repeating yesterday’s work.

I suppose that each time you do a task, you may do it better, if you want to. I’m not particularly worried about the lost day; we learned a lot in conversation. But it was not what I expected.
Tomorrow we’ll try quenches again. I checked my blade before I left and there were already small cracks forming in the clay. I immediately wished I had mixed the remaining egg white into the clay itself as a binder. But – small steps. There’s a chance that it will all fall right off tomorrow and I’ll have to quench and finish the blade at home on my own.

Curious to see how your idea works. That’s great you get to try it out right there, although I’m sorry it did not all go as planned. Well it’s a learning opportunity and sometimes you do learn more when things don’t go exactly perfect.
I hope the egg white works. Good on Samson!
My musings and opinions:
If the clay cracks whilst drying up, not enough binder is not the problem, not enoug grog is. You have too much clay that contains chemicaly bound water. When that water dries out, the clay molecules change shape and the clay shrivels up and cracks. That is why potters add grog to their clay, to reduce cracking – grog can absorb water only via capilar interaction and thus does not change volume when drying up.
So in my opinion you should cut the clay with grog, or sand or pearlite or some other material to a degre when it is still tacky and slipery when wet, but does not crack when drying up anymore.
In my (very few) experiments, when I had problem with the clay not holding onto the blade, I have added a bit of water glass to it. The new problem was however that it did not fully fall off in the quench afterwards and it was a bugger to clean off of the blade. But it worked.
Aslo, if the clay starts to fall of when itroduced to the forge, it might not have been dried properly before and the expanding steam ripped it off. More grog/sand/pearlite for porosity should help with that too.