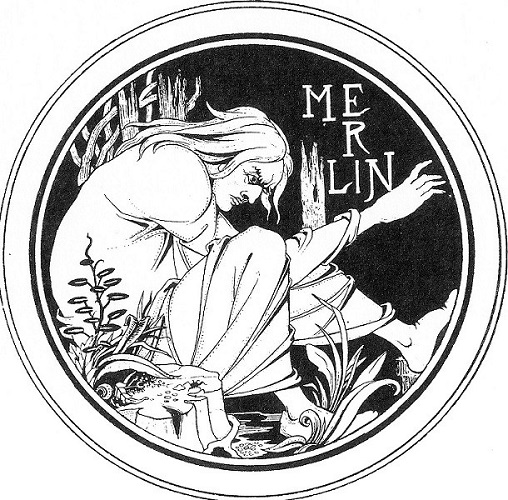
Merlin. Artwork by Aubrey Beardsley. Le Morte Darthur.
Merlin and Nimue. Artwork by Aubrey Beardsley. Le Morte Darthur.
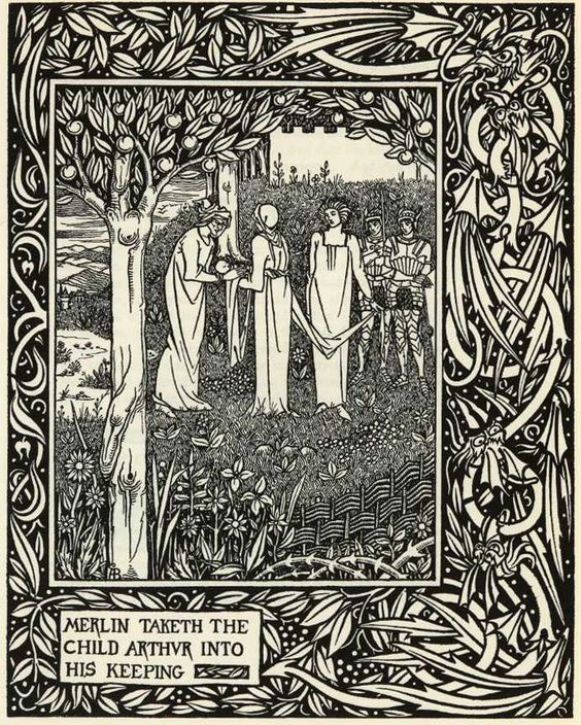
Merlin Taketh the child Arthur into his keeping. Artwork by Aubrey Beardsley. Le Morte Darthur.
Merlin. Artwork by Aubrey Beardsley. Le Morte Darthur.
Merlin and Nimue. Artwork by Aubrey Beardsley. Le Morte Darthur.
Merlin Taketh the child Arthur into his keeping. Artwork by Aubrey Beardsley. Le Morte Darthur.
A very common on roadsides and near rail roads, but a very beautiful flower all the same. Belowed by bumblebees.

© Charly, all rights reserved. Click for full size.

How Morgan LeFey Gave a shield to Sir Tristram. Artwork by Aubrey Beardsley. Le Morte Darthur.

How Queen Guenever made her a nun. Artwork by Aubrey Beardsley. Le Morte Darthur.
I find it interesting that not only is the pollen on this flower pink, but that also the bumblebee apparently collected enough of it to have pink pollen sacks on her legs.

© Charly, all rights reserved. Click for full size.

© Charly, all rights reserved. Click for full size.

© Charly, all rights reserved. Click for full size.

How Sir Palomides Made Great Sorrow and Mourning for La Beale Isoud. Artwork by Aubrey Beardsley. Le Morte Darthur.

How Sir Palomides Made Great Sorrow and Mourning for La Beale Isoud. Artwork by Aubrey Beardsley. Le Morte Darthur.
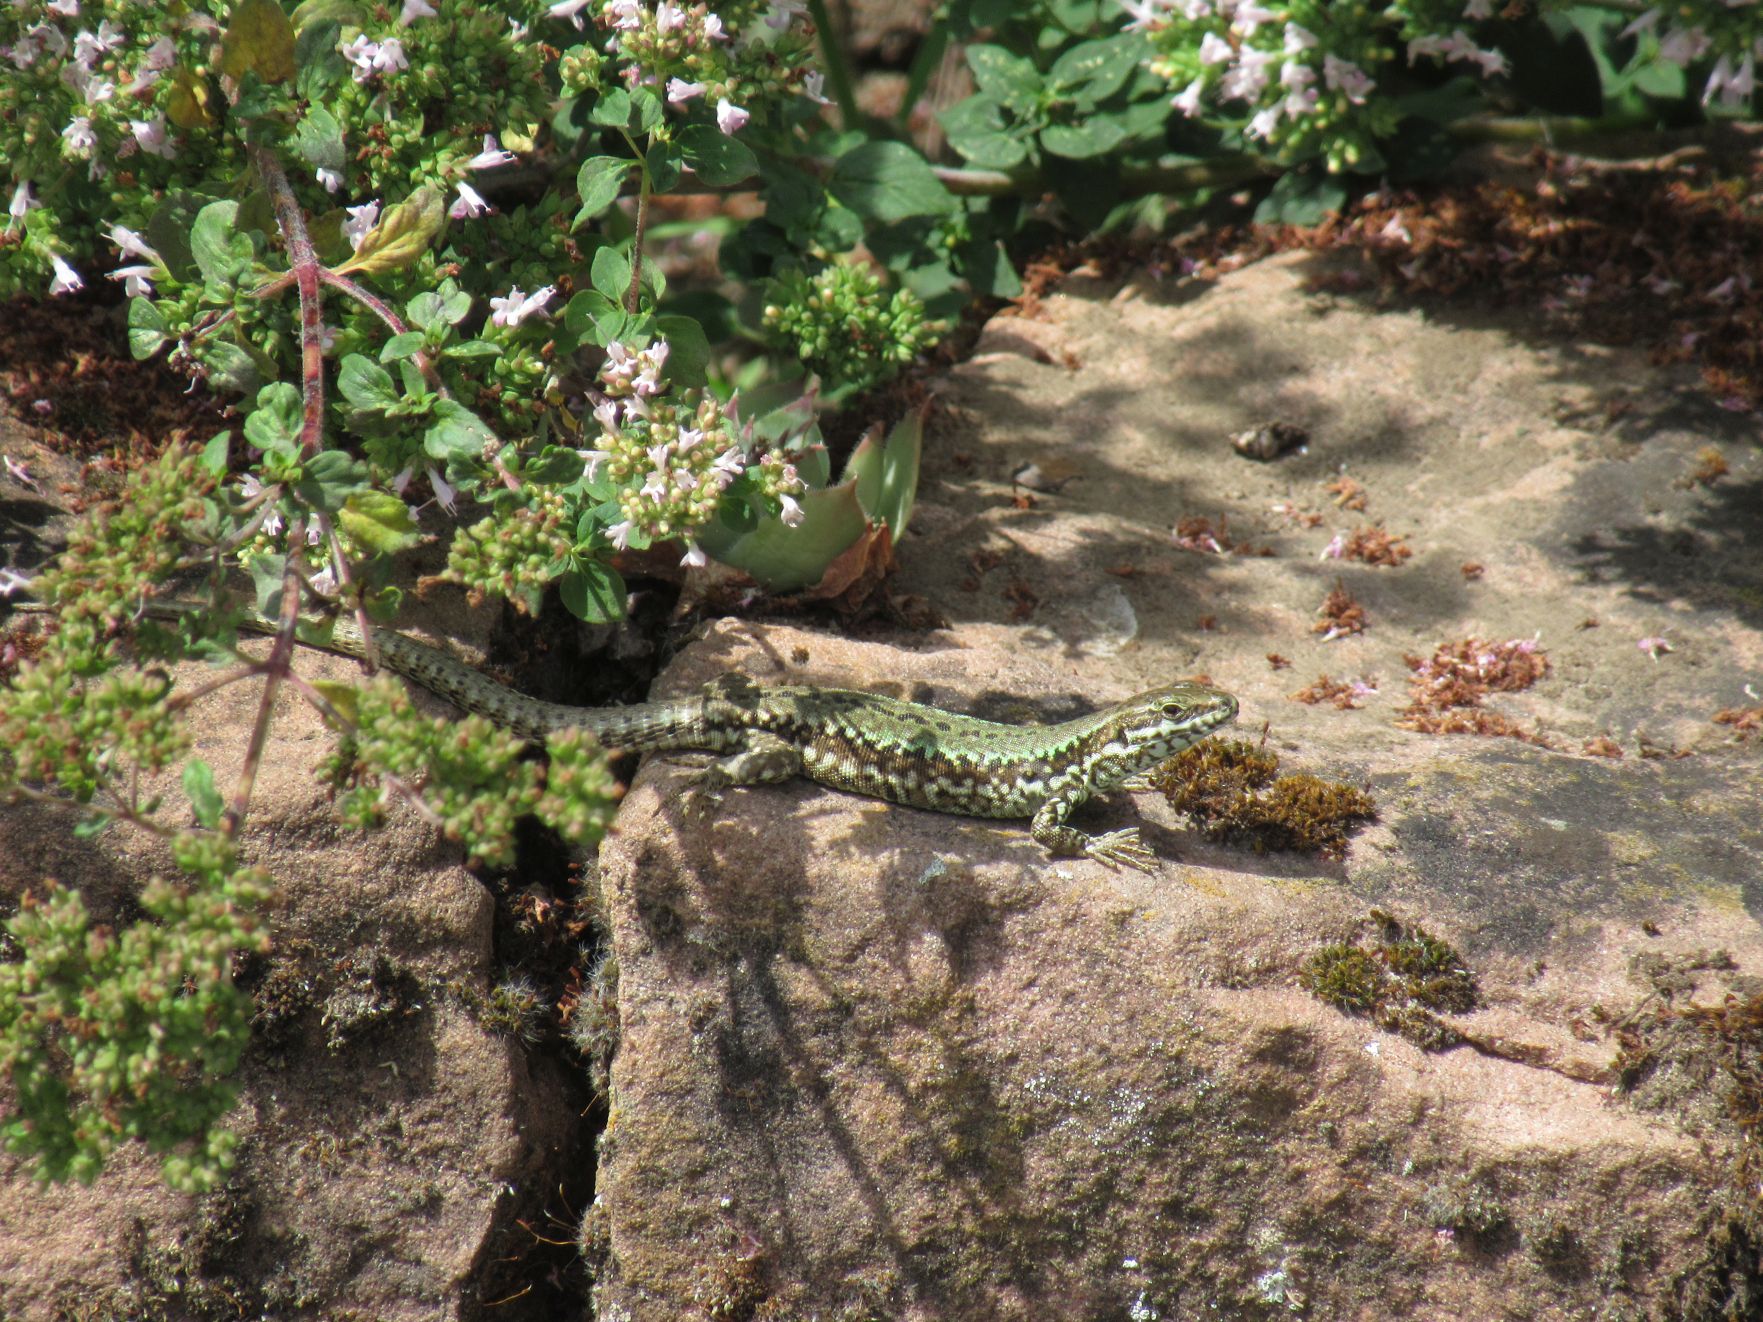
We’ve got them, thanks to Avalus, who has a good eye for spotting well camouflaged small creatures.
a young and an older sand lizard

©Avalus, all rights reserved
©Avalus, all rights reserved
In yesterday’s kerfuffle, I completely forgot this series. So, belatedly, a video from a Spanish violinist.
I have not seen a single whole episode of Star Trek, ever, and I fell absolutely no inclination to do so. I have only ever seen snippets of TNG, so I just about know it is a Sci-fi and I know who Jean-Luc Piccard and Data are.
But this music is beautiful to me all the same.

How La Beale Isoud wrote to Sir Tristam. Artwork by Aubrey Beardsley. Le Morte Darthur.

How King Marke found Sir Tristam. Artwork by Aubrey Beardsley. Le Morte Darthur.

How La Beale Isoud nursed Sir Tristam. Artwork by Aubrey Beardsley. Le Morte Darthur.
Plus, a bit of bonus music today because this is the song that introduced me to Beardsley, way back in (gulp) 1977. That was in the pre-internet world, and it wasn’t easy to find Beardsley prints. Our local library didn’t carry anything, and neither did our only book store. I finally found a book at UWO with a compilation of his work. I think it was simply called Aubrey Beardsley, and it was a thrilling discovery.
Today’s Beardsley has a bevy of beauties with bountiful bosoms plus a quadrangle of quiet, contemplative Queens.

How A Devil In A Woman’s Likeness Would Have Tempted Sir Bors. Artwork by Aubrey Beardsley. Le Morte Darthur.

How four Queens found Launcelot sleeping. Artwork by Aubrey Beardsley. Le Morte Darthur.
The knife is finished, although not sharpened, and here are the final pictures. I am going to make more knives of this design because I think it is a good knife for forest walks, especially mushroom hunts. And I am naming the design “Badger”.

© Charly, all rights reserved. Click for full size.
The overall length in the sheath is 205 mm. The sheath is from vegetable-tanned leather, carved (badger paw print, frame edge), stamped (leather weave, edge trimmings) and dyed, thoroughly infused with beeswax, oiled with olive oil on the inside and buffed with dubbin outside.

© Charly, all rights reserved. Click for full size.
The sheath has a metal belt clip. This allows the knife to be worn not only on the belt but also clipped onto/into the pocket or boot. The pommel sticks out of the sheath far enough for a comfortable grip with index finger and thumb when pulling the knife out. The knife clicks into the hardened leather firmly enough to not fall out of it with its own weight, but can still be pulled out comfortably.
Stitching is made with a two-needle saddle stitch with artificial sinew. The end knots are melted together and hidden.

© Charly, all rights reserved. Click for full size.
Brass fittings have a black patina with clear brass badger paw-prints over the pins. Scales are from naturally aged cow bone, slightly larger than the tang and wider than the brass fittings. The right scale is adorned with scrimshaw engraving of a badger head – this is a new skill that I had to learn but kept secret since I had no guarantee it will work out. I think it did work out OK. I may add a bit more pigment once this hardens, but maybe not, I like it the way it is. The badger is colored black with coal dust, the patterns, and the frame, with ochre (rust).

© Charly, all rights reserved. Click for full size.
Handle length 100 mm, drop-point style blade 87 mm length, 3 mm thick at the ricasso. Point of balance just behind the first two pins in the handle scales, also between the index finger and middle finger. It feels a bit handle-heavy but nimble. The steel has dark-grey patina from an oak bark extract.

© Charly, all rights reserved. Click for full size.
The left side of the handle is unadorned except a few scratch grids around the pins. The left side of the blade has significantly different steel pattern due to how the san-mai was hammered at the Badger Forge.

© Charly, all rights reserved. Click for full size.
Back of the tang has a row-of-crumpled-leaves fileworks, the belly has a simple triangle pattern.
Overall, I am satisfied with my work here. There are things that I am critical of, there are things that I definitively might have done better – it is not a masterpiece yet, but I think I am getting there. I have learned a lot again and many of the things that took me several days this time should be just a day or even less the next time (the leatherwork for example).
I like the feathery patterns of fern leaves.

© Charly, all rights reserved. Click for full size.
I love the way Beardsley draws armour. It’s so highly decorative with all sorts of complicated and intricate patterns and a feminine cut and drape. His chainmail hangs like silk, and the overall effect is one of weightless beauty.

Artwork by Aubrey Beardsley. Le Morte Darthur.

Artwork by Aubrey Beardsley. Le Morte Darthur.
The day before yesterday I had to make the leatherwork all anew, because I spilled some glue on the forefront of the sheath and it has proven to be irreparable damage, it completely ruined the leather. So I have made a new piece, this being, therefore, the fifth attempt. And when I was at it, I have improved my tools to make a better job.
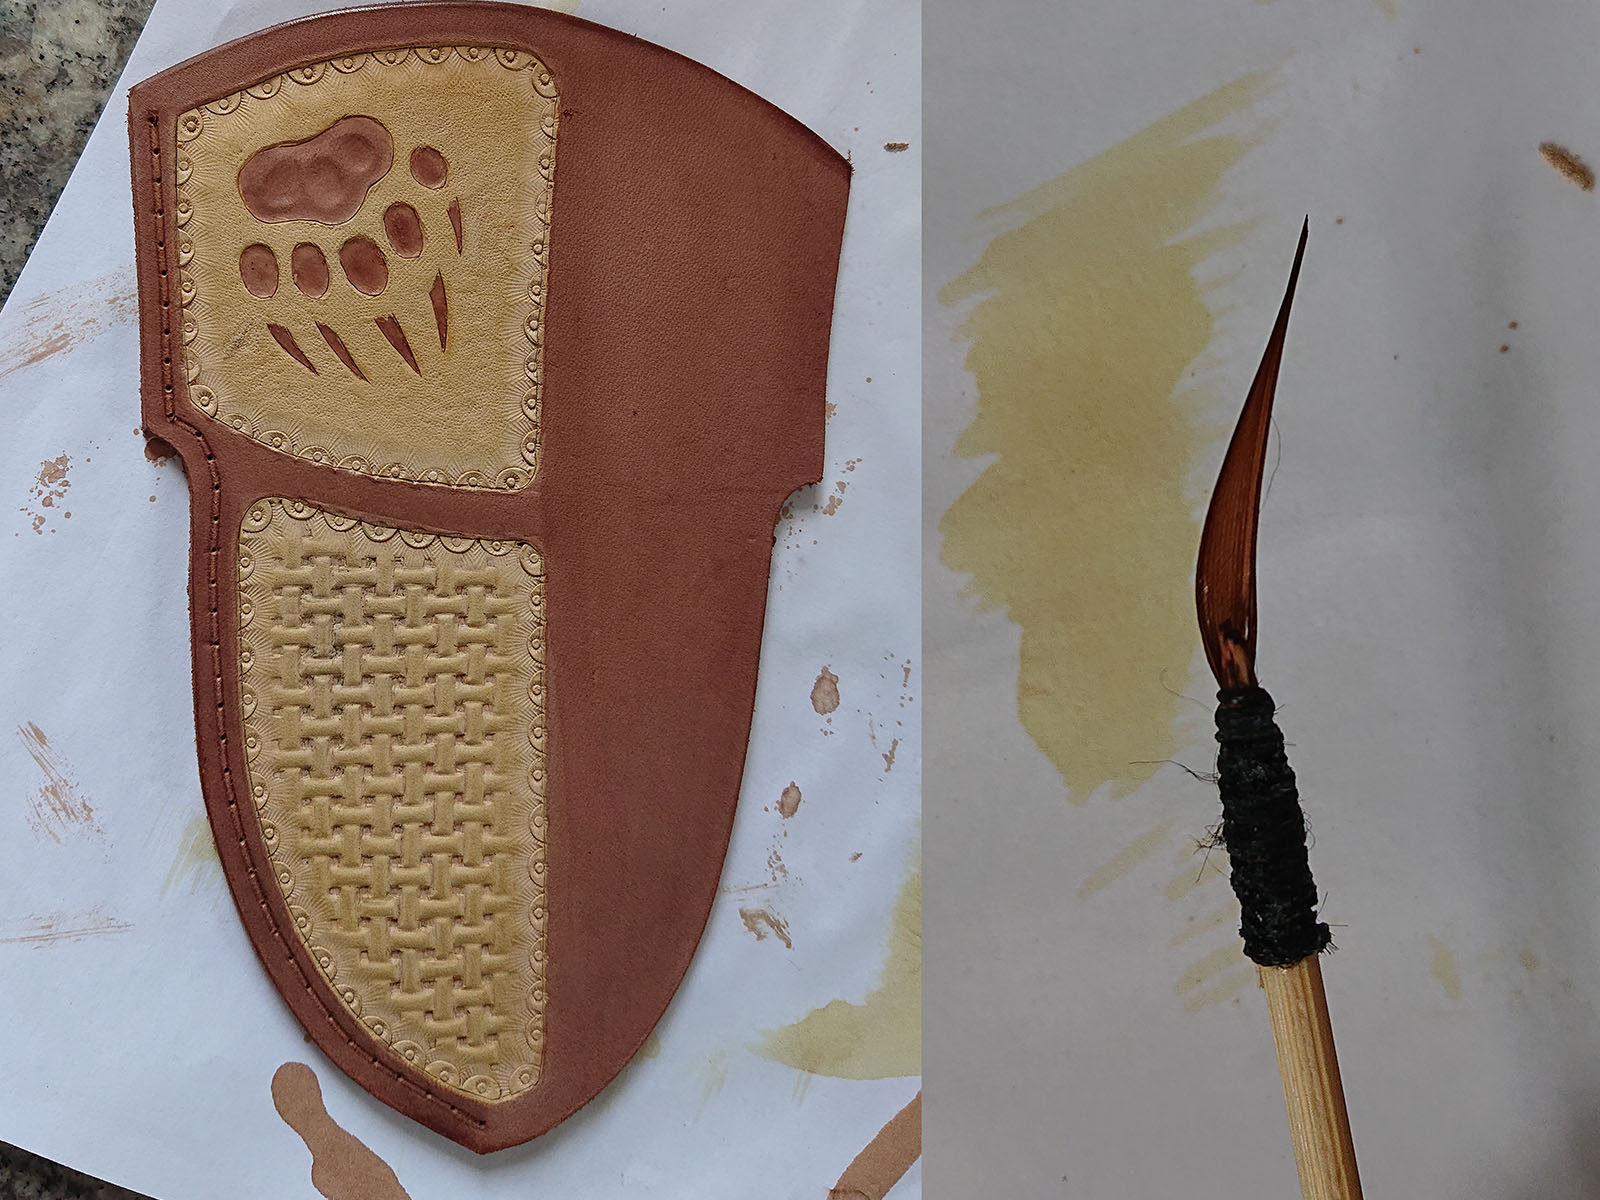
© Charly, all rights reserved. Click for full size.
I have re-filed the basket-weave stamp to make it crisper and bite more deeply. That has allowed me to better feel the position of the stamp when moving it along the edge and positioning it in the next point on the pattern grid. I have also used a straight edge and I scribbled a faint line for each row before stamping along it.
To get the dye better into the tips of the claw marks I have needed a very fine brush, so I had to make one. And since I do not have any weasel hair, I have used a few strands from a goose feather. It has worked perfectly.
This is my first attempt at a sheath with a metal belt clip. I have first riveted the belt clip to a piece of leather and then glued/stitched that piece of leather onto the sheath. Only then have I glued and stitched the rest of the sheath together. This avoids any contact between the knife and the metal of the clip and secures the clip very firmly in place.
For making the holes I have used 2 mm drill bit in my drill press since I found that to be by far the most convenient method. For stitching, I have used saddle stitch, and I hope I have used it correctly. I had trouble finding a comprehensive tutorial on how it is done.
BTW, holding the work between my knees is really uncomfortable, I will have to make myself a proper tool for this. So many tools that I still need… Anyway, back to the stitching.

© Charly, all rights reserved. Click for full size.
Saddle stitching is made with two needles and here you can see how I do it. First I am pulling the right needle through the hole all the way to the end (top). Then I put the left needle in the hole whilst wrapping the thread from the right needle around it in a loop (middle). When carefully pulling the left needle through the hole (taking care to not stitch through the thread already inside) it creates a knot that gets tightened inside the hole when both threads are pulled to the limit (low). This kind of stitching is very strong and it does not unravel even when the thread is worn/cut/breaks in one spot.

© Charly, all rights reserved. Click for full size.
The almost last step in making the sheath was wet forming. I have put the whole sheath into lukewarm water and let it soak in there as long as bubbles were coming out of it. When it was all soft and pliable, I have wrapped the knife in food wrapping foil, put it in the sheath and formed it around it simply by finger pressure until it had a shape that I wanted. I have used clamps too, but only for a few minutes around the edge, I did not leave in clamps until it was fully dried, it was not necessary. In fact, to let it dry I have simply hung it on a window handle as you can see in the picture.
Today was the final day of this project. I did make some minor mistakes when making the sheath, so I had to glue a little wedge of leather inside with five-minute epoxy, but that is simply a lesson learned for the future and not something to worry about aesthetically or functionally. I must simply remember next time to make the blade portion shorter (and slimmer) and the handle portion longer. But it was working just fine, the knife holds in it strong enough to not fall out, but it can still be pulled out with just two fingers by the pommel. So I have infused it with beeswax and dubbin*, so it is hard almost like plastic, but still with a pleasantly natural and organic feel to it. That made it a lot darker and I applied some black patina too to make it look a bit aged, to fit the knife.
So, after a month of procrastination interspersed with bouts of hectic work and attempts at learning new skills, at least one piece of steel out of three has made it into a final product. I am going to try and make some nice pictures and tomorrow I will post them.