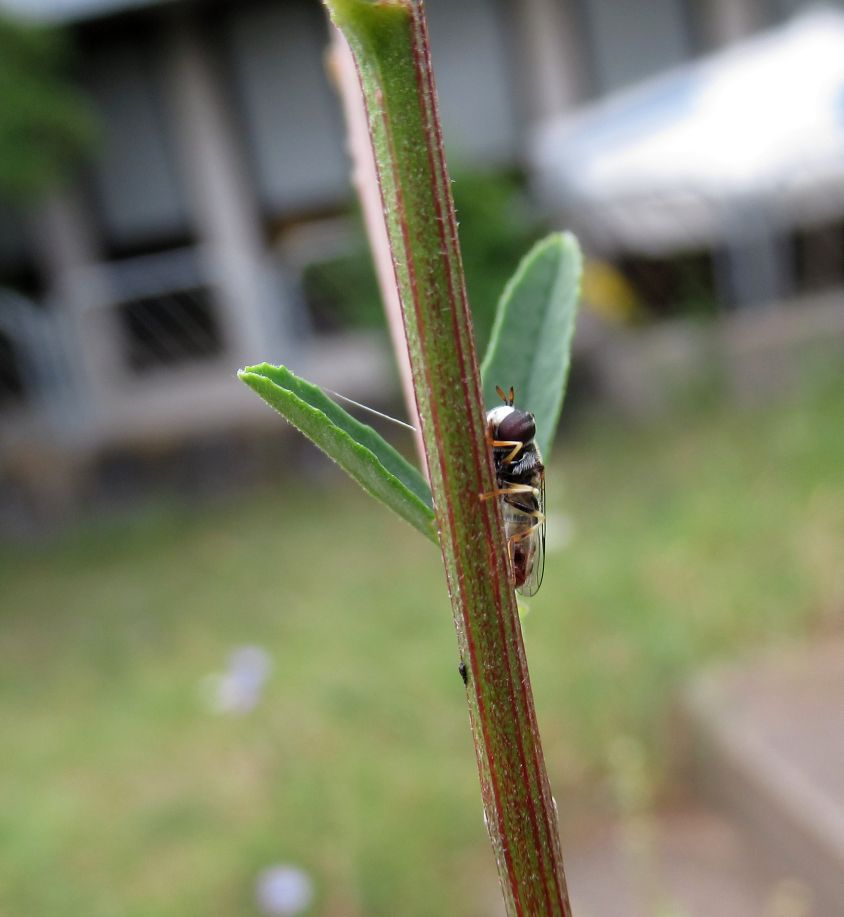
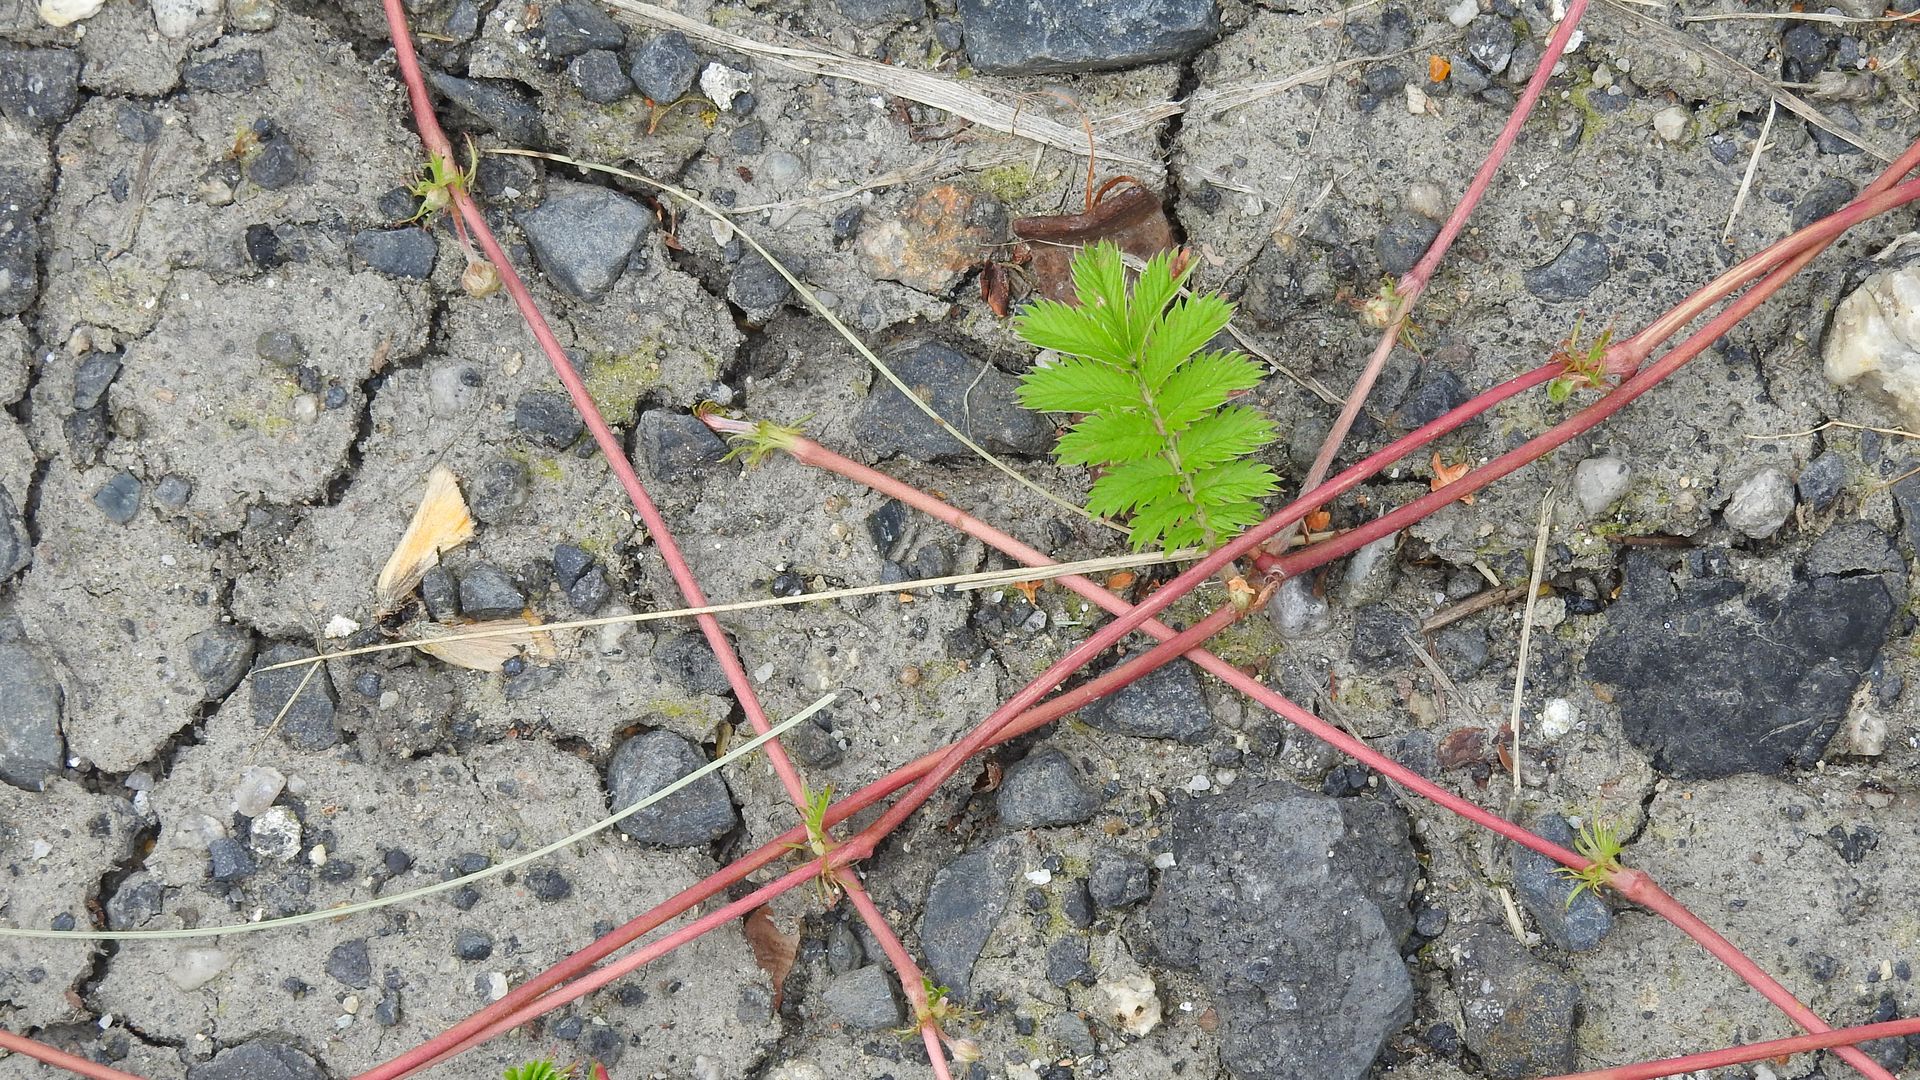
Death and destruction on the roadside. A parched strip of land, baked by the sun in the summer, destroyed by salt runoff in winter. But silverweed endures and sends its creeping stolons across it.
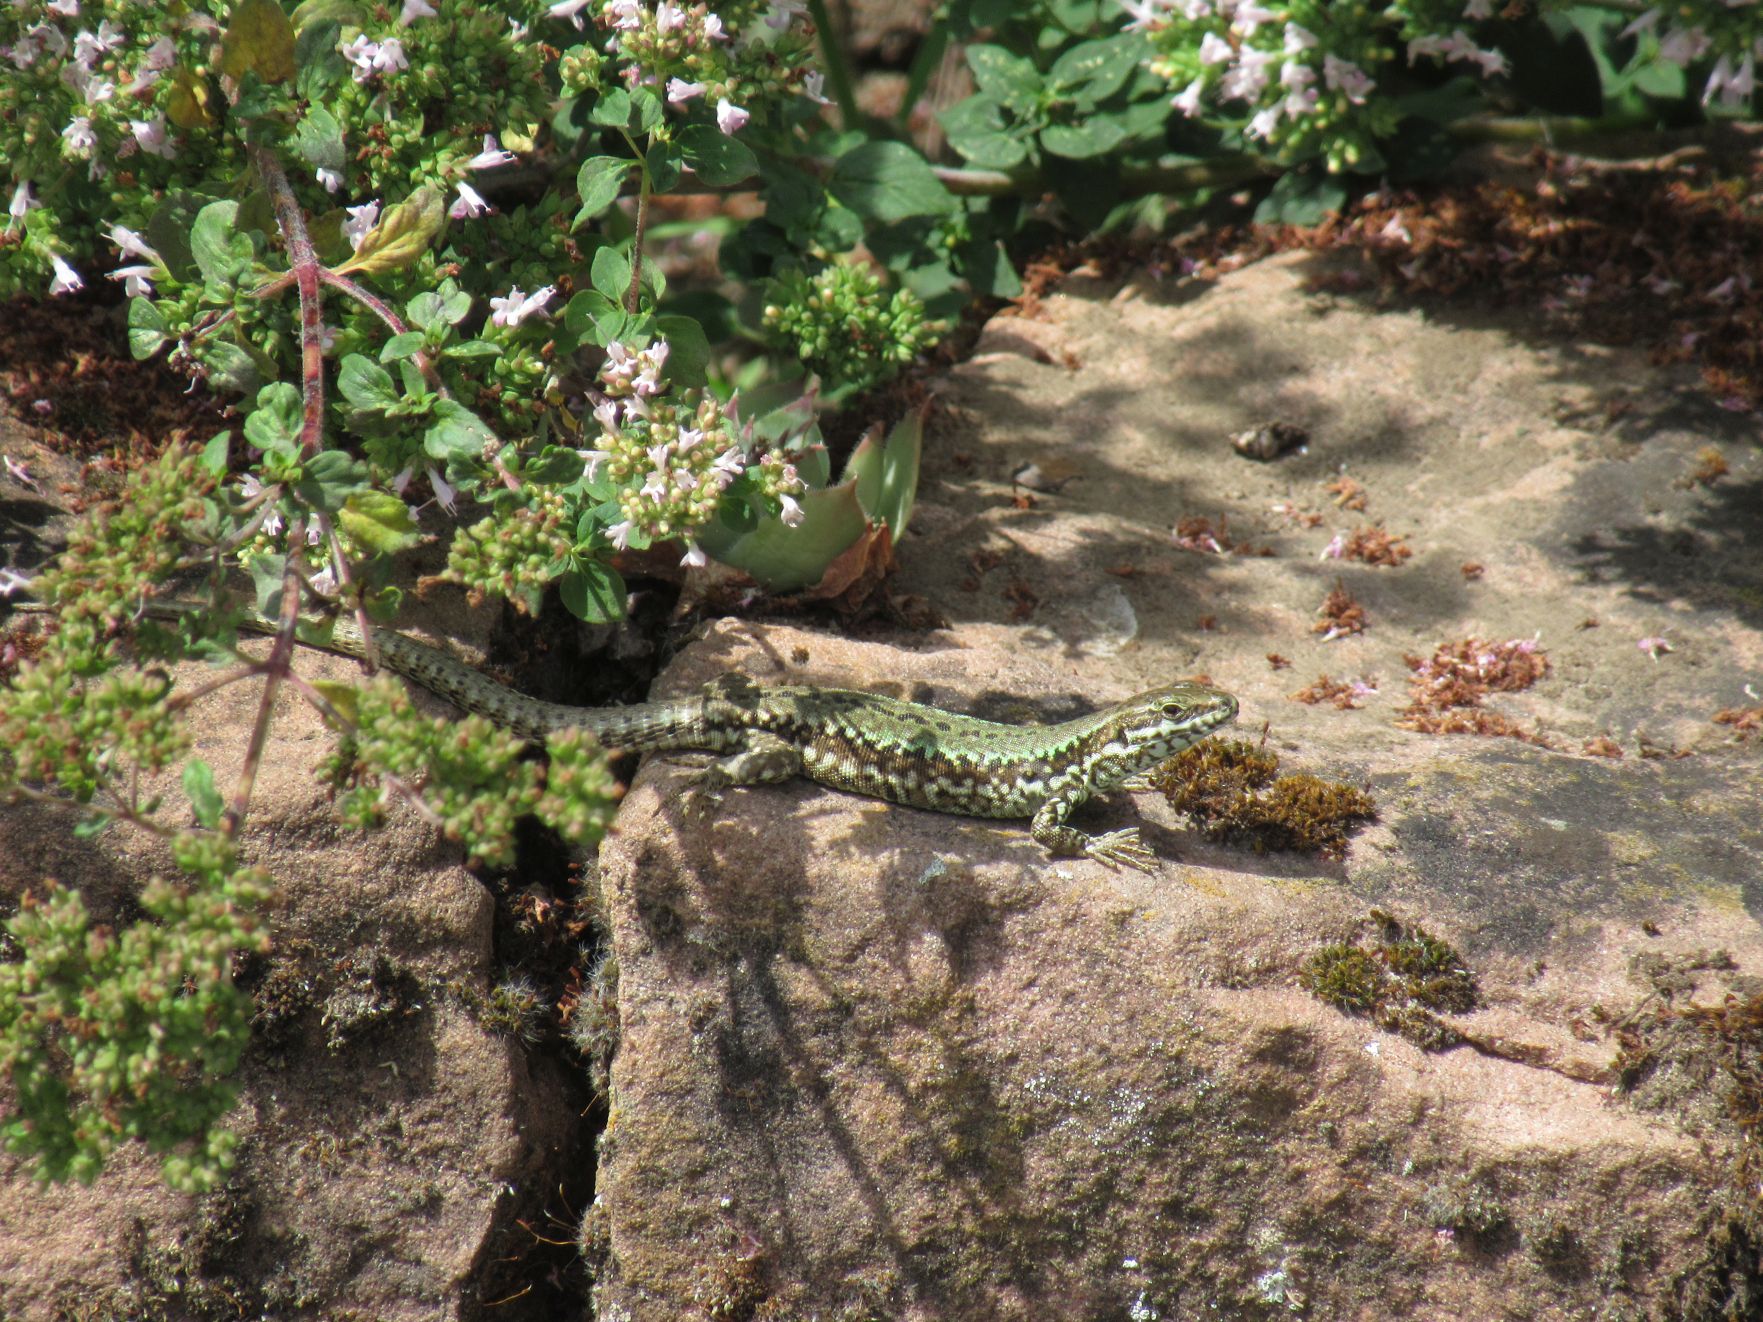
© Charly, all rights reserved. Click for full size.
I did not notice the dead moth until today. But it fits the scenery just fine.