A friend of mine told me that she had a friend who said he’d kill for a chance to make a damascus knife. I was in an expansive mood, and said, “well, he could come up for a couple days and I’ll walk him through it.” That’s how that happened. Fortunately, Maat is a cool guy, young and energetic, and he made it up here right before the ice set in on my driveway.
I thought through steps and figured that, with annealing cycles, pizza-runs, sleep, etc., we were looking at 3 days to do a complete knife from raw material to finished. And, I was mostly right except for a minor mistake that I made. The mistake was not apparent at the time, but it had interesting consequences through the whole exercise.

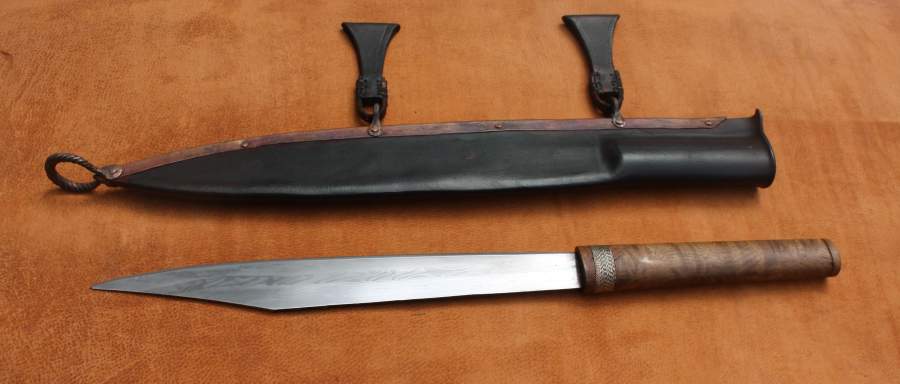
Multi-bar damascus seax by Owen Bush (picked from google image search) [source]
I’m not a teacher of knife-making but I’ve done a lot of teaching on the internet security stuff, so I knew how to frame together a class, what questions to ask to define what we were doing, etc. We discussed the question of blade composition and agreed to do something thick: 15n20 1/8″/3mm thick on both sides of a central 1/4″/6mm bar of 1095. The tang would be press and hammer-forged (so he’d get hammer time) but the big angled end shape would be done by cutting the bar with a diamond cutoff.
We did not realize it yet but making the stack so thick was going to be a headache because it increased the amount of metal we’d have to remove, which added time to the project. I was going “thick” so he’d have plenty of time to get familiar with grinding while it was thick and mistakes didn’t matter (a good strategy, we agreed) But once the blade was quenched hard, getting the metal off of those faces was slow going. I also didn’t realize that Maat didn’t want a very long blade – I assumed that we’d be drawing the bar out once it was welded, but he wanted it shorter and was happy with “thick” – once it was all welded up it was a great big imposing chunk of metal. I started calling it the “celtchete.”
It was nice to be able to say, “here’s how you use the bandsaw; go cut a 3 8″ chunks and then I’ll show you how to surface-grind them on the sander and how to tack weld them with the MIG.” Maat had never done any of those tasks. His MIG welds were much cleaner and straighter than mine; I really need to do something about that. I was glad I remembered to tell him to bring hair ties and get his hair so it wouldn’t get caught in anything. Teaching is interesting – you have to think as much about what can go wrong as can go right. When you’re doing it for yourself, you can just aim for the target and assume you’ll hit it.

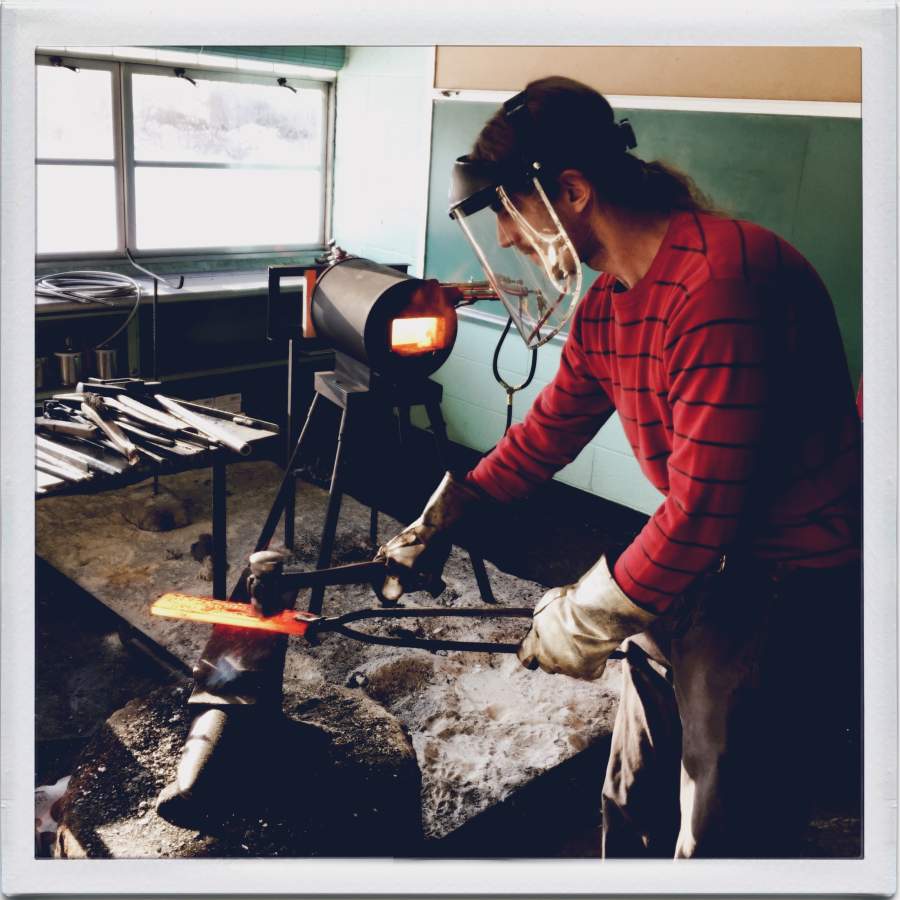
setting the weld
One other interesting thing: you can see what is happening much better when you are observing someone else through a camera. I didn’t say anything because he was busy setting the weld but the way he’s using the hammer is going to tear his elbow up. I forgot to explain how you do less work if you “get over the anvil” and are not keeping an extreme distance from the work. He set the weld manually so he could see what that was like (and caught a spark of flux on his inner arm so he will remember this trip for a while) then we switched to the press.

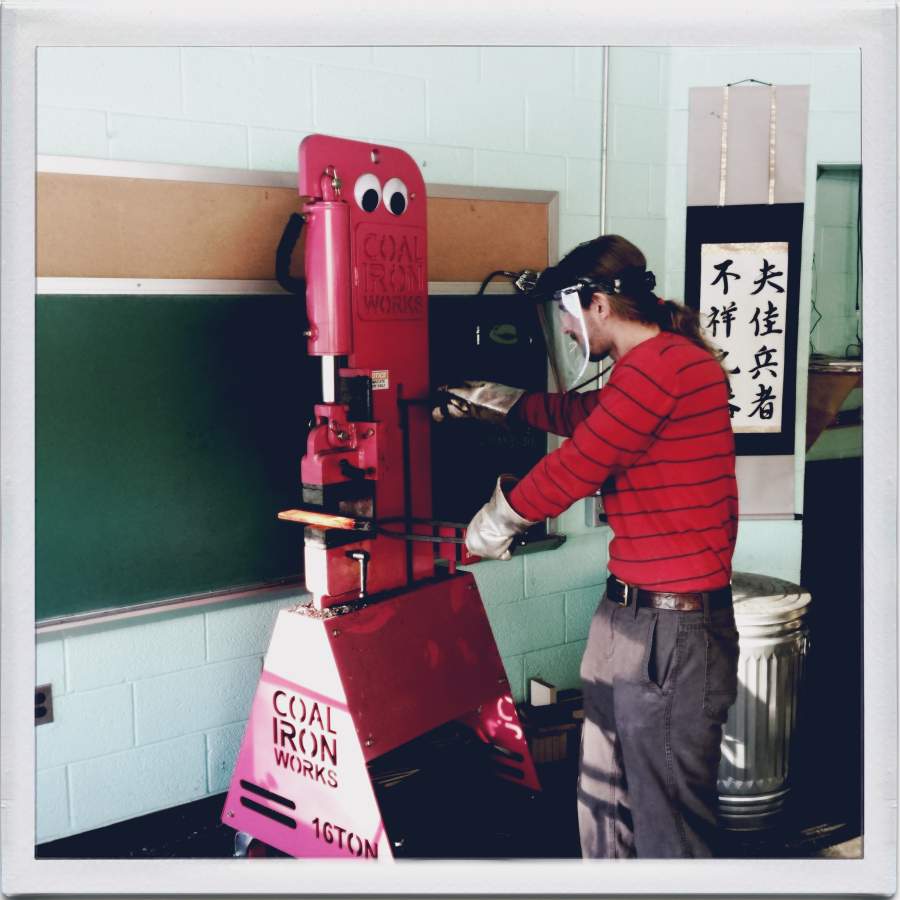
I coached him through drawing it out a bit, and changing dies in the press, and making some pressure marks along the edge. Then I got to explain how to hammer out a tang and isolate the metal and all that. It was, again, interesting to see someone else figuring it out. There’s a lot of touchy-feely and I felt uncomfortable saying things like “you want to hit the metal with a sense of driving it that way.” But that’s kind of how it is – you can break down the physical feeling into description, only to a point. After that, “just do it!” Having a piece of plywood handy turned out to be good, since you can take the plywood onto the anvil and hit it with the hammer angled just so, and it makes a very visible mark on the wood showing the angle and direction of the impact.

Day 2: cleaning scale off the annealed bar using the weightless angle grinder
I did a lot of safety lecturing, I’m afraid. But some of this stuff will mess you up and Maat’s young, a musician, and is going to need all those fingers and stuff fully functional for many decades. Before we started, we discussed it and agreed that he would be patient with me if I kept repeating safety warnings. As it happened, when we were done, we both felt that there was no point at which he was in danger at all – which means we designed the process correctly; sure, he could have put his tongue on a glowing-hot bar of steel but neither of us felt it was necessary to control for unusually bad ideas. At one point, I suggested that he hold the work-piece in the tongs at a different angle (with the tongs horizontally) so that the piece didn’t risk swinging down or bouncing up. A few minutes later, I did exactly what I said not to do and the piece bounced up off the anvil and I got to say, “See? That is why I told you that.” There are a lot of such things in blacksmithing; if you hold a work-piece with a particular pair of tongs, you may need a two-handed death grip to keep it from falling, but if you use a different set of tongs you may be able to hold the whole thing comfortably one-handed.
When you’re doing the weld you need to “make haste slowly” by working fast but deliberately. It was interesting trying to figure out how to teach that. I went next door to the wood shop and brought back a piece of plywood about the same size and shape and demonstrated where to put the blows and how and how fast. I think that worked pretty well. When Maat started grinding off the scale, though, it looked like the weld had not taken. We decided to cross our fingers and keep going, since maybe the weld took more fully in the middle of the bar. It did – by the time the blade was roughly shaped (“profiled”) we etched it and looked along the edge with a jeweler’s loupe and the weld looked fine.
From there on, it’s grind grind grind grind grind until it’s ready to quench and then it’s quench, temper and grind grind grind grind grind.

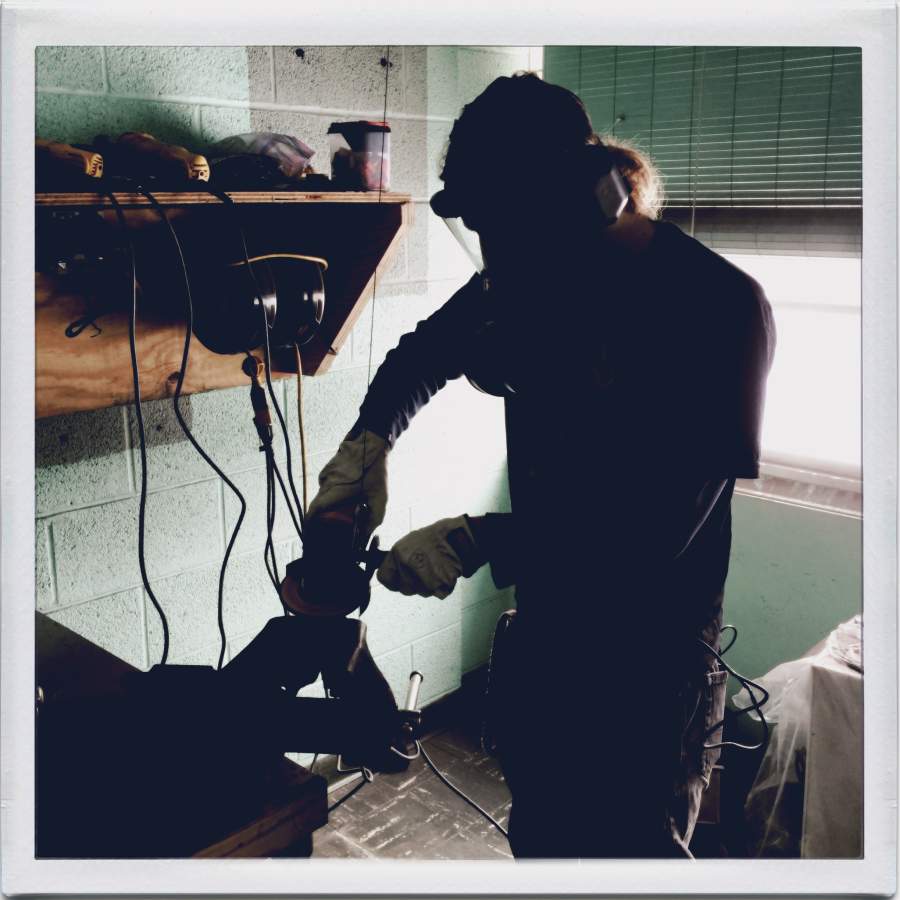
belt sanding with a 40 grit ceramic belt – it’ll shorten your finger in a fraction of a second
You can see in the picture above how thick the bar is. One thing for sure, this is not going to be a fragile knife!
(Part 2 will drop in a couple days)

The goggly eyes just crack me up. :D
“I did a lot of safety lecturing, I’m afraid. But some of this stuff will mess you up and Maat’s young, a musician, and is going to need all those fingers and stuff fully functional for many decades. Before we started, we discussed it and agreed that he would be patient with me if I kept repeating safety warnings.”
Safety is a key point, don’t say “the I’m afraid” bit. I’ll say, we all need all our fingers functional for as long as possible. A phrase from Chem-Lab Safety I use regulary: Think before you do, as this life does not have the quicksave/quickload option enabled!
(What am I doing in your forge? Maat looks rather like a shaven version of me.)
Love the googly eyes. Do they bounce when the press is in use?
It must be cool to get photos of the process you can’t normally get, when you are doing it yourself. Also, good deal on the safety and that is great that you reinforced that for yourself as well. Teaching someone else to do something is a marvelous way of learning it better yourself.