Something seems to have clicked and I’m getting good results forming welded bar-stock, now. I’ve started to consistently and easily (it’s still work, it’s becoming predictable work) get forge-welds and I’m producing bars that harden nicely, don’t warp or blow apart, and seem to be very tough with good edge-holding properties.
It’s encouraging. I haven’t been doing anything with stainless/carbon welding lately, because I don’t have any stainless steel handy, and I’ve been getting good results just tack-welding my bars together and smashing them under heat. The last couple of runs I’ve done have come out very well, and I’ve mailed various damascus chunks and bars off to knife-makers I know who may want to experiment with them.
I’ve noticed that knife-makers tend to find something that they like, and then they work with it until they get tired of it and move on; maybe it’s a blade-shape or a handle material, or a blade-metal; it takes a little while to get it nailed down and then you can produce enough of it to get boring.
Unfortunately, I didn’t shoot pictures of this whole process so I can’t illustrate it completely, but basically, I am trying to figure out how to pre-program the steel to produce what I want when it’s cut and shaped. The first part of my process was experimenting to see “does it work at all?” and once I had that nailed down then I can start to think a bit beyond “oh, whew.”

It seems that preparation is most of everything – in this case, getting the bars to be about the right dimensions and lengths. I’ve been doing most of my cutting with a diamond-wheel in an angle grinder, or a bandsaw. The bandsaw is nice for making things into chunks but the angle grinder is better for more complicated cuts.
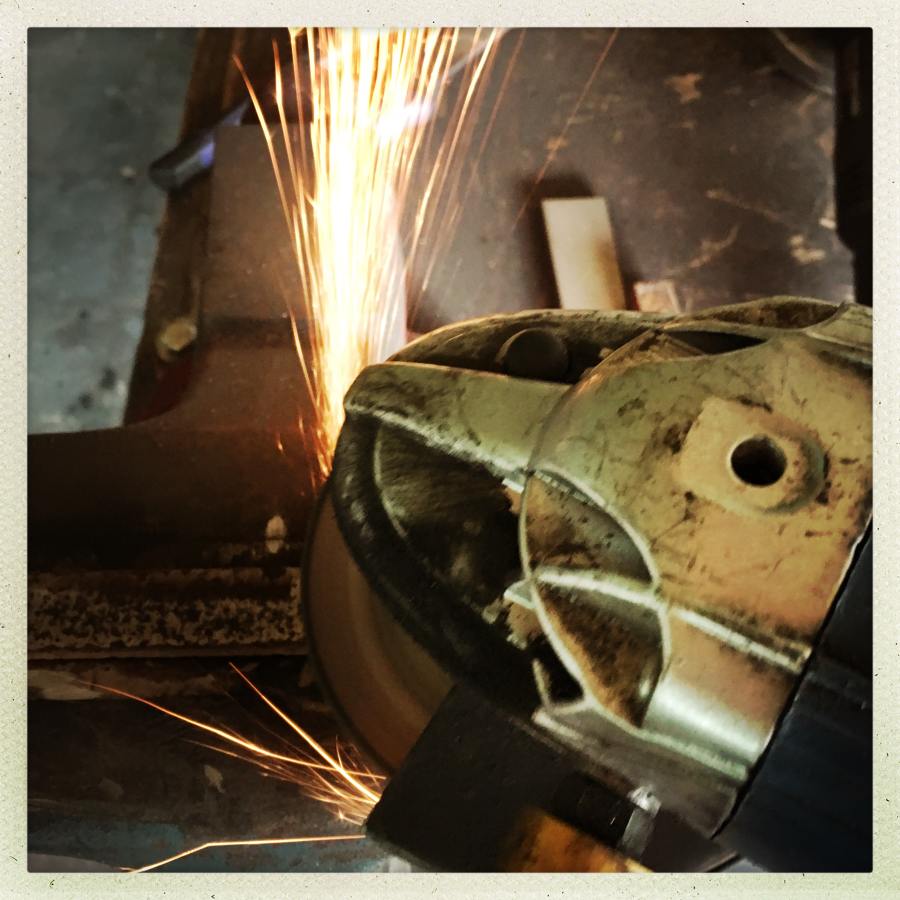
That’s a piece of 1/4″ thick 1095 being made into a narrower bar. Once I get things sorted out, I’ll start buying bars that are pre-sized to eachother, so I can just bandsaw them together, clean them up, and weld them.
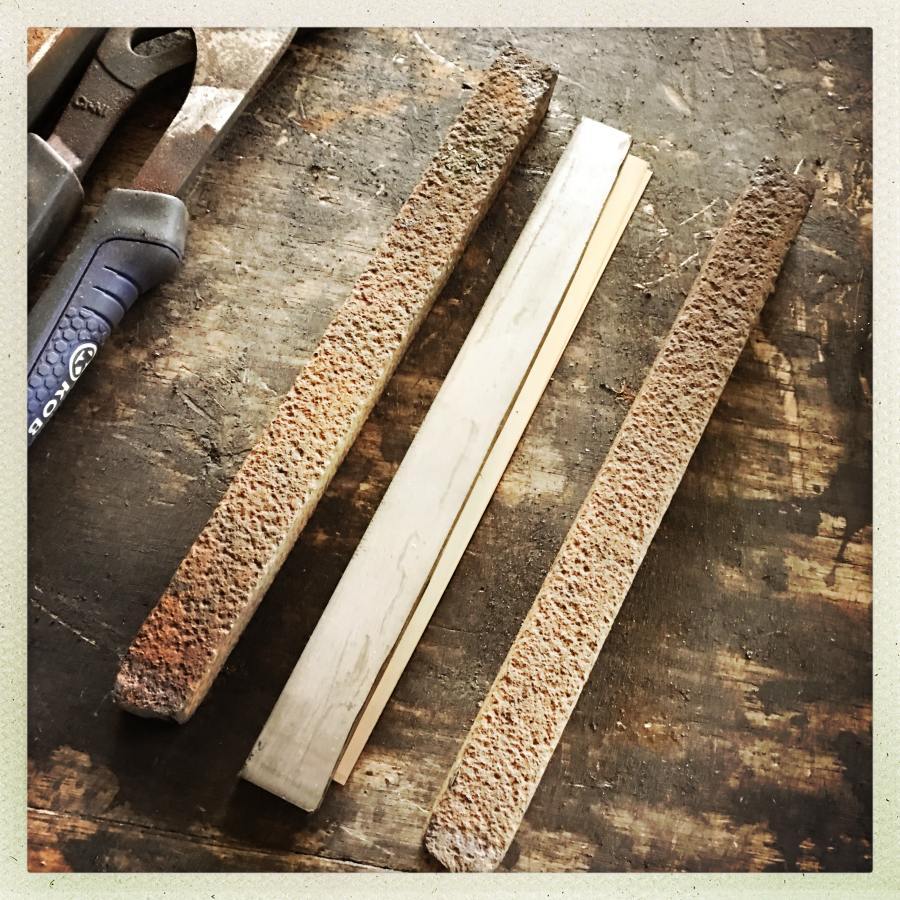
This is what I’ve been hooked on, lately. That’s a couple of chunks of old victorian (1890s) wrought-iron fencing – it’s dendritic puddle iron full of impurities and slag. In the middle is a nice piece of modern 1095, and two pieces of nickel. The wrought iron is very tough and can be etched to bring out a crazy grain (like you saw in the pictures of my hammer that Michael Hoops made for me).
The idea is I’m going to make a steel sammich.
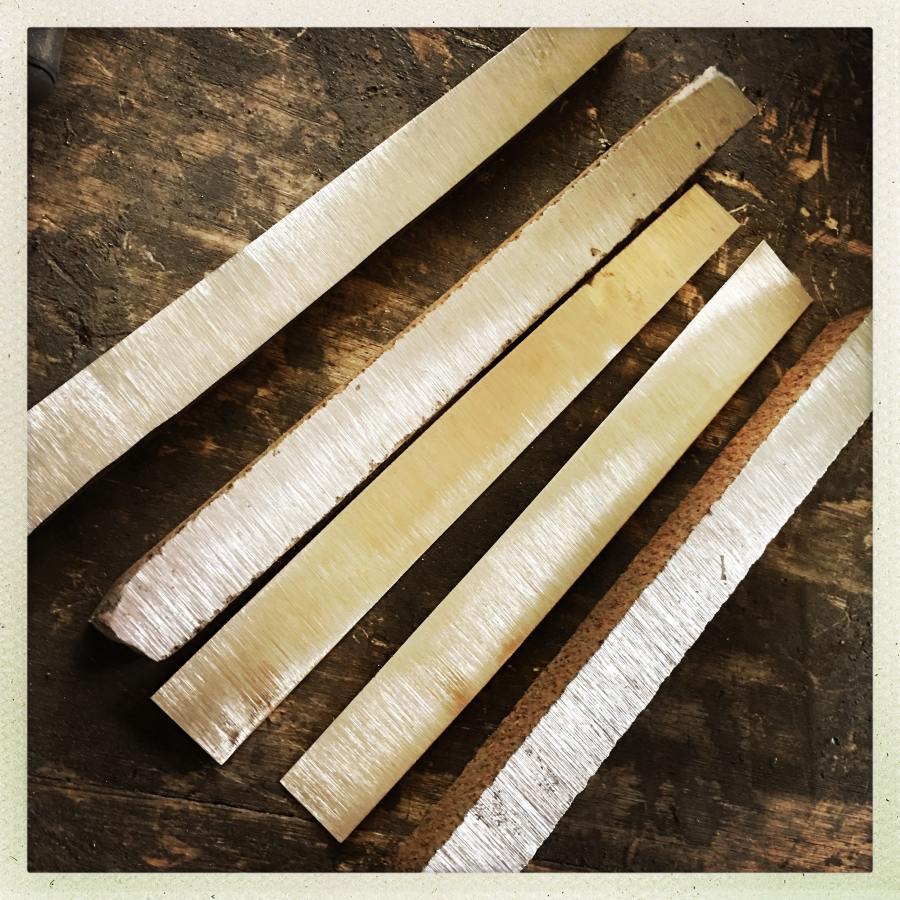
That’s about a half hour of grinding with the belt sander, to get the surfaces fairly smooth and flat. I need to get past the pits in the wrought iron. Grinding the nickel was a pain; it’s very light and thin and therefore sharp and it heats up quickly (less thermal mass than a great big chunk of iron) – so I alternated between doing one piece or the other as they cooled.
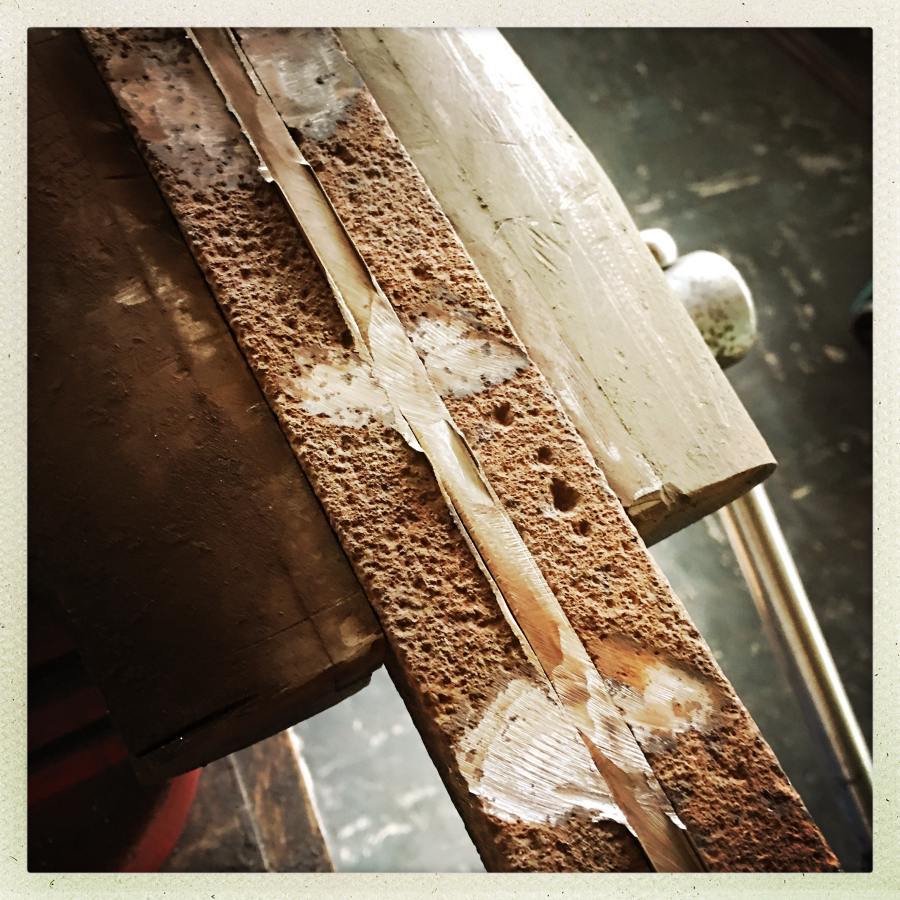
Then I clamped them togethher in the vise, squeezed tight, and ground a bit of the rust away so I could tack-weld the whole mess together with the MIG machine. My embarrassingly bad welding with the MIG makes no difference here since those are going to get ground away later on.
I don’t have a good picture of the welded up bar, because it got blurry. Once it had cooled down some I left it sitting in a can of kerosene so it wouldn’t oxidize. I’ve taken to keeping a working set of “stuff that needs to go into the forge next time I fire it up” – I don’t want to keep heating it and cooling it because it’s using a lot of propane when I bring it up to temperature.
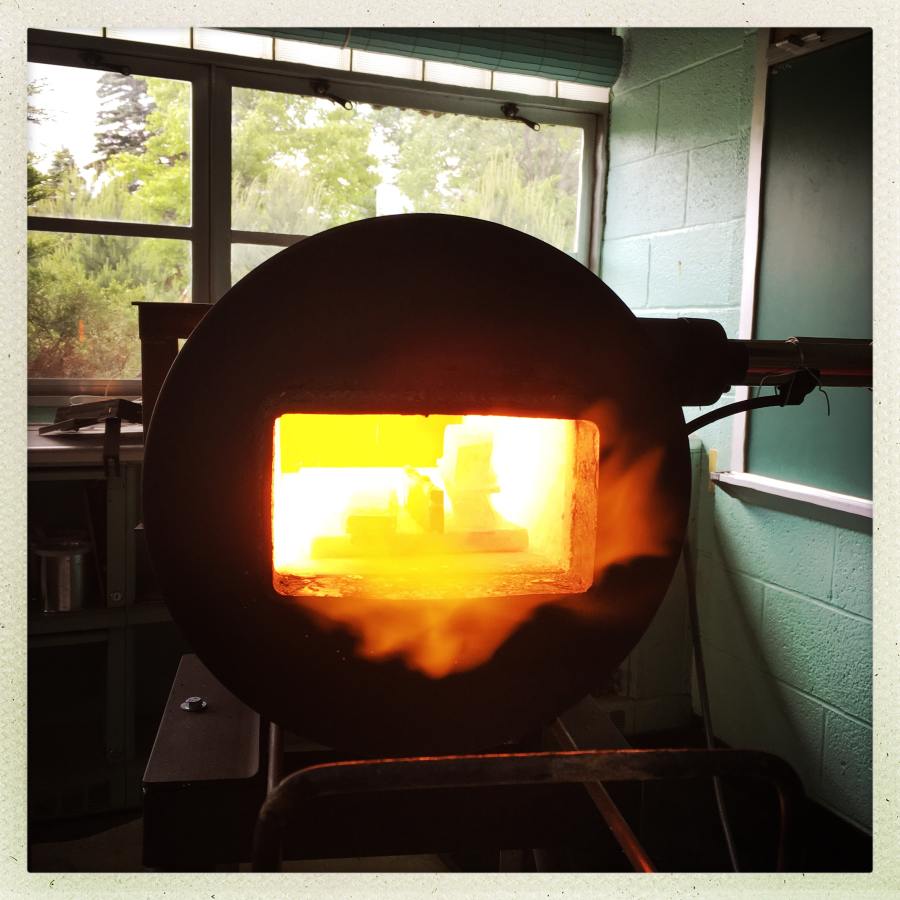
There are a couple of experiments in there, including some chunks of other damascus I’m welding around a piece of 1095, and the stacked bars. Once it gets hot I don’t do much photography because I really don’t want to drop anything and I need both of my hands – one for the tongs, one for the hammer – and I don’t have a spare.
When it’s up to welding temperature (I can judge by sight now) I put it on the anvil and give it a few raps with the steel mallet of persuasion. You need to walk the weld along the bar so that it sticks evenly without puckering or capturing any slag in the joint. Then, it goes into the garbage can to cool slowly; the garbage can is full of pearlite to insulate and hold pieces of metal where they don’t set things on fire.
The next day, I usually cut the bars to shape or re-heat them and draw them out more, or correct bends. Then it’s time to start looking for the knife that’s in the piece of metal trying to get out. Since I’m doing layers not patterns, I need to be careful not to push the piece of 1095 too far in any direction; I want it to make up the edge of the blade so I need to know where it is – that’s why I do exploratory cuts and etches to see what I’ve produced. Eventually I suppose I’ll be able to just know.
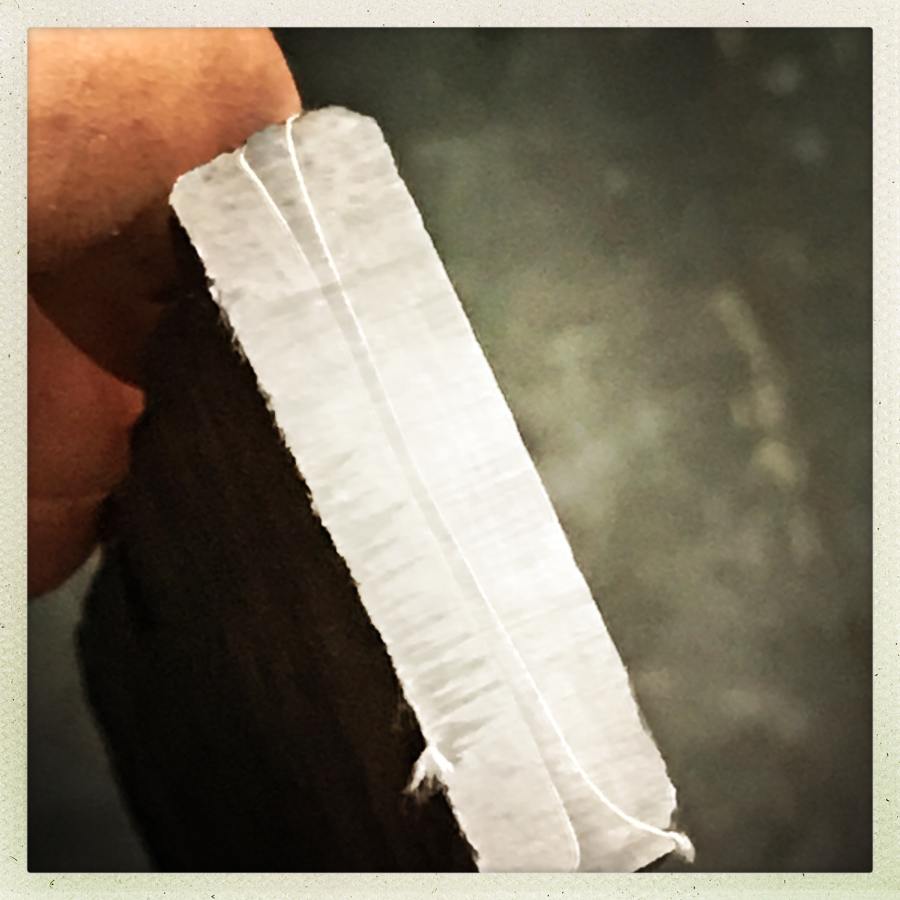
The chunk of 1095 and the nickel are perfectly positioned in the welded up bar. I probably will want to thin it down a bit more before I do anything more with it, but that’s a bar with a lot of potential. You’ve got to imagine that there will be bevels on either side, angling down through the nickel and to the 1095; the nickel will look like a bright silver cloud, the 1095 will come out black, and the wrought iron will have the wispy dendritic look and will be as stubborn as satan’s mule. There’s something about combining the old victorian iron with modern high-tech super-steel that makes me happy.
I’m very fond of asymmetric grinds, so I made a bar that was 1095, nickel, and wrought iron just on one face. Eventually I will figure out how to make a socket for a chisel and maybe I’ll make some wrought-iron chisels with cloud-black 1095 edges.
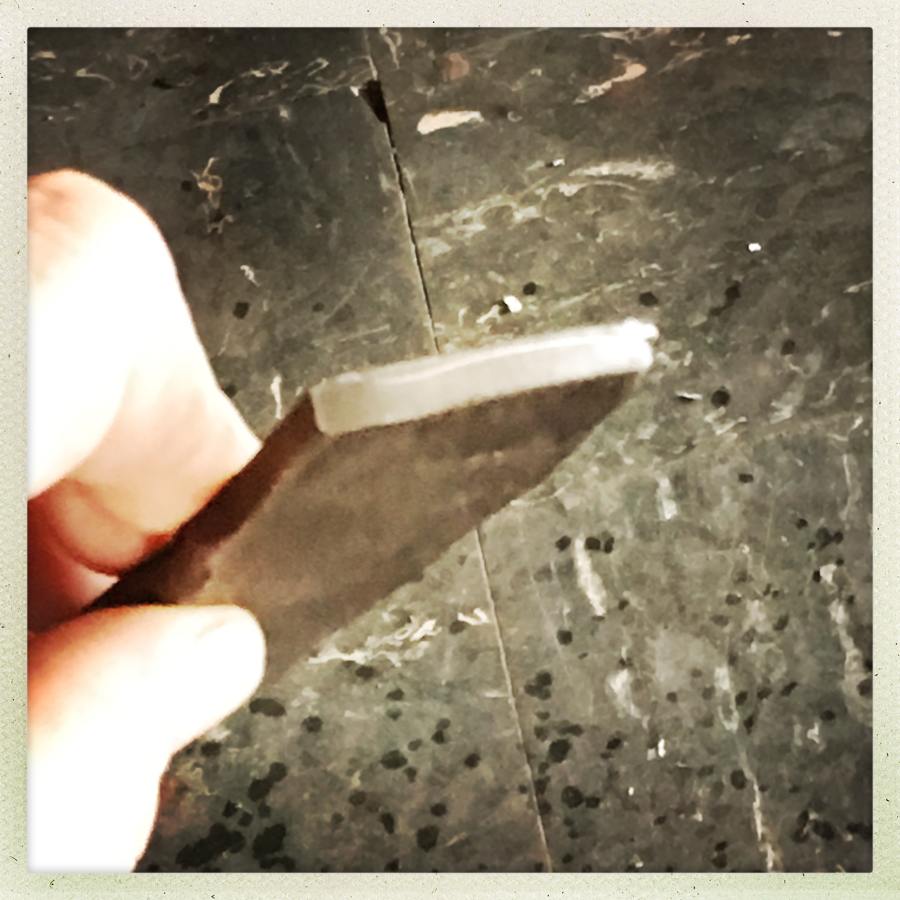
That piece was done with 1/8″ 1095, and it got a bit thin at the edge. It’ll still make for a nice utility blade, but I’m not sure if there will be enough 1095 to grind and shape by the time that’s hammered into some form that I can use.
The little kiridashi knife I made the other day was layered out of cable damascus welded onto a piece of 1095. I love how that turned out, and I expect I’ll be doing more blades out of that combination as well.

I know how to work a camera; these pictures are kind of embarrassing. Eventually I’ll haul my gear over and do some video and photography that’s not just iphone snapshots.

Weeel, the bar you have sent to me was probably eaten by pixies, I think two months are too slow even for snail mail over the Atlantic since it would be possible to walk that distance on dry land over that time :)
These look really interesting. A san-mai blade is of course not better than a blade made wholy from modern crucible steel, but it looks so much cooler…
Why do you use hammer for the welds, and not the hydraulic press?
And shortly after I wrote that comment, I found out that the second package arrived today. However he first one is probably lost for evah.
Charly@#1:
Weeel, the bar you have sent to me was probably eaten by pixies
I suspect some security agency handed it over to one of their analyst/engineers, who thought “perhaps there is something inside the steel bar” and milled it to chips with a milling machine. They then sorted through the chips for hours and concluded that the steel bar contained: steel. If you get a bag of chips you’ll know what happened.
I found out that the second package arrived today.
Excellent! The first one was longer, unfortunately, but the second one is better.
I need to make/obtain a die that lets me draw metal width-wise not just length-wise. Long and narrow is nice for daggers or filleting knives but not much else.
Why do you use hammer for the welds, and not the hydraulic press?
It feels super cool to mash it with a hammer. I usually do the first couple of whacks then switch it to the press. Come to think of it the press would be better since it doesn’t result in hot chips of slag and flux flying all over the place.
I’m building a die for the press that is a large, flat and slightly rounded surface, designed for the initial weld and mild drawing. After that, I will probably do most of my work on the press, using the hammer mostly to straighten things or encourage specific spots.
I want to see how the wrought-nickel-1095 san mai holds up to quenching, and if it looks good I’ll make you a piece. Once I’ve got the technique down it’s pretty simple.
Very interesting, thank you for sharing your experiences! I am always amazed by the seemingly light and wavy shapes in the damascus.
No hands free: Maybe a tripod and a setup to take a picture every so often at a safe distance? (I do not know if that works at all).
But as a safety-minded chemist I do have to ask: how do you deal with the nickel dust? Do you wear any filters? That stuff is really not nice when you breath it in.
avalus@#4:
No hands free: Maybe a tripod and a setup to take a picture every so often at a safe distance? (I do not know if that works at all).
Yes, I have a time-controller for my Canon 5D. It’s complicated to set it up and I’ve just been lazy.
Another problem is that I tend to have to move around a lot. So I wander here and there and each step is done at a different location. I will eventually do a shoot, though. Probably have to run the whole process at night so I can get the bright metal and use controlled lighting.
But as a safety-minded chemist I do have to ask: how do you deal with the nickel dust? Do you wear any filters? That stuff is really not nice when you breath it in.
I have a filter mask and I have a big fan that blows the exhaust from the forge back, away from me. I am certainly getting some metal dust in/on my skin, but I don’t know what I can do about that.
I have, a couple times, gotten lazy about the filter mask and just done a bit of grinding anyway. So, yeah, I did not like the taste of metal dust where I breathed it in.
Part of what’s annoying is the sheer amount of shit that you have to put on your head. Breath mask, earmuffs, eye shield, and possibly IR-reduction goggles. It’s layers of stuff. And then, when I need to weld something with the MIG it all has to come off and the welder’s mask goes on. Ugh. I wish there was a good solution. Alec Steele has a helmetoid thing that has a filter pack that clips on his belt, and an integrated earmuff/face shield. It still looks awkward as hell.
There are some hair-raising accounts of the kind of stuff that workers at Carnegie Steel/US Steel used to breathe in. Mostly, it sounds like they were expected to just be happy they hadn’t fallen into a slag-pit or a puddle of liquid iron, so “shut up and get back to work.” Mortality was high and most steel workers were physically wrecked by 40. Naturally, Carnegie did nothing for the workers that his company used up – though he did donate a nice museum for the upper crust, who would appreciate that kind of thing.