You can still donate, the damage Richard Carrier has done with his petulance is not undone yet. I cannot afford to donate any meaningful cash right now since I have no income. But I can afford to donate a bit of time. So I am giving this knife in exchange for the highest donation. Details see further.

© Charly, all rights reserved. Click for full size.
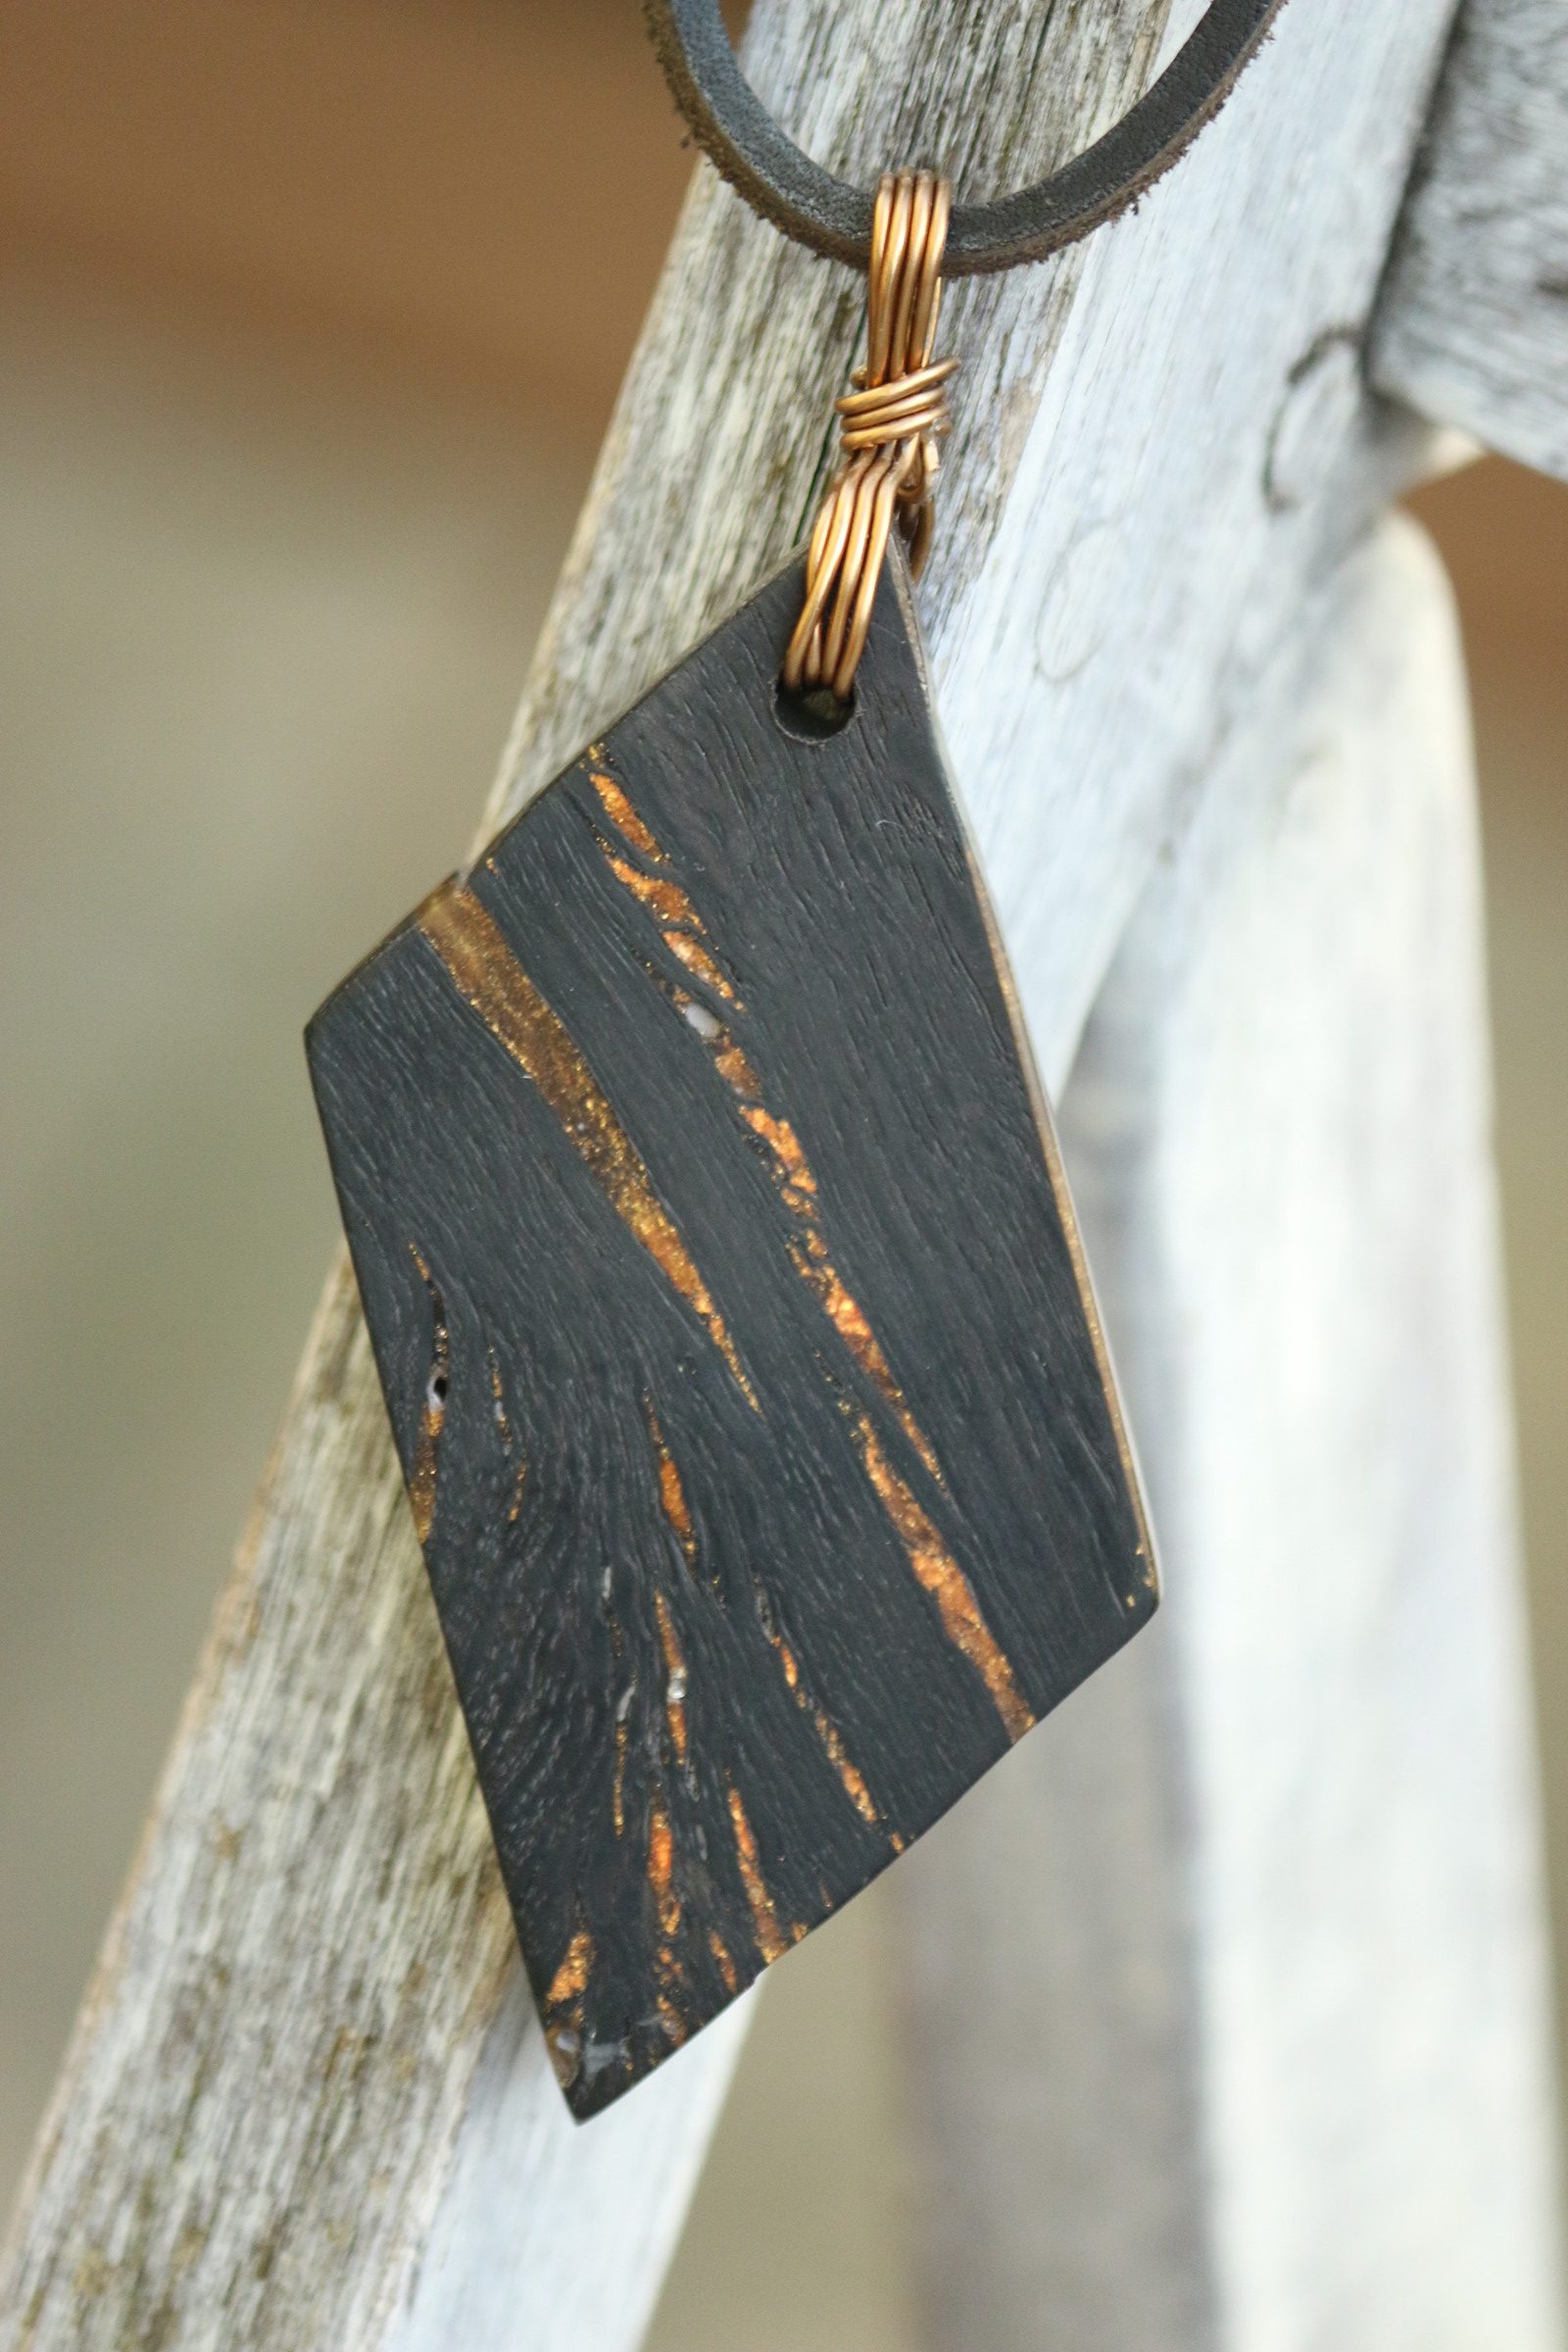
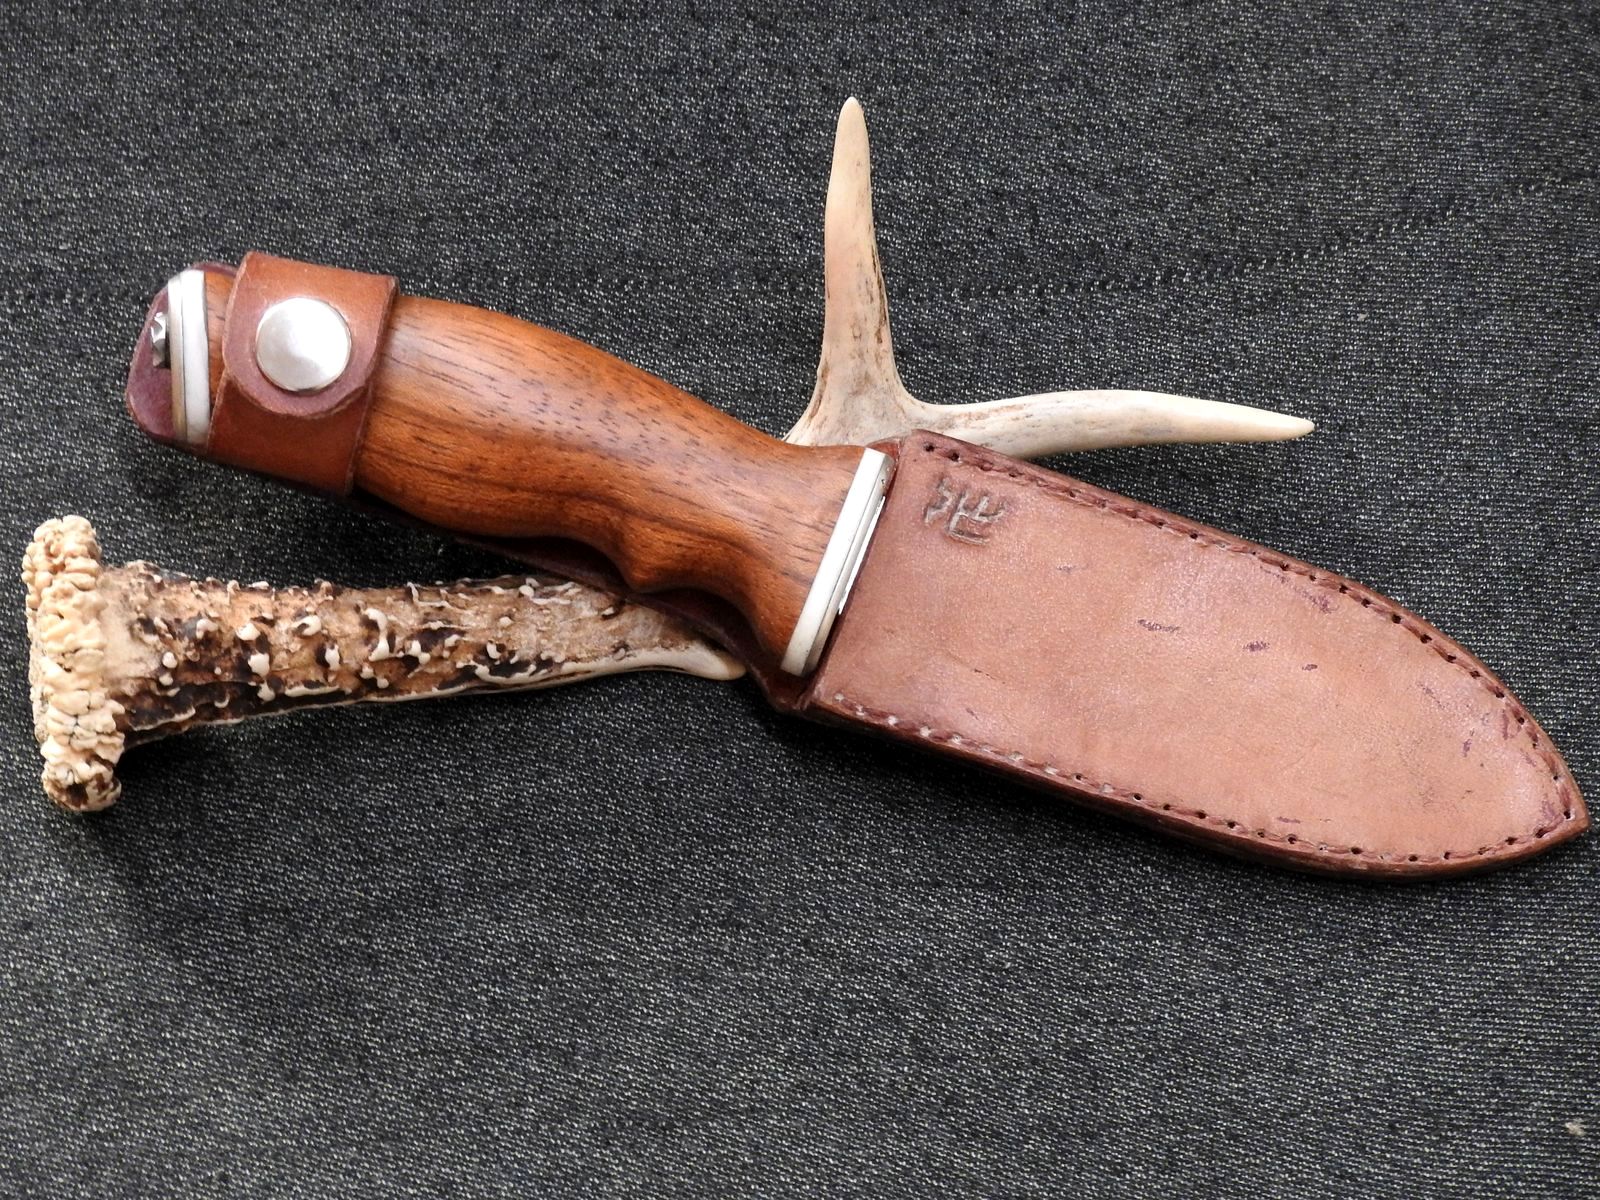
Technically it is a hunting & fishing knife since my first customer specifically requested it for angling, but you need not be a hunter for having a use for it. I am regularly using a knife like this when collecting mushrooms or just walking in the forest when it might come handy. It would also be useful as an all-purpose knife for camping. The false edge is sharp, but not cutting sharp. The blade is signed and numbered “2” in Glagolitic script.
© Charly, all rights reserved. Click for full size.
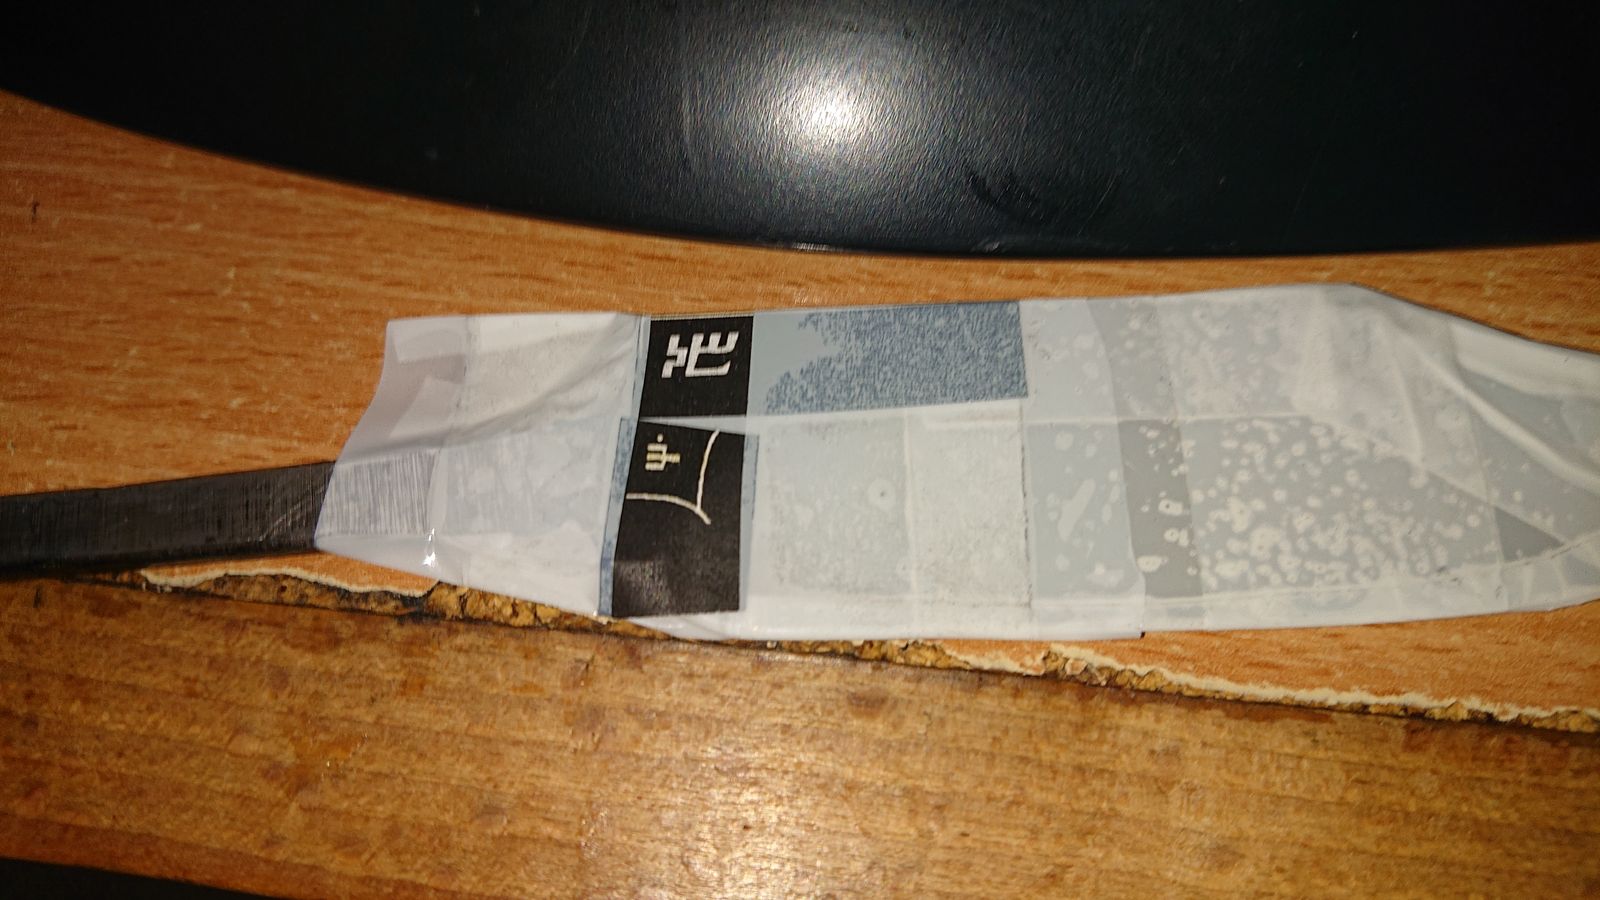
I made a simple leather scabbard, this time symmetrical so the knife can be conveniently fastened on either left or right side since the preference of its future owner is unknown.
© Charly, all rights reserved. Click for full size.
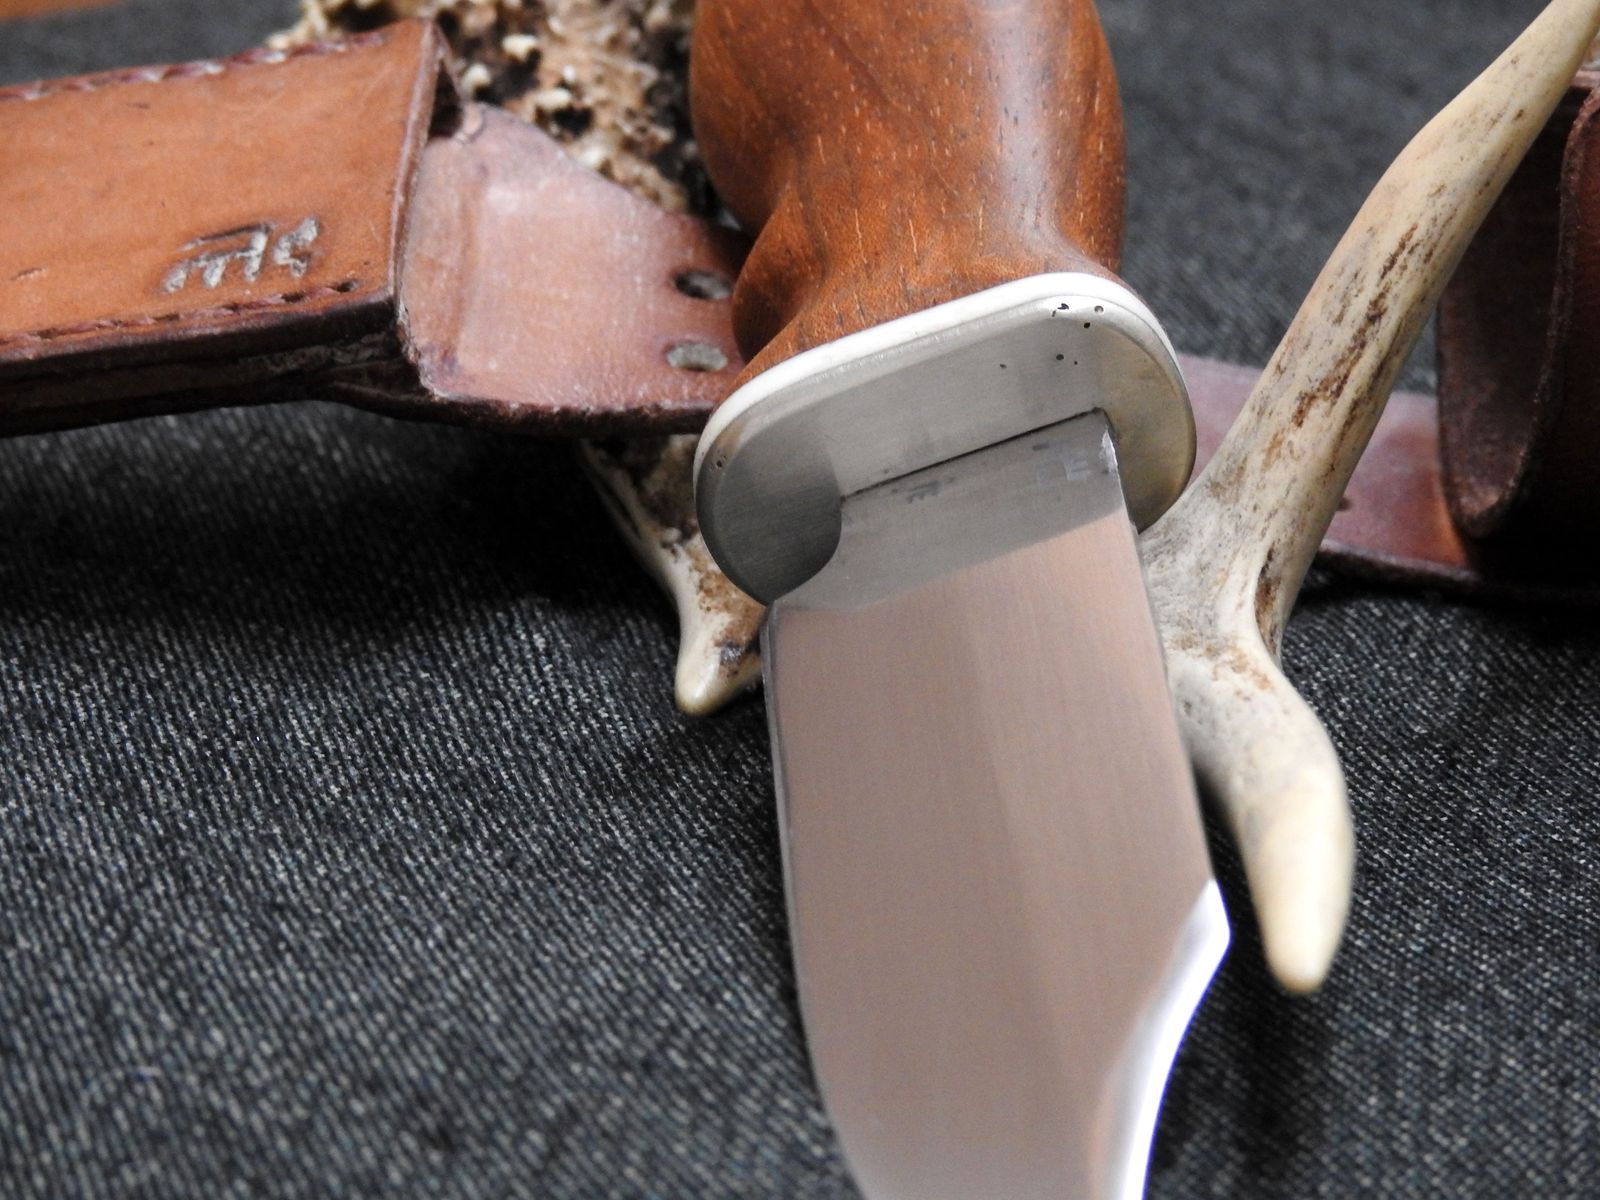
The handguard/bolster has a few dark spots. These are inclusions in the used material (see further).

© Charly, all rights reserved. Click for full size.
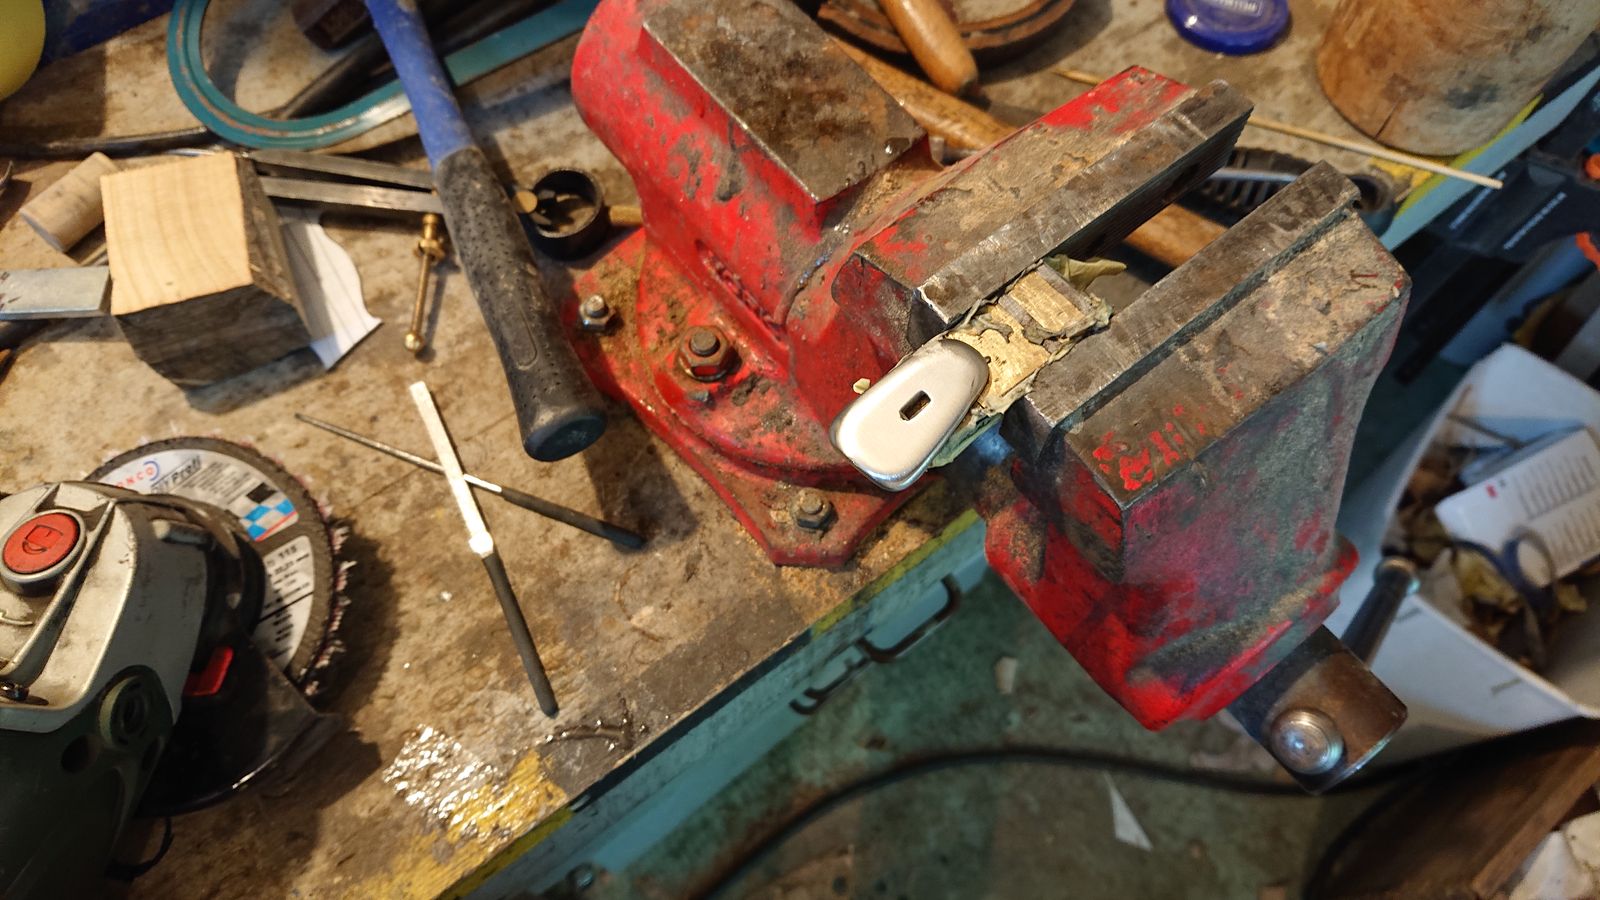
The endcap is fastened over an ornate stainless steel washer into which is the end of the tang peened.
If you are interested, write your bid in comments or per e-mail to affinity (note, I might not be able to post your e-mailed bids in the comments next two days, there is a huge storm coming our way and I might experience blackout).
If you bid from outside of the European Single Market, please make sure that you are allowed to import such things and be prepared to pay for any import/customs fees, duties or other taxes as may be relevant in your region/country/state. I will pay for the postage.
The knife will be sent to you after submitting proof of the promised donation. If the highest bidder reneges on their promise, it will go to the next one in line. The start is 10$ (the cost of materials), the sky is the limit.
The auction will run for two weeks until February 23. 2019 and this post will be pinned to the top of the page until then.
More info below the fold.