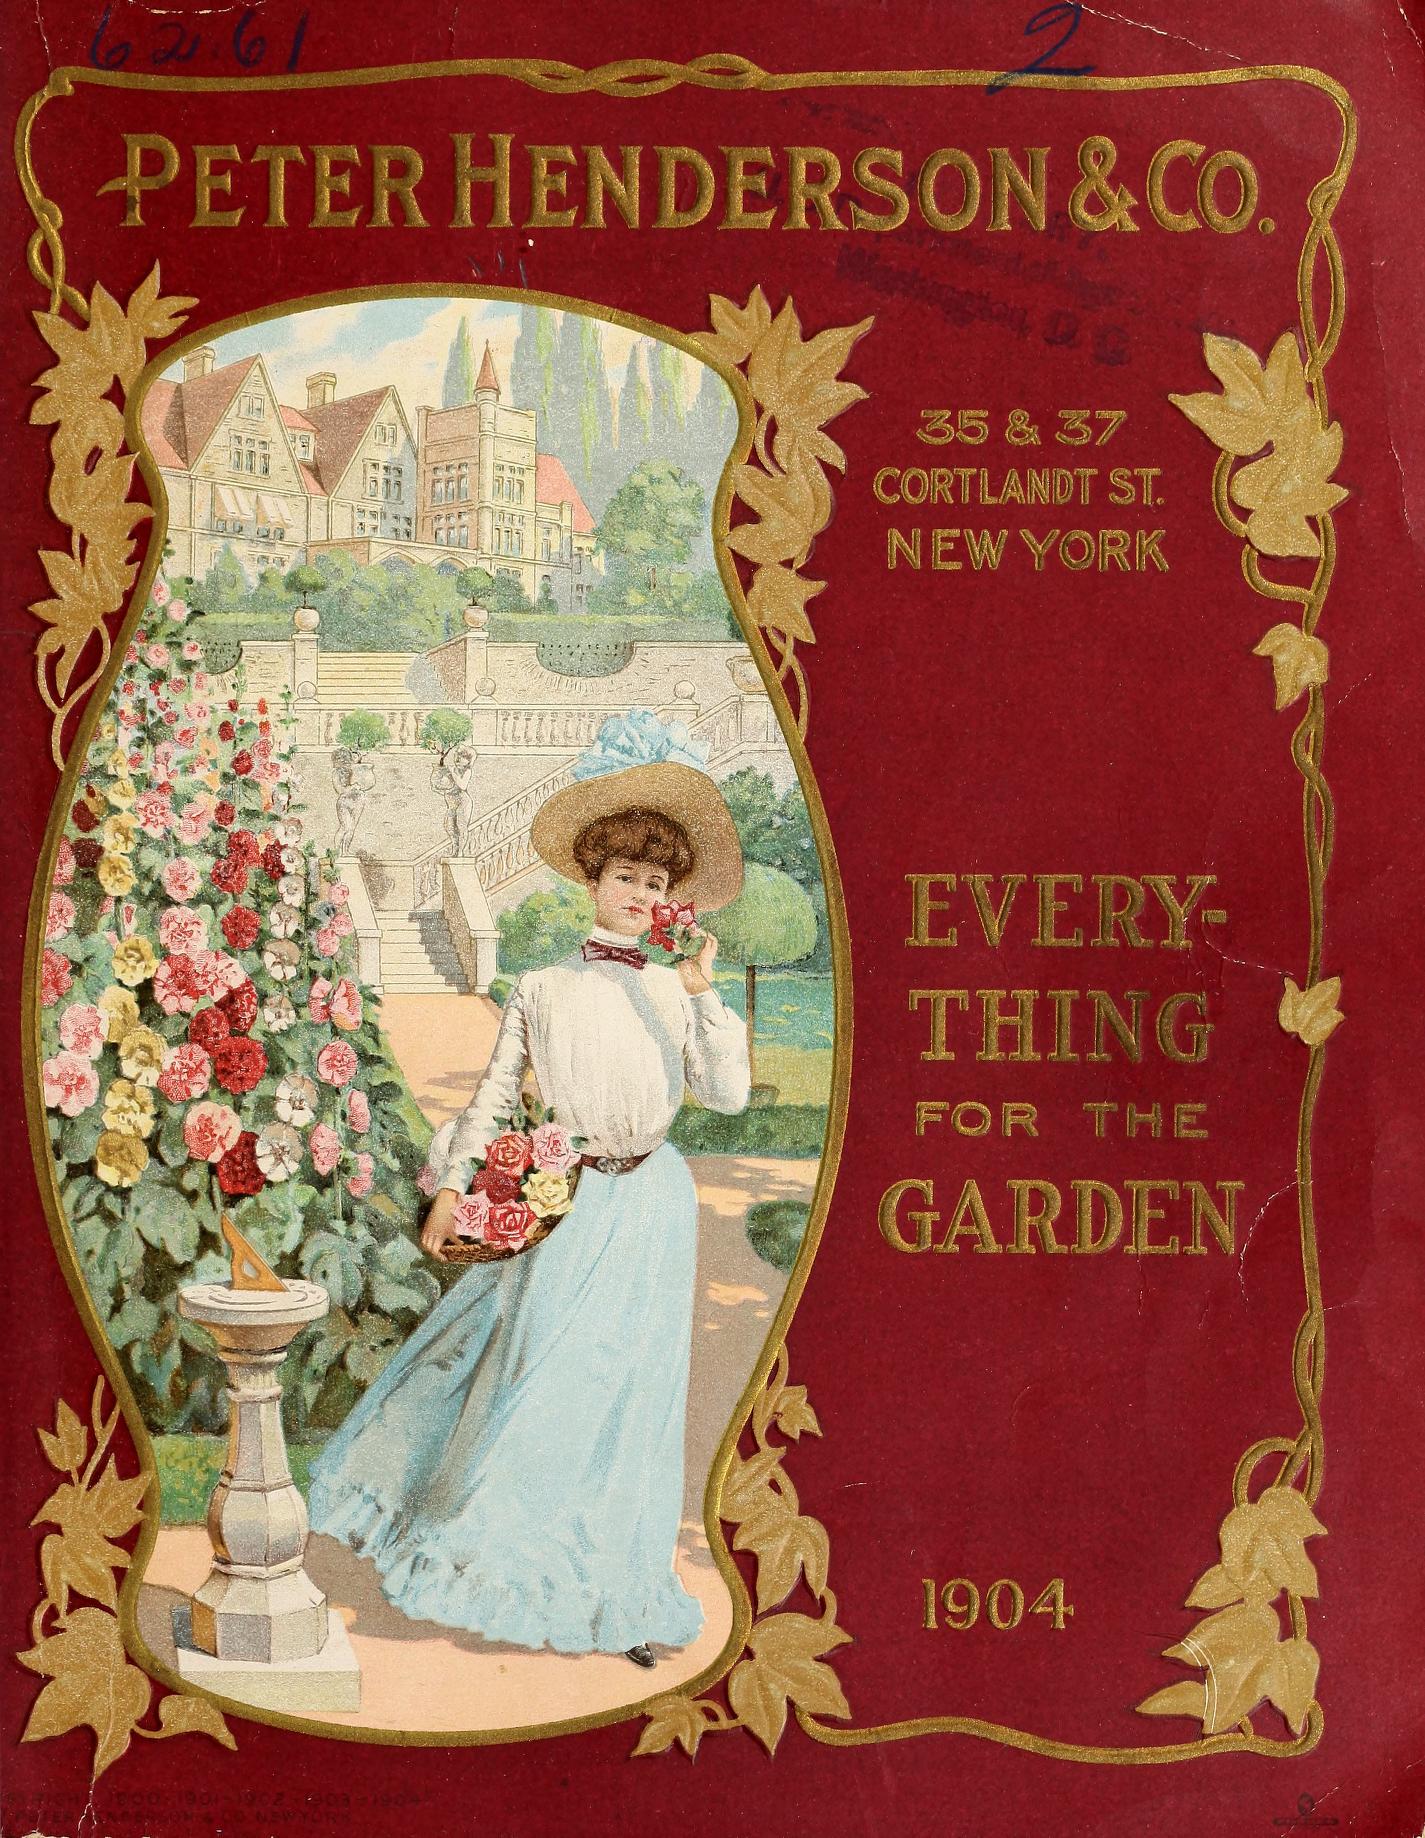
This is a beautiful catalogue with many delightful full-page coloured illustrations. You can see the whole thing at the link below.
via: The Internet Archive
This is a beautiful catalogue with many delightful full-page coloured illustrations. You can see the whole thing at the link below.
via: The Internet Archive

Andrew Lang. The Blue Fairy Book. Illustrations by H.J. Ford. New York, Longmans, Green and Co., 1889.
This book was originally published in 1889, however, I have added the coloured frontispiece from the 1922 edition to this post. I did so because the illustration is the work of Henry J. Ford, who masterminded the art for the entire original Lang coloured fairy tale set. Otherwise, the 1889 edition contains more stories and illustrations than the edition from 1922.
I did not include this step in the time measurement last time, and neither will I do so this time. It is about 10-15 minutes per blade and the only way to reduce that time would be to forgo it completely. If I only signed the blades with my logo, I would have made a significant improvement actually, but since I have decided to number them too, I am back to square one time-vise.
I wrote about my logo design in the Rondel Dagger series. At that time it was meant to be maybe only a one-time action, but the design has grown on me and I have decided to adopt it as my new maker’s mark for all my wood and metal projects. When working on my first commission, I have built myself a specialized etching electrode that allows me to etch the logo without having to mask the whole blade, prepare big solution baths or construct complicated barriers holding the etching solution in place.
This time around I have further improved on this and for the logo etching itself I have built myself a new stencil, since cutting the logo in adhesive tape each and every time leads to inconsistent results and is time-consuming. I tried to get my hands on photosensitive foil to make a stencil, but I was unable to find any seller in CZ offering one that is not for copper. And then I realized that my mother has an old silicone kitchen pad that she never uses, so I asked if I can destroy it in the name of science. She said yes, so I took it and I cut my logo in a strip cut out of it with a scalpel. It is water repellent, so the etching solution did not want to get in there, but a drop of dish detergent in the etching solution has solved (ahem) that problem.
However, another problem persisted. Etching stainless steel works differently than etching carbon steel. When etching carbon steel with FeCl3 solution, all you need to do after the etch is to let the solution sit for a few seconds and it turns the inside of the etch black with oxides. For stainless steel this does not happen. You need to change the polarity of the electrodes to deposit a layer of black oxide on stainless steel. In order to do so I had to remove the crocodile clips and switch them between the blade and the electrode several times, which was onerous and annoying.
I have performed tests on the piece of blade that I nearly ground through, and here you can see the results of various etching parameters. On the left, the two etchings are with five minutes of etching time, which was needlessly long and has led to etching the surrounding area under the stencil too. I found out that one minute is more than enough for this logo and those are the two upper logos in the middle. And as you can see, they are grey, not black, because I did not change the polarity. All the other etches are various iterations of me playing with the polarity and whatnot.
After this experiment I have spent a fruitful afternoon cursing in the workshop building this highly sophistimacated tool from a scrap of plywood, brass sheet metal, copper wire, and some left-overs of speaker cables.
I can plug my 12 V DC source in the input (on the right) and my crocodile clamps on the output. When the switch is held to the left, the red wire/clamp is the anode and it etches. When the switch is held to the right, the red wire is the cathode and it deposits metal ions (which quickly turn into oxides). And I can flip the polarity fairly quickly, and I can either make the logo entirely black or just the outline, depending on how quickly and how many times I switch the polarity. It was quite fun, although there is still some factor of unpredictability in the outcome that I was not able to figure out.
So I could go etching the blades that were ready and as a bonus I got good use out of the rest of the silicone pad too.
And it worked really well. The best results I got with 1-minute held at etching current, then 10 seconds depositing current and then 1 minute quickly switching the polarity back and forth. After that I neutralized the remaining acid on the blade with washing soda solution, rinsed it off thoroughly and that was it. I got some teething trouble, etchings on some blades are not perfect, but they are not terrible either, they are all identical in shape and size and after I found the correct way, it took me less than 5 minutes per blade.
Etching the numbers was a different kettle of fish after that, for the numbers are tiny, Glagolitic numbers can be quite funny-looking sometimes and I do not think I can cut stencils for them from 1 mm thick silicone sheet. I might try, but for now I reverted to my old method – scalpel and plastic adhesive tape.
Next time I will show you the actual knives that came out of this. I have to decide whether to make one post presenting them all, or scatter them over several days. I think I will do the latter. Either way, taking pictures will take some time too.
Side Saddle only, ladies.
via: The Internet Archive
This set of adorable photos come to us courtesy of Avalus, who submitted them way back in the fall of last year. Somehow I managed to lose track of them, and I apologize for the delay. I know you’ll enjoy them.
via: The Internet Archive
…they just make smaller, thinner knives
When polishing the blades, I run with one of them accidentally across the edge of the platen. Literally, in a blink of an eye, I ground it paper-thin in a spot, almost through, and I overheated that tiny spot too.
Instead of simply tossing it, I have decided to re-grind it into a prototype of a small knife for peeling veggies and fruits, like garlic, onions, oranges and similar, and also for cutting small things like radishes. For these tasks, the universal kitchen knife that I was aiming for can be a bit unwieldy and I need to test various knife shapes and sizes anyways, so why waste a perfectly good hardened steel, amirite?
This is the resulting knife. The handle is from black elder (Sambucus nigra), artificially infused with silica. That makes the wood a bit harder and it also changes the color a bit in places, making the grain stand out a little more and with a greenish tint. It looks and works actually a bit like an untreated black locust – go figure.
It is a nifty little blade that goes well in pair with the one I gave my mother two years ago. ~19 cm overall length, 9 cm blade. So far it works well for intended purposes, we will see if my main tester (my dad) is going to have some remarks or complaints. I think that with a sheath it would be a good pocket knife for mushroom hunting too.
This step was a real bugger this time. Forming the handle before it is assembled onto the tang has its downsides, but it also has its upsides. And they seem to prevail, in comparison to the approach I took this time. It took me a lot of time to get all the handles into shape. Part of the problem was also that I have used woods of different properties and thus I had to adjust my approach several times – something that entirely defeated the purpose of saving time by working in bulk. But I got eventually to the stage when I could impregnate the handles with boat lacquer.
For some of the woods on display here infusing them with drying oil or buffing with beeswax would be entirely sufficient. For some, it would be much, much better to stabilize them with resin beforehand. But the boat lacquer is the most durable and universally applicable finish I have right now, so I have used that. And to make the work more convenient, I have built myself a little stand to put the blades in to dry.
Unfortunately, I am not done yet so I do not know how much time I have lost in this step. I only have enough data right now to know for sure that I have lost a lot, maybe even an hour per blade. The reasons for this are several.
First, this step was evaluated as “high hanging fruit” because I knew upfront that saving time here will be difficult. Lacquering is the most labor-intensive wood finish imaginable in this context.
Second, some of the savings in my previous step were not really time savings, it was merely that I have changed the order of operations this time and that moved some of the work time from that step into this one.
Third, I messed up, bigly, several times. I repeated steps tat needed not repeating and in the end, I had to redo the coating for four blades. This is why I do not have full data yet – right now, only 8 knives out of 12 are truly finished. But the purpose of learning was achieved, and I have definitively saved some overall time.
