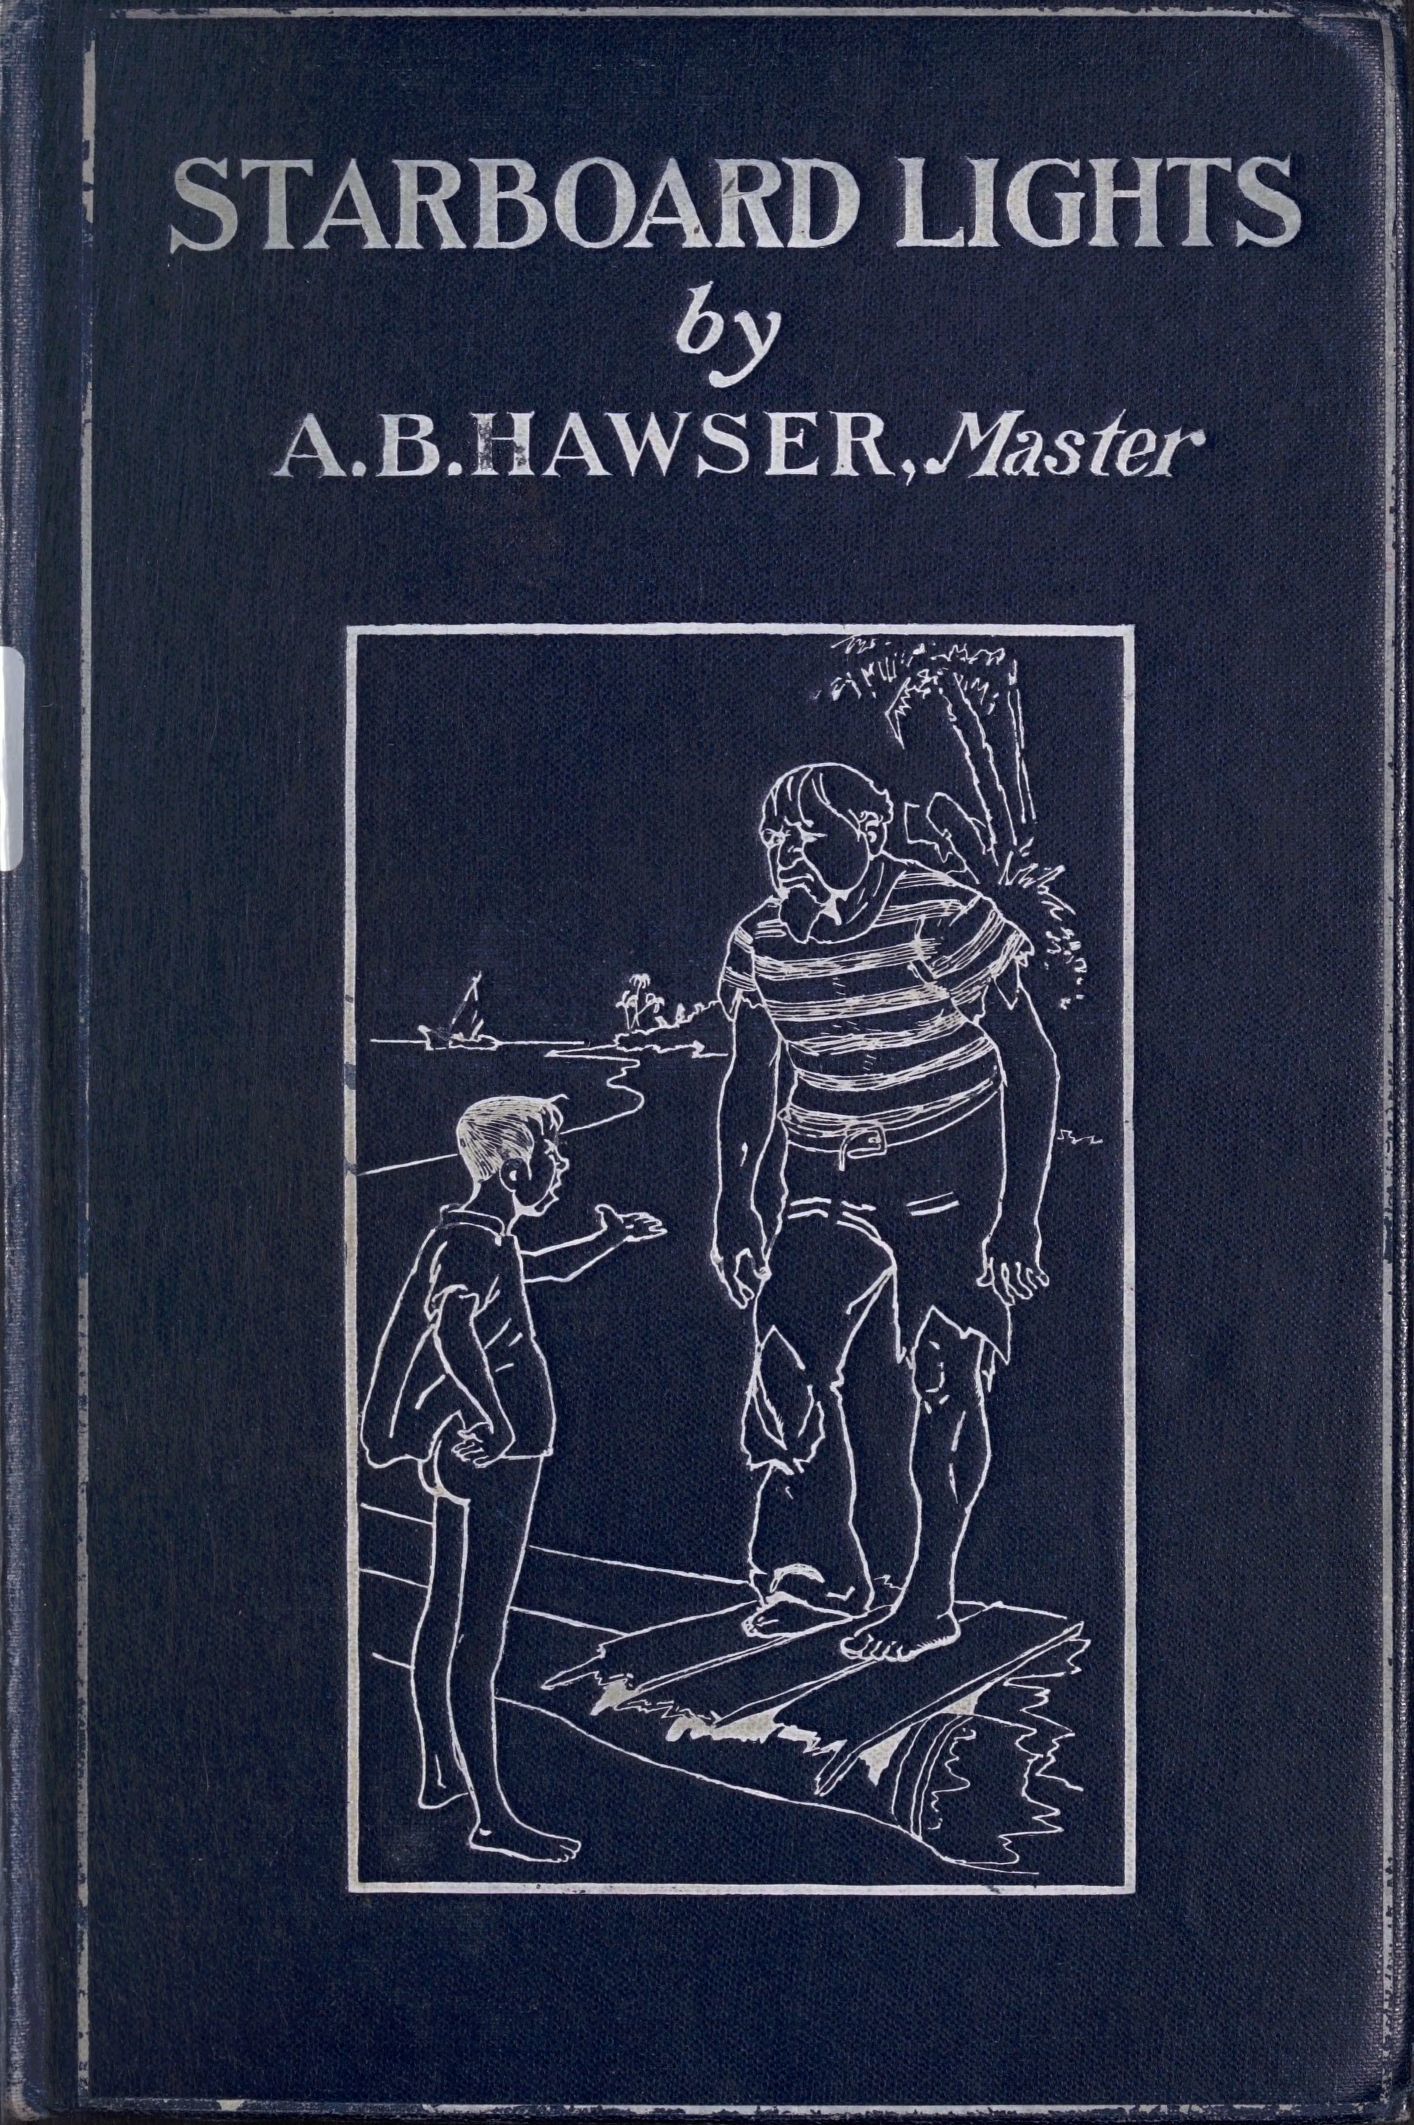
Cap’n A.B. Hawser. Starboard Lights. New York, Quail & Warner, 1901.
via: The Internet Archive
Oliver Optic. Isles of the Sea, or Young American Homeward Bound. Boston : Lothrop, Lee & Shepard Co., [1905]
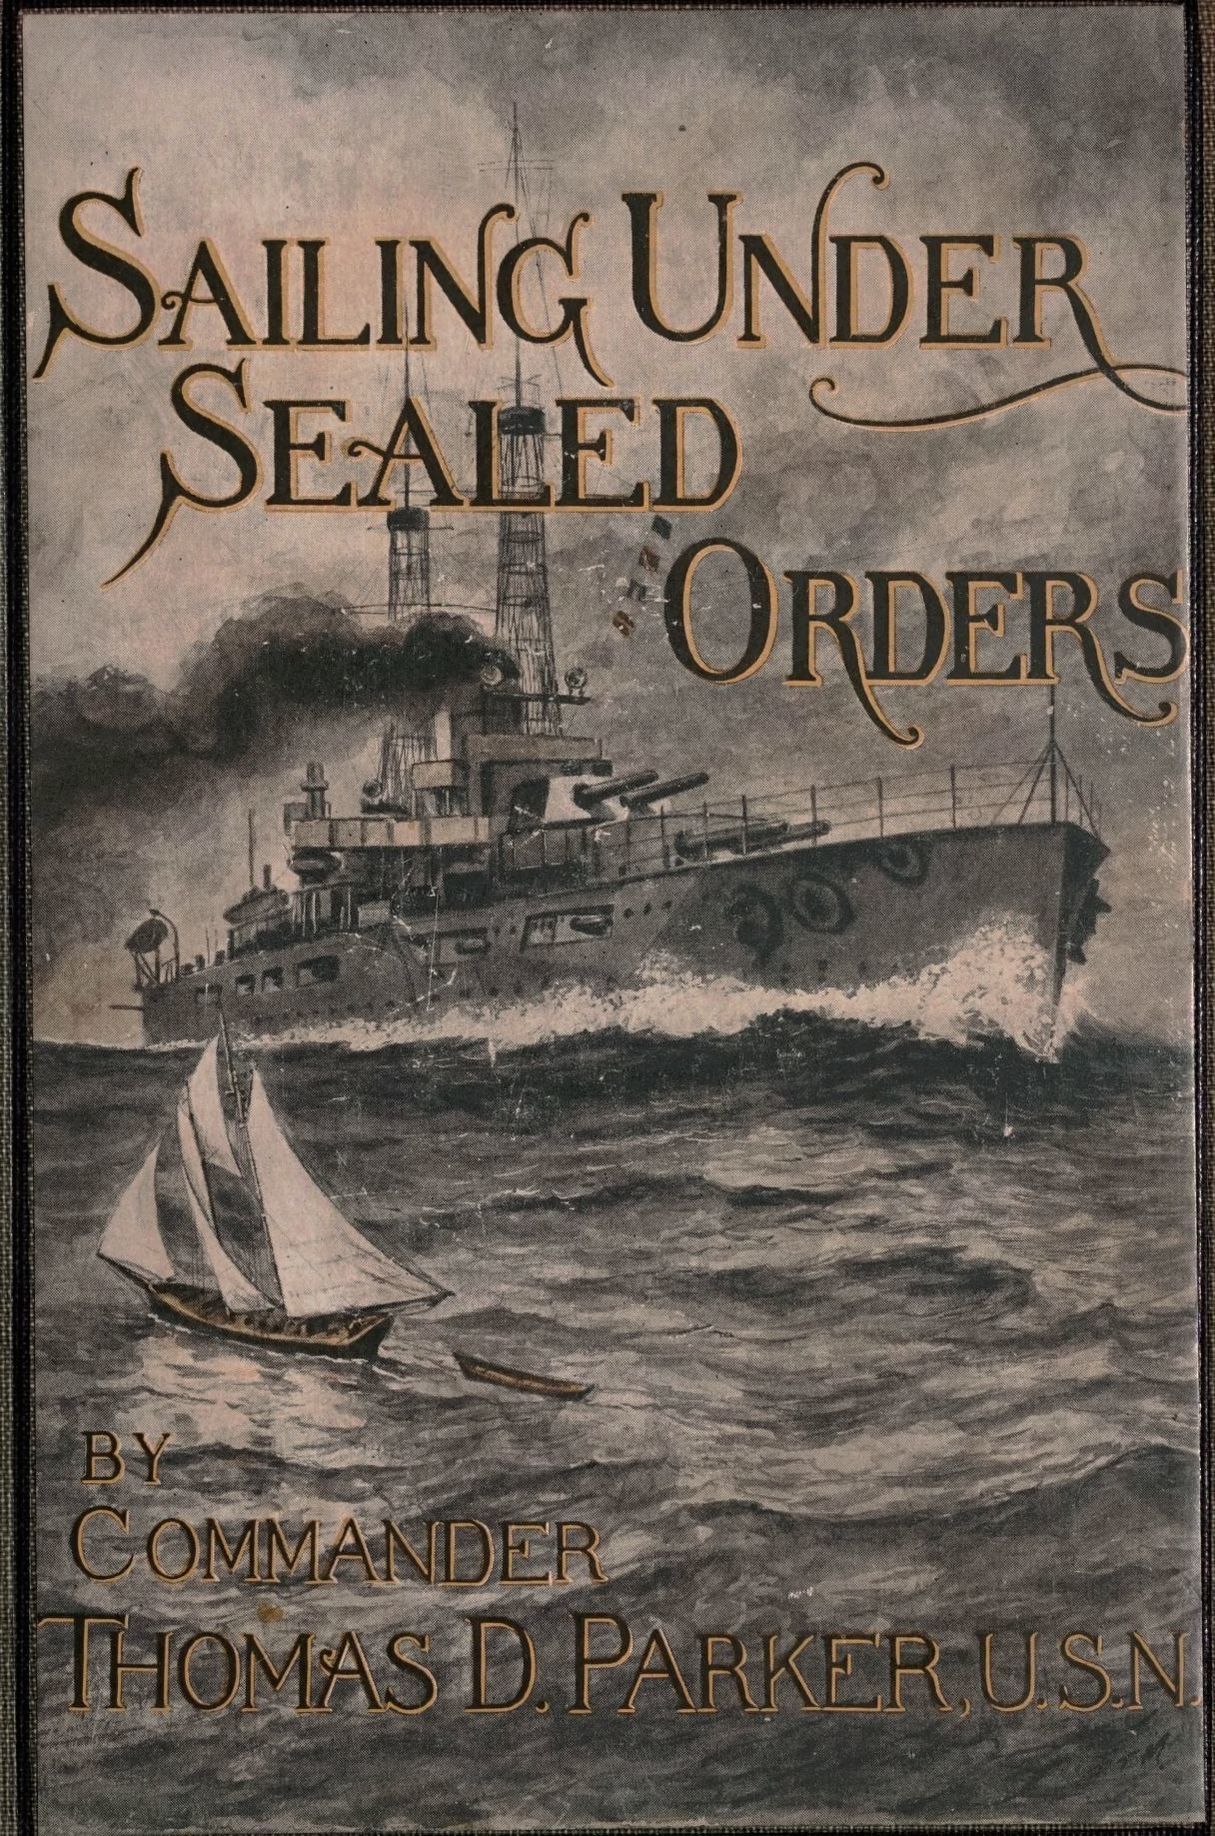
Thomas Parker. Sailing Under Sealed Orders. Boston, Chicago, W. A. Wilde company [c1921]
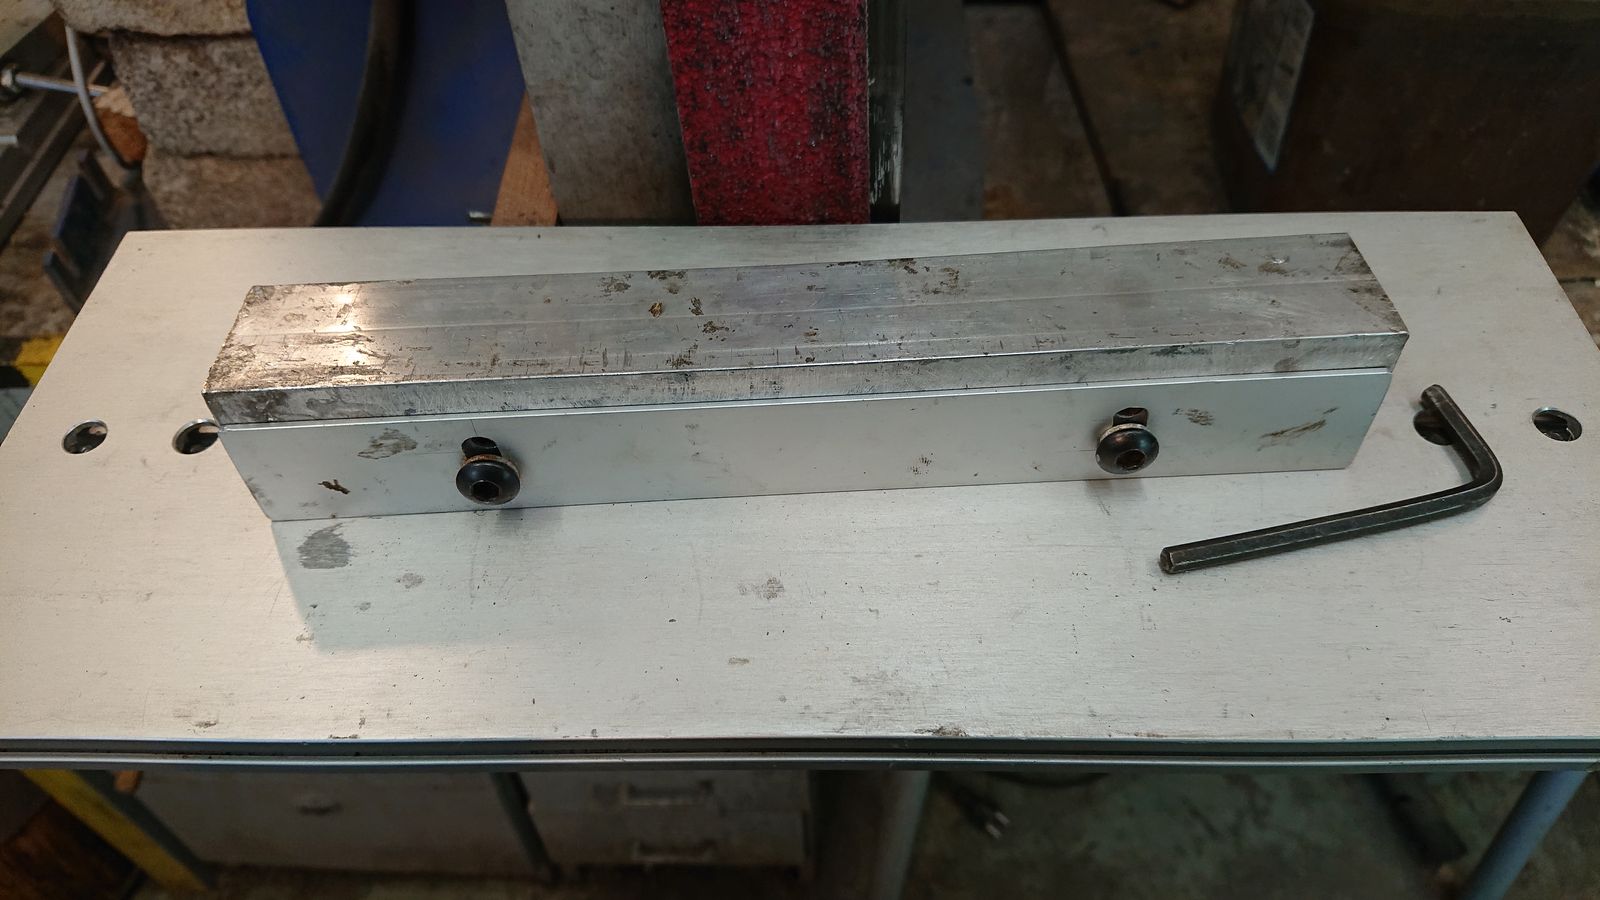
You may have noticed my previous iterations on building a chuck to help with grinding consistent bevels on kitchen knives. Well, I had a lot of thoughts about it and I thought I can significantly improve it. And luckily I have managed to buy some raw materials before the shops were closed.
I am not going to write full how-to instructions this time, a few words, and the finished thing must be enough for this time around I was still figuring some things on the fly and there were some issues that did not go as planned. However I will probably make another, smaller one, for shorter blades and if I manage to not mess that up, I will make a full tutorial on that one, with clean pictures and components and so forth.

© Charly, all rights reserved. Click for full size.
Here you can see the face with four magnet batteries up front and a tiny ledge on the bottom to have a reference point for the top of the blade. I have made magnets using the same method as last time, only this time I have glued pieces of aluminum between the faces of the mild steel slabs. The body is made from a square aluminum pipe. I cut openings for the magnets in it and to fill the hollows, I have used squared beech timber. That allowed me to simply glue everything together with epoxy and added a bit heft to the piece. I have also used square pieces of aluminum to glue in the sides of the pipe to get perfect seal all-around against water.
© Charly, all rights reserved. Click for full size.
Setting the angle on the last one was a bit difficult. It was done by means of four screws protruding from the bottom, and if they did not stick out all exactly the same amount, it could wobble during work which is not ideal. And they did catch on the edges of the grinding table. Here you can see the simplest solution to that problem that I could think of. On the back of the chuck are two holes with M6 thread. On these two M6 screws hold a flat aluminum profile through two elongated holes. To adjust the angle I simply loosen the screws, slide the aluminum profile up/down as needed, and tighten them again. Against the last iteration, this has the advantage of full linear contact with the base plate all the time, even on the edges, and also it is much easier to set up.
I am trying to get my ducks in the row again, finishing finally the current batch of kitchen knives and preparing for the next one. I hope the two and a half days that I have spent with making this were well spent. I still have no functioning forge, but I work on that too, and hopefully, I will have something to say about that soon.

Rudyard Kipling & Daniel De Foe. Little Blue Book #145, Great Ghost Stories. Little Blue Books, Girard, Kansas, 1924.
via: The Internet Archive
Don’t blame me for the used neologism, it is courtesy of Eric D Red.
But I like it.
I also like what can be done with epoxy resin. I am in no hurry to jump on this bandwagon, but I do have it somewhere on the back of my mind.

Edward A. Rand. All Aboard for Sunrise Lands. Chicago, Fairbanks and Pub. Co., 1884 [c1882]
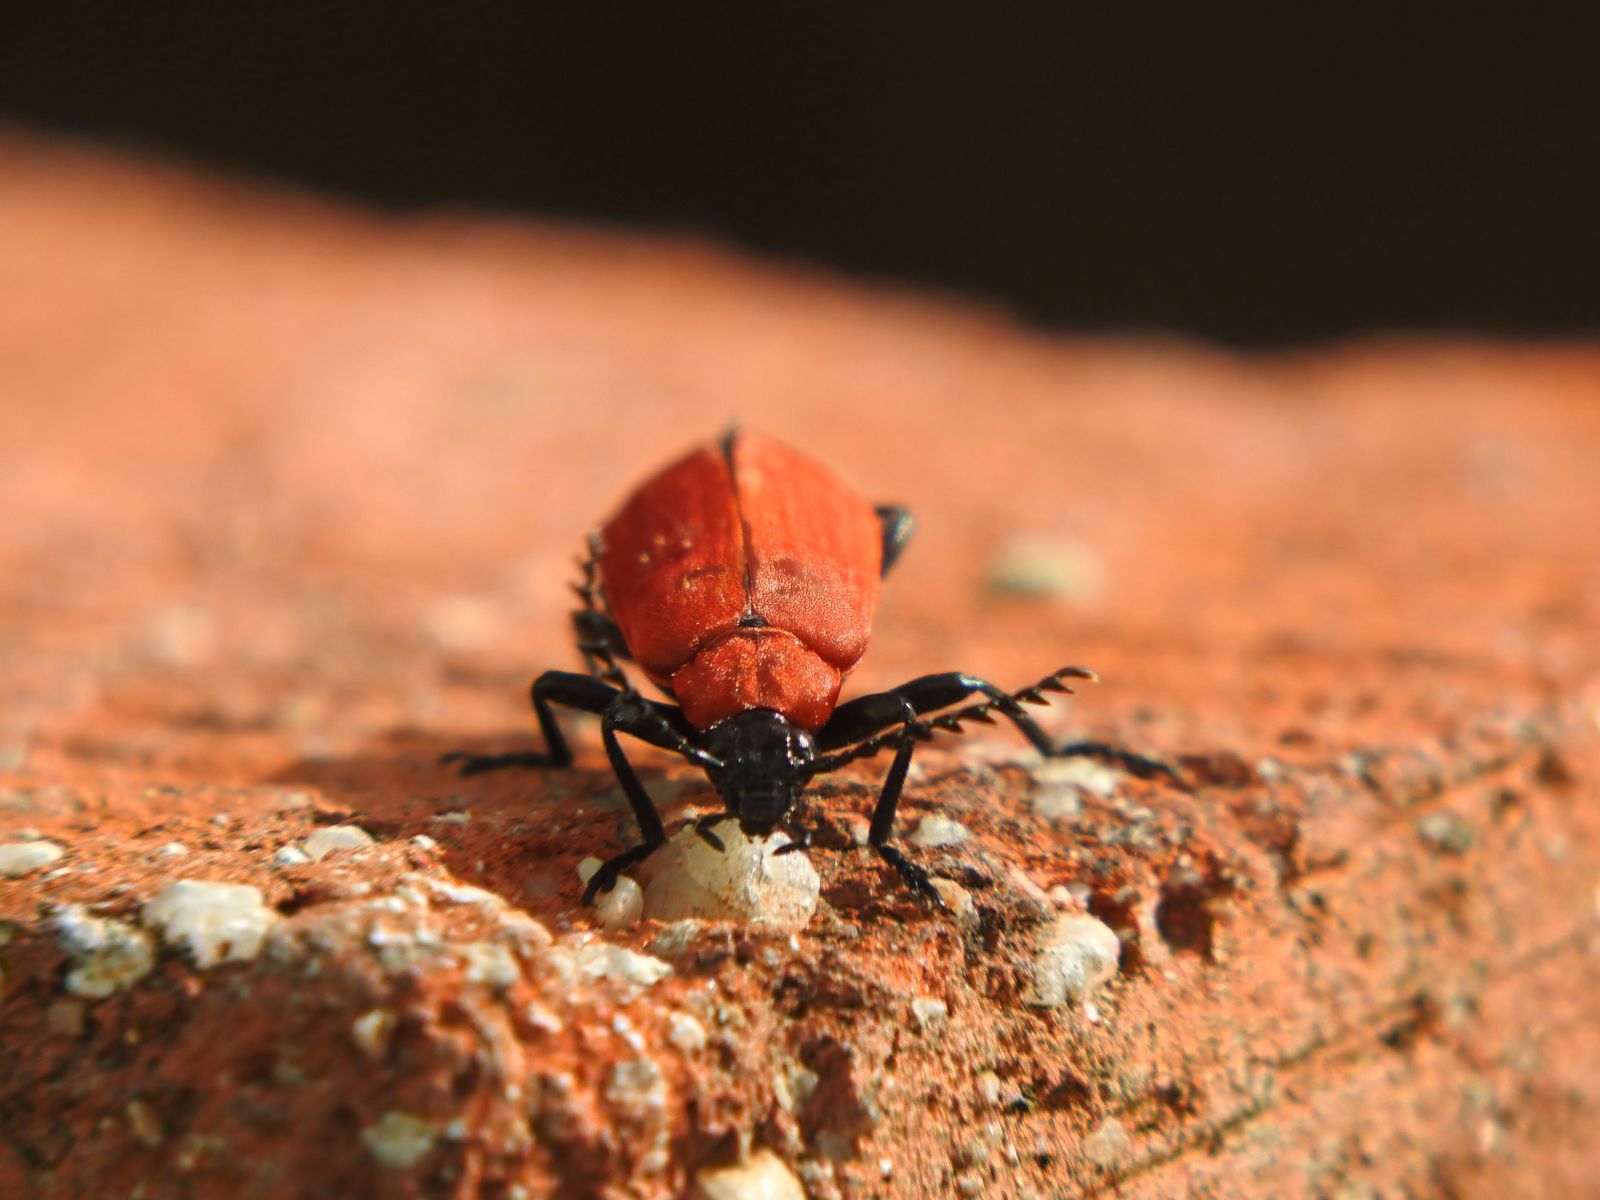
This little buddy has climbed out of a hollow brick yesterday when I was processing dog-daisies into chemical weapons against wooly aphids infesting my bonsai trees (long story).
It was kind enough to remain in place for quite some time, allowing me to take pictures from all possible angles.

© Charly, all rights reserved. Click for full size.

© Charly, all rights reserved. Click for full size.

© Charly, all rights reserved. Click for full size.

© Charly, all rights reserved. Click for full size.
© Charly, all rights reserved. Click for full size.

© Charly, all rights reserved. Click for full size.

© Charly, all rights reserved. Click for full size.
©voyager, all rights reserved
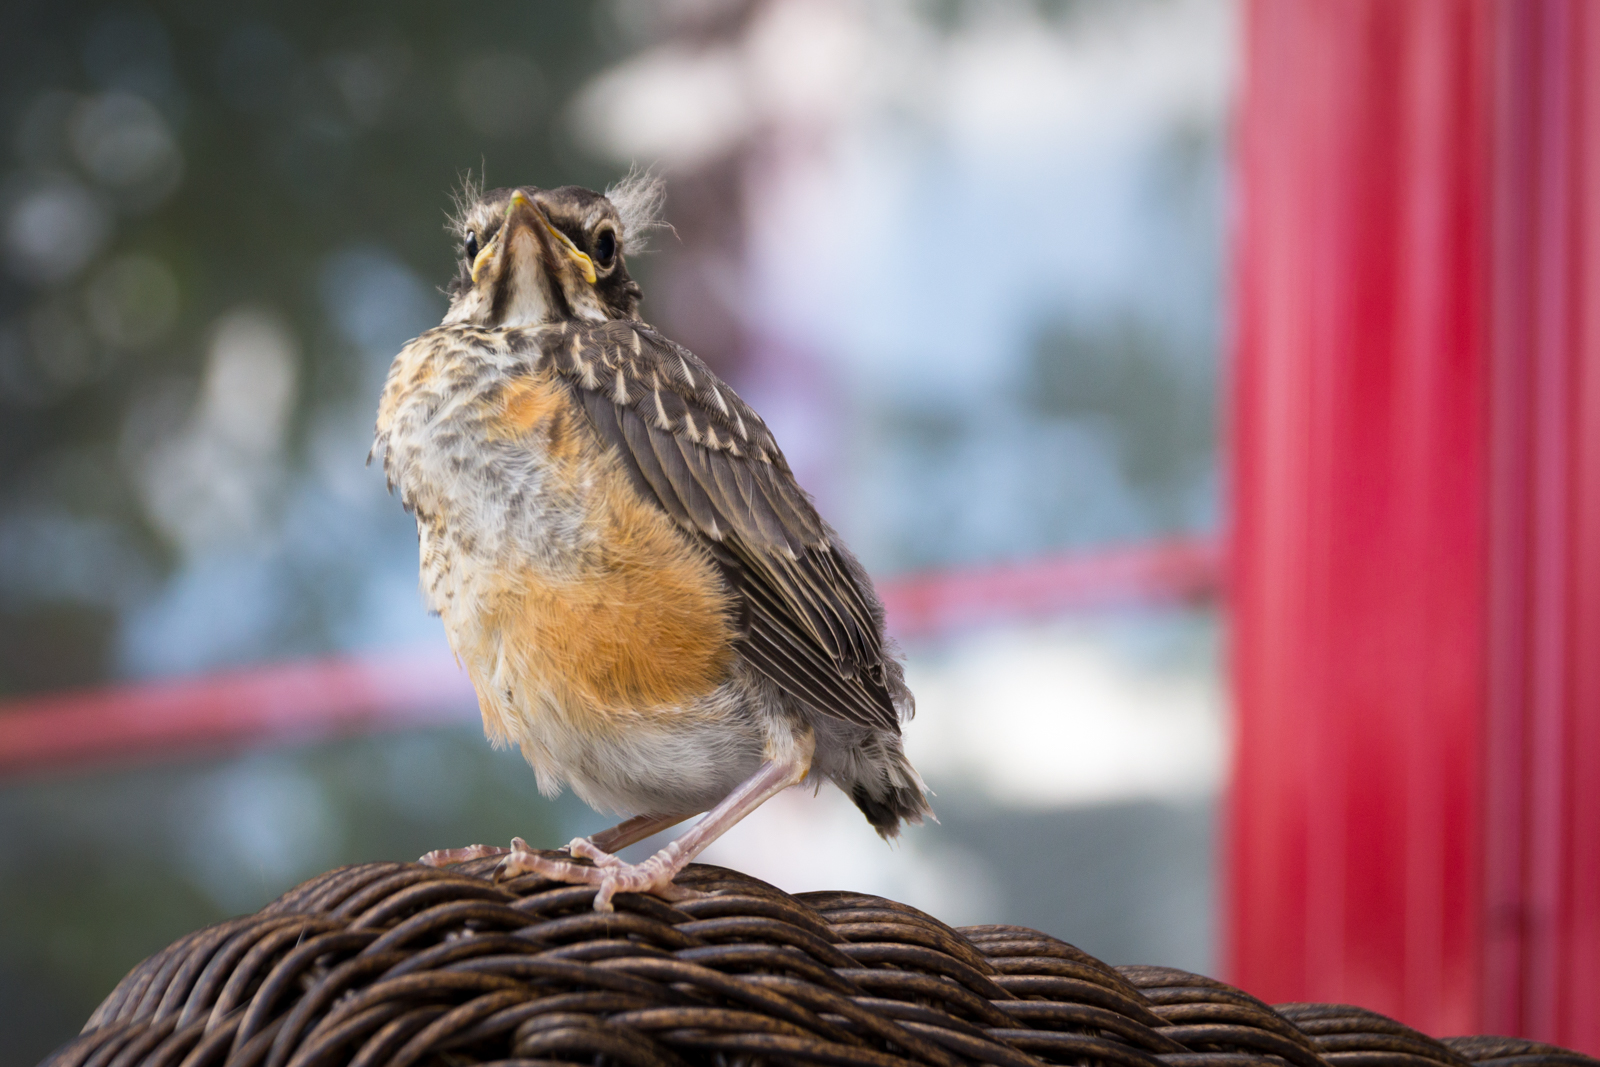
There’s a robin’s nest in the eaves over my front porch, and I haven’t got the heart to evict them. Instead, I provide them with a birdbath and a regular supply of mealworms. In return, they’re cheerful to have around and provide me with lots of pleasant chirping and peeping and poop. I could do without the poop, but it’s a package deal, so I try not to grumble about the mess. It cleans up quickly enough with the hose.
This morning I heard one of the young birds making a fuss, so I went to the door expecting to see one of the parents out hunting in the yard. Instead, I found this little fellow sitting on the arm of my wicker rocking chair, looking a bit dazed and confused about what to do next. I watched him for about 20 minutes from inside the house as he quietly looked all around, trying to process this new perspective on the world. He spread his wings a few times, and I could see he had his flight feathers but hadn’t quite figured out how to use them. His mama was watching over him from a nearby tree, so I shut the door and walked away from it, hoping that mama would feel safe enough to come to his aid. Over the next 2 hours, I checked on him from the window, and the only thing that happened was that he took a nap. That seemed like a good opportunity to sneak out the side door with my camera, and I took a few snapshots through the railing before leaving him to the care of his still hovering mama. The next time I went to the window to check on him, he was gone. Bye, Bye, Birdie. Thanks for cheering me up 0n day eleventy-seven of the pandemic.

©voyager, all rights reserved

©voyager, all rights reserved

Maria Edgeworth, Jane Taylor, Mrs. Barbould Edited by M.V, O’Shea. Waste Not, Want Not, and Other Stories. Boston, D.C. Heath & Co., 1904.

Mildred Kennedy. The Forest Beyond the Woodlands. New York, A. A. Knopf, 1921.
This week I’m sharing a fascinating close-up look at something that most of us view from a distance. It’s a photo essay by Springa73, documenting the progress of a Red Maple between March and late May. The red maples in my neighbourhood are large and stately, but I’ve never stopped to notice how beautiful their many stages are.
Over the past couple of months, I have been taking photos of the developing buds, flowers, seeds, and leaves of a red maple tree (Acer rubrum) in my yard. I thought that they might be of some interest to Affinity readers. They show the budding out of the tiny red flowers on the red maple tree, then the development of the winged seeds as the leaves bud out and develop in their turn.

©Springa73, all rights reserved

Mabell S.C. Smith. Ethel Morton’s Holidays. New York, The New York Book Company, 1915.