
George Du Maurier. Trilby. Bindings designed by Margaret Armstrong. New York, Harper & Bros., 1894
via: This Ivy House
The book is available to read at The Internet Archive
George Du Maurier. Trilby. Bindings designed by Margaret Armstrong. New York, Harper & Bros., 1894
via: This Ivy House
The book is available to read at The Internet Archive

V is for Vermilion ©Nightjar, all rights reserved
Vermilion.
A brilliant red pigment originally obtained from the mercury-containing ore cinnabar. It usually has a slight orange tint to it, much like the petals of this Zinnia flower.
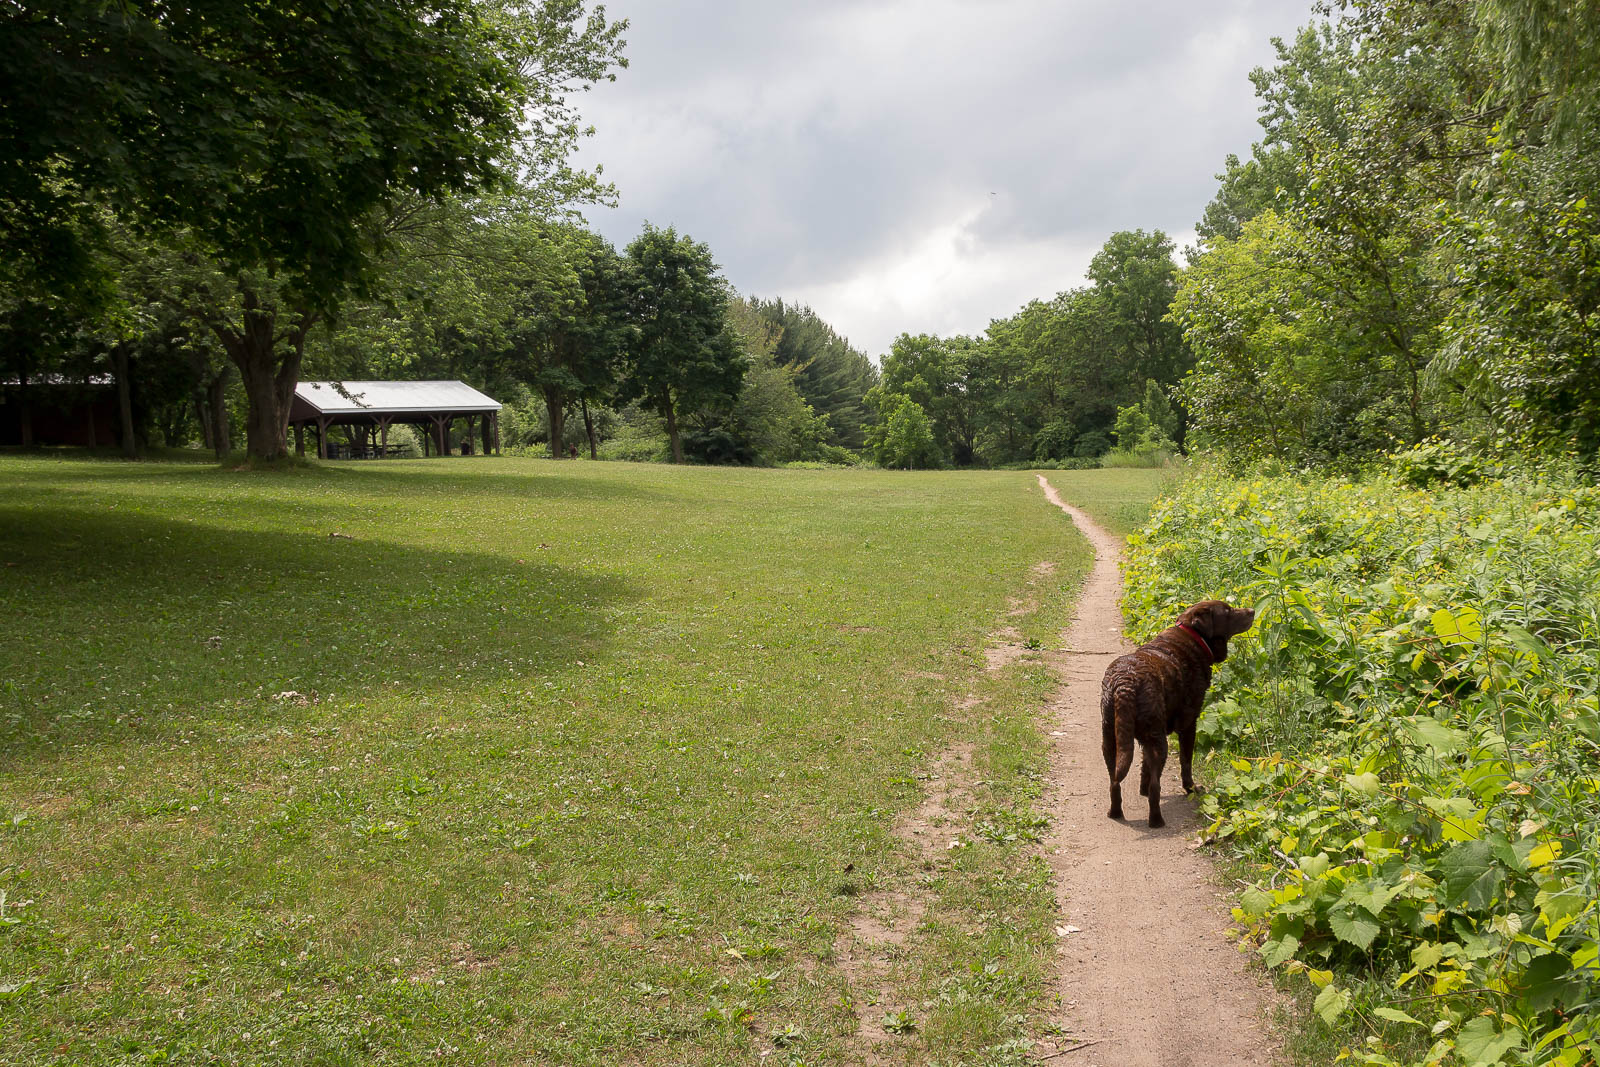
By the lake. ©voyager, all rights reserved
It’s a gloomy overcast day with rain on the way, but the heat wave has broken and the temp is a pleasant 24°. Shade isn’t necessary today so we walked the path beside the lake and listened to all the children playing in the water on the other side. The far side of the lake has a camp ground with picnic and swimming areas and my city has just done away with the $10.00 fee to use the facilities. It’s always been busy on that side of the lake, but since the fees have been waved it seems to be getting even more use.
Jack and I prefer the quiet side of the lake. Jack can swim without kids bugging him and I don’t need to worry about Jack looking for cuddles when he’s soaking wet. Jack just doesn’t understand why people don’t want to love him up when he’s wet. I’ve tried to explain it to him, but Jack keeps telling me that it’s only water and that it makes him extra adorable. Alright, Bubbs, we’ll go with that and just stay over here on our own. I don’t mind the solitude a bit.

John Spargo. Socialist Readings for Children. New York, The Woman’s National Progressive League, 1909.
Look at how happy those children are. They have health care and will get a good education.
Photo via Pinterest
The book is available to read at The Internet Archive
From Nightjar,
U is for Ultramarine ©Nightjar, all rights reserved
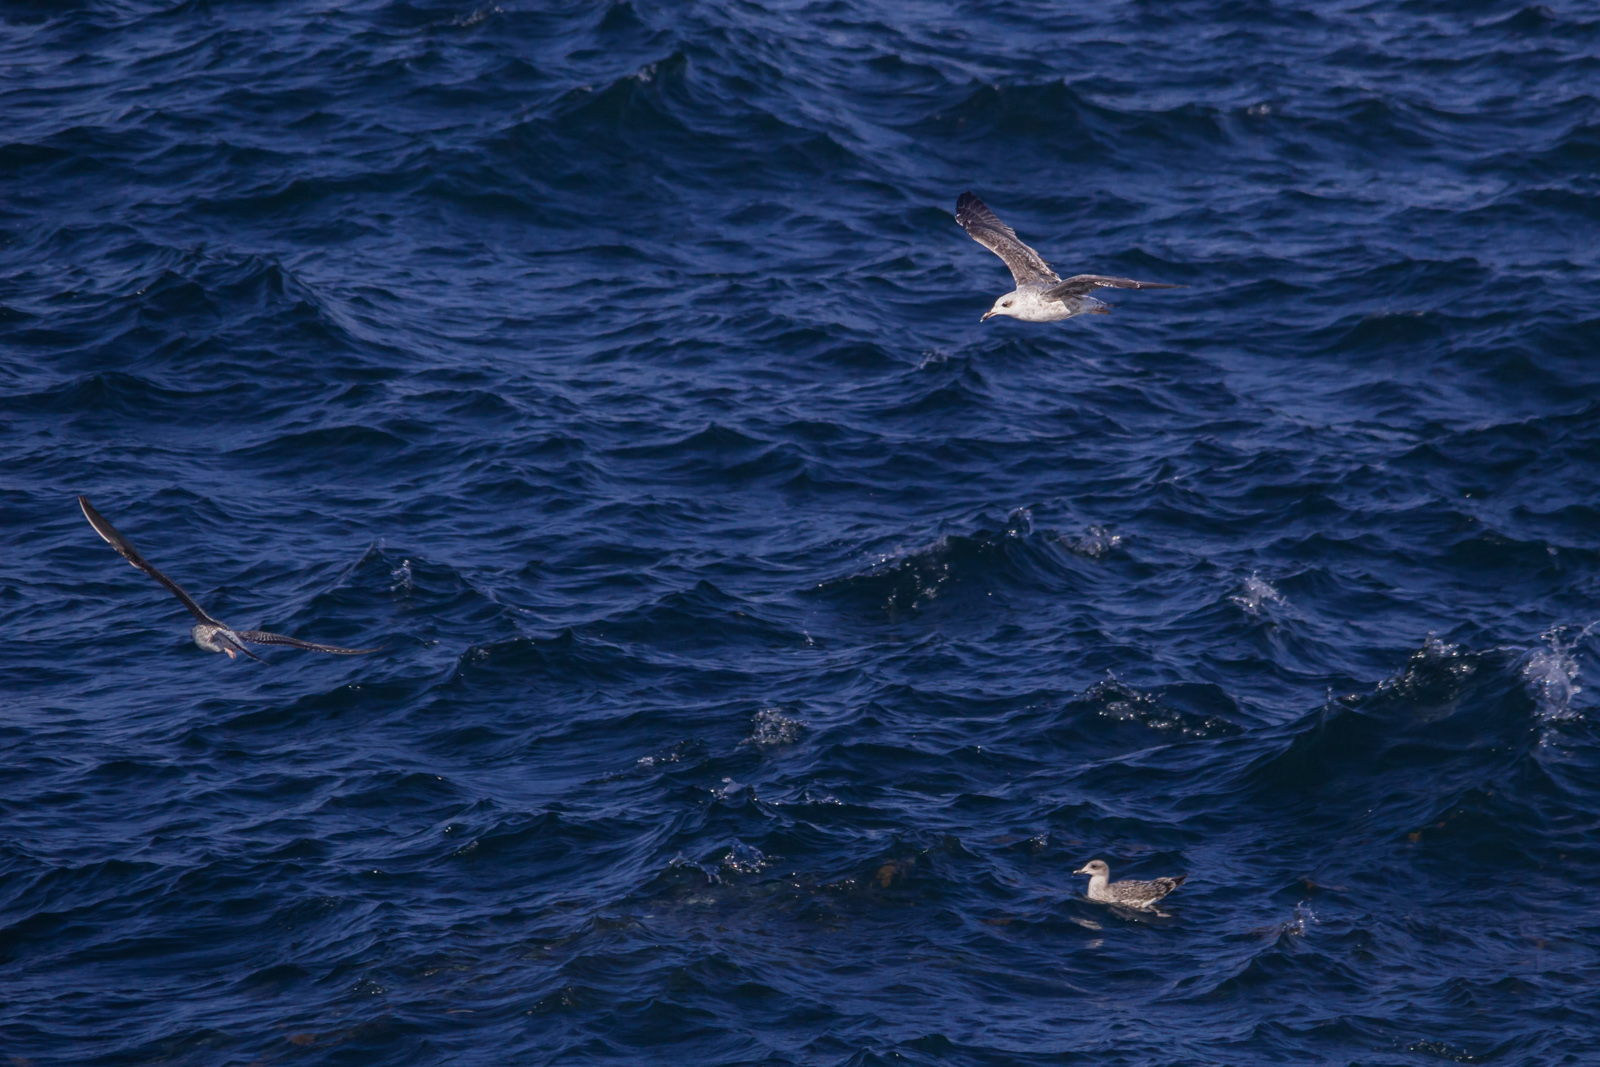
Ultramarine.
A deep blue pigment obtained from lapis lazuli. Its name means “overseas” referring to its history as an expensive good imported by sea from Asia, but sometimes it can be found in the sea itself, I think.
Last time this part of the process gave me some grief and I also have expressed some skepticism with regard to how much time it takes me. Yesterday I have calculated that unless I get this time under 12 Minutes per blade, it is not worth doing from a financial point of view. So, how did I fare today?
I had 13 kitchen knives and 2 hunting/camping knives to for hardening. I wanted to harden one half in foil and one half with a new experimental protective coating, but I only got enough foil for five blades, so I used it for both hunting knives (those will be sold, so those were more important to not mess up) and three kitchen knives. The rest got the new experimental protective coating.
I started by properly preparing my workplace in order to not needlessly waste time. On the left, you see a can with oil, a water bucket, several pliers and the blades. On the right is my mini gas-forge on my circular saw table, which is metal and thus non-flammable. I had to work indoors, there was a threat of homeopathic rainfall.
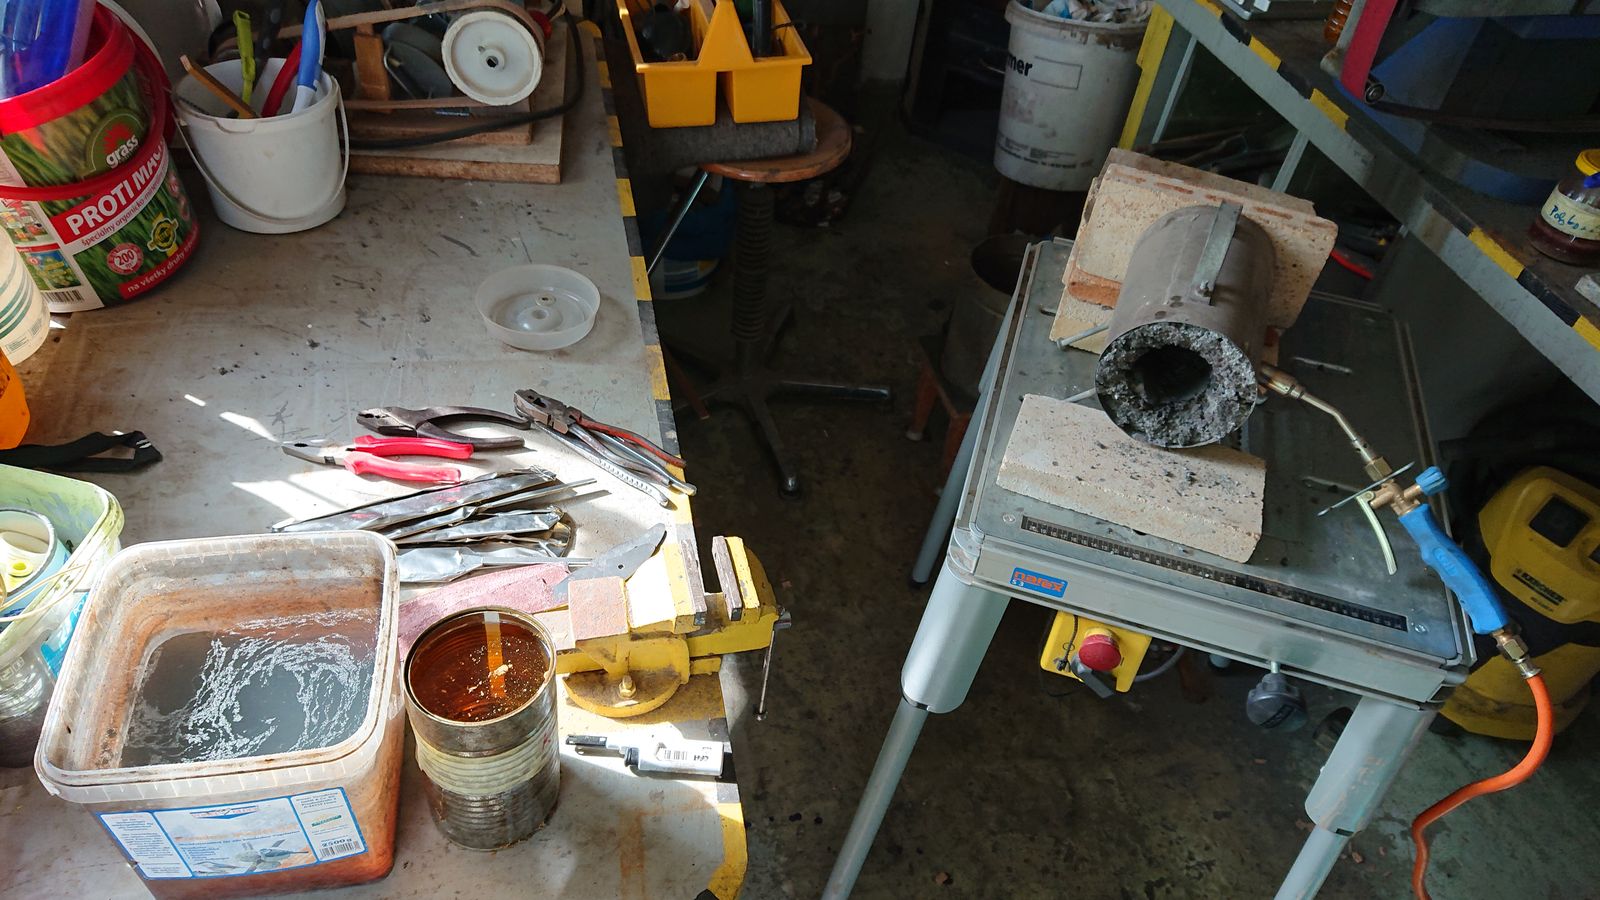
Prepared tools. © Charly, all rights reserved. Click for full size.
First I let the forge heat for fifteen minutes empty and then I started to put blades in it. In order to give the steel the soak time it needs (30 minutes), I started by putting in one blade every five minutes, always putting the last blade on the left side, pushing all the blades inserted before that to the right towards the burner. After half an hour I could quench the first blade and I continued with 6 blades in the fire at once.

Blades in the forge. © Charly, all rights reserved. Click for full size.
Unfortunately, just like last time, the temperature was a problem. I tried to insulate the forge a tiny bit better, but it just did not help, this burner is too small. I got over 950 °C, but that is still some 70°C short of the minimum for this steel. It got hardened alright, but probably not to the fullest potential. That I will not know until I have cleaned and tested the blades, and that will take a while. So far I only could take each blade and try if it scratches into a piece of unhardened steel – and they all did. (A side note to temperature measurement – I tried to look it up, and oxidized steel at this temperature has an emissivity around 0,9, so my IR thermometer should give accurate enough readings in default settings.)
I knew that my oil container is a bit small, so the oil will heat up way too much in due course, that is why I quenched the blades double – first in oil, then in water. That way I also extinguished any flaming oil clinging to the freshly quenched blade. It is a bit risky, but I did not hear the tell-tale cling of the cracking blade this time, so maybe I got away with it. We will see if some cracks show later on.
Hardening the blades in foil was a bugger. For the kitchen knives, I pulled them out of the foil before hardening, and they all warped in quench something awful. The camping knives got quenched still in the foil, and they surprisingly still got hardened rather well. Maybe the next step has helped? I do not know.
For the next step directly after quenching (after quenching all blades, which took me 2:25 or 145 minutes) I packed all pieces in plastic foil and gave them into our freezer at -20°C. Ideally, I would put them in liquid nitrogen to cryo-freeze them, but I do not have that kind of equipment to play with. So I looked at the internet and I found that in some steels of similar composition simple freezing below 0°C is enough, so I reasoned – it costs me no money and no time either, so on the off-chance that it does something I will do it. I have no way of measuring whether it helped or not, but it did no harm for sure.
After about two hours in the freezer, the blades got out of there and into the kitchen oven at 150°C for 1 hour.

Baking knives. © Charly, all rights reserved. Click for full size.
After that, I left them cool down to room temperature and when they cooled off and lay for one hour at RT, I tried to fix the warpage on the three kitchen blades by clamping them between a few pieces of steel before the second tempering, which was again one hour at 150°C.

Baked knives. © Charly, all rights reserved. Click for full size.
It did not help, the edges remained warped. So I clamped them again and tomorrow these three blades go into the oven again, this time at 200°C for one hour. That means they will be less hard still, but hopefully they get a bit straighter.
If not, then what I have here is a case of “knifemakers do not make mistakes, they make smaller knives”. The mistake that I did not make this time has, in my opinion, nothing to do with the use of protective foil, it was in my opinion just a coincidence that all foil-wrapped knives warped. I think I have simply ground these blades too thin – remember how I complained about my abysmal skill with the belt grinder?
At least I had no banana-bending to one side, which means that my grinds were symmetrical.
The protective coating actually did dissolve significantly in hot water this time, so I think that I am on the right track there.
And what was the time? All in all, with packing some blades in foil and coating some with badly prepared mixture whilst chatting with my brother and my sister in law, and preparing and cleaning away the whole workplace, it took me about 15 minutes per blade. That is an excellent result. 75% improvement compared to the last time. I think with a few more tweaks I can actually really get this to the 11 minutes per blade that I need. I am not there yet, but I think it is possible.
The next part is the polishing. The biggest time-eater and finger-breaker of them all.
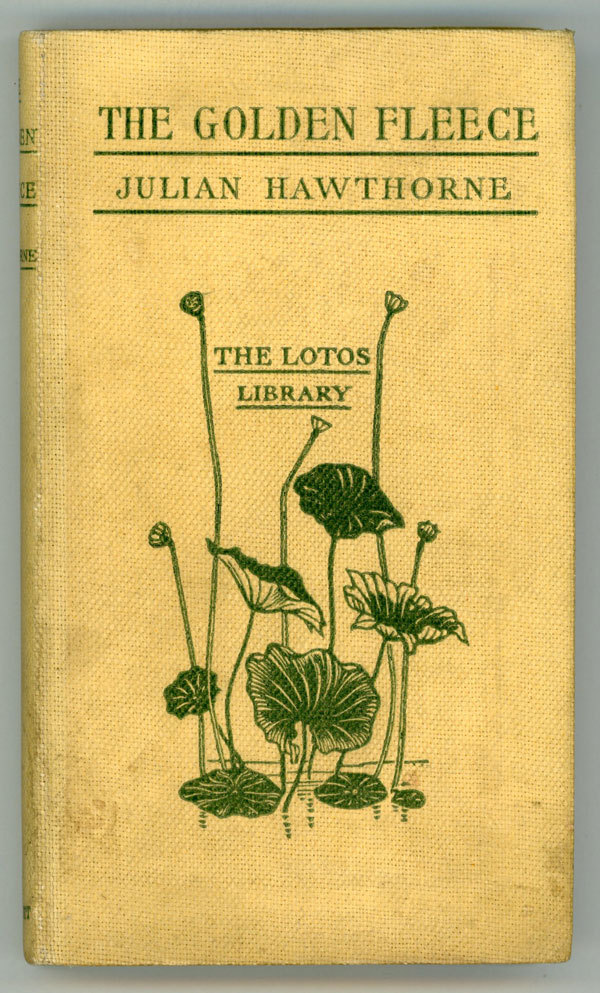
The Golden Fleece: A Romance. Julian Hawthorne. Philadelphia: J. B. Lippincott Company, 1896. Illustrations by C. H. Stephens. First edition.
via: Books and Art
The book is available to read at The Internet Archive
From Nightjar,

T is for Teal ©Nightjar, all rights reserved
Teal.
I’ve noticed that some of my succulent plants display a teal hue that almost glows under certain light conditions. I tried to capture that here, although this one required a bit of post-production to bring it closer to what I had in mind. I still liked the result.
These are my recollections of a life behind the iron curtain. I do not aim to give a perfect and objective evaluation of anything but to share my personal experiences and memories. It will explain why I just cannot get misty-eyed over some ideas on the political left and why I loathe many ideas on the right.
If you have read enough of my writings and comments, you know that I am no free speech absolutists. I do think that there should be legal limits to what, where and how is discussed because unregulated free speech is actually not free at all – it allows toxic ideas to spread at the detriment of sensible ones. The old paradox about tolerating intolerance does definitively apply.
However I do on occasion wonder how much of this attitude is due to my growing up in an environment where freedom of speech was de-facto nonexistent. Oh, people were allowed to say anything they want about whatever they want – as long as it did not contradict the official party opinion on the matter. Criticizing USSR or the Communist Party was not allowed and the punishments for transgressions were not trivial either.
During my life, the regime has mellowed a lot already, so people did not just disappear overnight for saying something wrong, but they still could get into trouble if they said something critical of the regime and it got to the wrong ears. And it could be enough if one of your kids babbled in the school about how one of their relatives was criticizing the communist party.
I have found myself in this situation as a kid. One of my uncles was a fervent follower of the party in the 60s, then he got shortly out into West Germany in the 70s and after seeing the standard of living there in comparison to our “socialist paradise”, he made a U-turn in opinion. The only reasons he and his wife got back were their two sons, who were still small and whom they did not have with them – and whom they might not get back if they emigrated illegally.
Ever since that he did not have a kind word for the Communist Party and he vented often in front of the TV during the evening news. I was present a few times for that and it caused me great discomfort to hear what he said. It was in direct contradiction with the “truth” that was told in school, with the “truth” printed in Pravda, and with the “truth” on TV. He was critical of all those amazing and all-knowing party officials! At the time I had no way of discerning on whose side the actual truth lies, but luckily I did not go to our teacher for answers, but first to my parents. Who have told me that I should try not to think about this and to never tell anyone what my uncle was saying because he could go to jail.
After the fall of the Iron Curtain, this was summed up in a saying “One of the most difficult things in parenting was to convince your kids to tell the truth at home, and not to tell it in public”.
Finding the right balance between unregulated speech and an iron grip on what people are allowed to say is not an easy task and I do not have the answer where the exact line lies. I have seen both extremes in action in real life and on the internet and both extremes do not work in the long run. Too much regulation and you end up with an isolated bubble, an echo chamber (and I do not mean state regulation only). But too lax or absent regulations lead to toxic environments overrun with those who shout the loudest and who have no squabbles to spout lies faster than they can be reasonably debunked. So I can only say the balance is worth seeking.
Some pretty-in-pink winter flowers from Australia courtesy of Lofty.
Although its midwinter here there are still plenty of bright little things to see on the non rainy days. These little flowers are around 1/2″ or 12mm long and were trying to hide in a dark corner, but a sunbeam surprised them. Described here: https://en.wikipedia.org/wiki/Epacris_impressa

Epcaris Impressa ©Lofty, all rights reserved
It’s been a long time since I was able to work on this project. Nearly cut-off finger, then tree illnesses in quick succession, and then a huge workload that took several months to get rid of. But this week I finally could dedicate each evening a bit of time, and today I finished grinding the primary bevels.
I cannot actually say how much time did my new magnetic jig/fixture/chuck/norris actually saved because I only used it for the beginning of this step – establishing the bevels with 40 grit belt. After that, I went free-hand again, because I need to alternate the grinding angle slightly with each belt change – so for 60 grit I ground with the point slightly up, 80 grit point down and so on. That is the only reliable way to make sure to have ground away all scratches from the coarser grit before going to the finer one, and additionally, it does help to make the grind more even and true.
I still wasted a lot of time due to my abysmal skill with the belt grinder, unfortunately, and I am not completely happy with the result skill-wise, especially the ricassos. I think I can still substantially reduce the time and improve quality by exercise.
Nevertheless, this time around it took me 6 hours for 12 blades, so 30 minutes per blade. And since it took me 75 minutes last time, that is a very significant time saving of 45 minutes or 60%.
Not all of that time saving is due to the fixture though. About five minutes per blade were saved by working in a batch and thus not changing the belt up on the machine until all blades were finished on the same level. And about fifteen minutes were saved by me not going above 120 grit. So the chuck saved me perhaps ten minutes, which is still substantial and I am not complaining. I will make a better and permanent one from aluminium and brass, definitively.

Blades with established bevels. © Charly, all rights reserved. Click for full size.
So now to coat the blades in protective coating or foil (I will split them in order to be able to evaluate if there is a difference) and into the heat treatment with them. That step is going to be really interesting – if I do not get it to 11 minutes per blade or lower, it will be more cost-effective for me to send the blades for hardening. Which is something I do not want to do because that means sending away some of the fun, plus it would make all my time plans dependant on someone else’s capacities.
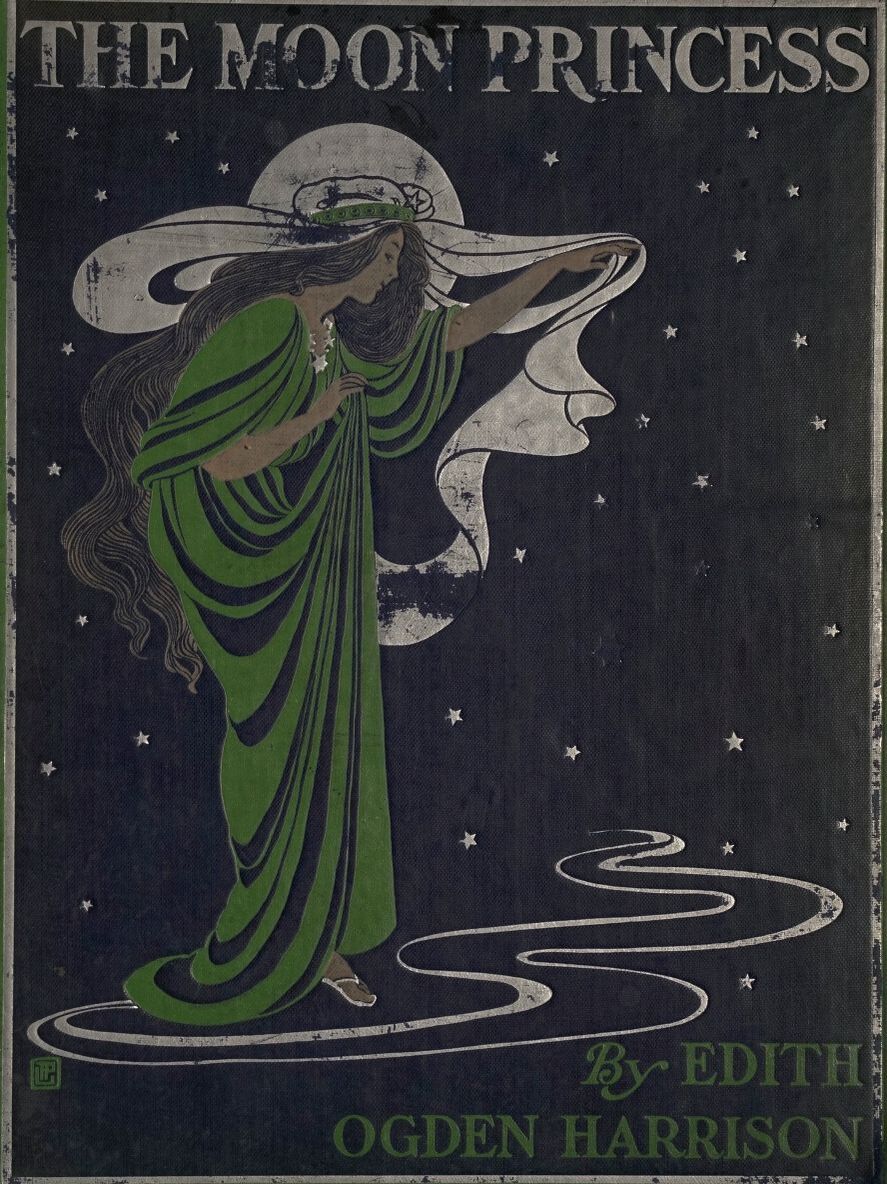
Edith Ogden Harrison. The Moon Princess. Illustrations by Lucy Fitch Perkins. Chicago, A.C. McClung & Co., 1905
From Nightjar,

S is for Salmon ©Nightjar, all rights reserved
Salmon.
Birds can be salmon too, as shown by this salmon-colored canary.
Link to previous alphabet post.