With the work done, I have to protect both the leather covering of the scabbard and the iron fittings against the elements and medieval appropriate medium for that is so-called dubbin or leather food. Google does yield some recipes, but I did not bother searching for or following an exact recipe much – once I have known the rough composition, I plunged right into it as is my wont.

Ingredients in the mug.
So I took a stainless steel mug, put in it a piece of lard, about the same amount of unrefined beeswax (twenty years old, btw.) and I poured an “adequate” amount of olive oil on top of it. Then I lit the fire and stirred until it all melted together. It was quite interesting to watch – the pig fat dissolved of course first and the big beeswax piece last, but it did not take too long. In fact, it was over in mere minutes. I have measured the temperature and when it all was blended together the liquid had about 80°C. High enough to be dangerous, but not so high as to melt plastic or hiss in contact with water. It remained liquid long enough to touch with bare hand.

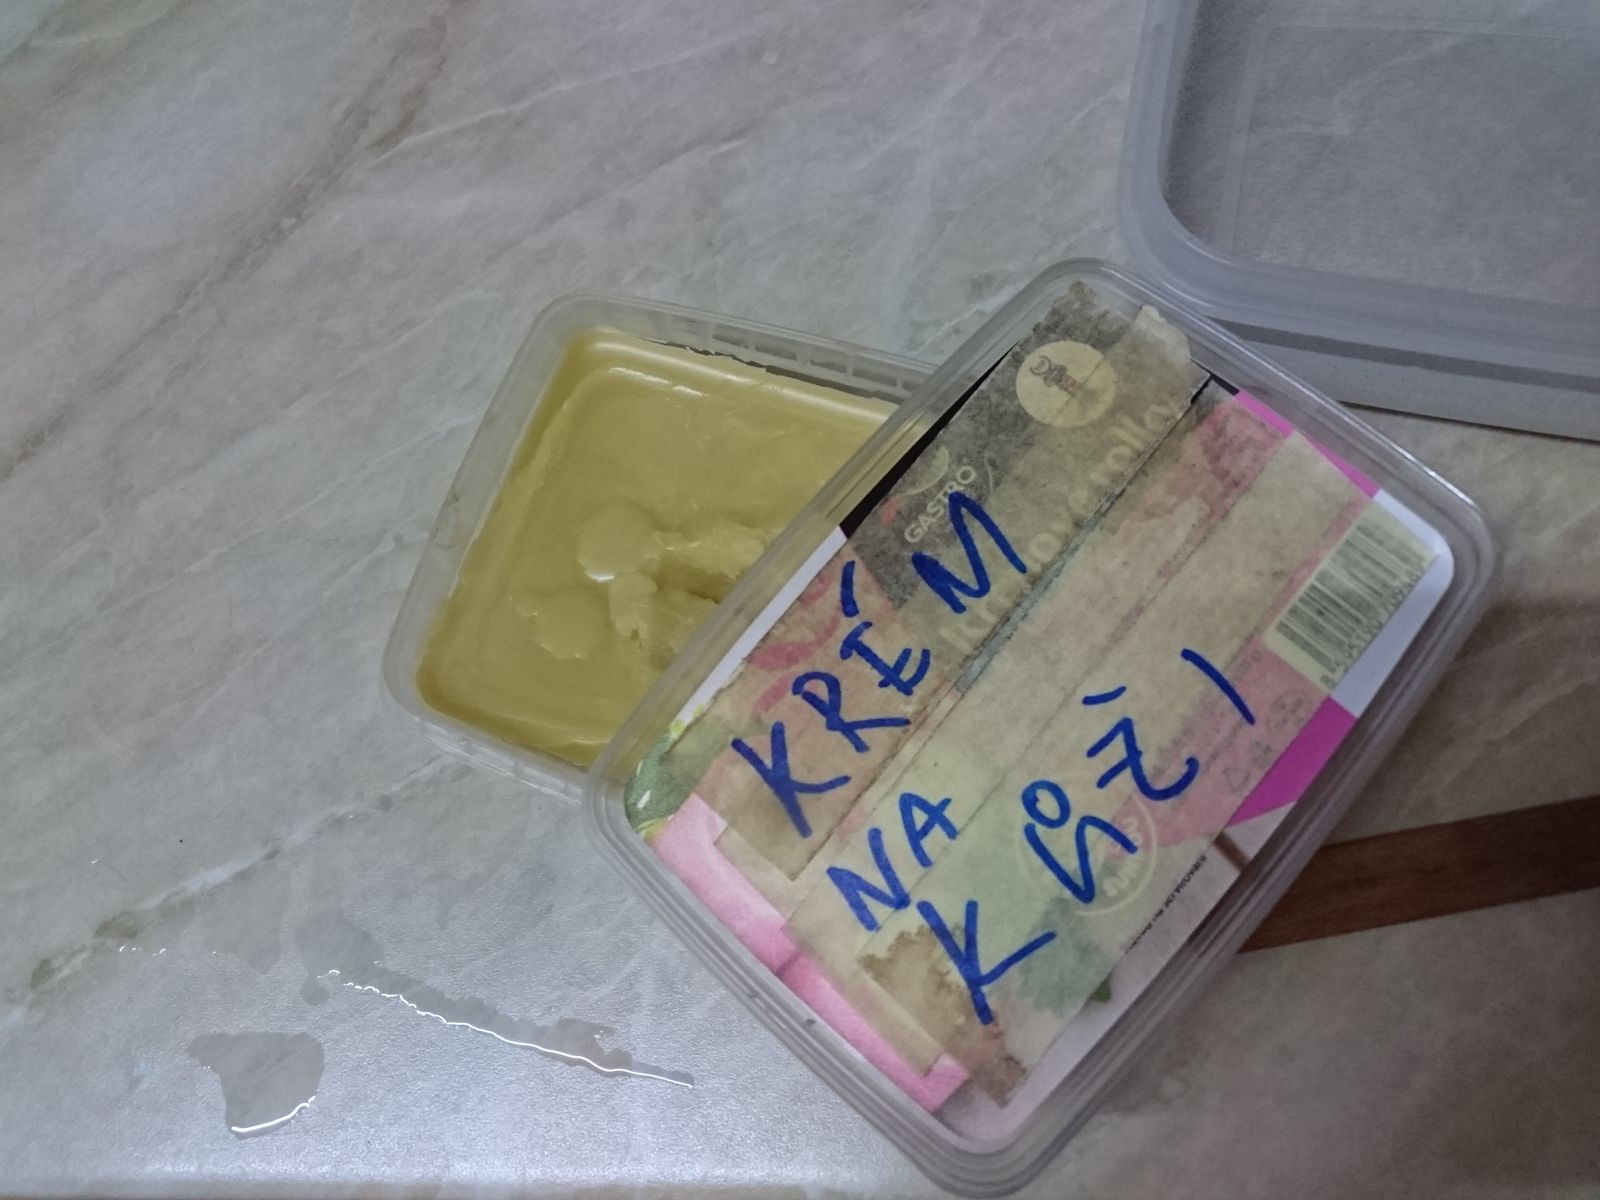
Finished dubbin in a plastic container.
Even so when pouring it into a plastic container for keeping, I have put said container in an even bigger one and poured cold water around it just to be sure. As you can see, the liquid has had a honey-like colour that I have found rather pleasing to the eye. It does not smell too bad either and when the product cooled enough to be touched by bare hands, I have simply dipped my fingers in it and applied it to the scabbard in no small amount. In fact I sloshed liberally all over it, making an uneven layer that was in parts over 1 mm thick.
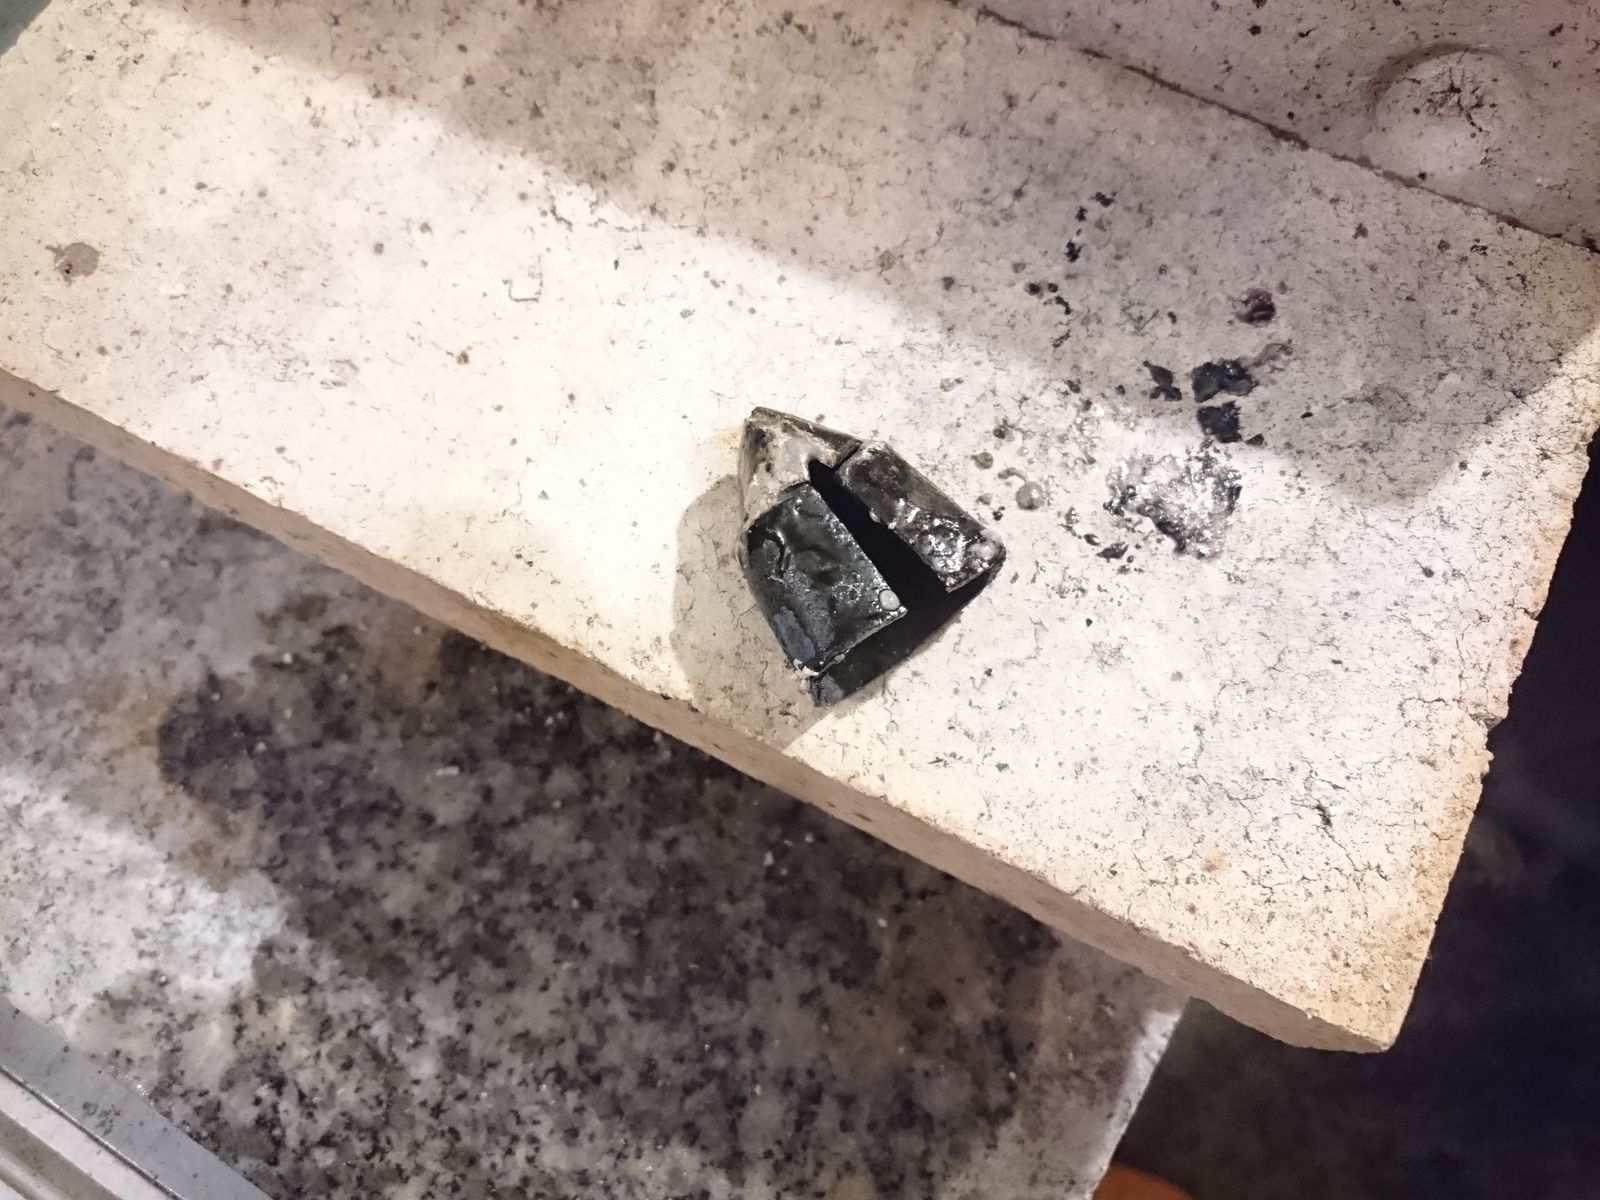
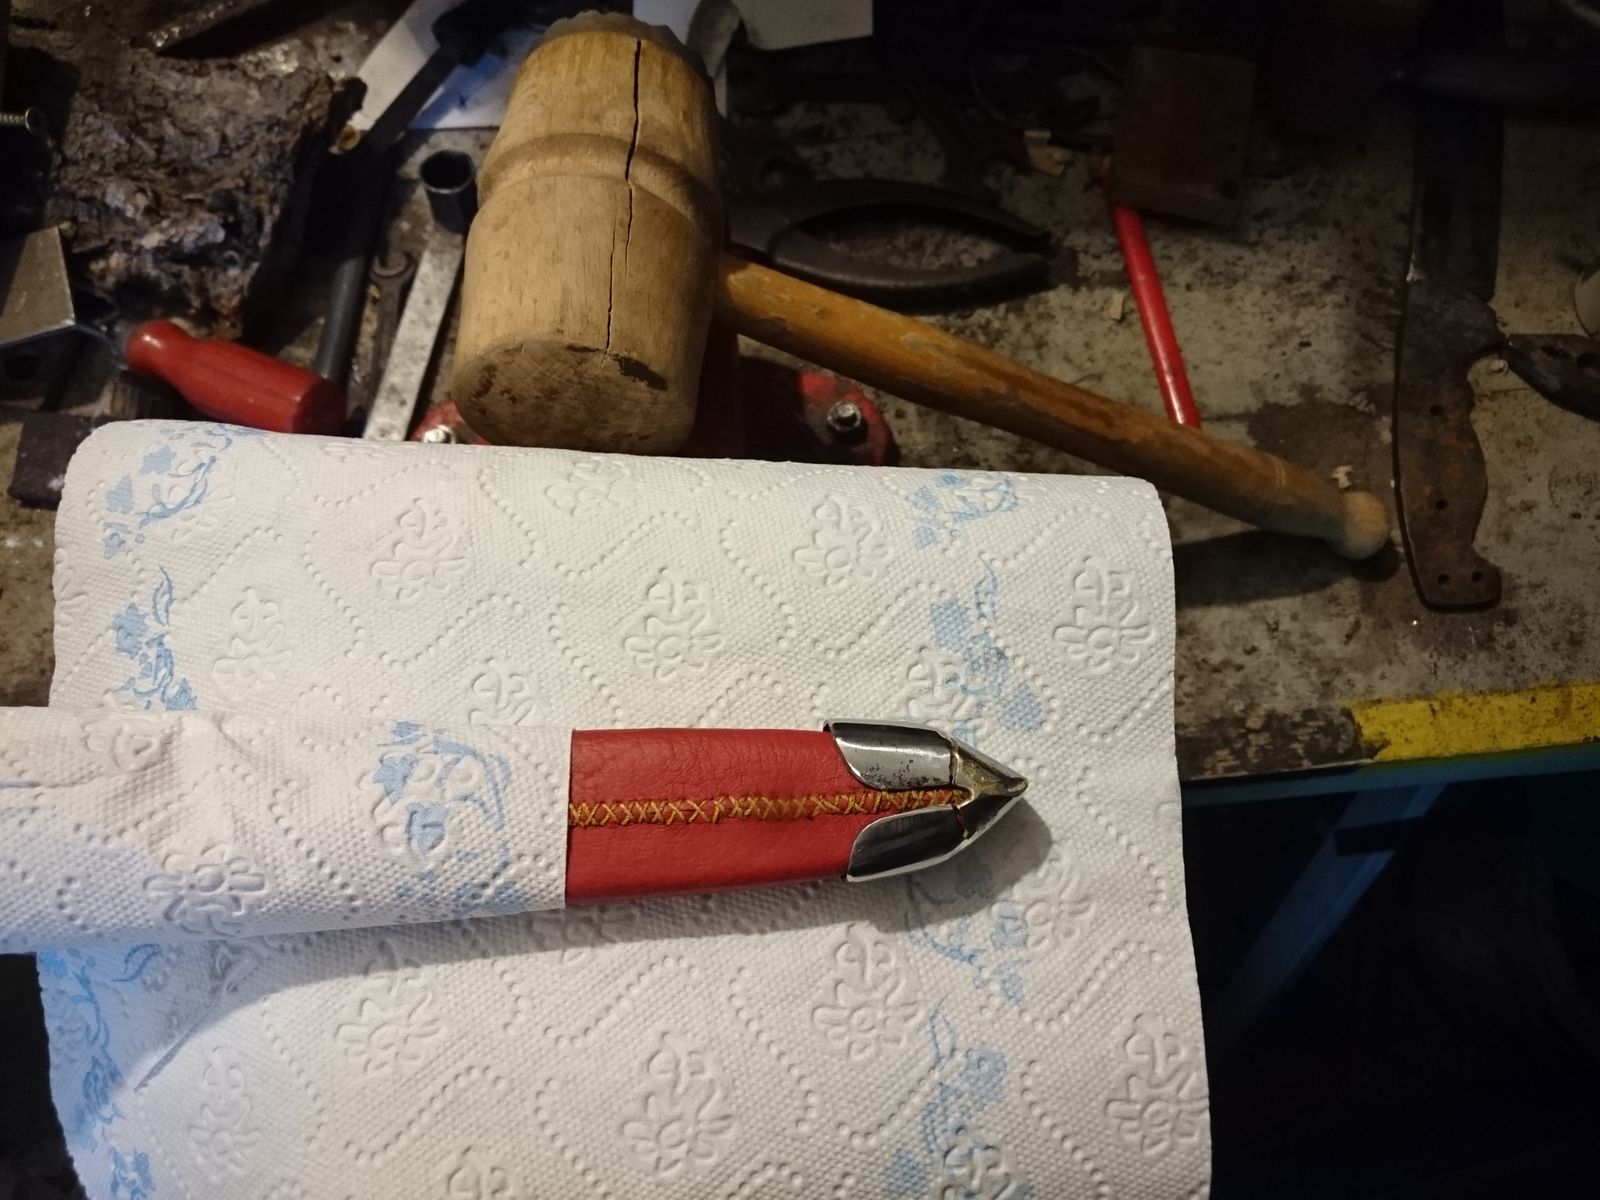
Dubbin applied to the scabbard.
That of course does not look very pretty, so I took a heat gun and melted it all until it sunk into the surface. I was careful however to not heat it too much – just about to melt it and no more. Leather does not respond too well to heat and I did not want to damage it.
When that was done I rubbed the scabbard first with a paper towel which took off some of the excess dubbin, then simply by hand. The dubbin is actually relatively pleasant to touch – not unlike a hand lotion in fact, although it is more solid.
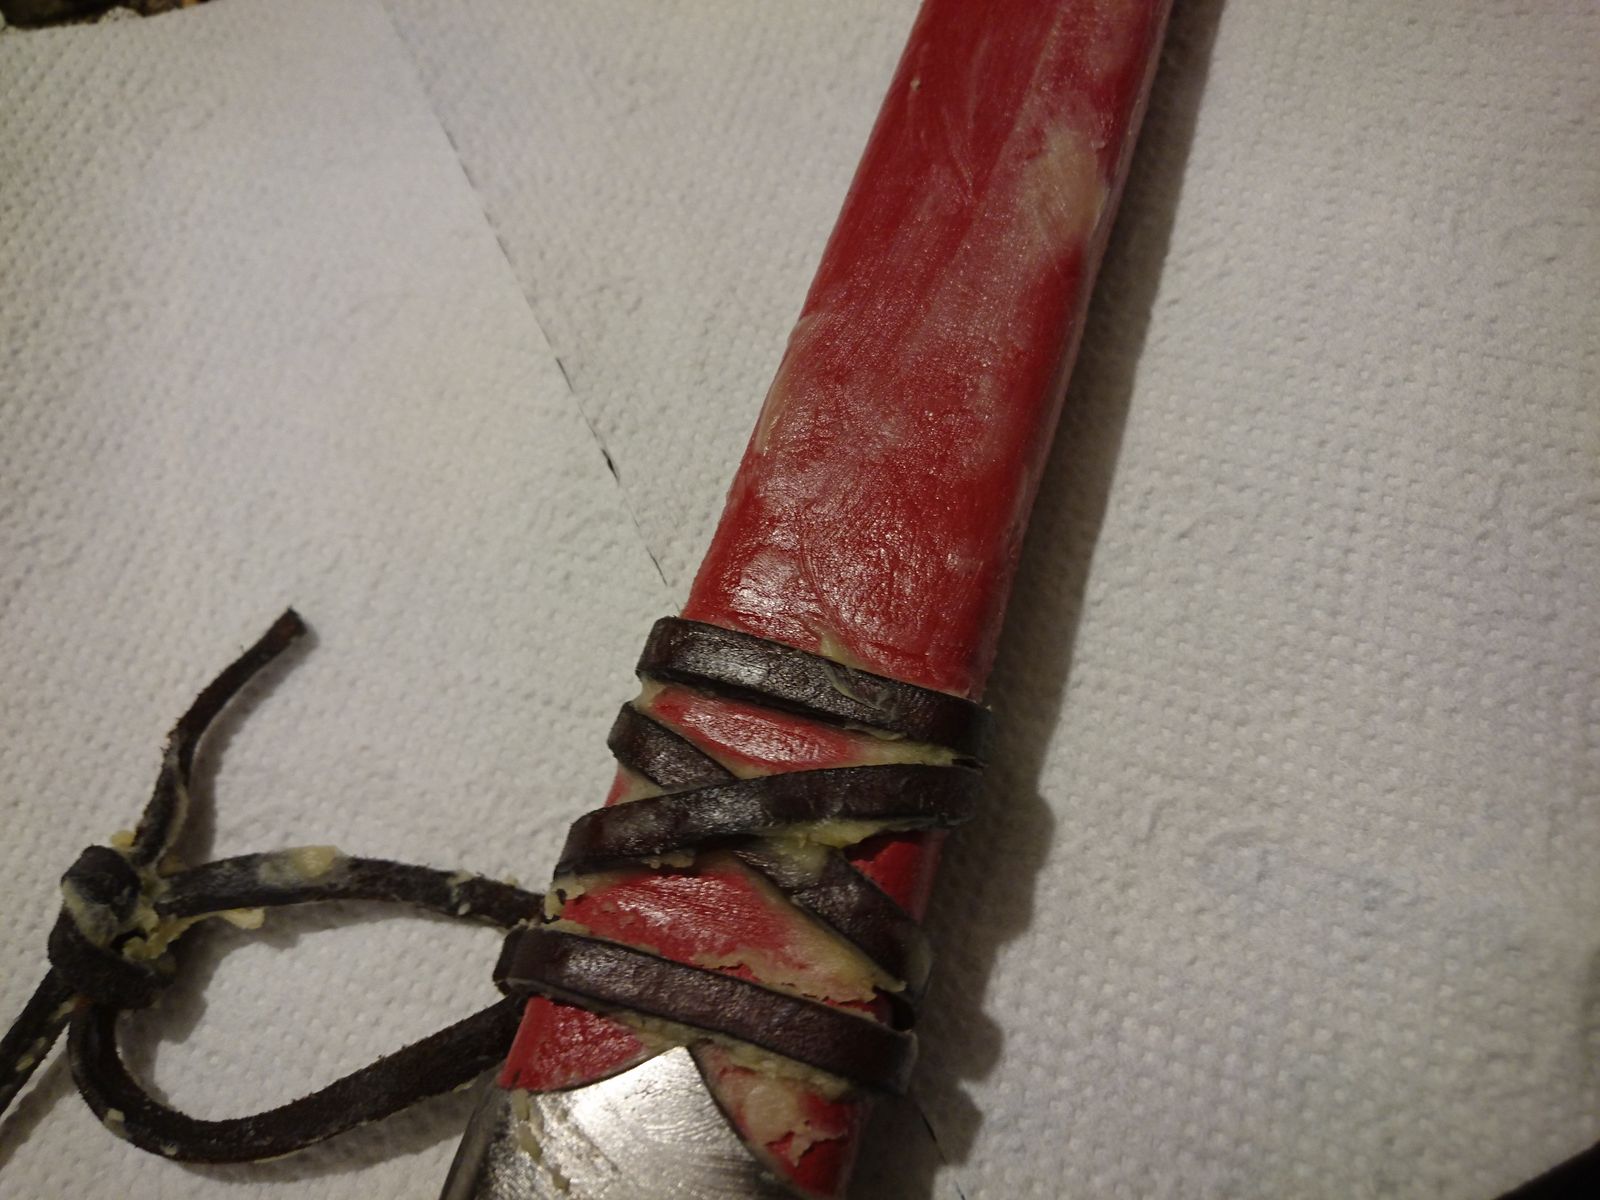
The leather strap tied around the scabbard unfortunately did not survive this – it was made from recycled leather of poor quality and tore off. I have cut a new one and this time I plied it with dubbin before tying it around – and that seemed to have worked rather well. The dubbin made the old leather soft and pliable and also sleek, so it was much easier to pull it through the holes and tie the knots than in my previous attempts.
I intend to buy a soft bristle brush at nearest opportunity that will be used for this substance exclusively. It has hardened into a yellow mass that looks like refined beeswax but is much softer to the touch – but not creamy as a hand lotion. I have labeled the lid of the plastic box and I have stored it in my workshop for future use. I think I got carried away a little here and made possibly a life’s worth supply.
If it goes rancid I will let you know. I hope not. And next time you see the “Rondel Dagger” title, there will be pictures, I promise.
Dubbin.