I poured another batch of resin last night.
I stirred it, and I stirred it, and then I stirred it some more and it went much better.
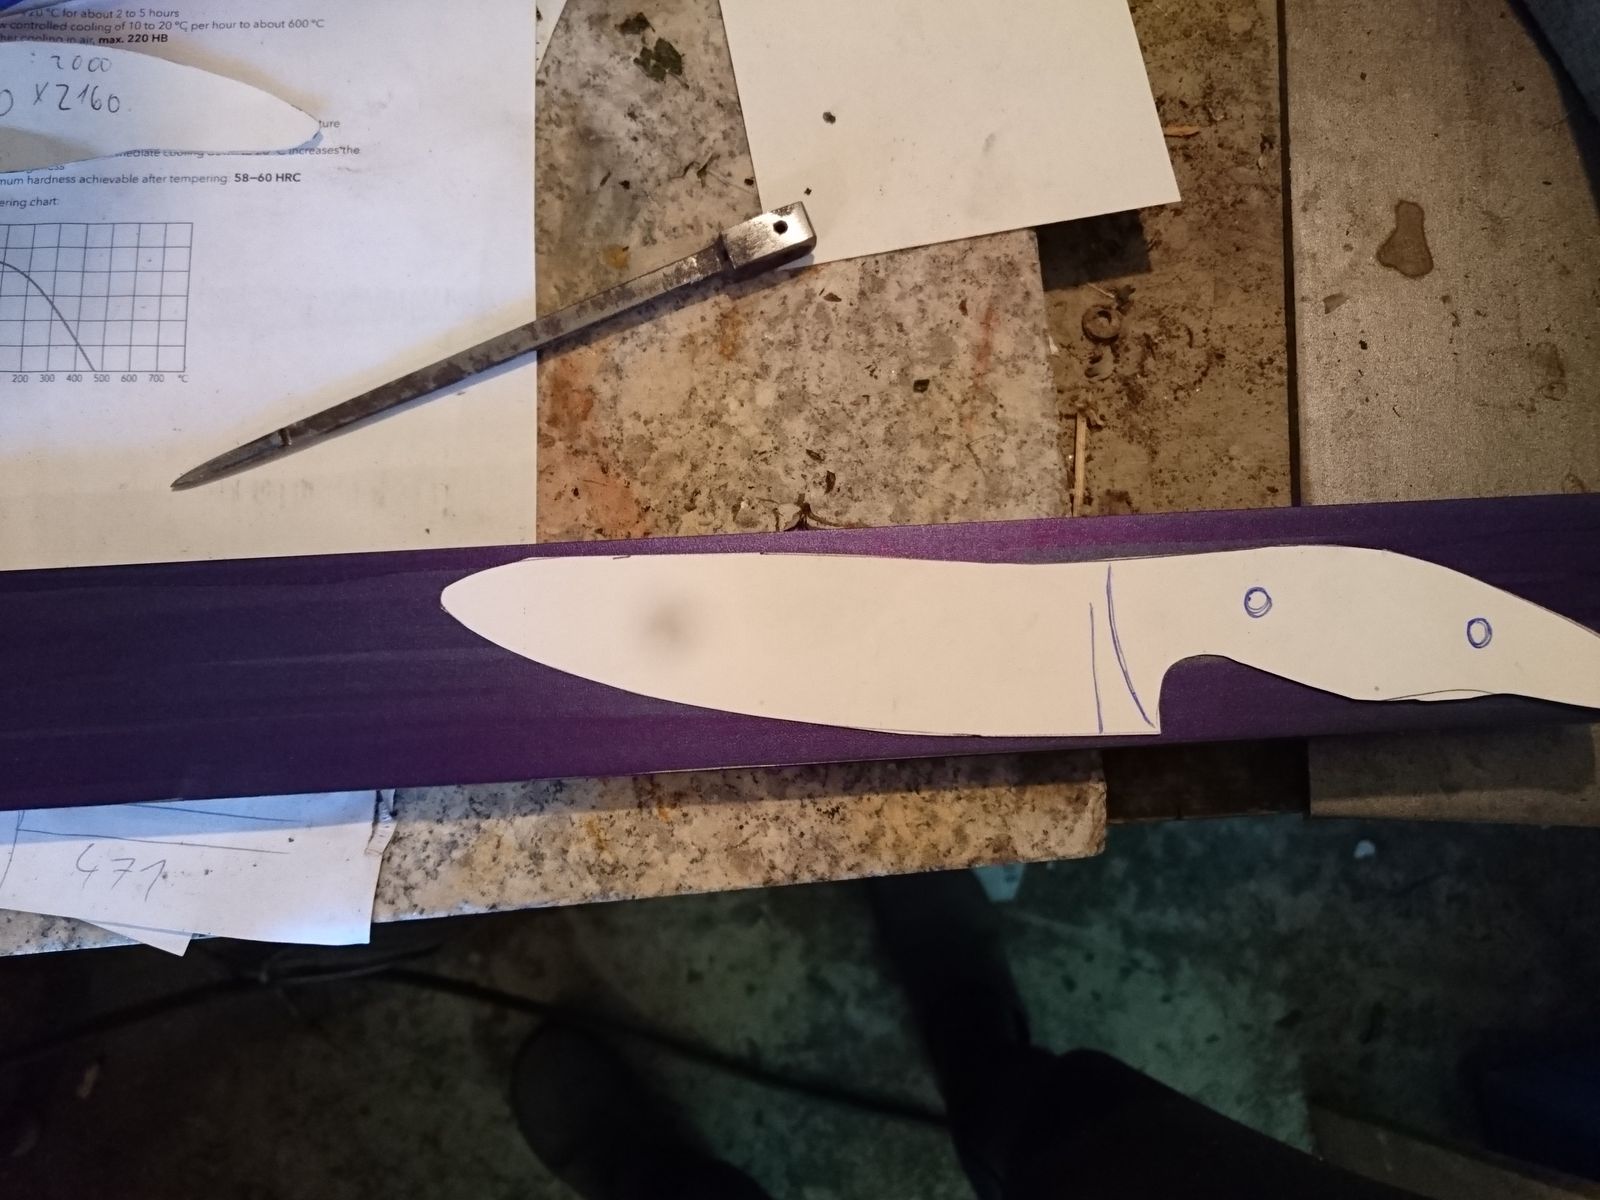
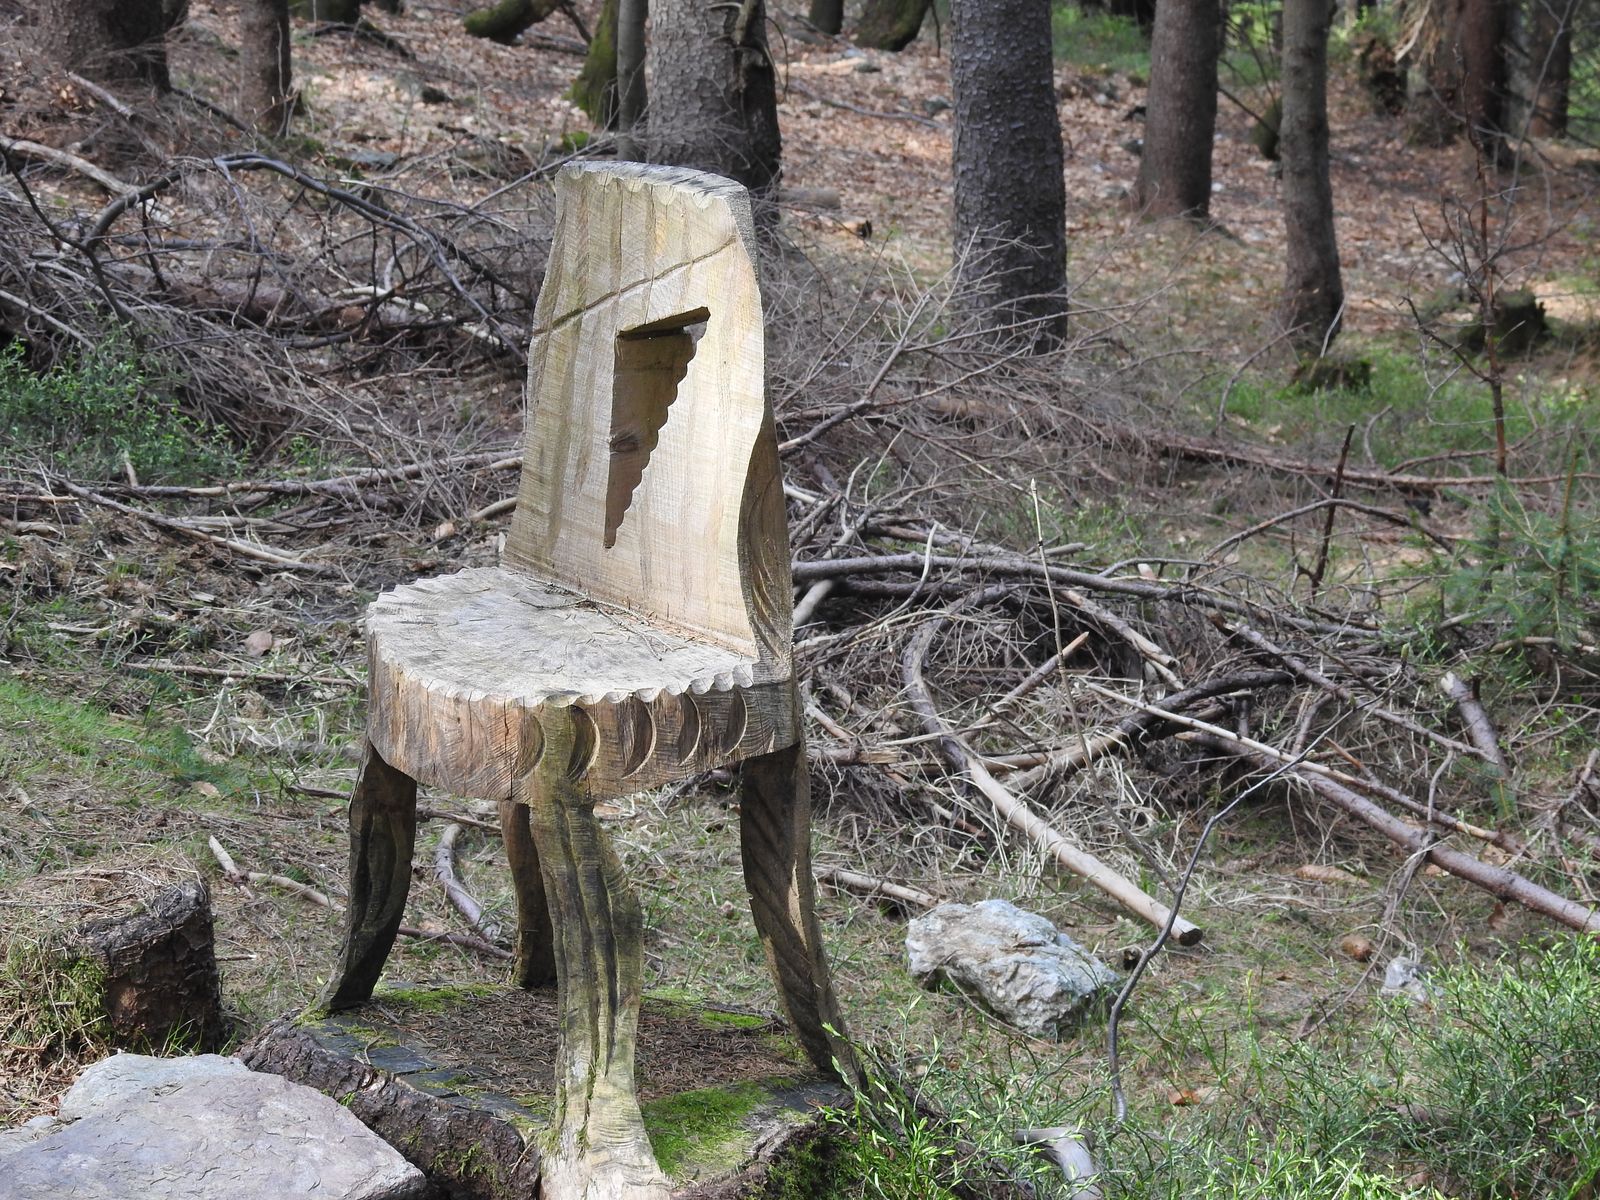
First you can see my prepared wood pieces. I wrapped some laminated foil around them and secured it with tape. That was a good idea.

Beech and fir, broken off and wrapped.
©Giliell, all rights reserved
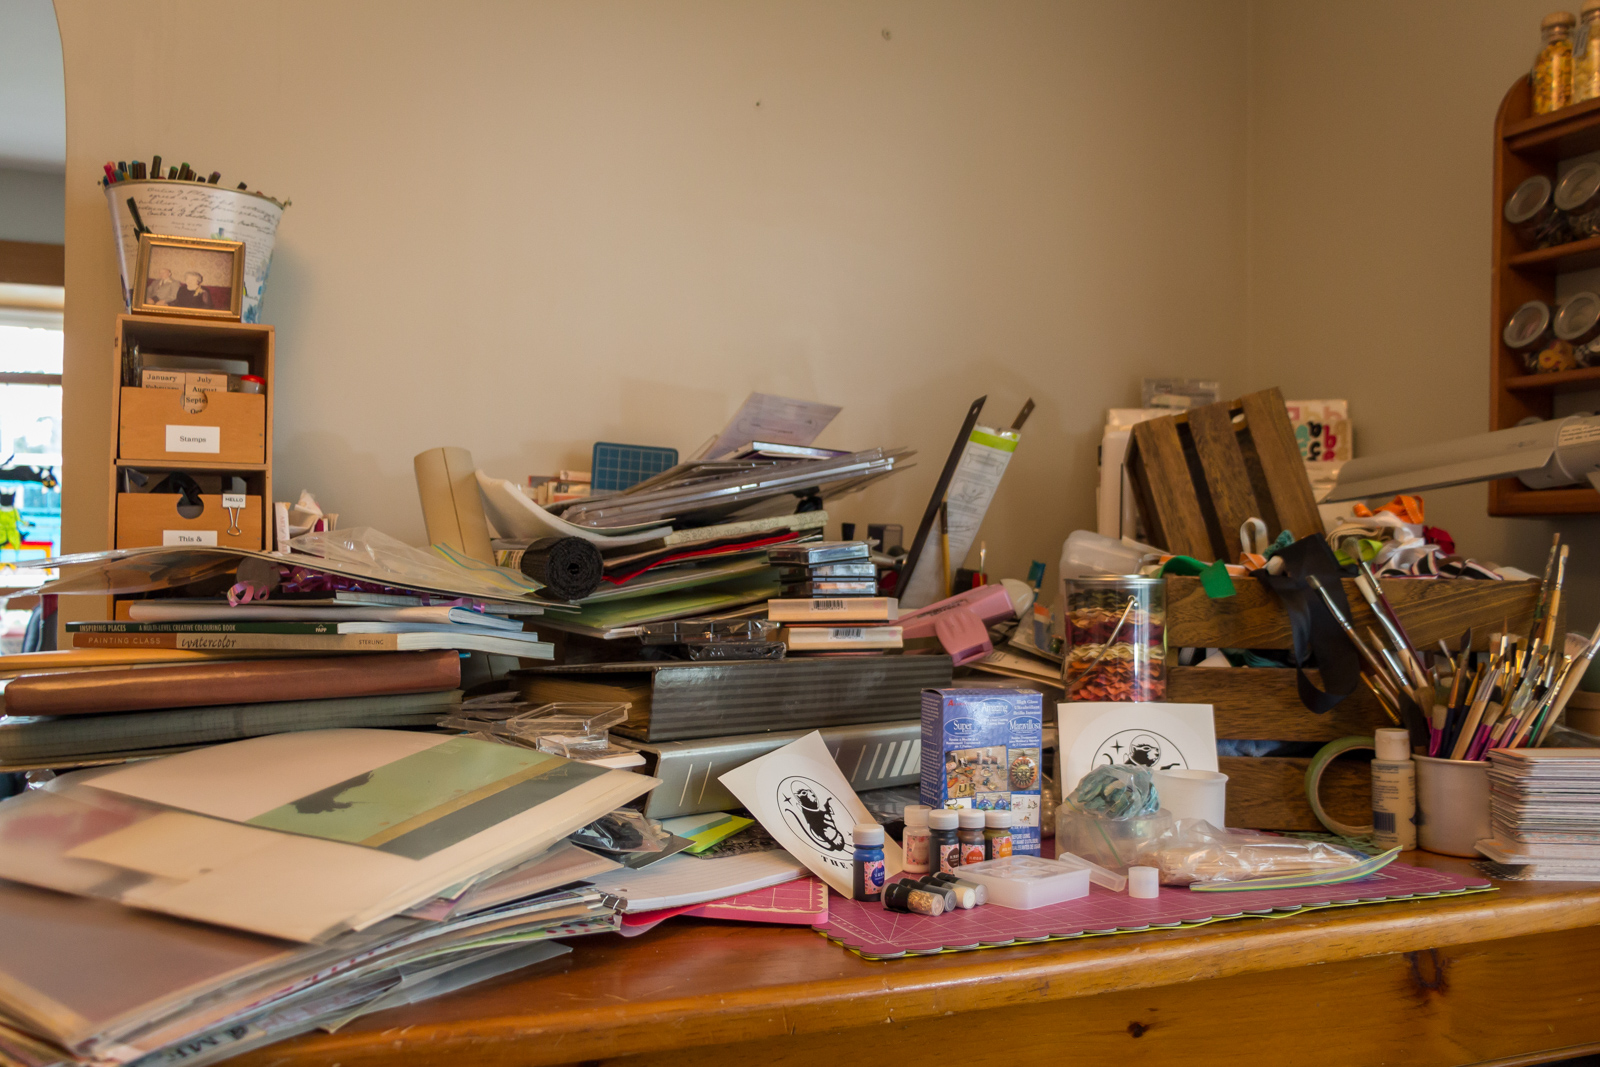
My workspace all set up before the pouring. I used the little cups from a sweet to dye some resin.
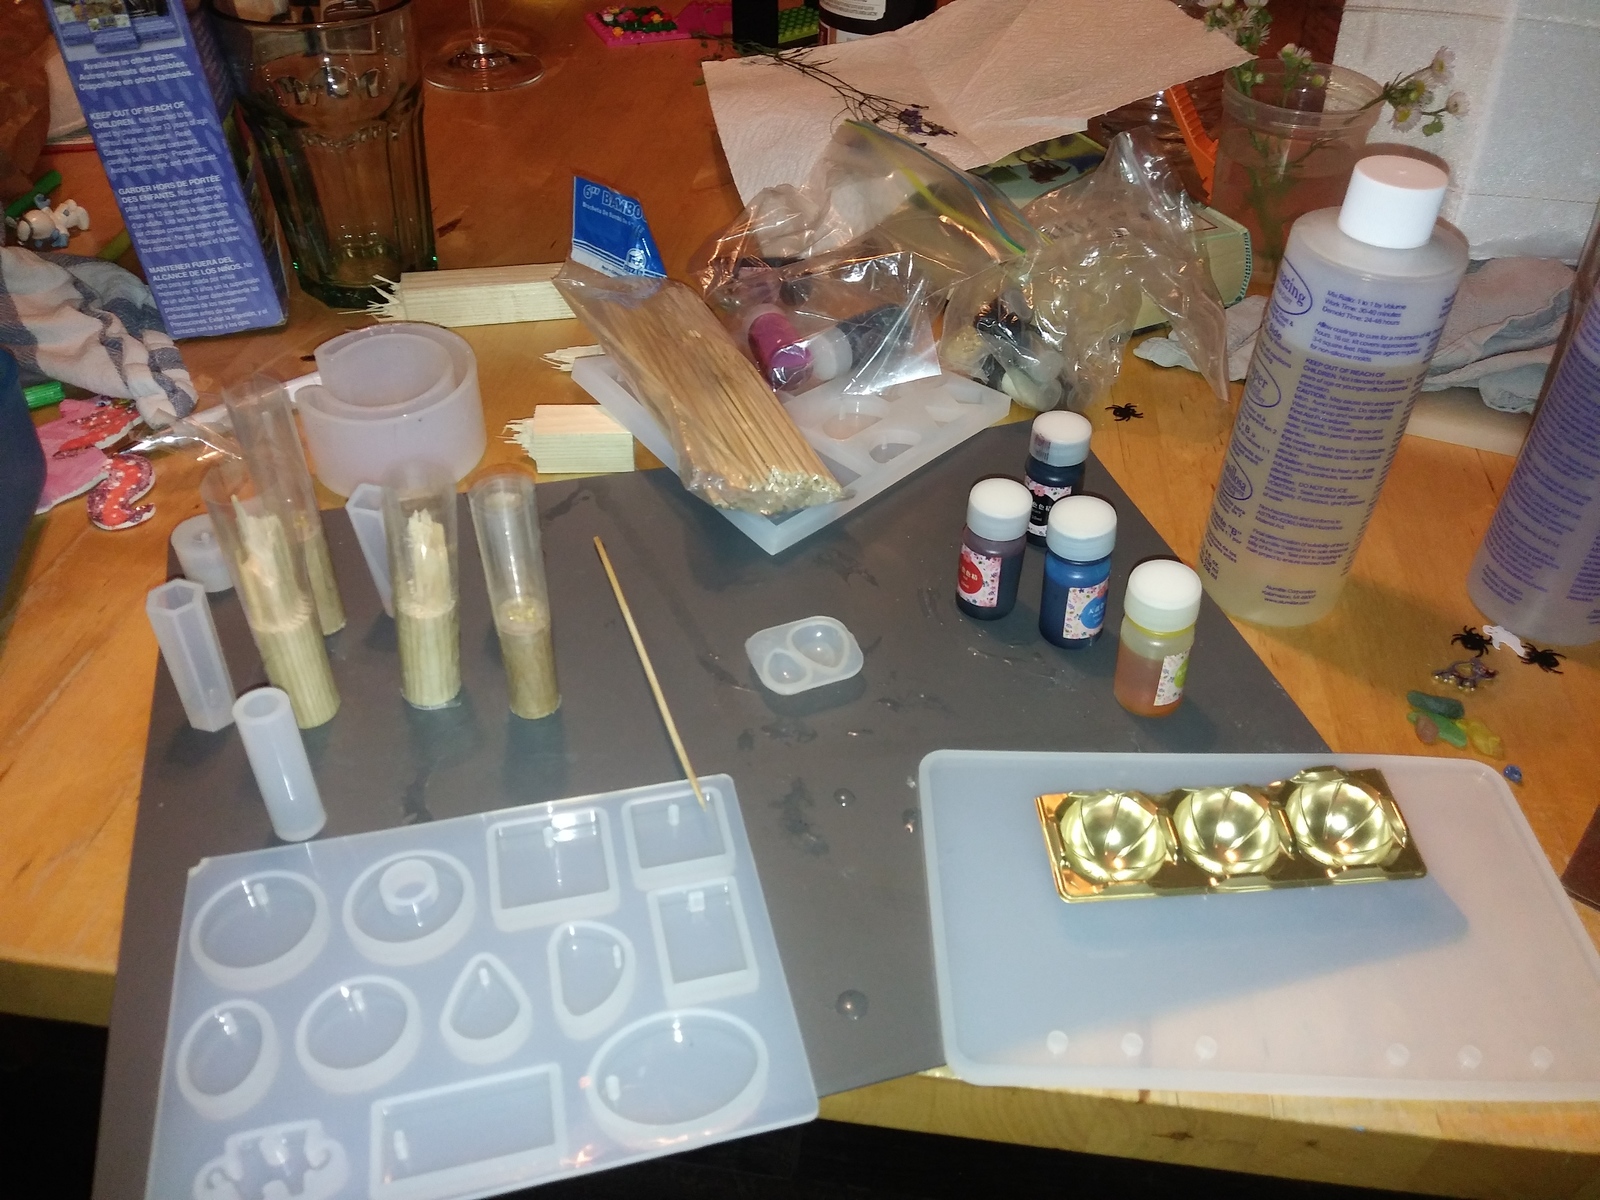
©Giliell, all rights reserved
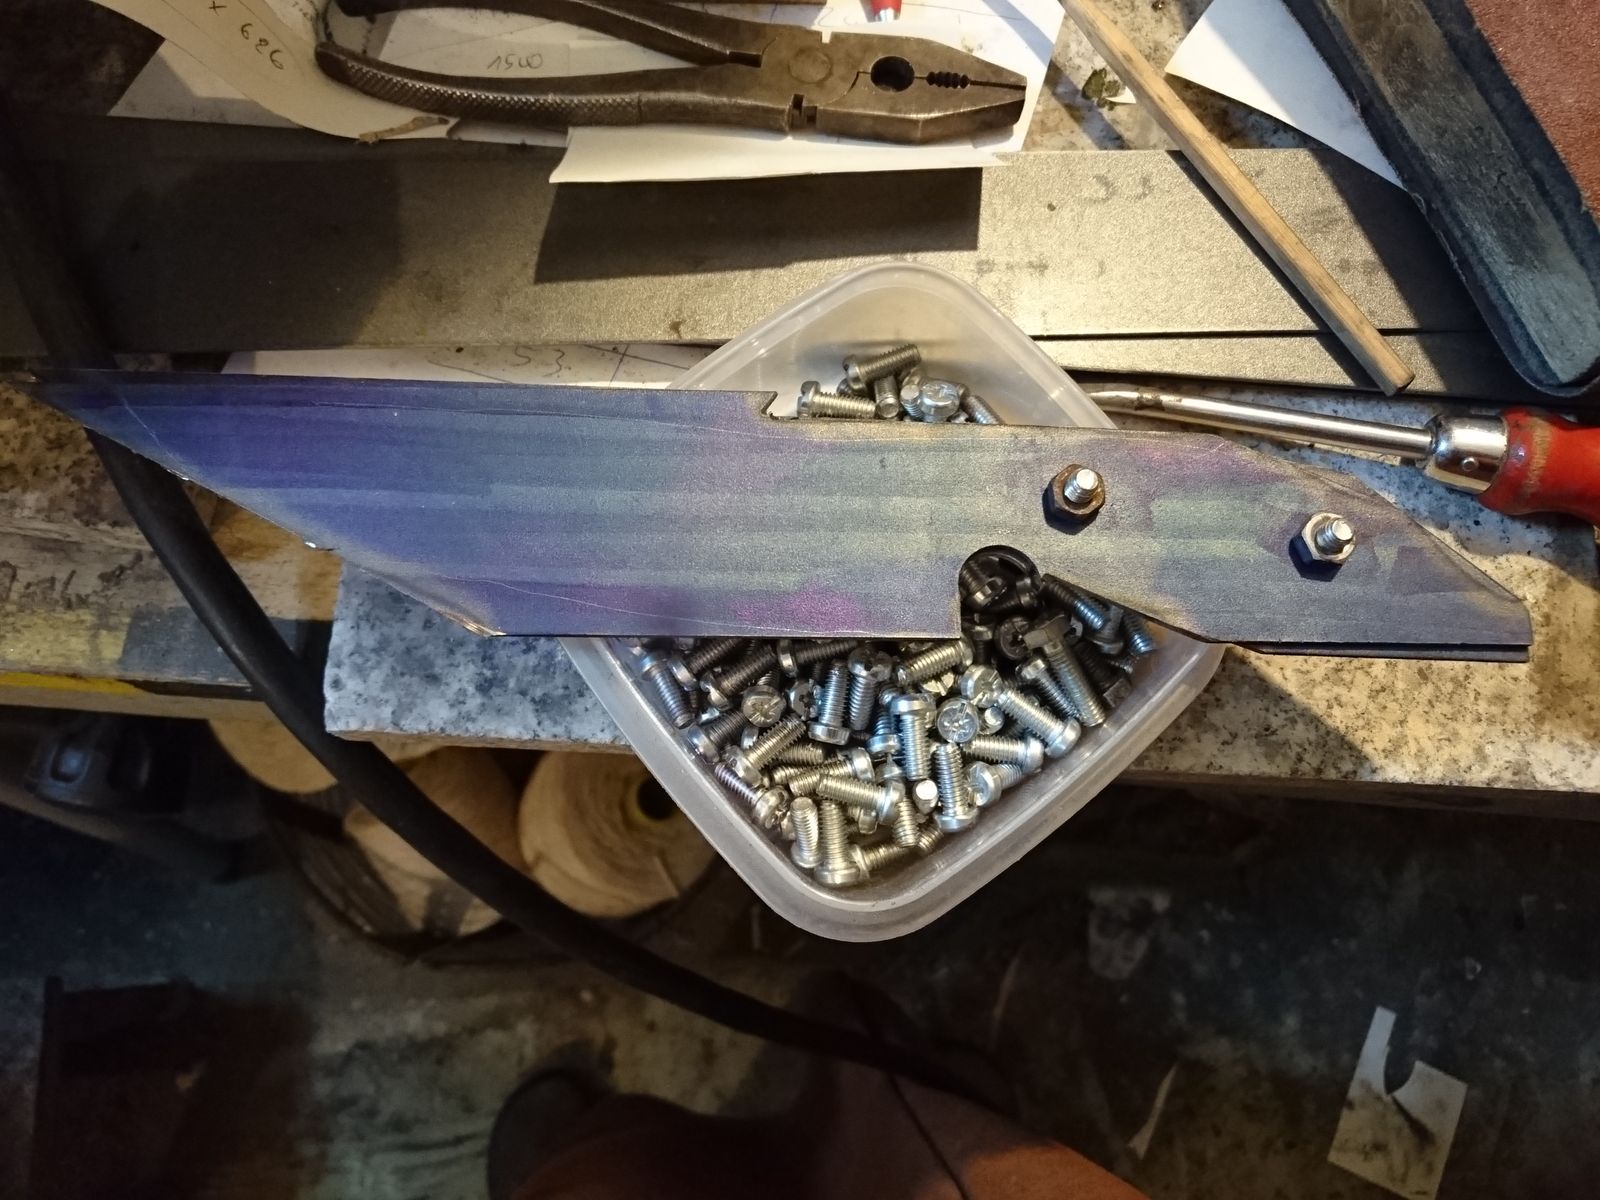
That’s waht it looked like afterwards

©Giliell, all rights reserved
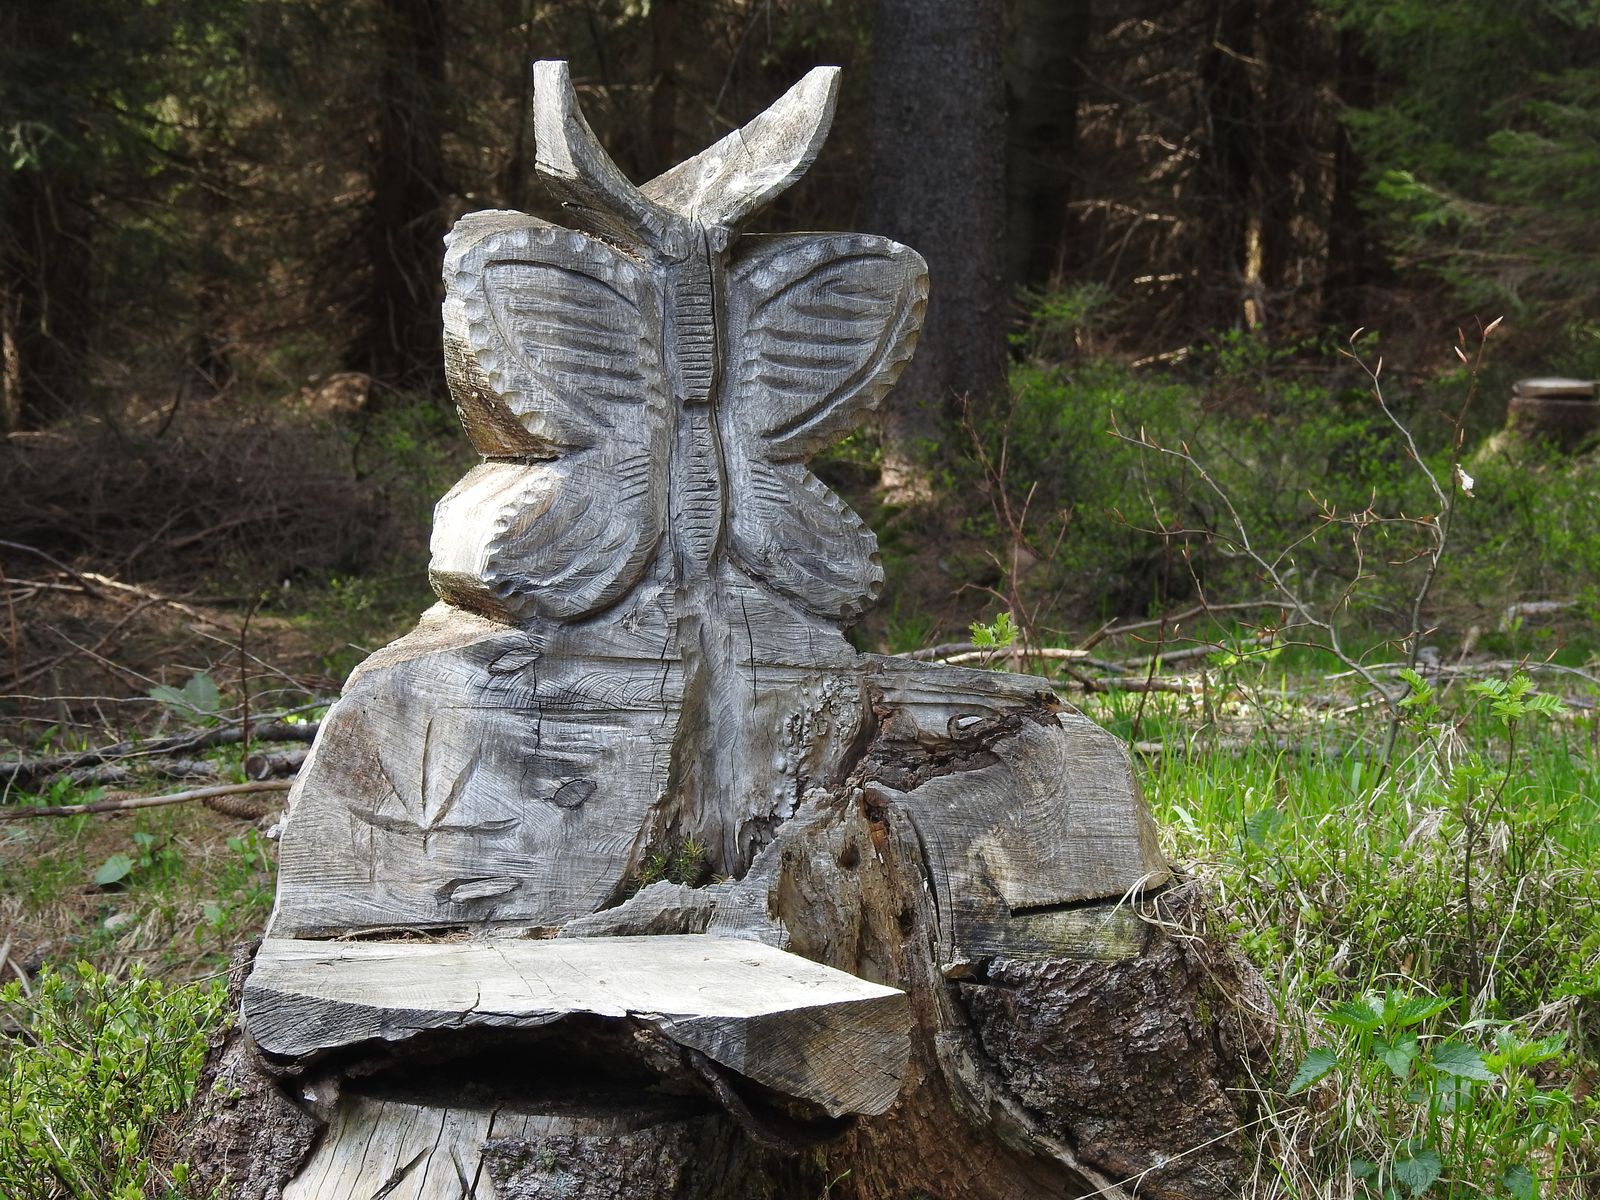
Oh, wait, did you want to see the results?