One of our regular readers and commenters, Anne Cranky Cat Lady, makes journals by hand and she has kindly shared her latest project with us. Every journal is unique and Anne has chosen a lively and interesting range of papers so that each one is sure to please its recipient. Thanks for sharing, Anne. Your work is inspiring and I’m sure that everyone on your list will be thrilled to receive such a beautiful gift. I’ll let Anne introduce them.
This year’s crop of gift journals are finshed. Done, done, cleaned up after, done!
All but three which I made a few years ago were put together either last Friday or today. So you can see that they’re pretty quick. They’re made with Books by Hand kits or refill sets of boards and page blocks, assorted papers and ribbons, and, of course, lots of glue. The dimensions are small 4×4″, medium 5×7″, and large 4×8¼”.
The wood-grain one is going to Paul for our anniversary, the rest will be Christmas gifts or get stashed for later giving.
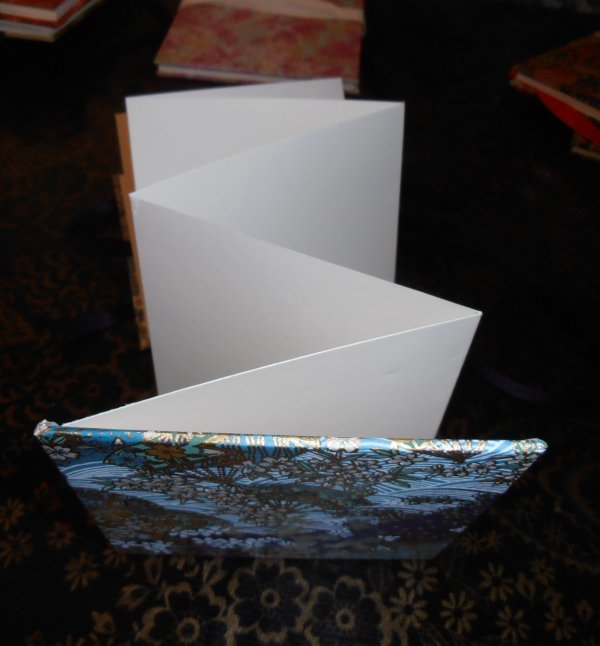
Small journal, open to show accordion page structure, ©Anne, Cranky Cat Lady, all rights reserved
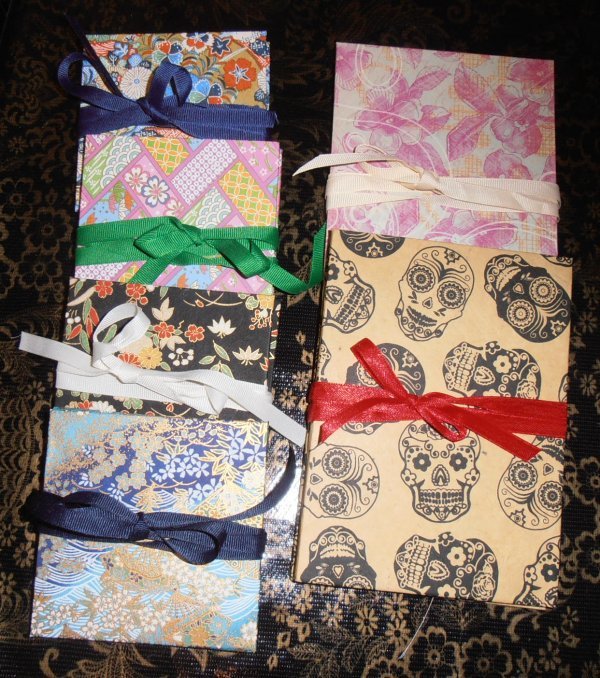
Group 1 Small and Medium, ©Anne, Cranky Cat Lady, all rights reserved

Group 2 Medium and Large, ©Anne, Cranky Cat Lady, all rights reserved