Operation Overreach is something I have not posted about before. I think some part of my subconscious was telling me “this is going to be more bigger than you think” and I was hesitating to get into it.
Around November I had a realization that, “I am running a 2300-degree forge in a room with a wooden roof.” There’s a problem with that whole idea: it’s unnecessarily bad. I’m very careful and all that, but “careful” should not be the only thing between you and disaster, because humans don’t do “careful” well. Although, I must say, from a risk management standpoint, my own well-being is more important, so I worry about that more. That actually means that I am accepting that something might go wrong with me and I might let the building burn down as a side-effect of worrying about myself first.
It occurred to me that I used to have a barn on my property, and I still have the pad for it, and the power drop and water are still there. What if I built a metal shed and turned that into the hot metal part of my process? Then I could set up a bigger forge and a bigger press (with 220volt service!) and build a bench for investment casting hot metal – move all the stuff that burns or heats or explodes to a place where it can do that without taking out everything around it. So I snuffled around online looking for those “shipped flat” IKEA-style sheds. That was my mental picture: steel shed by IKEA. No doubt, some of you are already laughing.
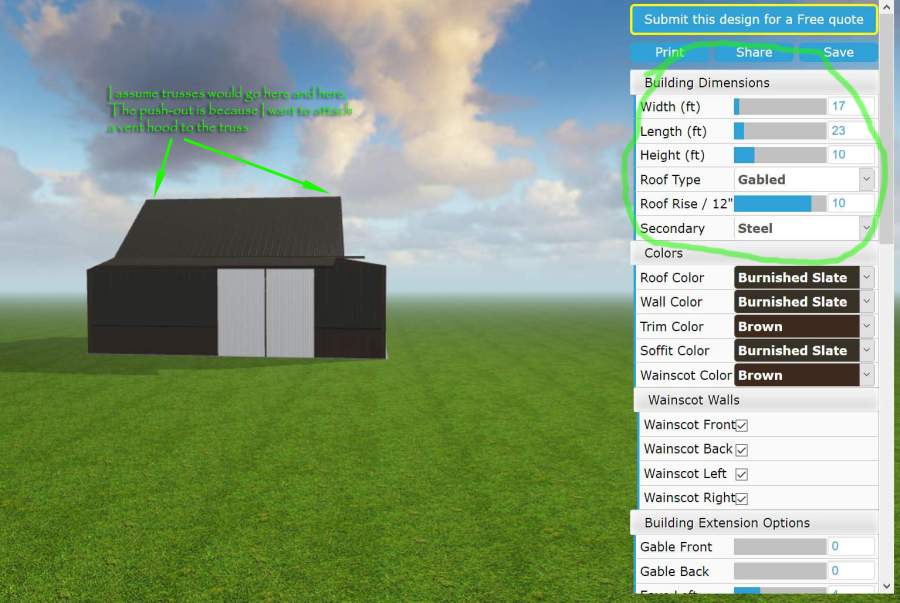
One of the sites I looked at had a 3d design tool that let you explore the shed options. That was when I had the idea of making the shed look sort of like an old Japanese building: hipped roof, long overhangs, expansion areas, and – since the building is going to be on a pad looking over my fields into the woods – why not build a semi-covered porch with sliding shoji doors and a raised wooden floor in part of the building where I can store swords, a coffee machine, and have a little bit of dojo floor for cutting practice? See what I mean? This is the Marcus zone – when I am not working on a project for a client, I let all the whimsy run to my head and crash about blindly, stoned on whimsy, committing to plans that I just should not commit to.

As I started talking to some of the companies that produce these things, I discovered that they really only know how to make simple square buildings with a standard pitch of roof. They don’t actually know how to make buildings: they know how to turn the crank of a very simple process. In retrospect, that’s OK – I’d have wound up with something ridiculously over-budget.
A simple steel shed is not very expensive. By the time I added stuff, enlarged it slightly for the porchy area, and added a big sliding door (facing into the prevailing winds so I can adjust the air turnover rate in the building by opening it slightly like a gigantic flue) – I had a desin that was more than I expected but not unbelievably so. “Some assembly required”
The upshot is that the building won’t look much like that. In fact I am not sure what it will look like. I suspect I’ll just be glad if it looks like anything at all. So I got in the build queue by writing a check, and over time I fielded calls from the building people:
BP: “About that slate-colored wainscot. We don’t have that color any more. Are you OK with all brown?”
Me: “Do I really have a choice?”
BP: “No, we were just being polite.”
The roof angle “Oh we can’t do that” changed. “Well, why do you offer it then?” It’s OK as long as it keeps the water out, etc. By a certain point I was into the optimism zone – let’s keep this whole thing from being a disaster, and call it “success!” After all, it’s going to make a hell of a nice metal shop no matter what color the wainscotting is. Stay focused on what matters.
As the time for the delivery was scheduled I learned that I was going to need “a forklift or something” to unload the building parts. That set me back a bit: the pad for the building is a half mile from the road, over a horrible mud driveway, and a forklift would sink right into the ground and vanish. I called a few folks in the area and they all suggested I talk to this one guy “who does that stuff” and so I did. He’s not very talkative, it turns out – I told him what I had in mind and he said “call me that morning and I’ll bring a crane truck.” We spent a while looking over the blueprints together and he explained to me that unless I was really good at laying out measurements, I might have trouble – there’s not a lot of flex in a steel frame building, so the foundation posts need to be accurate. Oh, and foundation posts are a problem since I’m going to need to get a backhoe out there… etc. The project began to magnify and balloon right before my horrified gaze.
I was still operating in idiot mode, though: I had some idea that I was going to make a travois and hook it to my truck and lift beams upright that way. Or that I was going to put 20-foot pieces of sheet metal roofing under my arm, carry them up a ladder, and screw them into place. Nonsense.
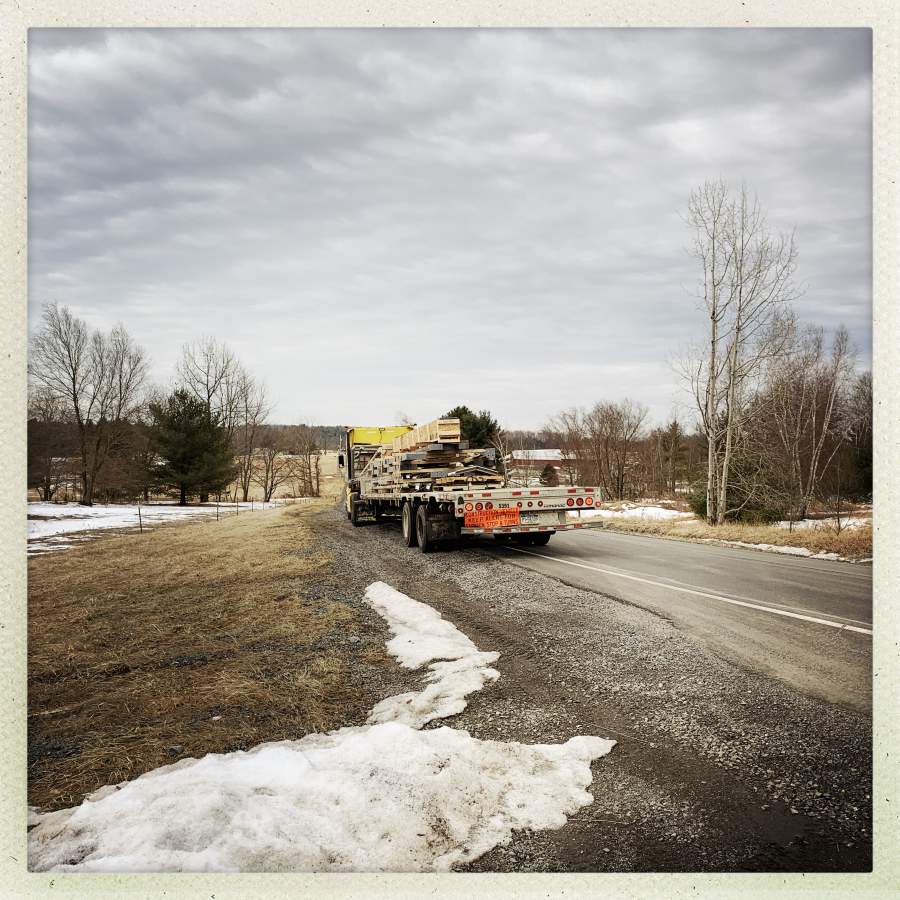
Wednesday, the truck came:

I was taking one look at the beams and thinking “Oh god, no.” They’re not anything I have any chance of moving on my own. None of it is anything I have any chance of moving on my own.
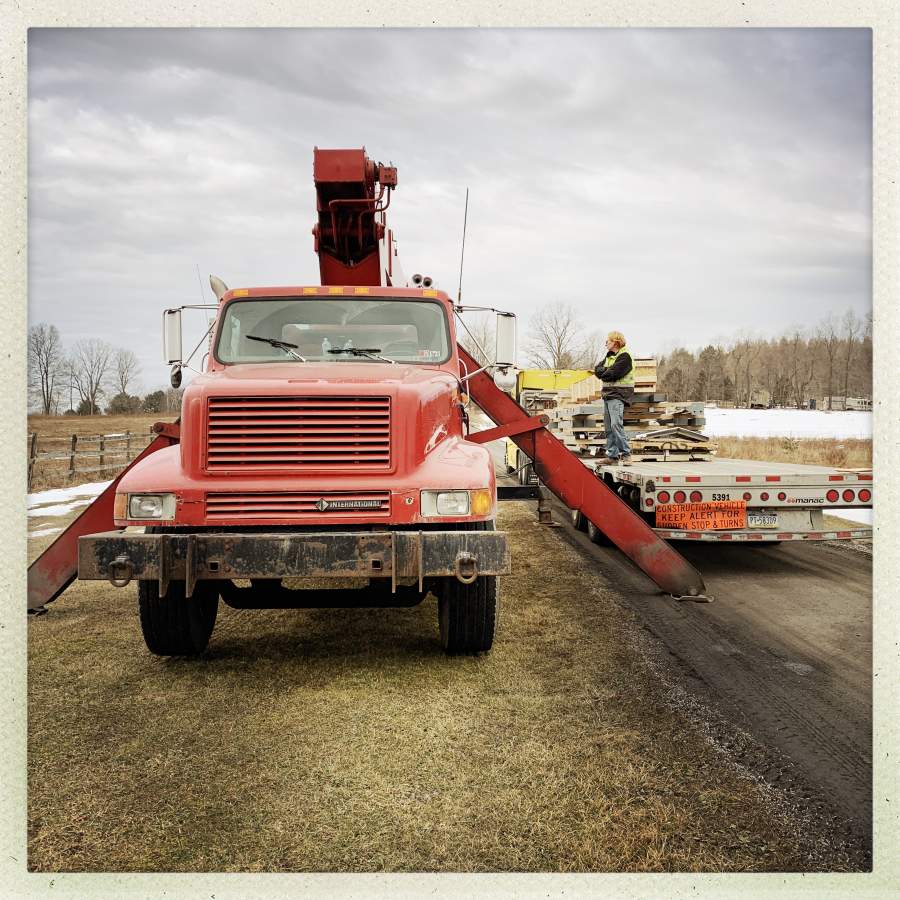
Fortunately, my paladin showed up with the right gear. I was expecting one of those service-body trucks with a small boom arm (like they use to lift cars out of ditches) but Ken’s done this stuff before and has the right things:

The trucker with the semi was great – he backed the semi down my driveway halfway, to a flat spot that’s not bog. I know that when you spend as much time driving a semi as they do, backing a quarter mile down a driveway that’s unimproved dirt is not a great problem, but I was still impressed.
My assignment in all of this was tow strap and pallet guy. I ran back and forth and unhooked the straps and laid out the pieces of wood so that when the crane swung them over, I could guide them into place and find them a nice home. The pieces of wood, by the way, are beautiful 4×6″ oak – exactly what I need for the beams in the raised floor section. Win.
Unloading was about a 2 hour process – not a great deal of effort thanks to the crane, but we were all on our toes the whole time. A beam shifting in the strap and sliding could have squished any of us in a fraction of a second, and I was always nervous running in and grabbing the low end of the beam to guide it into position. Spoiler: we were all fine.
Ken and I had a brief talk afterward.
Ken: “Now you know what I was looking at you funny when you were talking about assembling this yourself.”
Me: “I am so stupid.”
Ken: “We do these all the time. You just need the right tools.”

Next step is to pour posts and probably a slab. It turns out it’s easier to pour a slab than it is to make a form for a building with a dirt floor. I’m OK with a slab; my dreams of something easy I could do myself have not survived the light of day. The bigger beams weigh 400lb, easy, and once they’re bolted together the uprights will weigh about 1500lb. The good news is I will have a hell of a solid shed.
I’ve been getting along fine without a power hammer but having a slab in the shed means that I need to decide whether I absolutely never will get a power hammer, or if I need to assemble a reinforced floating rebar-island in the floor form, so that I can put a hammer in if I change my mind.
This is turning out to be a bit more than a simple, “something nice to do when I retire” project.

And you can always paint the wainscotting, Marcus “One Shed” Ranum.
Well, actually I really am laughing. You were very optimistic imagining that putting together a shed is a simple job that can be easily done singlehandedly. When I plan a project that’s something I haven’t done before, I usually start by expecting it to be hard and time consuming. If things turn out simpler than I expected, then I can be happy that it took me less time and money than planned. If things turn out as hard as I expected them to be, well, then at least I expected that and planned for it. I’m cynical. Even about myself and my own abilities to get things done.
I assume you are enjoying it. In which case: have fun!
By the way, most of the “something nice to do when I retire” projects I have heard about from elderly people sounded really boring. It’s better to have a complicated project that’s at least cool and exciting.
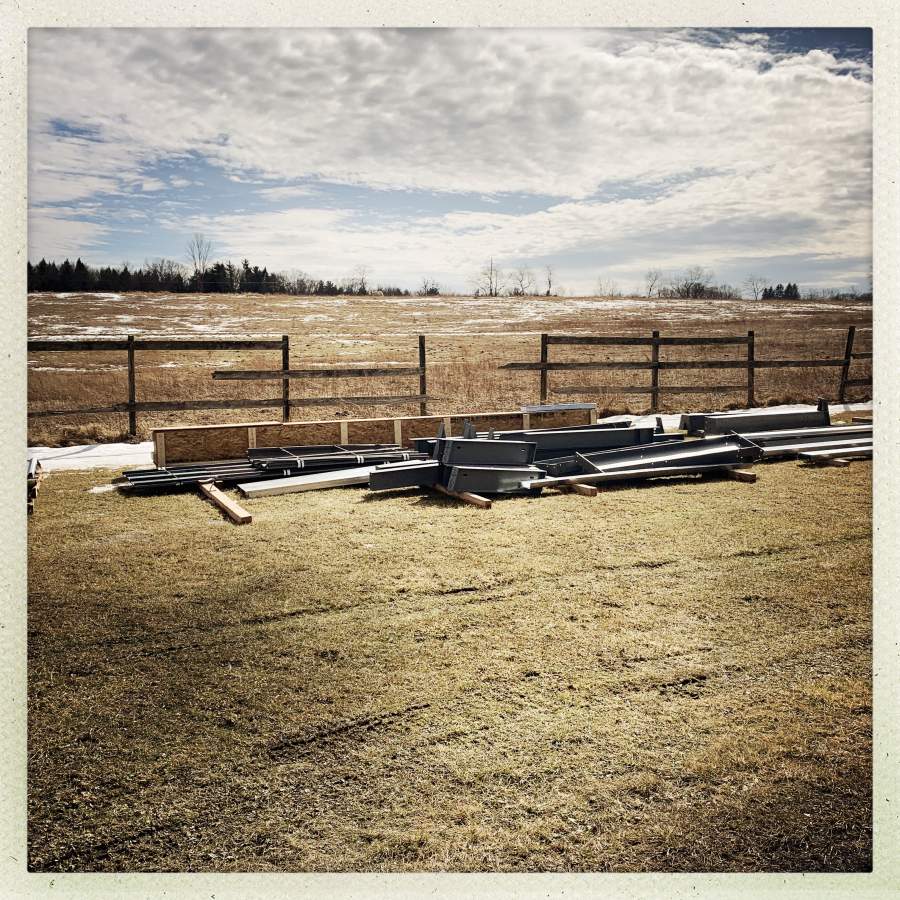
Oh squee! Check out that cool pile of pre-shed! What an exciting project. And considering the winds that have been devastating the country it’s a good thing it’s going to be heavy and solid; you won’t need to worry (much) about high winds.
I built a barn that came this way – we had to load it off a semi in bundles like that. We have a neighbor with a really big tractor and fork lift attachments for the bucket on the tractor, so we used those, and the guy driving the semi was an incredibly nice person who helped us all he could. The steel beams were heavy but in the end, with enough people to help, it was not bad lifting and bolting them in place. We found that the designers of the barn had done a very good job with the instruction manual and that it all went together really well. In fact it was designed so well that I, personally, was able to do a bunch of the work by myself, at least at the ground level and building the walls. For the roofing metal, it was just me and the Partner, we had scaffolding set up inside the alley way of the barn and a ladder on the outside we just moved along with each sheet of roofing. May your project go as well as ours; we ended up with a beautiful sturdy barn.
kestrel@#3:
May your project go as well as ours; we ended up with a beautiful sturdy barn.
It’s good to know there are other people who’ve done this and not been consumed with regret. I know I’ll get it done – it’s just a question of how and when. Besides, I’ve already got plans for it. This is my secret plan for immortality: I am trying to make my “to do” list “too big to fail” and then the gods will let me carry on until it’s mostly done. Heh, heh, heh. I’ll fool ’em.
Check out that cool pile of pre-shed!
It’s a shed in larval form. If I let it sit undisturbed until summer, it will emerge a fully kitted out forge!
Tabby Lavalamp@#1:
And you can always paint the wainscotting, Marcus “One Shed” Ranum.
I’m probably going to have to; some of the paint has already gotten scraped off and it’s just going to rust. That’s my excuse.
So basically, they told you that you could have it in any color you wanted as long as it was brown. ;-P
The back shed on our property had a 7 foot height clearance, I wanted 8 feet. Organised a “shed raising party”, ten guys and ladders and we just lifted the whole roof off and inserted pre made post extensions. Nailed in a foot of similar tin and had a great bbq after.
So
a helicopter and a c-can was not a possibility?
Sounds easy. Pre-cut beams etc.
Back in the old days (copyrighted) we cut down the trees, skidded them out with horses, hauled them to a sawmill, and had a barn building party to erect the barn.
Come on, keep your options open, go for the floating rebar-island! Sorry, I have a bit of a thing for power hammers, mainly the result of livng in Sheffield, where they have good museums that show the development from water powered drop hammers made of large oak tree trunks with metal bandng and hammerheads onwards, some in the original settings. I have no use for a power hammer, but I like to think of you having one to
playwork with.Oh and good on you for considering your safety vis a vis the wooden roof.
Steelbadgershack!*
*some assembly required
also ken seems like a cool guy
Oh, this is going to be fun!
And of course you should prepare for a power hammer. Why limit yourself? I don’t know much about forging, but I do know you’re not getting any younger and you’re going to want some new toys down the road.
voyager@#12:
And of course you should prepare for a power hammer. Why limit yourself? I
I’m 99% convinced and I’ll scrape together the remaining 1% this evening. I’ve been getting along fine without a hammer but you never know!
jazzlet@#10:
I have no use for a power hammer, but I like to think of you having one to play work with.
Take a look at the Anyang line. [any] – they’re the current best bet: pneumatic hybrids. Very clever design.
off-topic:
I saw a knifemaker displaying his glass blade knives. Some were volcanic obsidian, some were man-made glass. Some were very pretty. I don’t think they would hold up well under hard use though.