
Clara Ingram Judson. Garden Adventures of Tommy Tittlemouse. Chicago, New York, Rand, McNally & Company, 1922.
Clara Ingram Judson. Garden Adventures of Tommy Tittlemouse. Chicago, New York, Rand, McNally & Company, 1922.

Blanche Sellers Ortman. The Old House, and other stories. Chicago, The author, 1910.
The notes for this book state that only 500 copies of the book were privately printed for the author by Rand McNally Press. This makes the book rare, but probably not worth anything. If the stories were good, it wouldn’t have needed a “private” publication. It has a lovely and tasteful cover picture, though. I also like the gold font, but perhaps the family crest with Latin is a bit much.
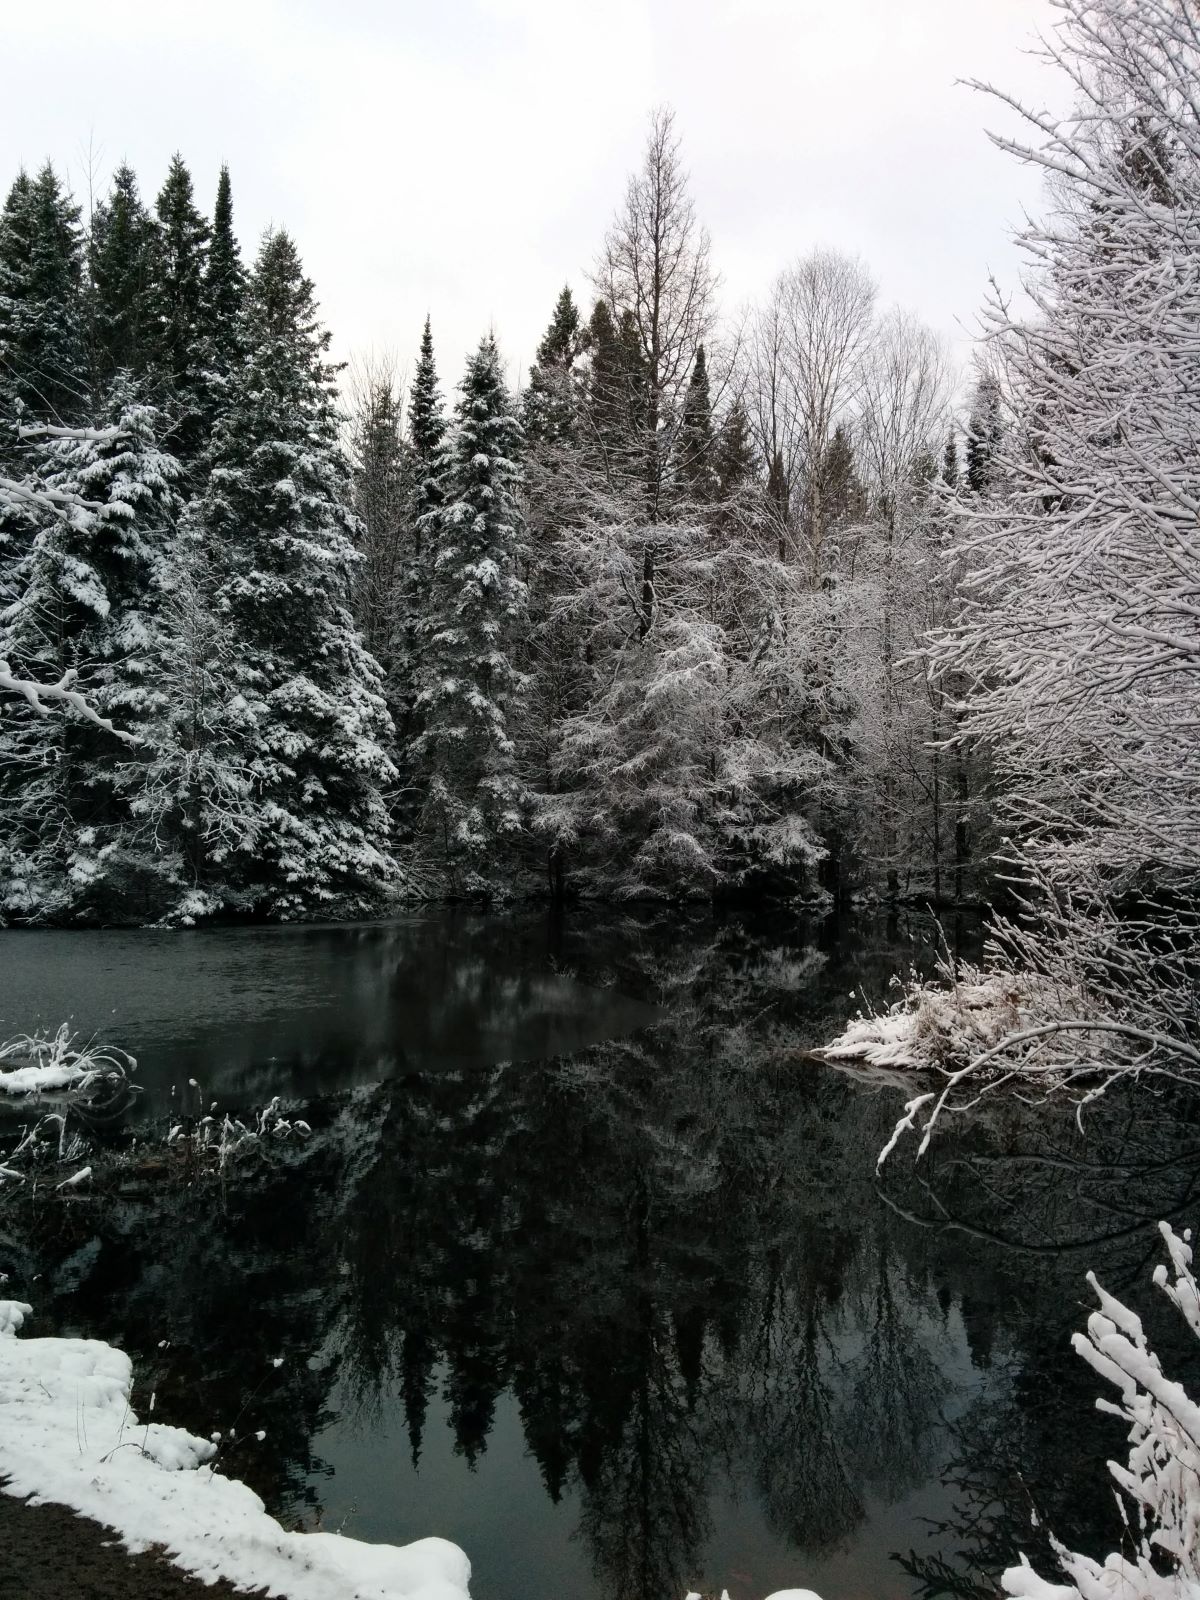
Photo by Erin H.
Today’s tree photo was sent in by VBFF. It’s a picture taken by her niece Erin, who has given her permission for me to share it with you. Erin used the photo to make Christmas cards, and I think it captures the quiet, still, soul of winter and I hope you love it as much as I do.

Camping in the Canadian Rockies. Walter Dwight Wilcox. New York; London, G.P. Putnam’s Sons, 1896.
via: The Internet Archive

Mme. La Comtesse Sophie Rastofichine Segeur. Baltimore, J.P. Piet, 1881.

Multiple Authors. The Lady in the Tower and Other Stories. New York, Cincinnati, Chicago, Benziger Brothers, 1909.

J. Horace Lytle. The Story of Jack: A Tale of the North. Dayton, O., Miami publishing co., 1917.
The Jack of the story is a terrier, but today’s book is in honour of my Jack, who is having a birthday today. Jack is a leap year baby, so this is only the fourth official birthday he’s ever had. In reality, my baby is twelve today and I don’t know where the years have gone. I haven’t had a chance to read the story yet, but the book is delightfully illustrated.

John Trevena. Heather. New York, Moffat, Yard and Company, 1909.
Happy Birthday, Heather. This one is just for you.
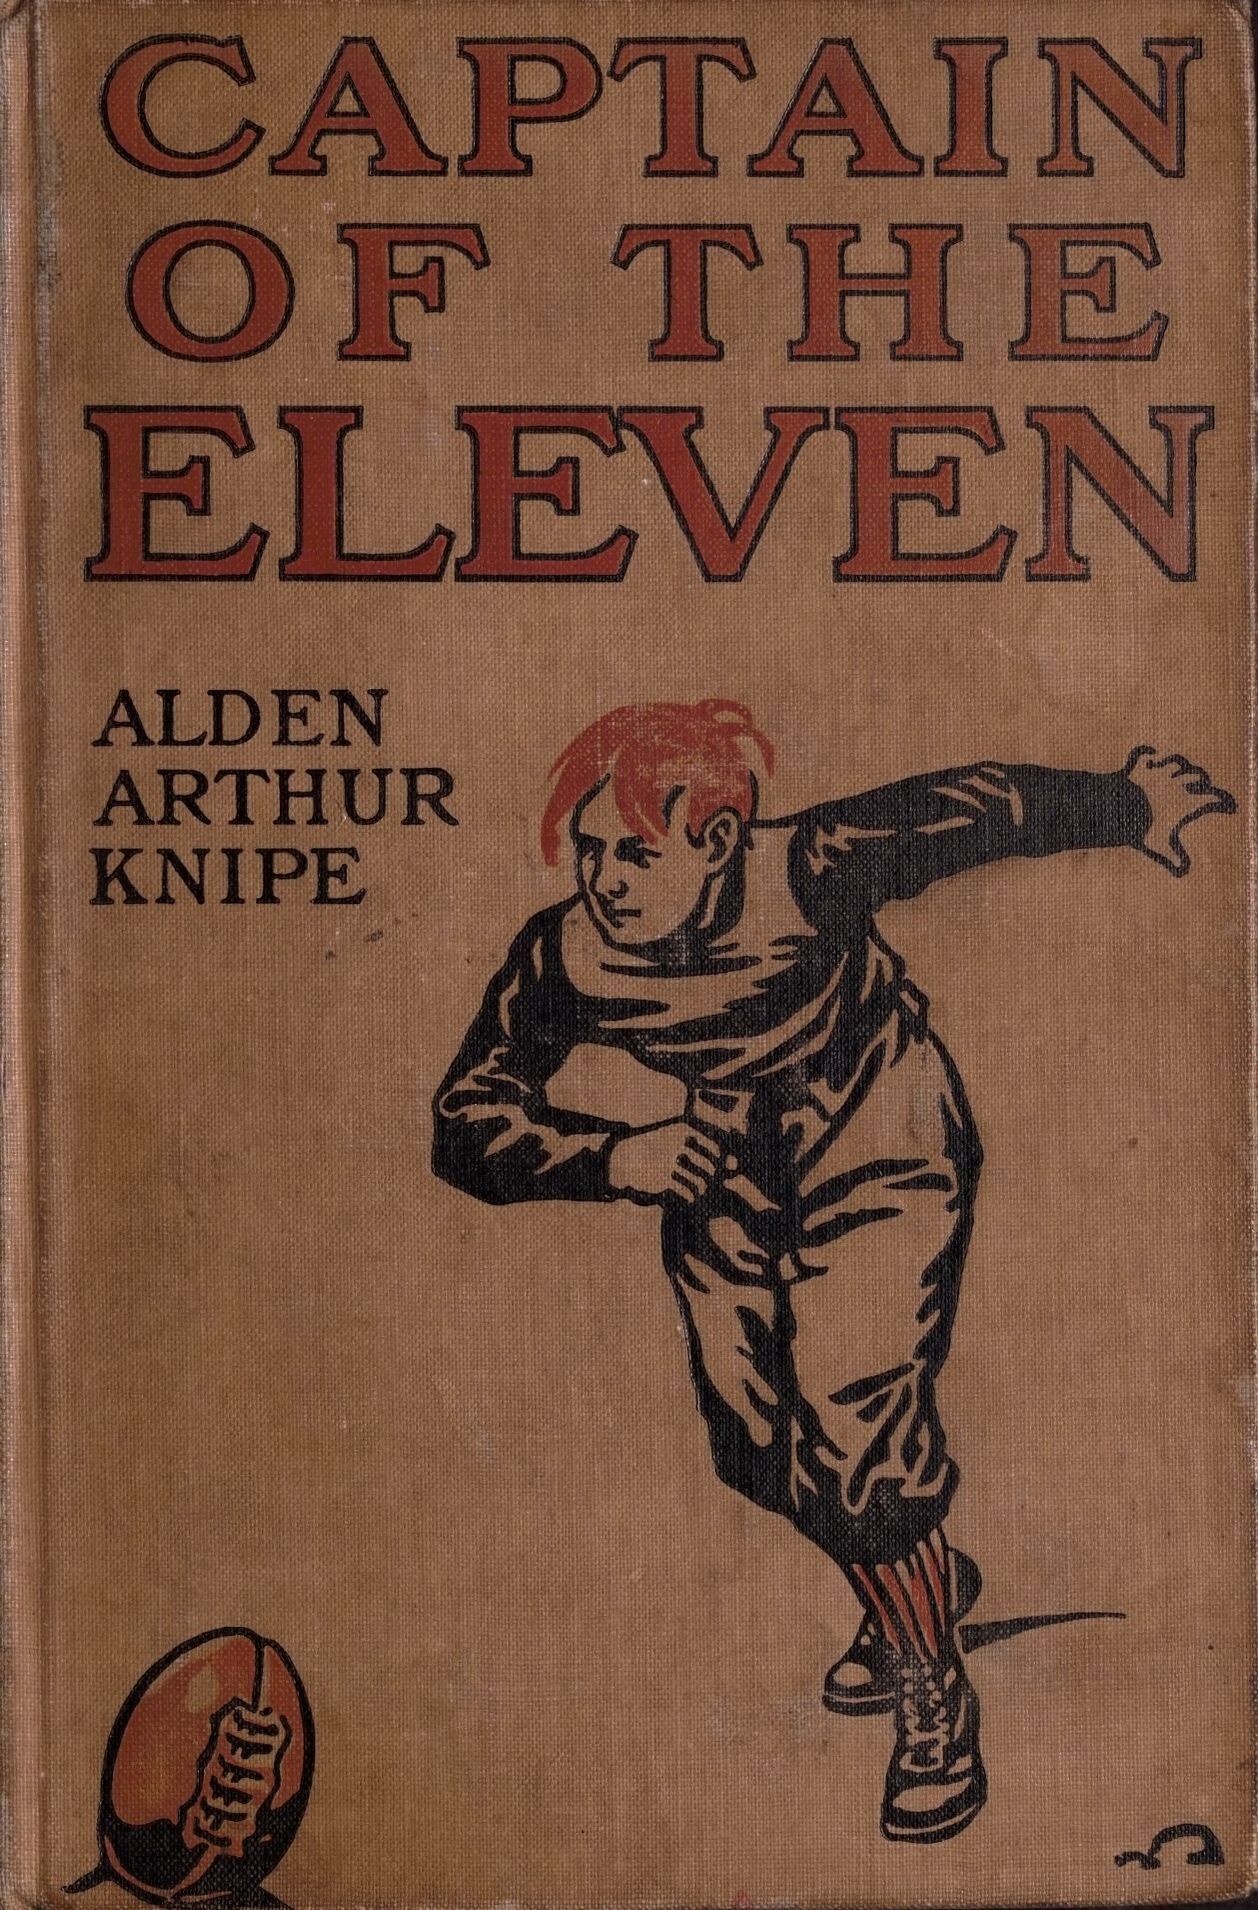
Alden Arthur Knipe. The Captain of the Eleven. New York, London, Harper & Brothers, 1910.

Margaret Warner Morley, The Renewal of Life, How and When to Tell the Story to the Young, Chicago, A.C. McClurg & co., 1906.
This book notes in its introduction that any child old enough to ask a question is old enough to know the answer, the real answer, which I find enlightened for the period. Ms. Morley notes that parents only do their children harm by withholding truthful information and that it is best to give geared to age responses that the parent may elaborate on as the child matures.
via: The Internet Archive
Yes, I’ve been productive last week. Last night I sanded down some pieces I had cast some days ago, finally revealing their true shape. One piece contains some of Marcus’ burl and I wanted to try something new and I’m quite happy with the result, unlike with yesterday’s catastrophe.
The piece started out as your basic square block. I drew the oval shape I wanted it to be on the back and the front and then set to shape it with the belt sander (this time without also sanding my hand in the meantime. It’s a nice scar I got myself the last time). After I had the general shape I set to creating a dome so it would become a regular cabochon. I’m sure you have already spotted the problem here: taking out one sharp edge with the belt sander creates two more, so I only worked out the basic shape and then went to hand sanding.

©Giliell, all rights reserved
This is what I got after the belt sander. You can see the shape and also the deep, deep scratches. Now sanding paper creates the same problem as the belt sander, unless you keep the piece still and move the sanding paper. I prefer a different method for smoothing edges: First I like working with sanding fleece anyway. For the rough sanding it’s much more durable than the sanding paper. It#s also thick so it creates naturally smooth curves. Once the rough sanding was done I simply placed my wet sanding paper on top of a piece of fleece and kept sanding. It’s a hell lot of work, but I can tell you, the moment when you wash off the grit and for the first time it becomes really transparent and shiny? Pure magic! With this piece that happened at a 3000 grit and got “fixed” with abrasive paste.

©Giliell, all rights reserved

©Giliell, all rights reserved
Now I have to figure out how to turn it into a necklace…
But wait, there’s more!

©Giliell, all rights reserved
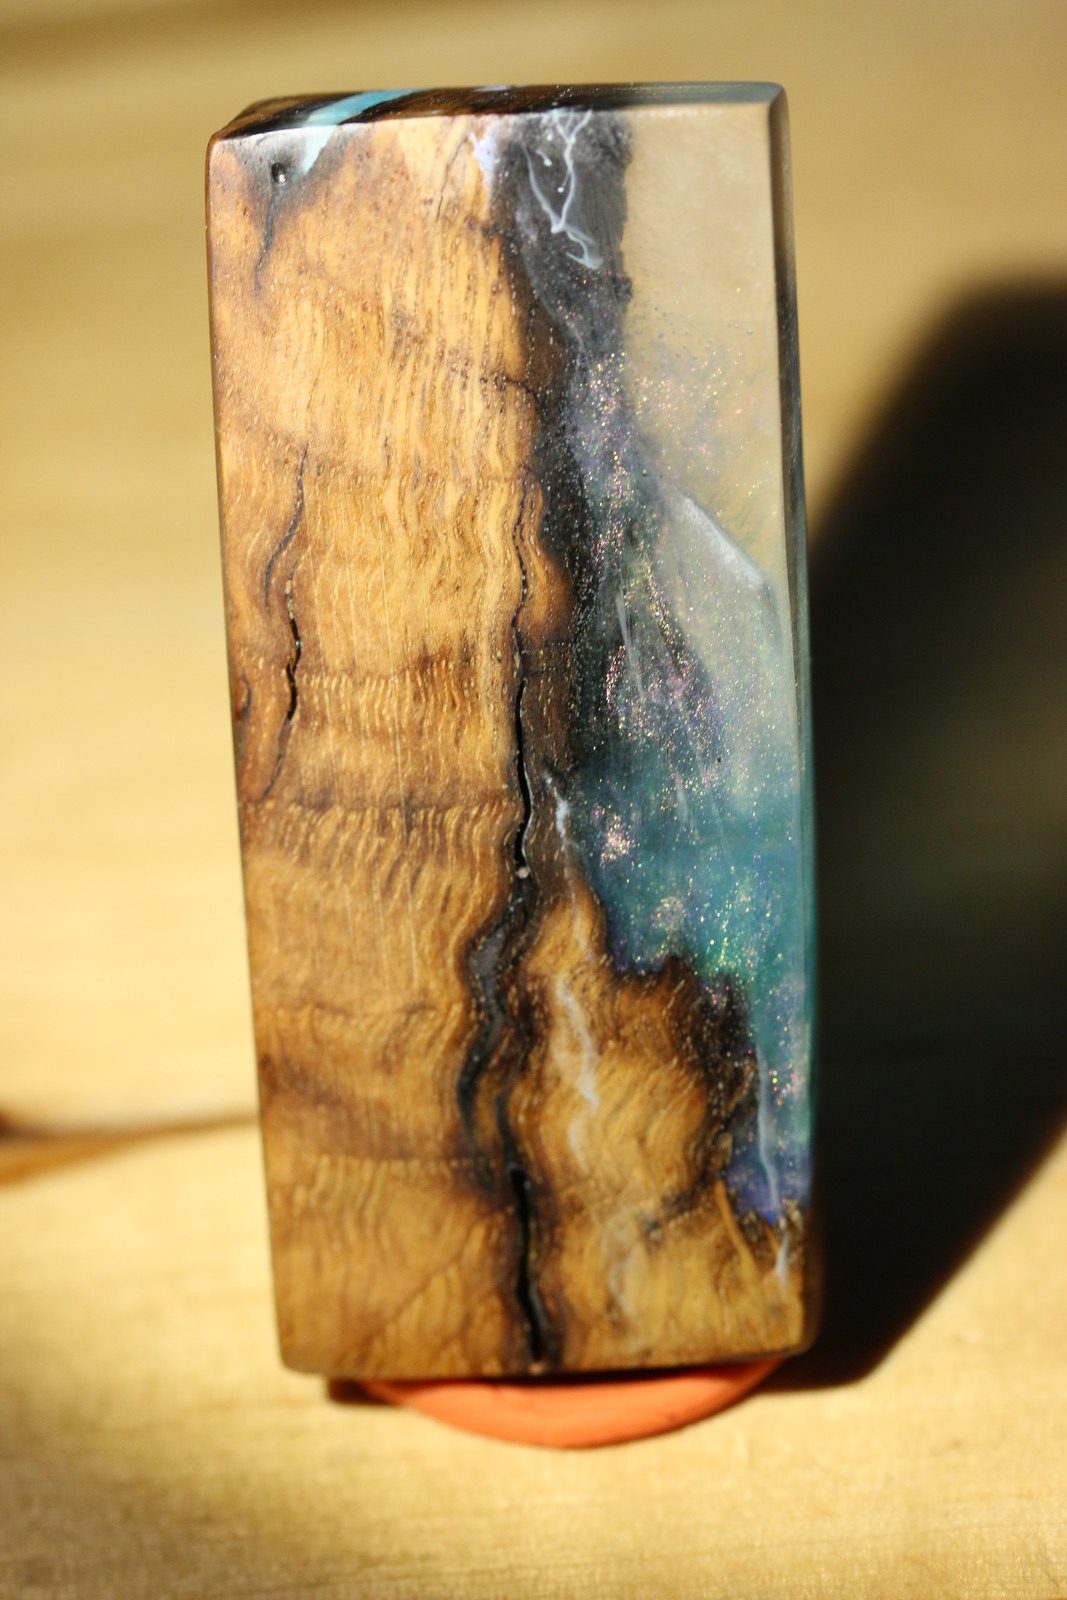
This little fellow is a scrap of pear wood. It is part of a longer piece. the top got turned into something else and the bottom got turned into this. Isn’t that wood gorgeous?

©Giliell, all rights reserved
I tried to give it roughly a crystal shape, but it would not hold the edges. I’m not sorry, I love it the way it is. Also, it’s shape just nice to hold.
The last piece is oak wood. I experimented with some cheap pearl pigment and I quite like the effect:
©Giliell, all rights reserved

©Giliell, all rights reserved
Since I had some problems with the sticky tape that enclosed the cast getting stuck in the resin I had to take off quite a lot of material, but I am please with the result nevertheless.
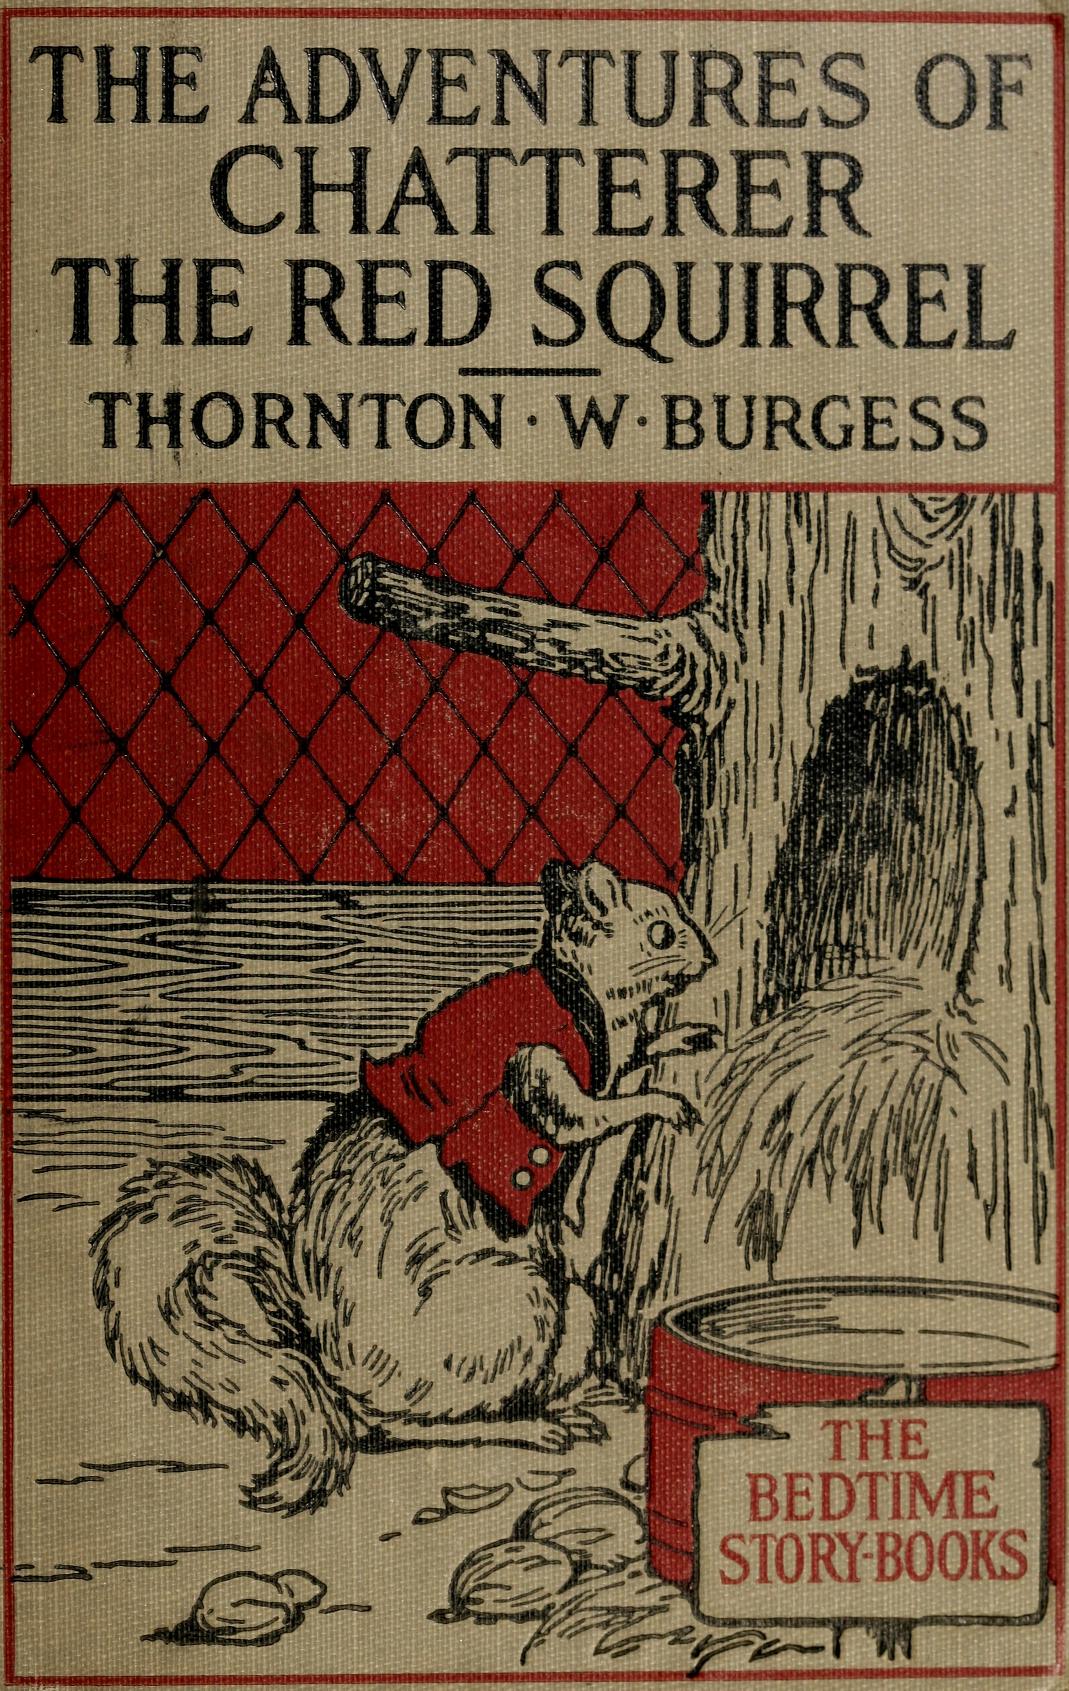
Thornton W. Burgess. The Adventures of Chatterer the Red Squirrel. Illustrations by Harrison Cady. Boston, Little, Brown, 1920.
via: The Internet Archive
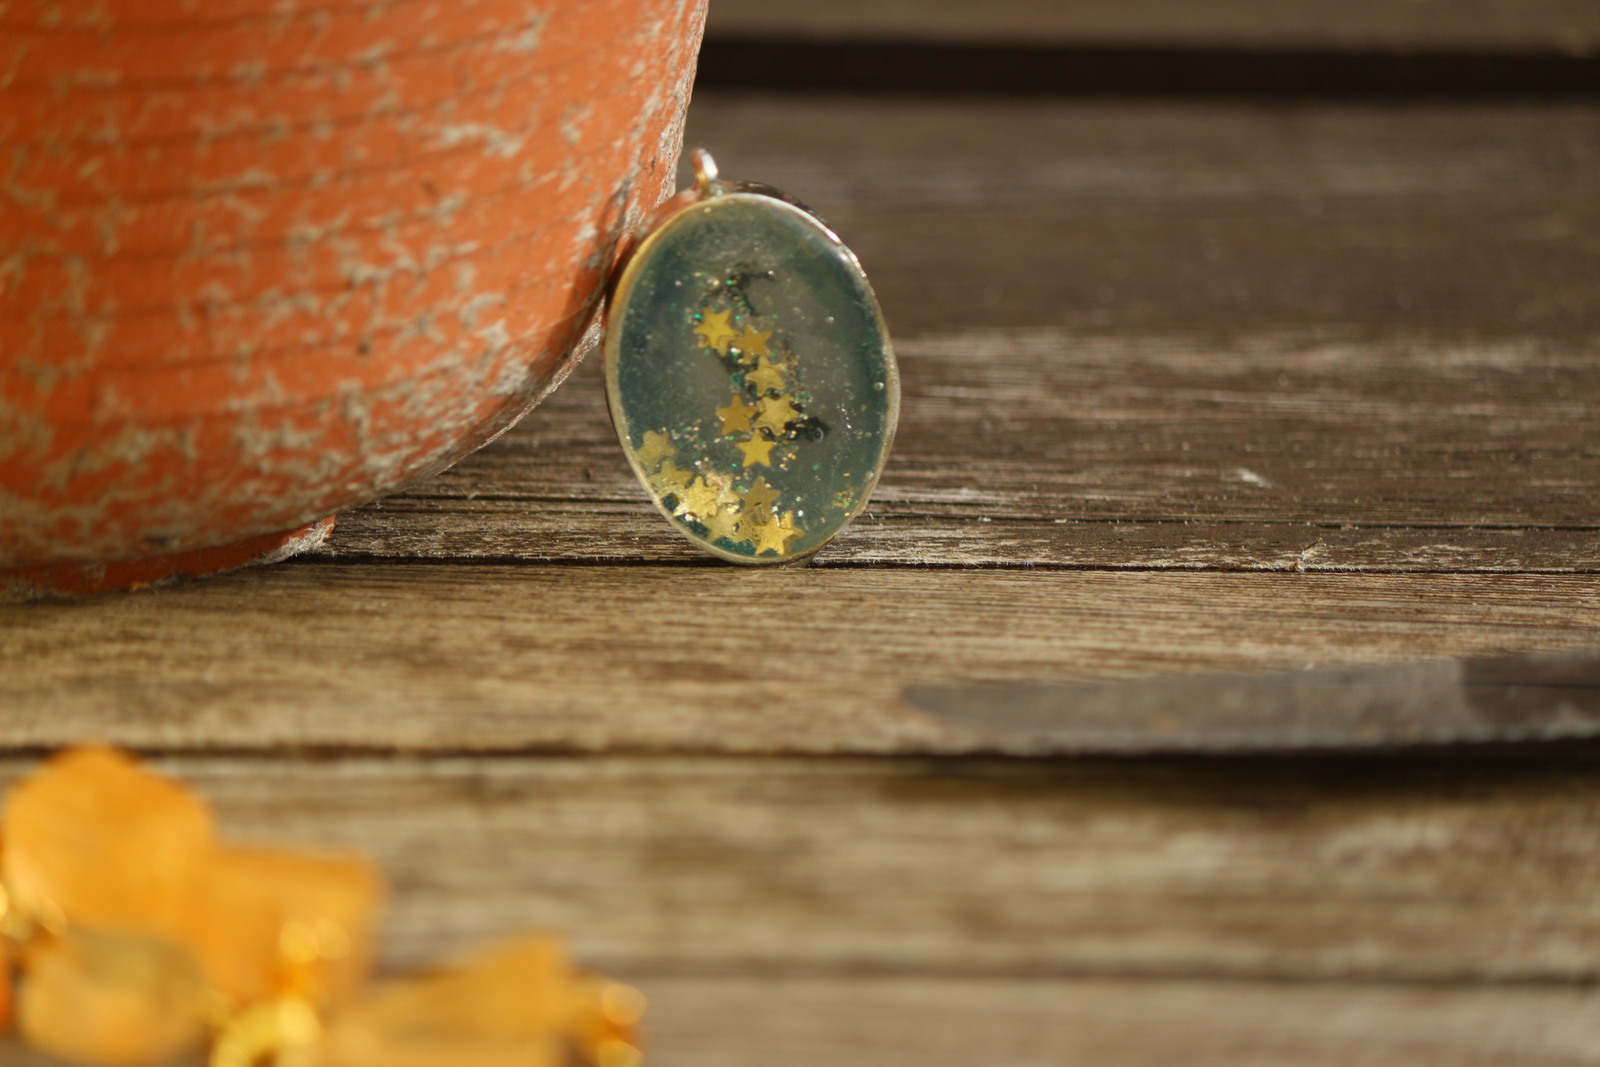
Some time ago I watched a youtube video on making shaker charms with open bezels. Keyword is “a while ago”. It looked simple enough, so I decided to give it a try: you put your bezel onto some tape, add a layer of UV resin and harden that. Then you add your glitter, mix water with some glue, put it into the bezel, freeze it solid, add UV resin to the now solid top, harden, done.
So far, so good. Only that of course it didn’t work out like this, leading to these rather pitiful examples:

©Giliell, all rights reserved
©Giliell, all rights reserved

©Giliell, all rights reserved
The unicorn one is the best of the batch, but still nowhere near acceptable. I figured out a couple of problems myself:
One: I’d overfilled the the bezels. I need to leave space inside for the resin to go. Two, working on three of them at the same time isn’t a good idea. Inevitably condensation happens on the other ones as you’re dealing with the first one. Three, my UV resin is too thick. It’s quite thick anyway and the cold from the frozen bezels makes it impossible to spread quickly and evenly.
While I figured out those three things. One thing remained a mystery: the surface of the ice. If this surface isn’t smooth, you’ll never get a clear resin layer. While I didn’t think the video in question was one of those fake craft videos, I kept wondering about it. Rewatching the video I saw that the person used distilled water, which I think will make quite a difference.
Next try: distilled water.
I’ll also add in another step: Once the water is frozen really, really solid, I’ll put another drop of water on top. It should hopefully create a super smooth surface and also create a barrier between the resin and any glitter that might have floated to the top. Wish me luck.