Mushroom Hunt Pictures: Jay Feather

In Czech folklore, Jays are the guardians of the forest due to their habit to make an awful lot of noise when they spot humans. They also used to be game birds and considered to be a pest, but they are protected by law now all year round. So when a gamekeeper wants to adorn his hat with a jay feather, as per custom, nowadays he has to find the feather in the forest and cannot just kill the bird for them.

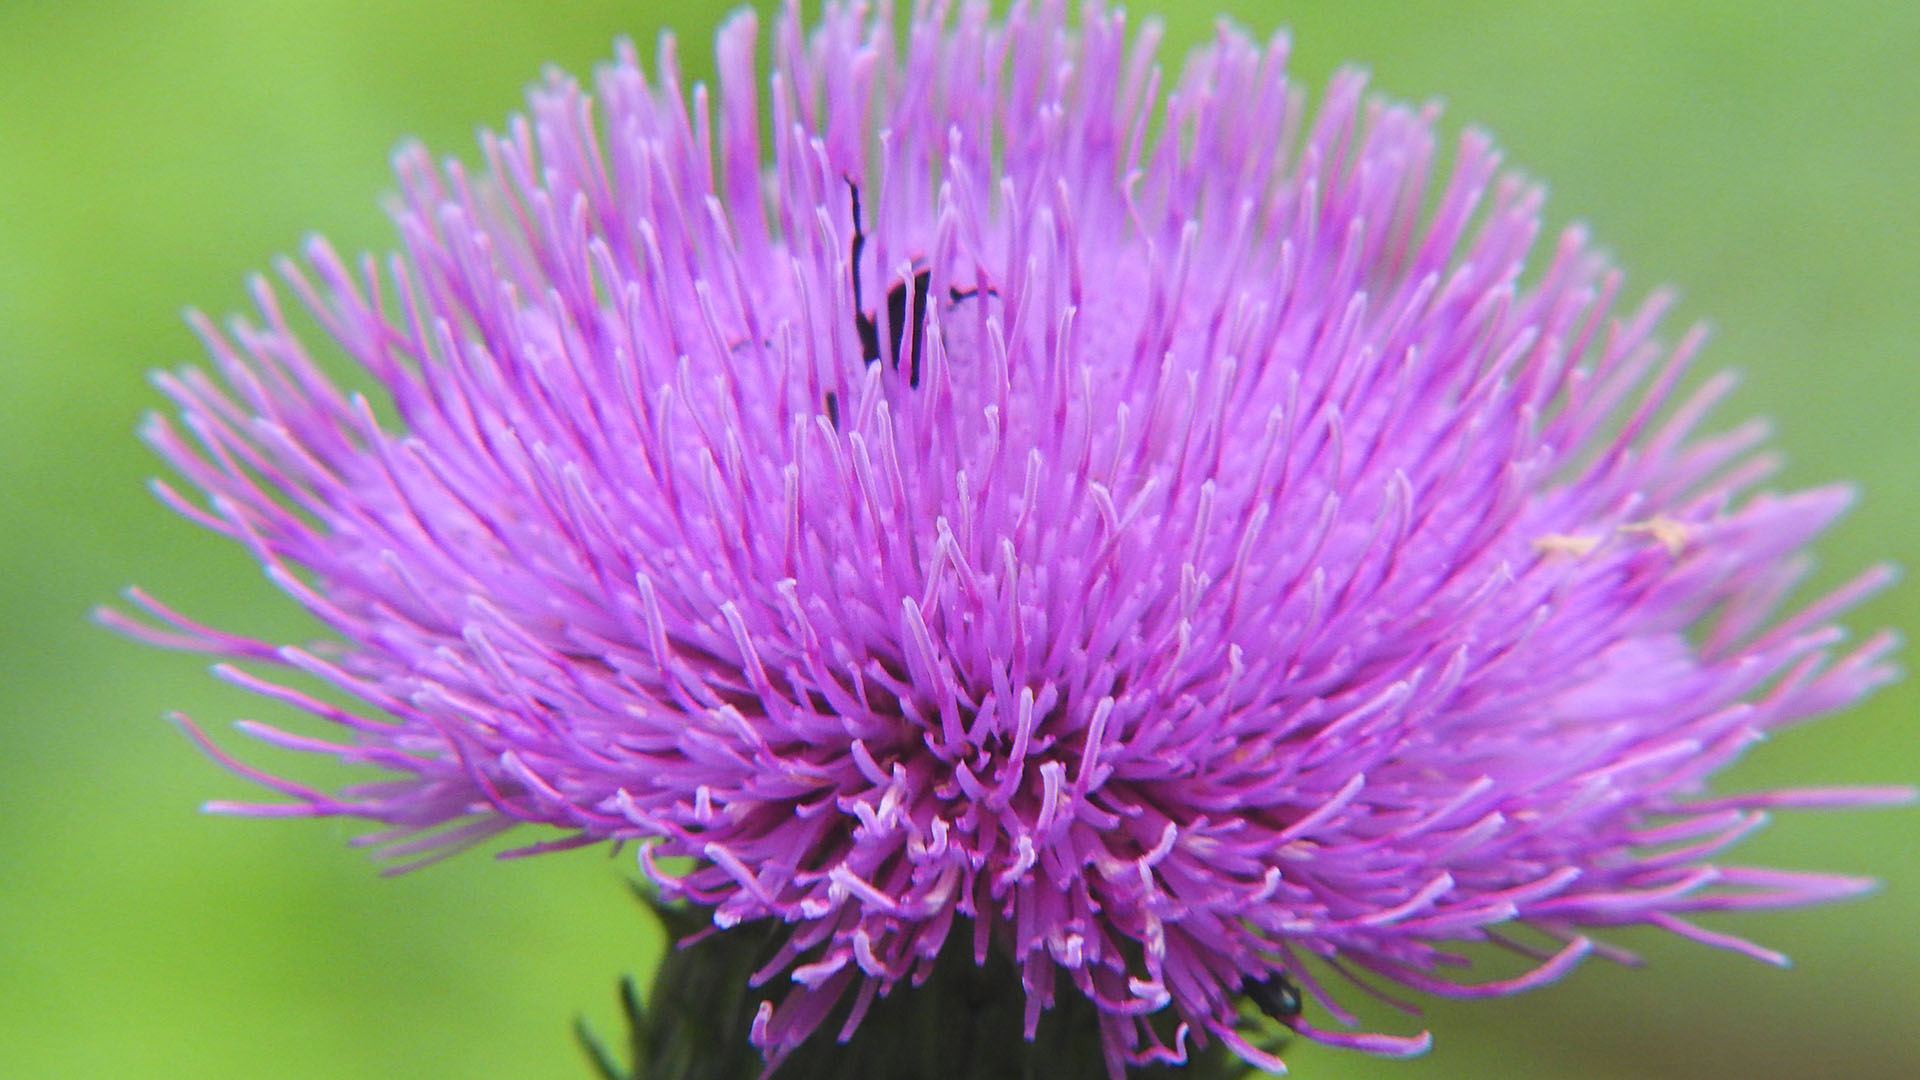
They are beautiful but tiny and rare to find. This one is less than 5 cm long.

© Charly, all rights reserved. Click for full size.

The Art of Aubrey Beardsly: Le Morte Darthur

Most of the artwork for Le Morte Darthur is set outdoors, and Beardsley places his characters into stylized high-contrast landscapes filled with heavy repetitive curving lines and shapes. The artist uses a leaf motif plus a multiplicity of trees as repetitive elements that create a strong sense of place and link the illustrations into a cohesive set.


Artwork by Aubrey Beardsley. Le Morte Darthur.

Artwork by Aubrey Beardsley. Le Morte Darthur.

Artwork by Aubrey Beardsley. Le Morte Darthur.

Artwork by Aubrey Beardsley. Le Morte Darthur.


Artwork by Aubrey Beardsley. Le Morte Darthur.

Artwork by Aubrey Beardsley. Le Morte Darthur.

Artwork by Aubrey Beardsley. Le Morte Darthur.


Resin Art: The Jewellery Board

Or: I blame Charly. I wanted to make a jewellery board for a while and had already bought a white mdf board when Charly posted the video about making Ocean Waves Boards. It also coincided with our cleaning up the cellar so I finally had some space where I could work on something a bit larger and leave it for curing. Of course, me being impatient meant I fucked up several ways and had to spend more time fixing my mistakes. Will I ever learn?

First step: Pouring the ocean

©Giliell, all rights reserved

First of all I forgot to tape the sides and underside, meaning I had to scrape off resin for about an hour once I was done. Second mistake: I should have sanded the surface to create a rougher surface so the resin would stick better. You can see a part in the top left corner where it refused to go at all. And last but not least, I greatly underestimated the amount of resin it takes. I ended up doing a couple more pours, both to extend the “sea” area as well as adding a “beach” because I didn’t like the white. I also painted the cleaned off sides. During that time I also created the knobs that would be added to the finished board and also the parts meant to become a little shelf for earrings.

[Read more…]

Mushroom Hunt Pictures – Ant Venturer

Deep into the woods, an ant did venture.

Over the mossy hills, seeking adventure.

© Charly, all rights reserved. Click for full size.


Edit: I bloody well wish that when I click “delete permanently” in order to re-upload badly cropped picture WordPress really deleted it. As it is, it does not allow me to re-upload a picture unless I also rename it – otherwise, it just un-deletes the wrong version over and over again. The button “delete permanently” is thus without real function. AAARGH.

Mushroom Hunt Pictures – Larch Cones

Larches do not throw off just the cones, but whole twigs. So during a dry spell, the forest floor under larches is just like a huge tinderbox just waiting to burst into flames. That may be one reason why larches also have very thick bark that is capable of resisting flames for quite a long time, similarly to the bark of for example sequoias or cork oaks.

© Charly, all rights reserved. Click for full size.

Project Badgermascus – Interlude 5 – Making New Tools, Learning New Skills

I tried to make two sheaths out of crappy leather first, and it is a good thing that I did, because not only the measurements did not fit the first time, but the stamping and carving were not very good either. Who woulda thunk that making the basketweave pattern is a lot harder than YouTube videos made by master craftsmen make it look like?

The second time I got actually better, but I think I will make a third one before going to the good leather for the final product. Although I did cut a piece of good leather for experiments too and it does work differently (better) than the old crappy one.

In due course, I have made several new tools.

© Charly, all rights reserved. Click for full size.

I had to make myself several new tools because those that I bought did not cover all I needed. I want to make a basket weave pattern on part of the sheath, but the store where I bought the rest had none and on other stores, I could not find one that I liked. Also, the beveler was a bit too big for some of the works that I need to do and the set lacked a mule foot tool, so I made one of that too although I do not intend to use it right now.

I have made all this using a hammer to drive the stamps, and that turned out to be not optimal. Apart from mushrooming of the tool ends and flaking off of the chrome-plating, I thought that the hammer hits unnecessarily hard. So I took out my lathe and started to make a mallet.

© Charly, all rights reserved. Click for full size.

I took an old furniture leg from beech wood for this, although it is not optimal. It is hardwood, but not nearly hard enough. I will probably have to replace this soon as it gets chewed up fairly quickly, but it should last at least for one project. I have already an idea of how to make a new, better one with replaceable head, but that will have to wait for now – for that I first have to find out if I can buy or find suitable materials. If not, I will either try to find or glue-up a big enough piece of jatoba or black locust, since those are a lot harder and thus can withstand more abuse.

© Charly, all rights reserved. Click for full size.

And since building the lathe for just one thing is not worth the hassle, and I need to learn lathe work anyway, I have also taken another furniture leg and turned myself a burnishing tool, from beech wood too. Sycamore, black elder, or cherry would be better for this (they have smaller pores and are more homogenous), but I did not have a suitable piece of any of those quickly available, and this should suffice. Next time I have the lathe on the table, I will probably make a burnishing wheel for the drill press, but with the amount of leatherwork I am currently doing, this is enough. I soaked the mallet and the burnisher in boiled linseed oil and they are drying now. One cover should suffice, so tomorrow they should be ready to use, at least the mallet. The burnisher won’t be needed for a few days yet.


The Art of Aubrey Beardsley: Le Morte Darthur

A few of the smaller, deceptively simple figure studies today. I love the way Beardsley captures so much complexity using high-contrast, geometric lines. It’s hard to believe that he was only 19 when he began work on this book.


Artwork by Aubrey Beardsley. Le Morte Darthur.

Artwork by Aubrey Beardsley. Le Morte Darthur.

Artwork by Aubrey Beardsley. Le Morte Darthur.

Artwork by Aubrey Beardsley. Le Morte Darthur.

Artwork by Aubrey Beardsley. Le Morte Darthur.

Artwork by Aubrey Beardsley. Le Morte Darthur.

The Art of Aubrey Beardsley: Le Morte Darthur

Today I’m sharing a few of the smaller portraits from the book. The last illustration is one of my favourites. Beardsley uses negative space brilliantly, and his simple line drawings create compellingly complex faces.

Artwork by Aubrey Beardsley. Le Morte Darthur.

Artwork by Aubrey Beardsley. Le Morte Darthur.

Artwork by Aubrey Beardsley. Le Morte Darthur.

Artwork by Aubrey Beardsley. Le Morte Darthur.


Artwork via: Enchanted Booklet

Tummy Thursday: You Gotta Eat it All

Yes, I know, that’s similar to the post in October about the little one’s cake, but we are in for another Pokémon themed cake. It was #1’s birthday on Sunday and she wanted a Zorua cake. Well, actually she wanted a Reshiram cake, but I balked at the idea of trying to make one. There’s being ambitious and there’s being stupid. I think it was my most complicated motive cake so far as it does not have a simple geometric form as a basis but the cut out of the Pokémon and the decoration took me almost three hours.

The cake is vanilla and cherries, the filing is German mango buttercream and roasted almonds. I then covered everything with Italian buttercream and added several layers of fondant. It was delicious and pretty.

©Giliell, all rights reserved