Dandelions in the vegetable patch are a nuisance, but in the lawn, they are a delight to see. For me anyway. They bloom soon after snowdrops and narcissuses and continue to do so well into the fall. Thus they are an important source of food for bees, butterflies, and all other kinds of pollinators.
This is not the first dandelion of this year in my garden, but it is the first one with multiple blossoms opening at once. Unfortunately, there were no insects to be seen anywhere right now, although I did see bumblebee queens scouting the garden for nesting places.

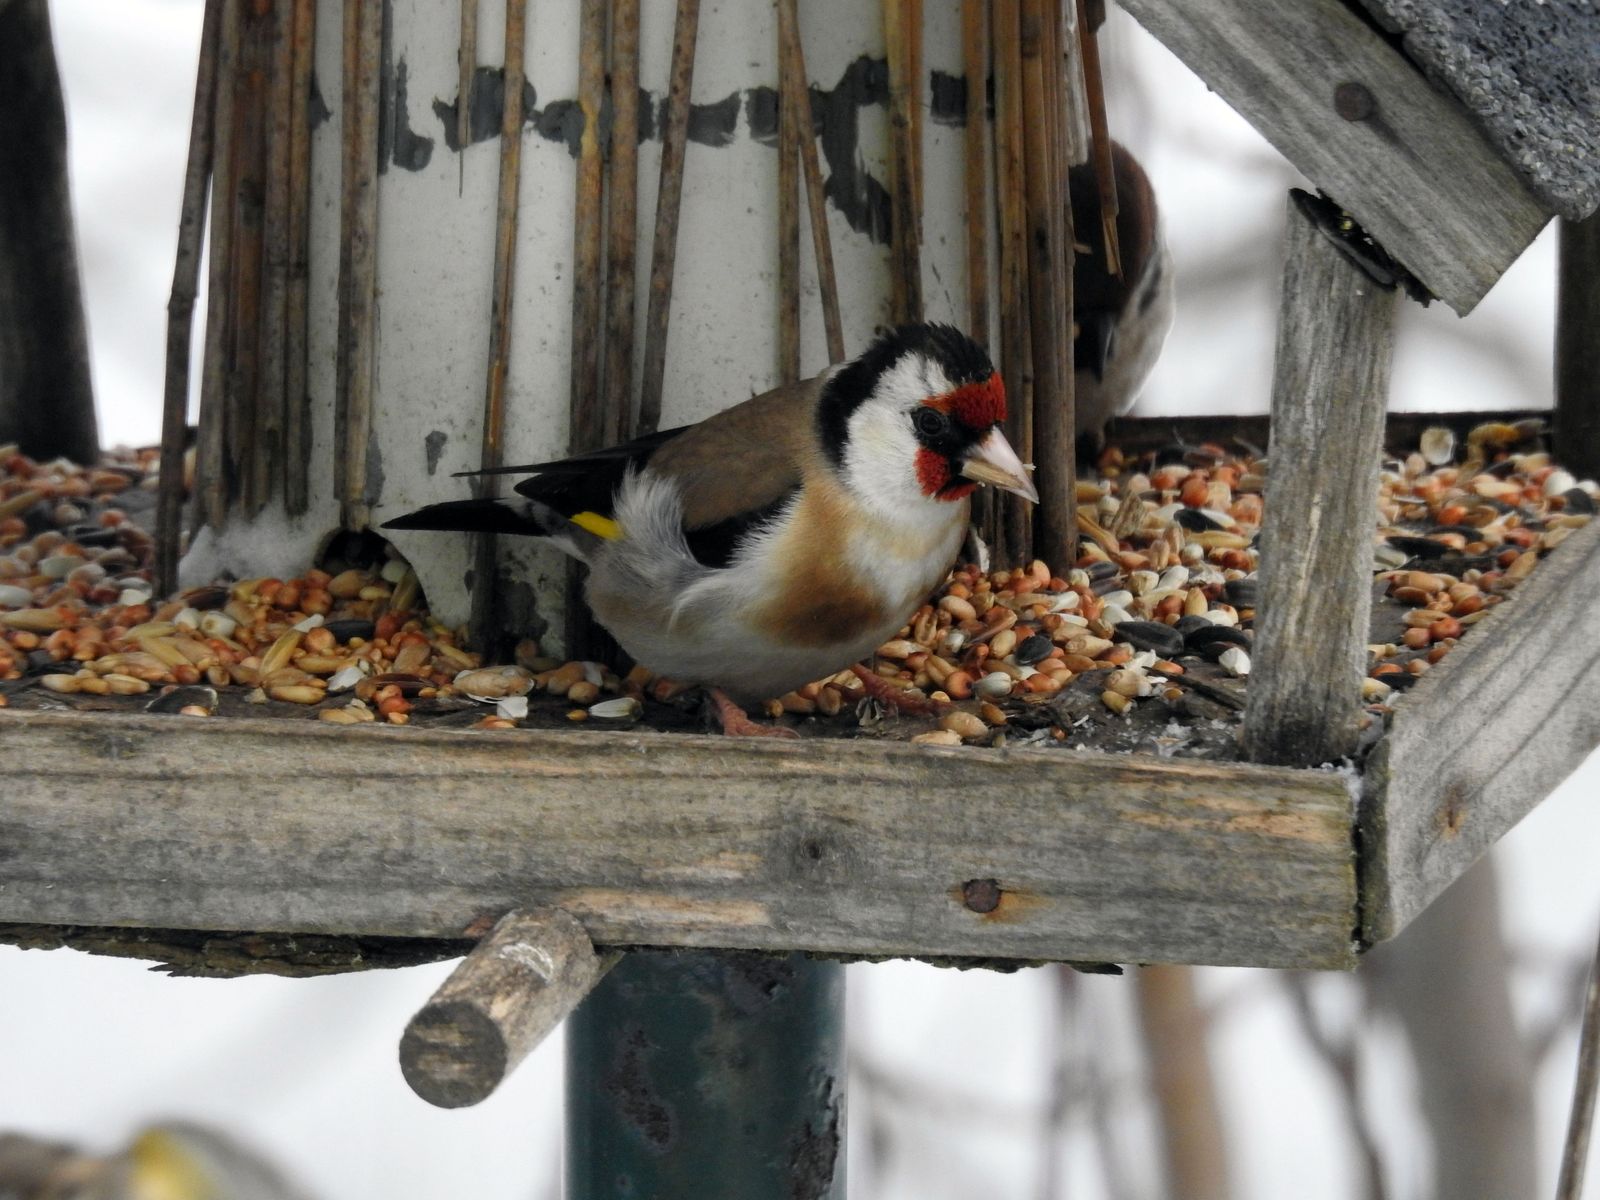
© Charly, all rights reserved. Click for full size

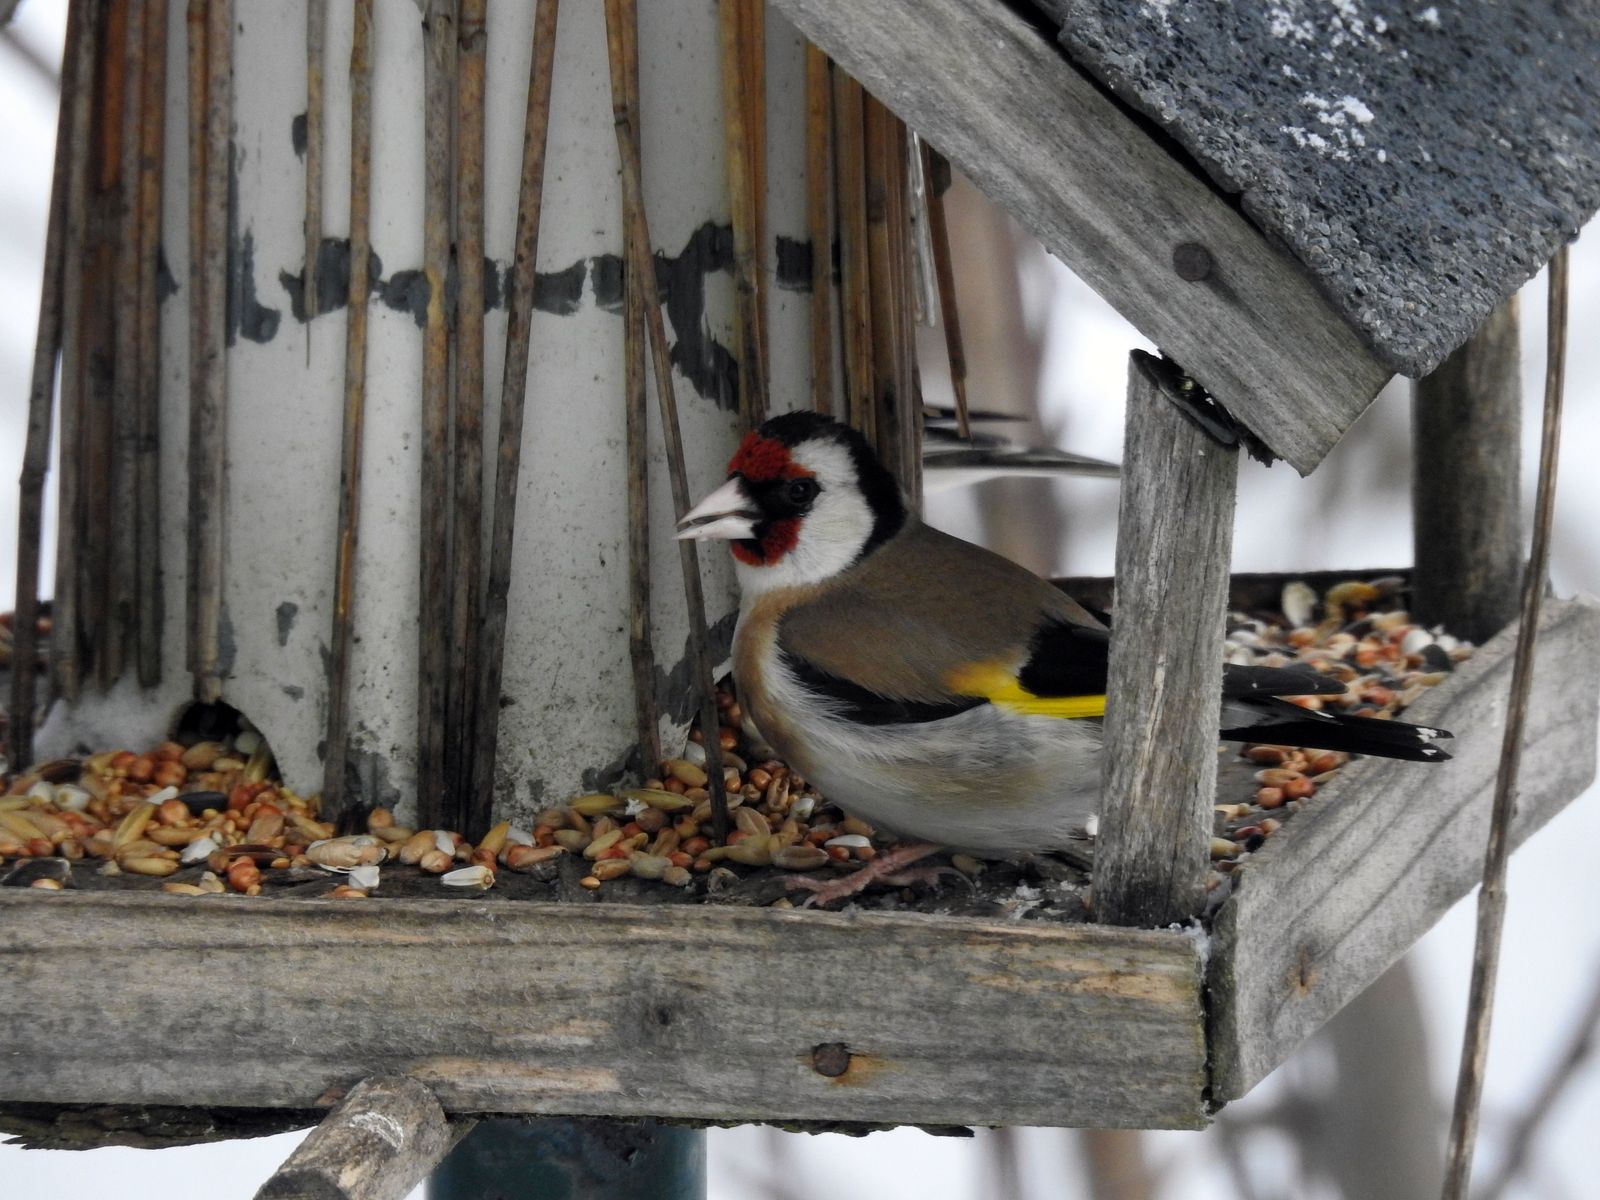
© Charly, all rights reserved. Click for full size