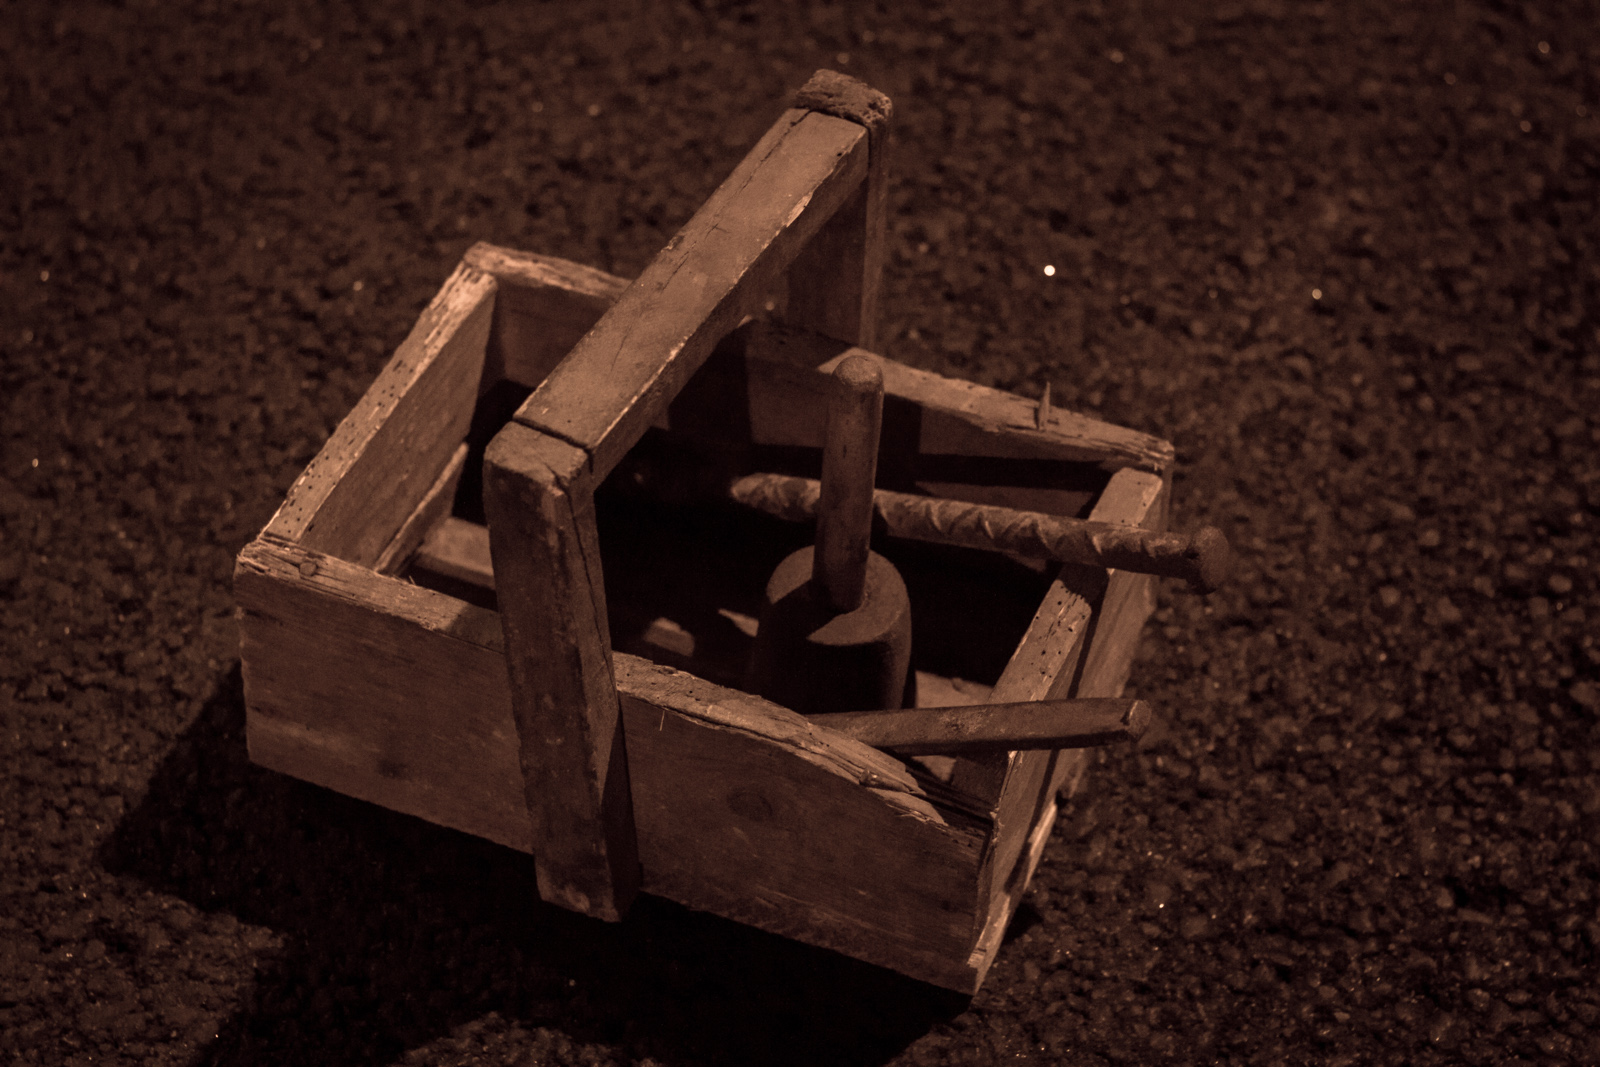
I could not decide between multiple videos, as usual, and last-minute decision fell on this one. It is a nice piece of engineering and the video is reasonably short and packed with interesting information.
It might also be Halloween appropriate? I have no clue, since I originate from and live in a country with no Halloween tradition whatsoever and honestly I do not understand what Halloween is supposed to be about at all. But I read something about murderers and monsters the other day, so maybe an (alleged) assasin’s weapon might fit in.
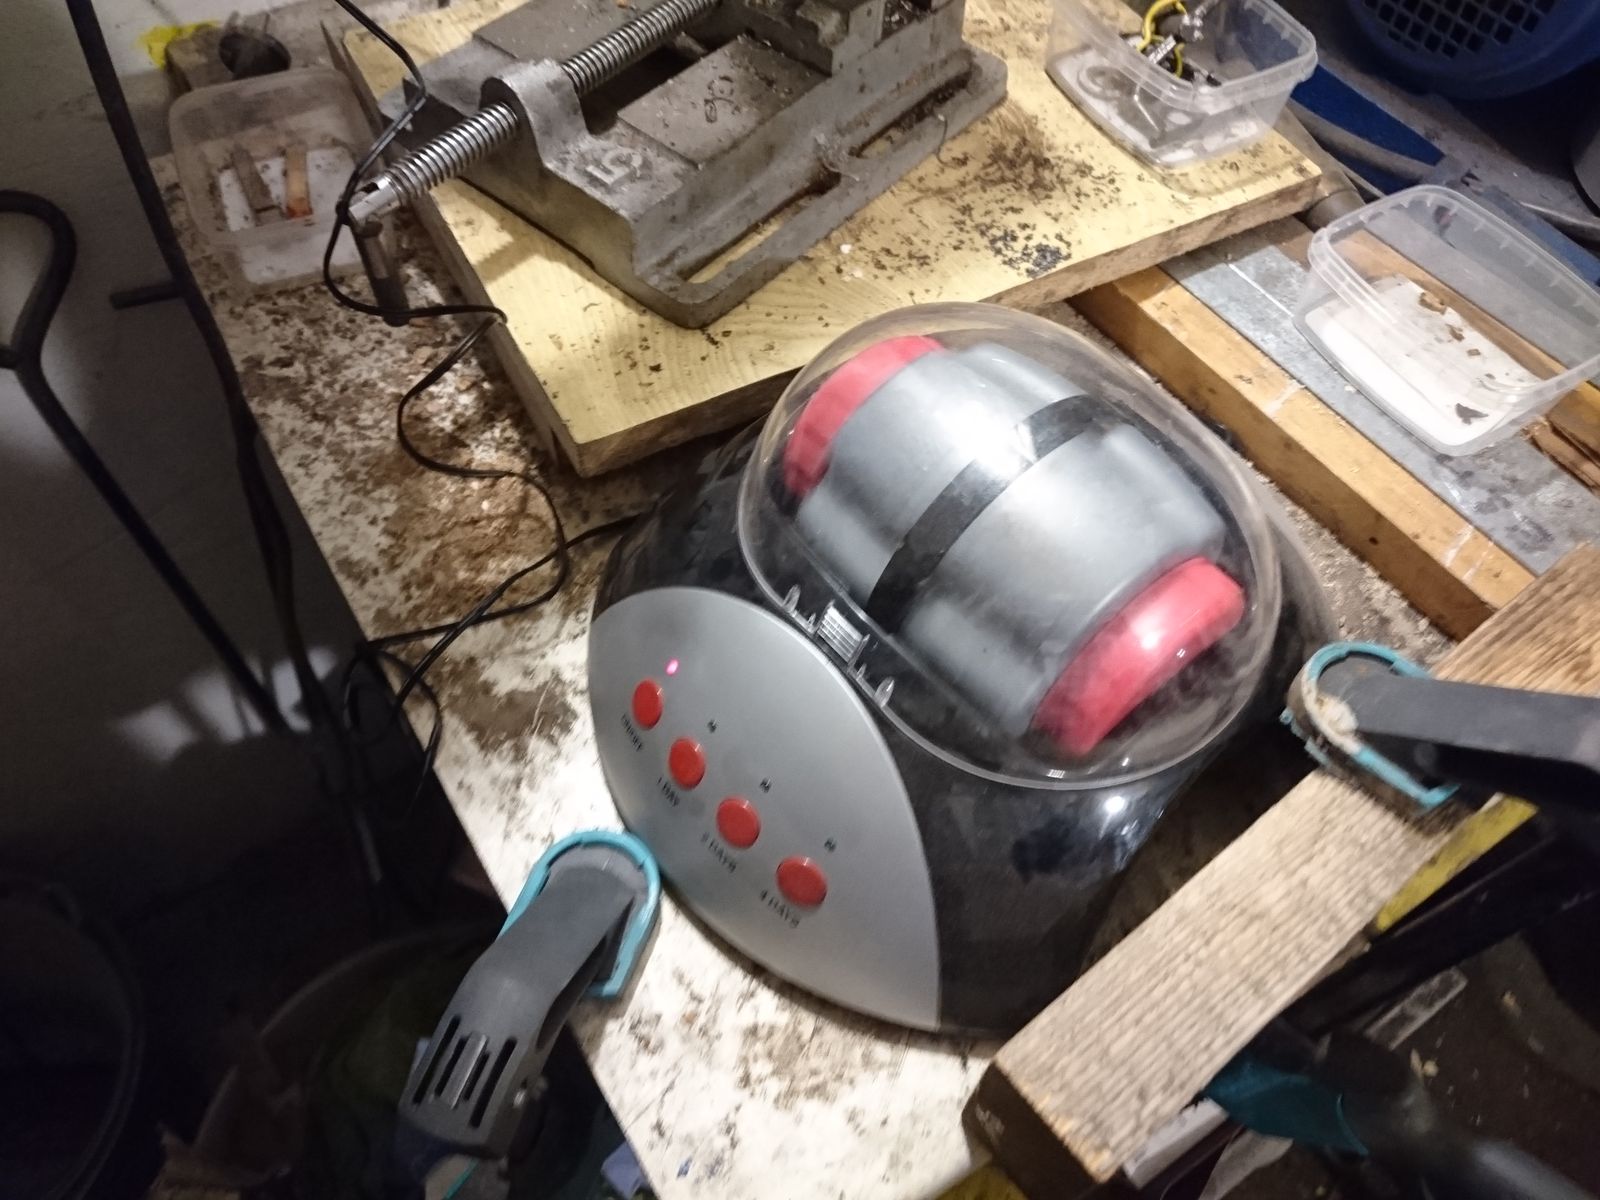
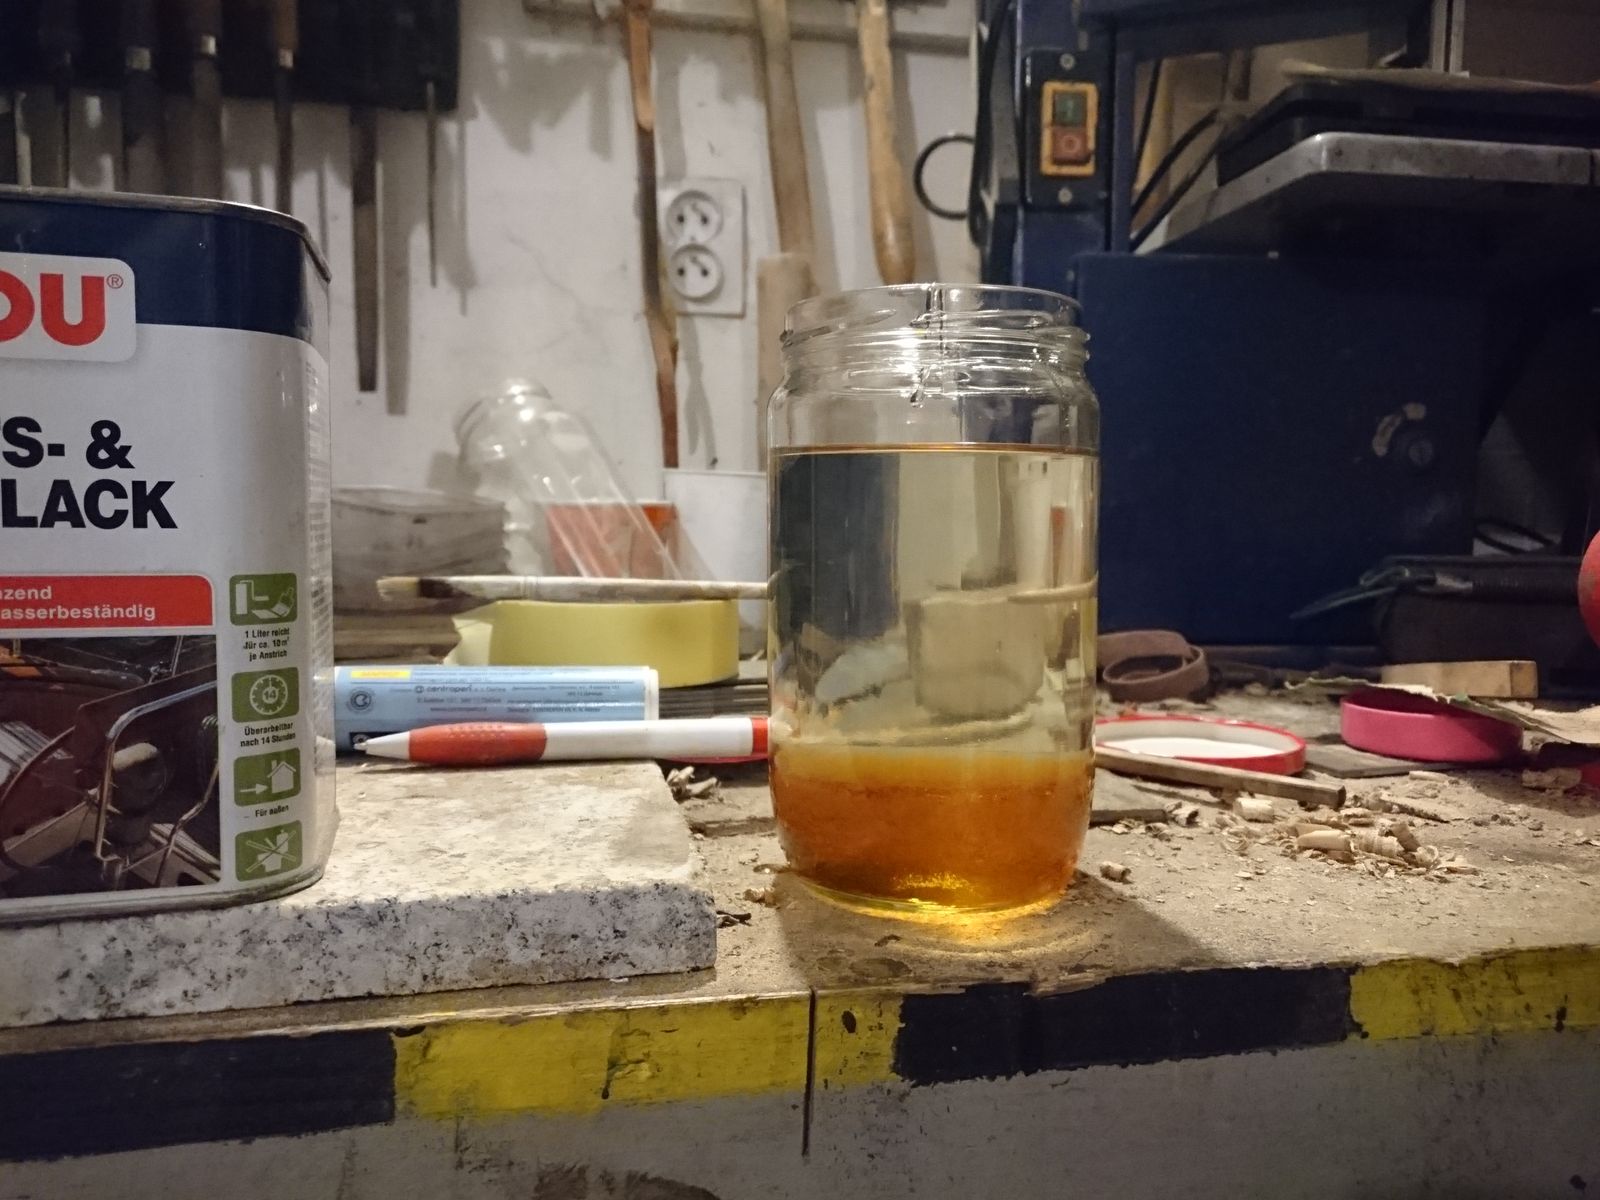
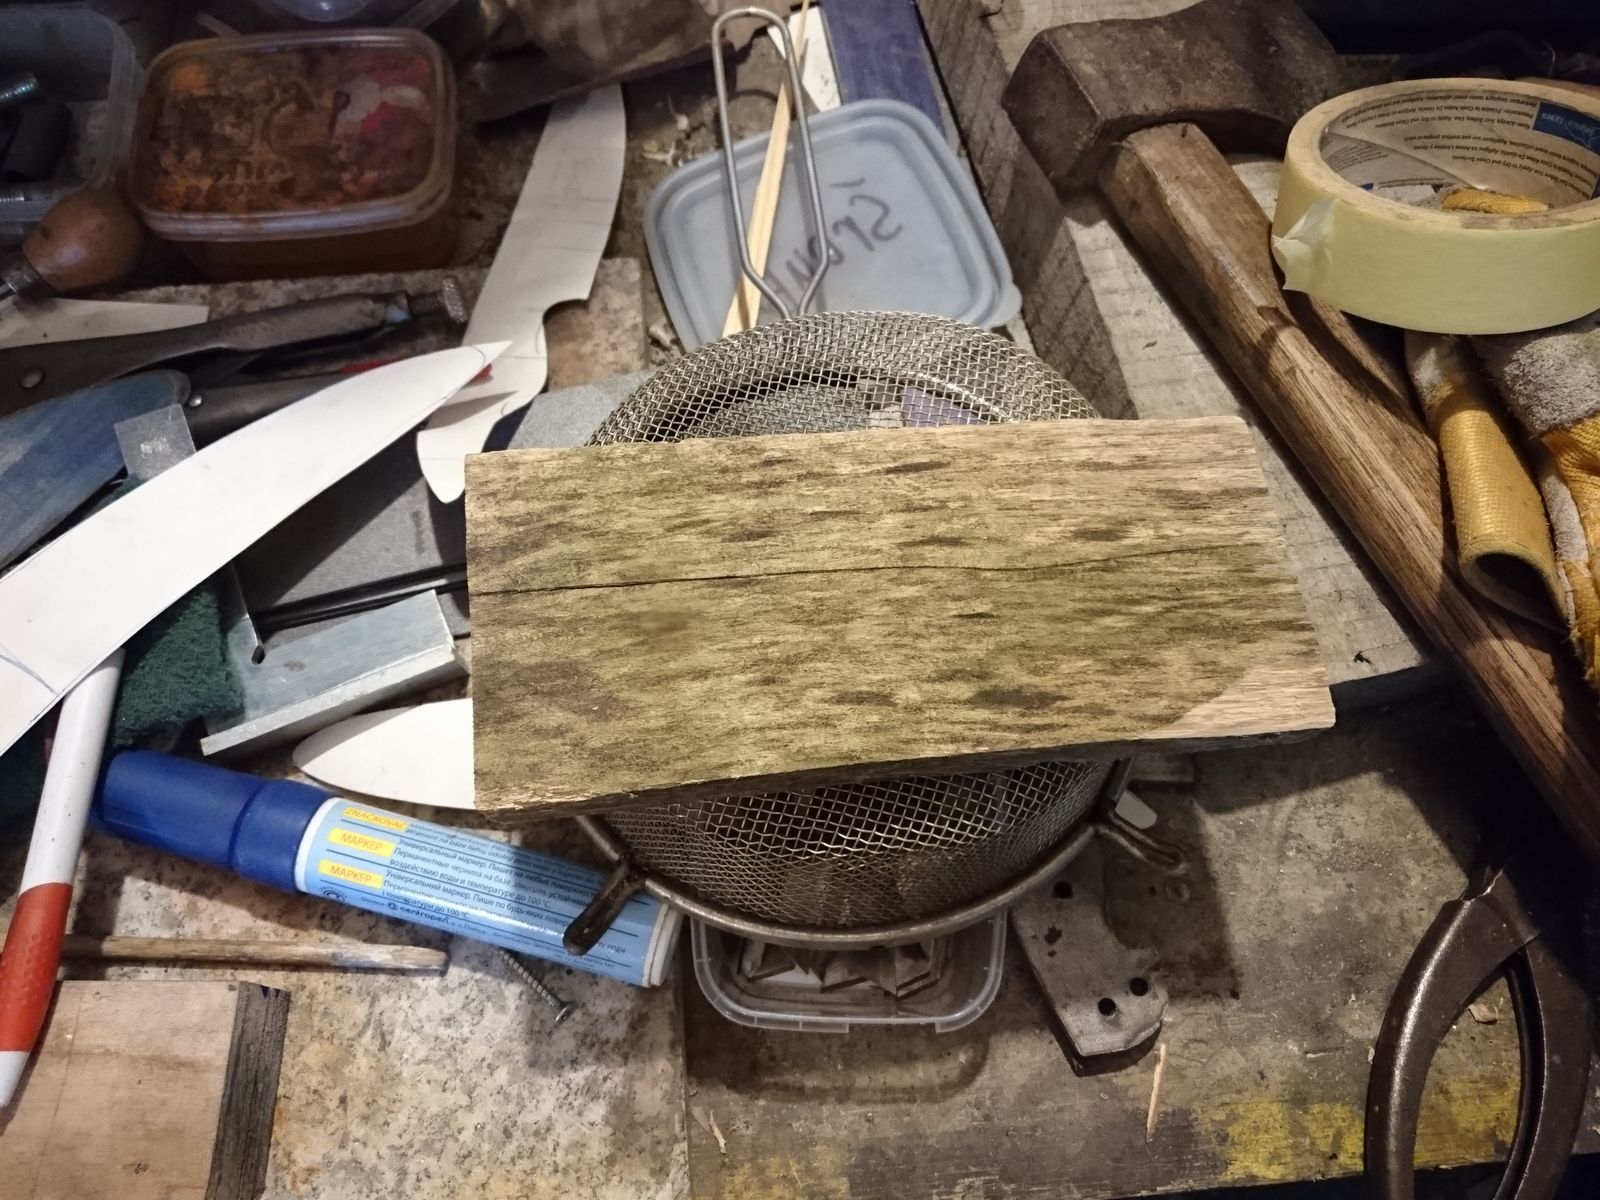
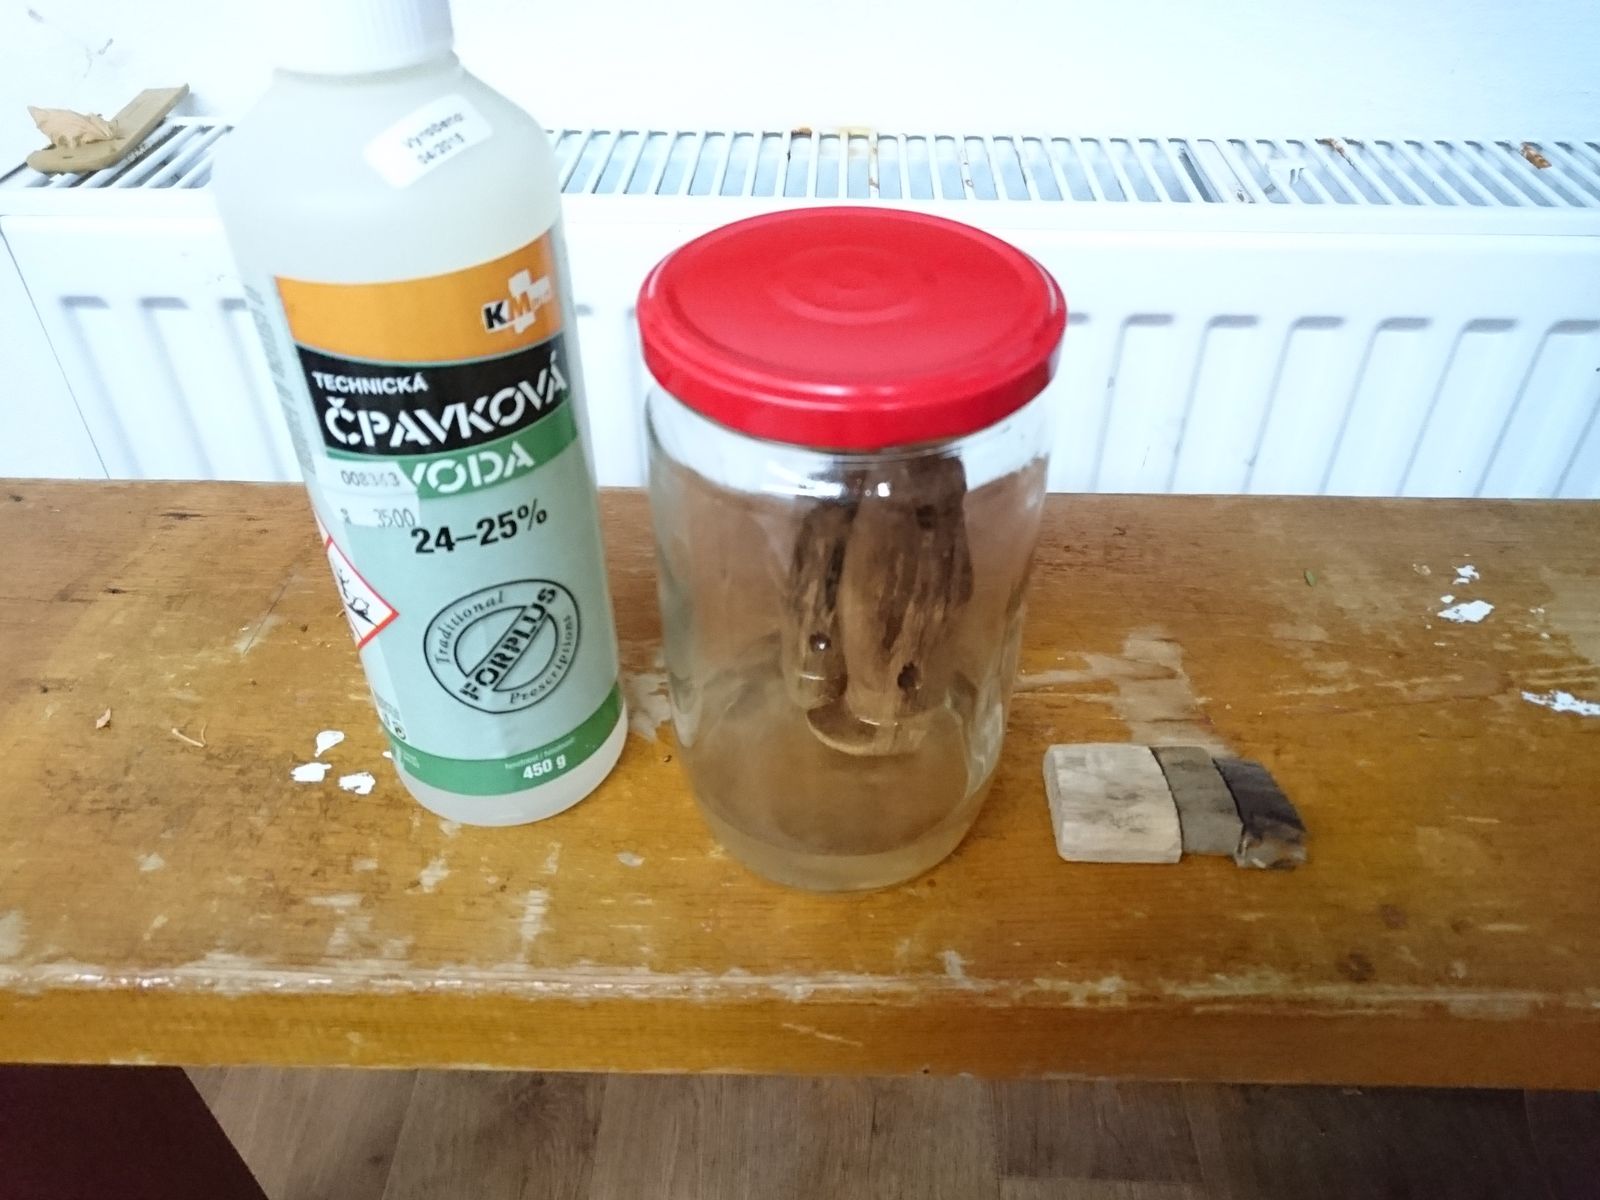
I have a day off and I planned to do some knife-work, but I have to pass on that since I am still not well.