DavidinOz has treated us to roses today and they are grand. Just look at those crisp petals, that bright colour and all that beautiful light. Why, I can almost smell them. The photos were taken at the Renmark Rose Festival and the busy bee makes them positively perfect. They’re just the tonic I needed to banish the November blues. Thanks for sharing, David.
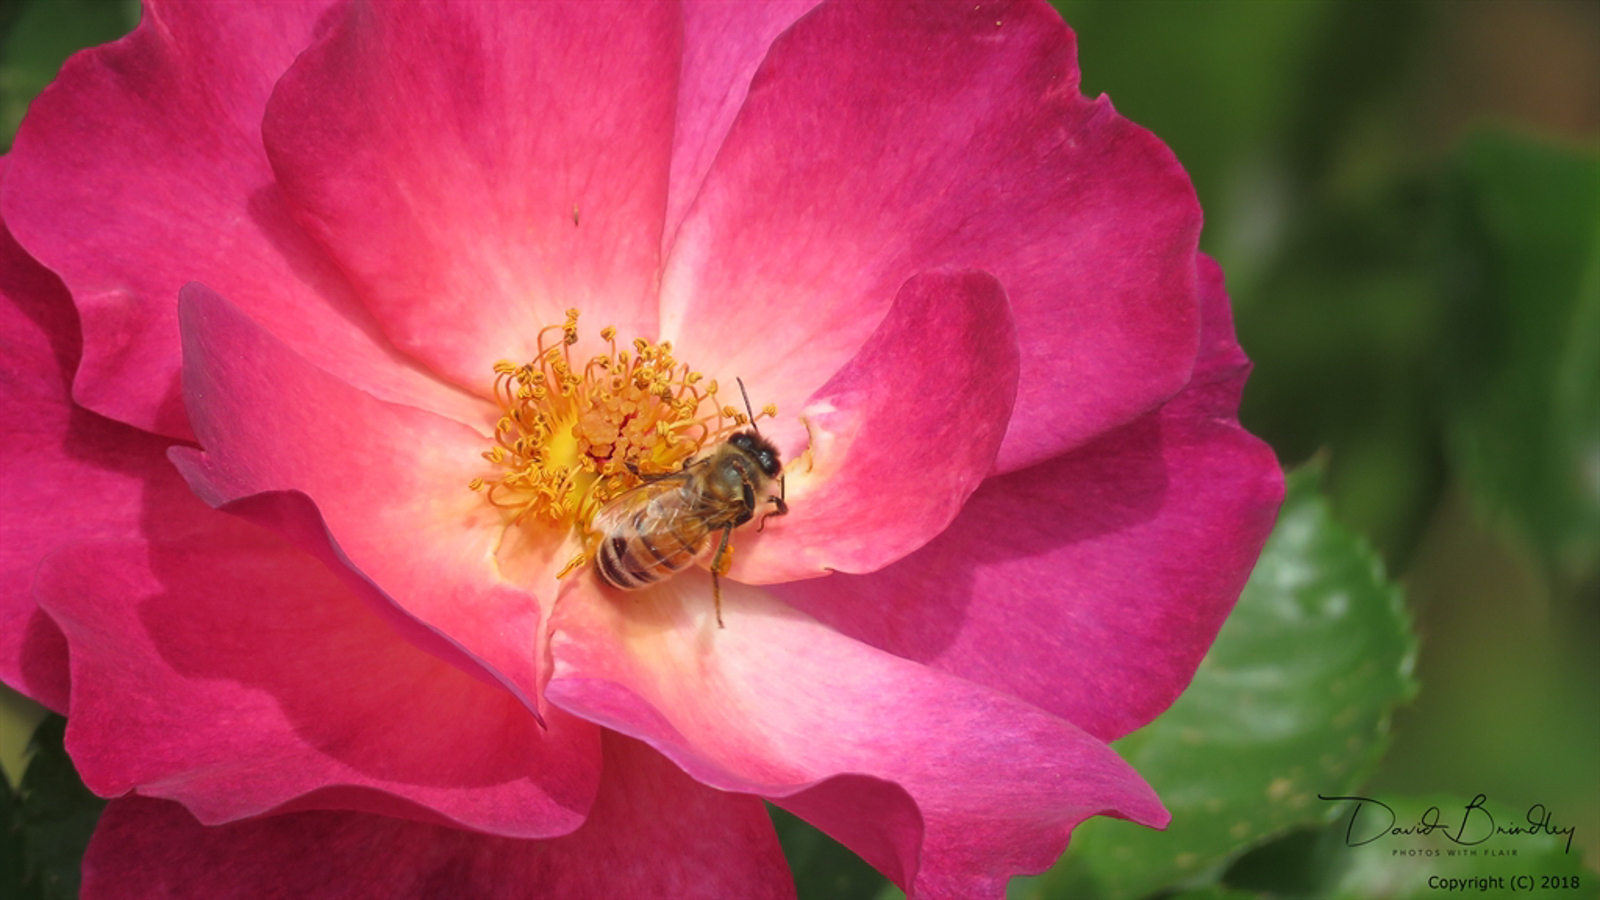
©David Brindley, all rights reserved
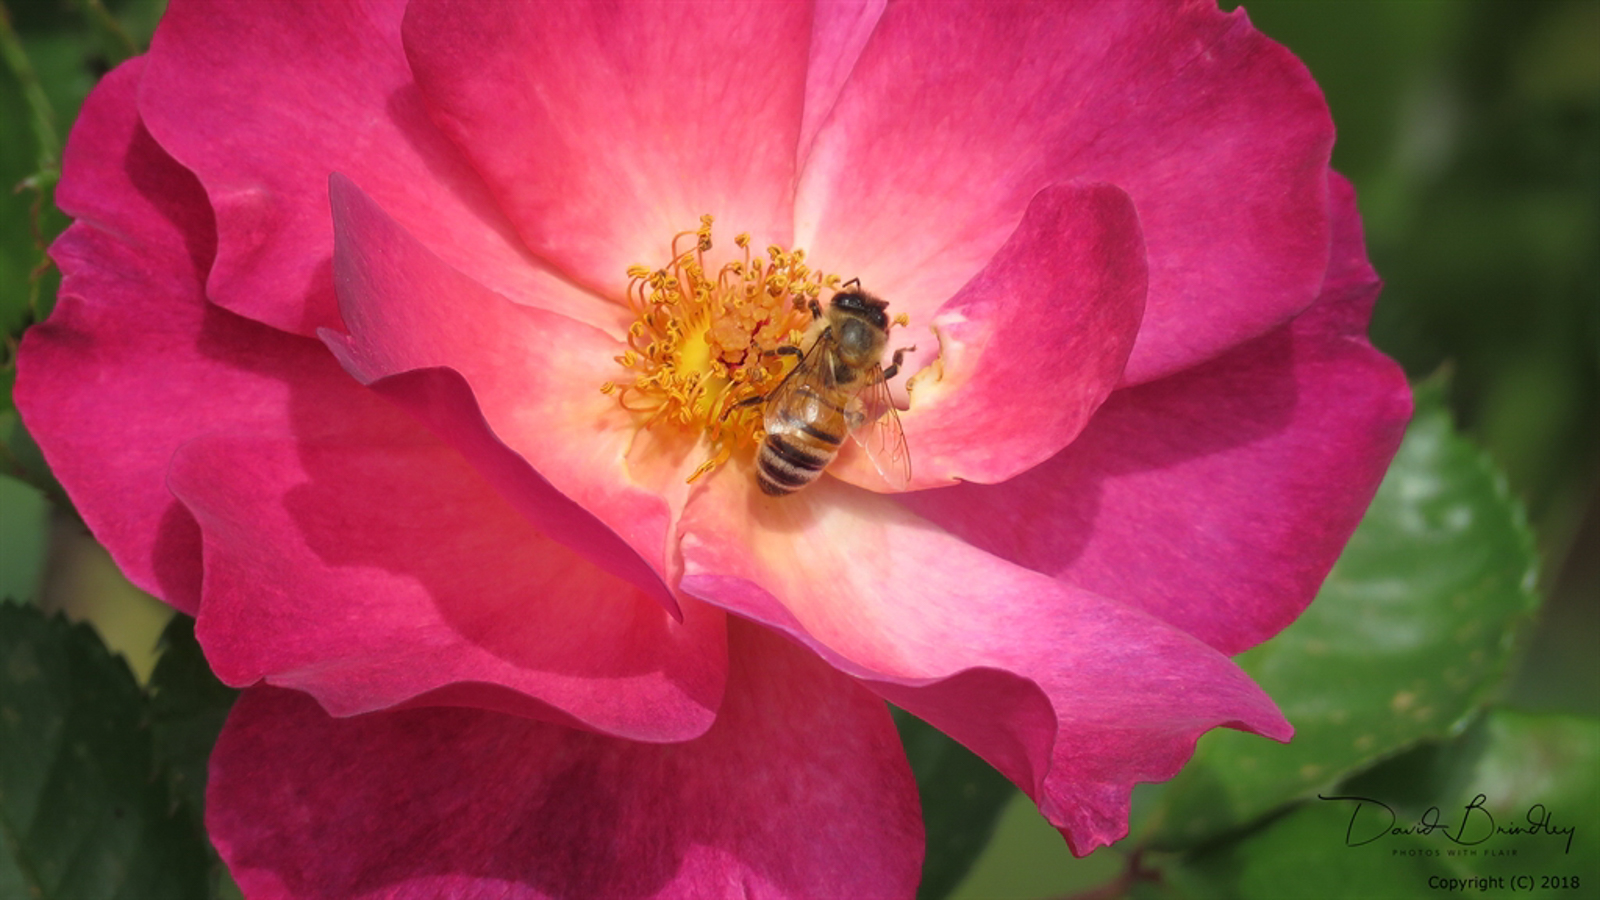
©David Brindley, all rights reserved