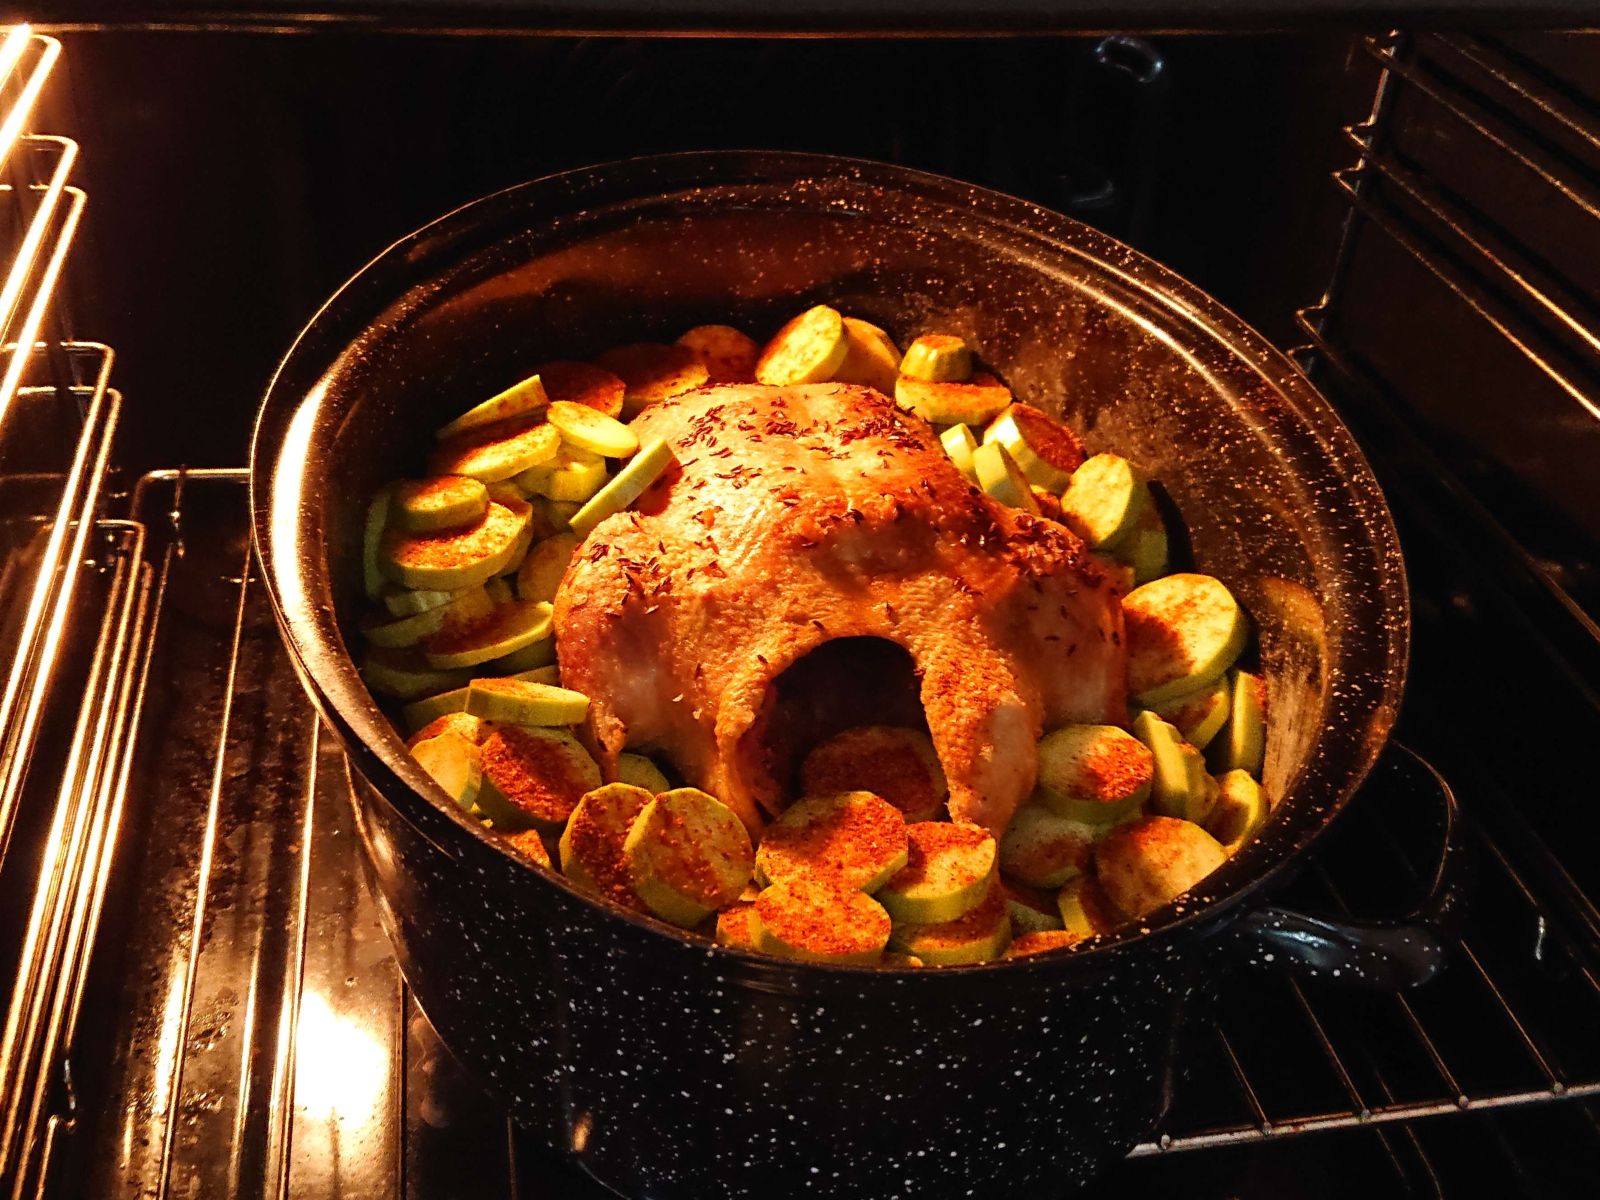
I got sick for a few days. The weather is too cold for this time of year, and I did not dress appropriately while working in the garden, which triggered (probably) a mild strep throat infection that would probably not develop in warmer weather. After a few days of being in bed, drinking paracetamol and elderberry tea, I might be finally getting better today – the throat pain subsided, and both teas started to taste awful. That is a peculiar thing – I strongly dislike the smell and taste of elderberry juice, yet I always try my best to keep a stash in my cellar. Because when I get sick, I get a craving for it. And once I heal, I start hating it again.
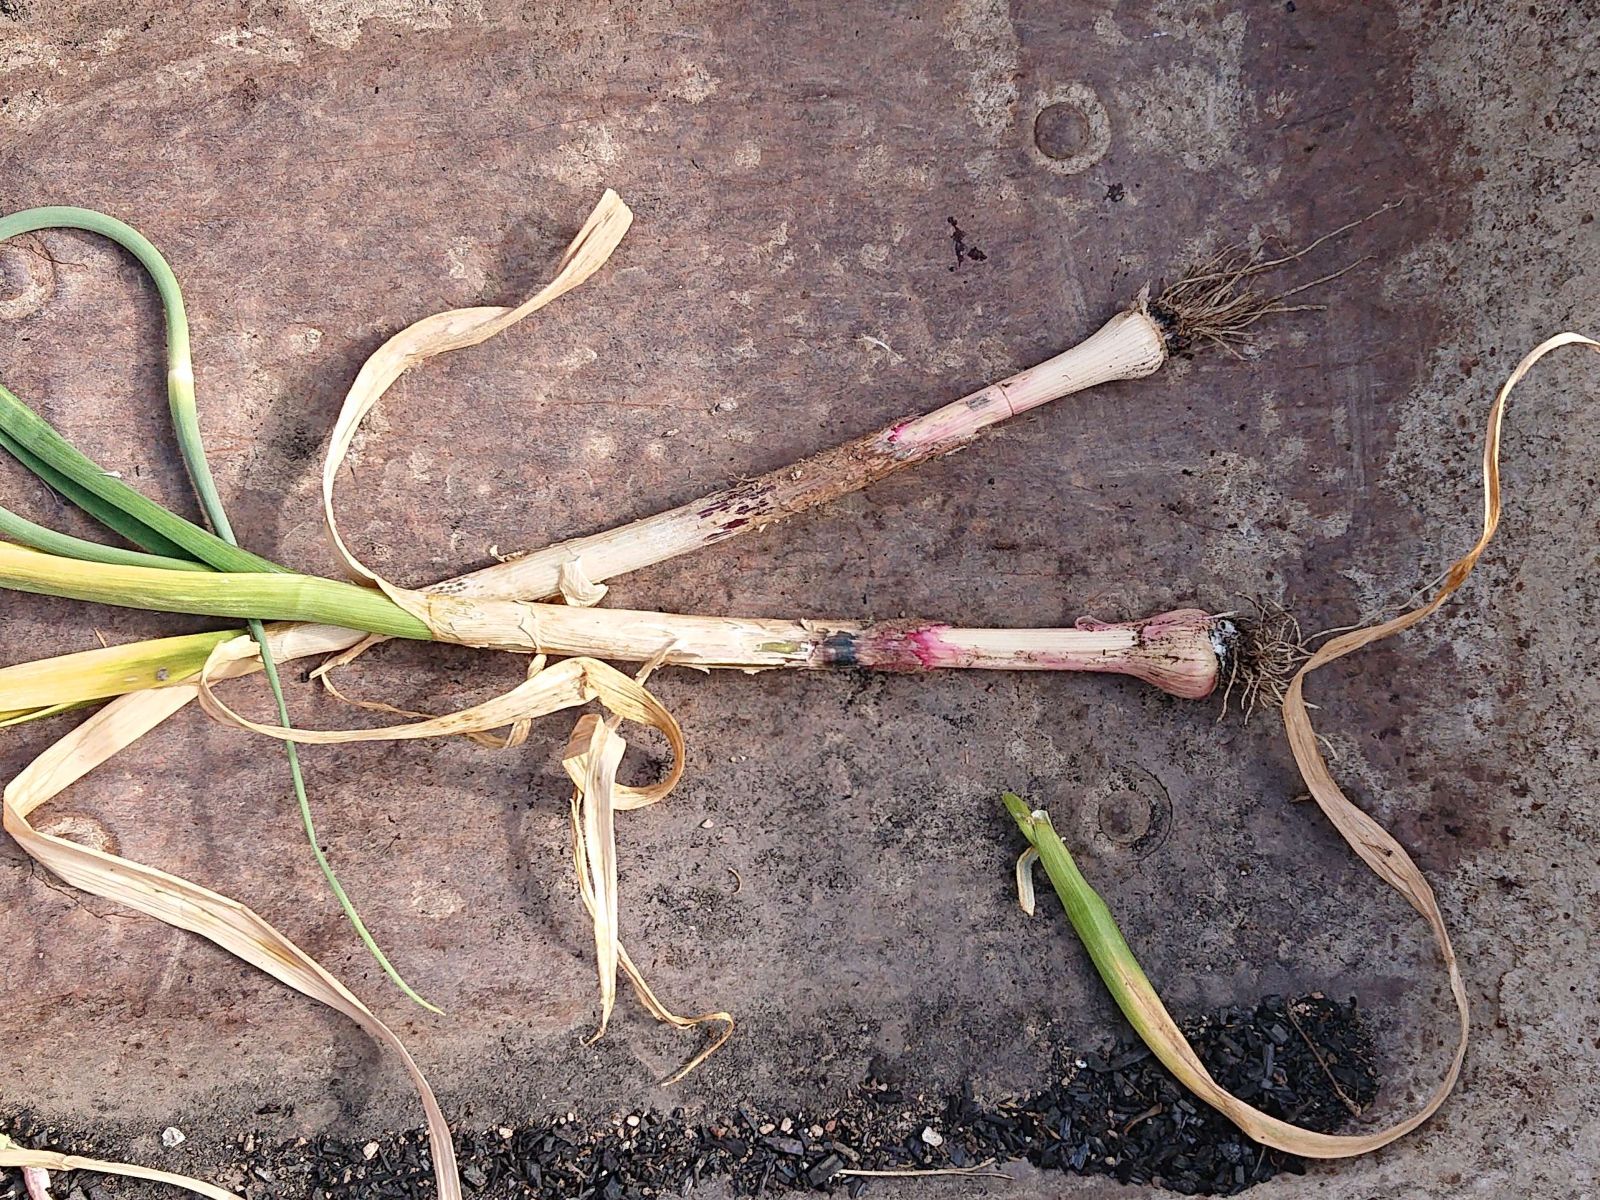
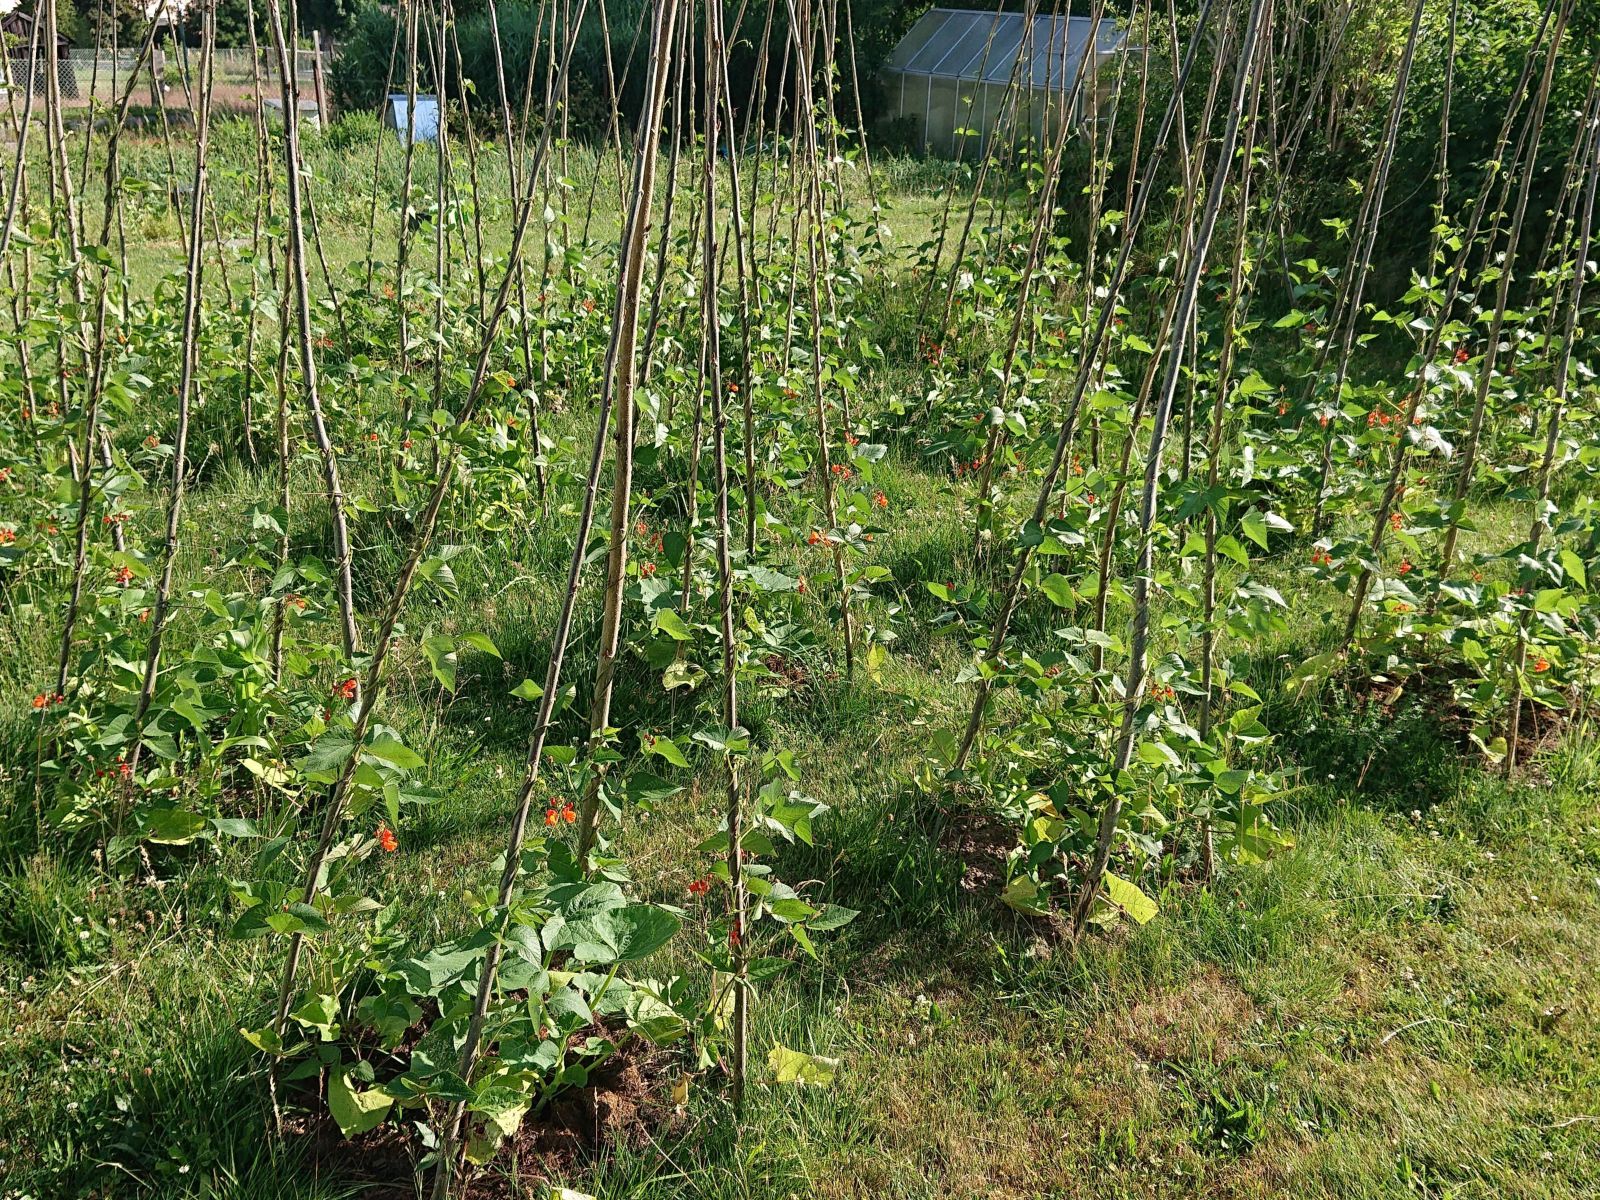
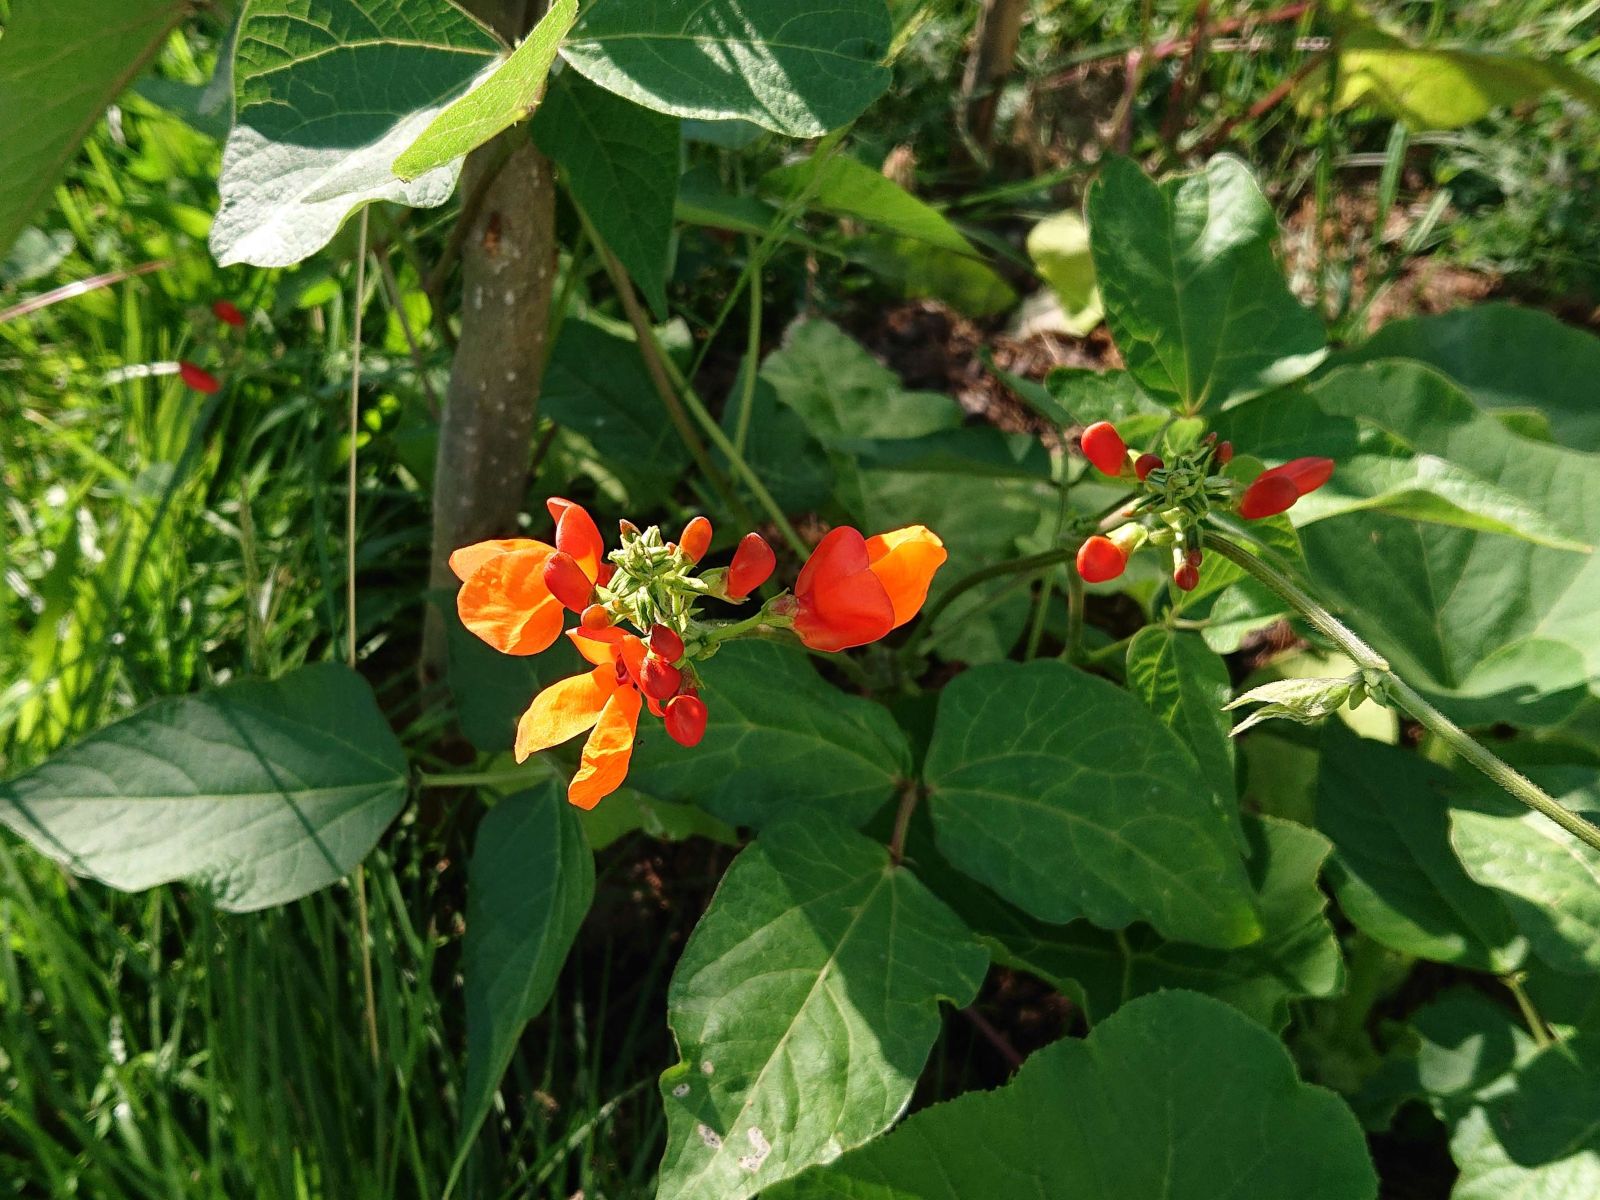
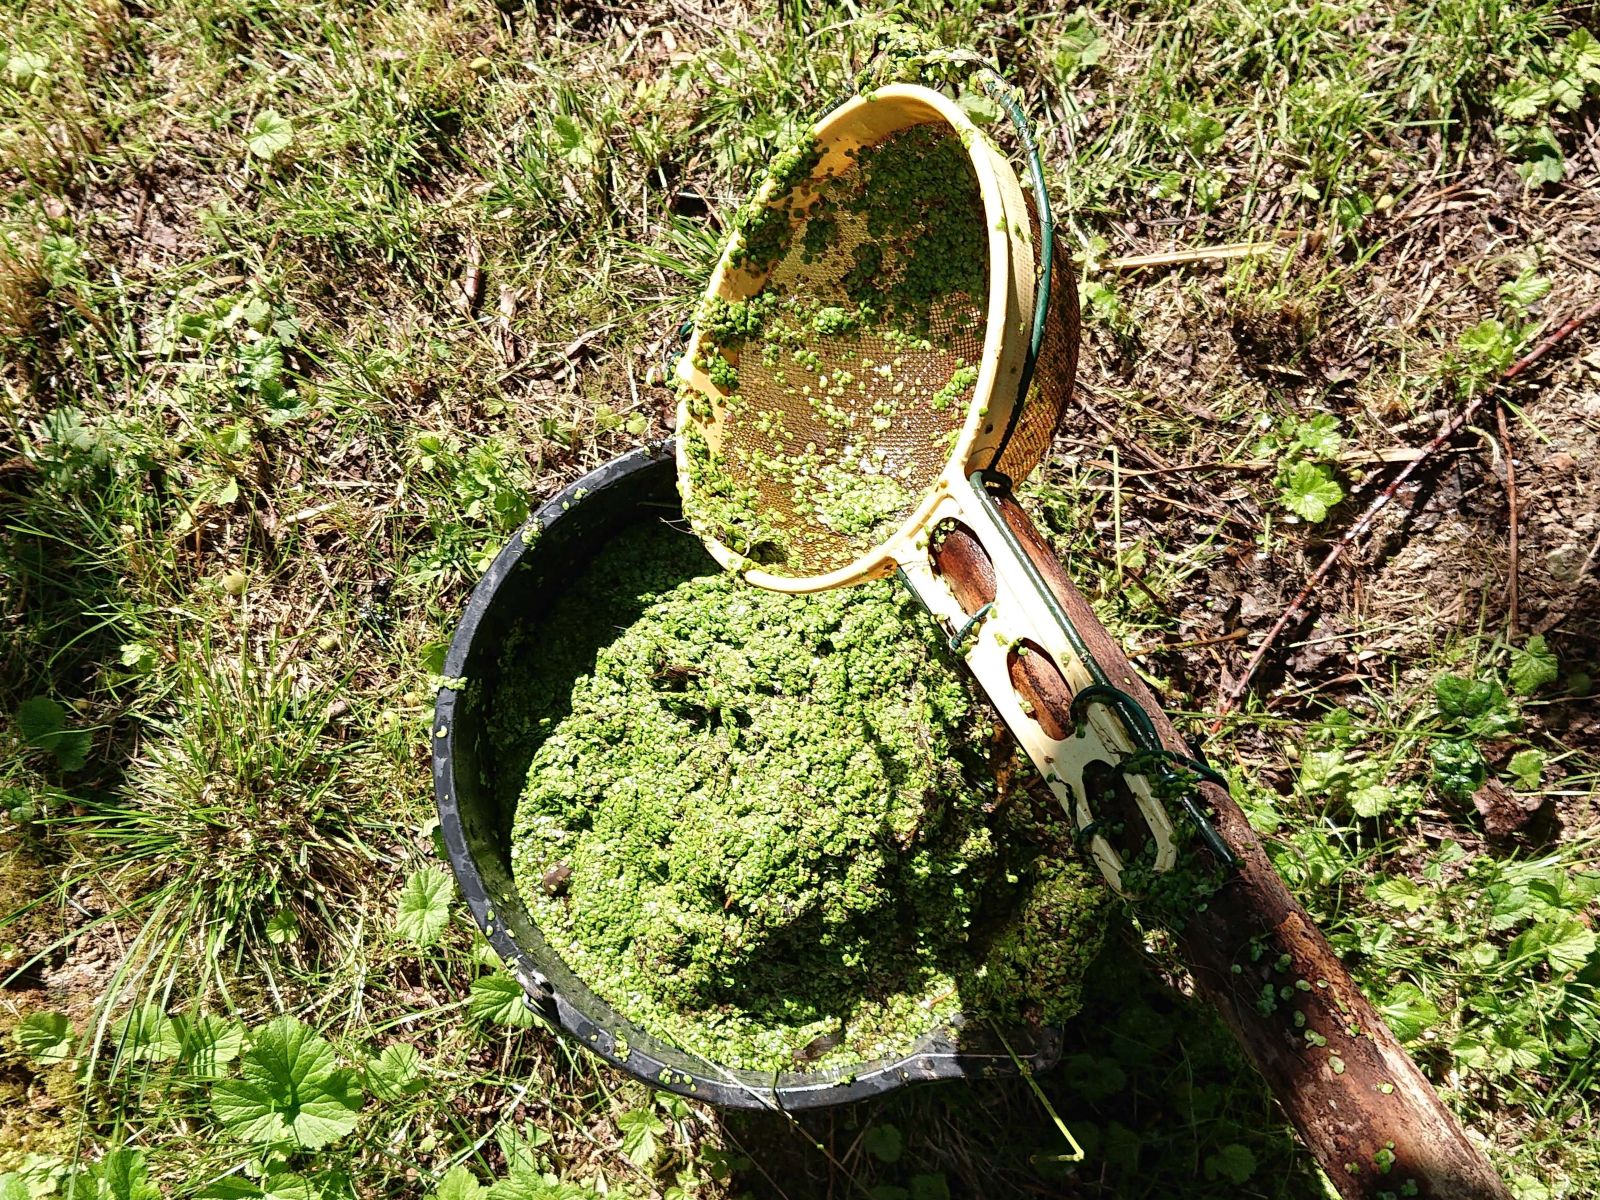
But before I got sick, I managed to harvest all the peas I sown two months ago.

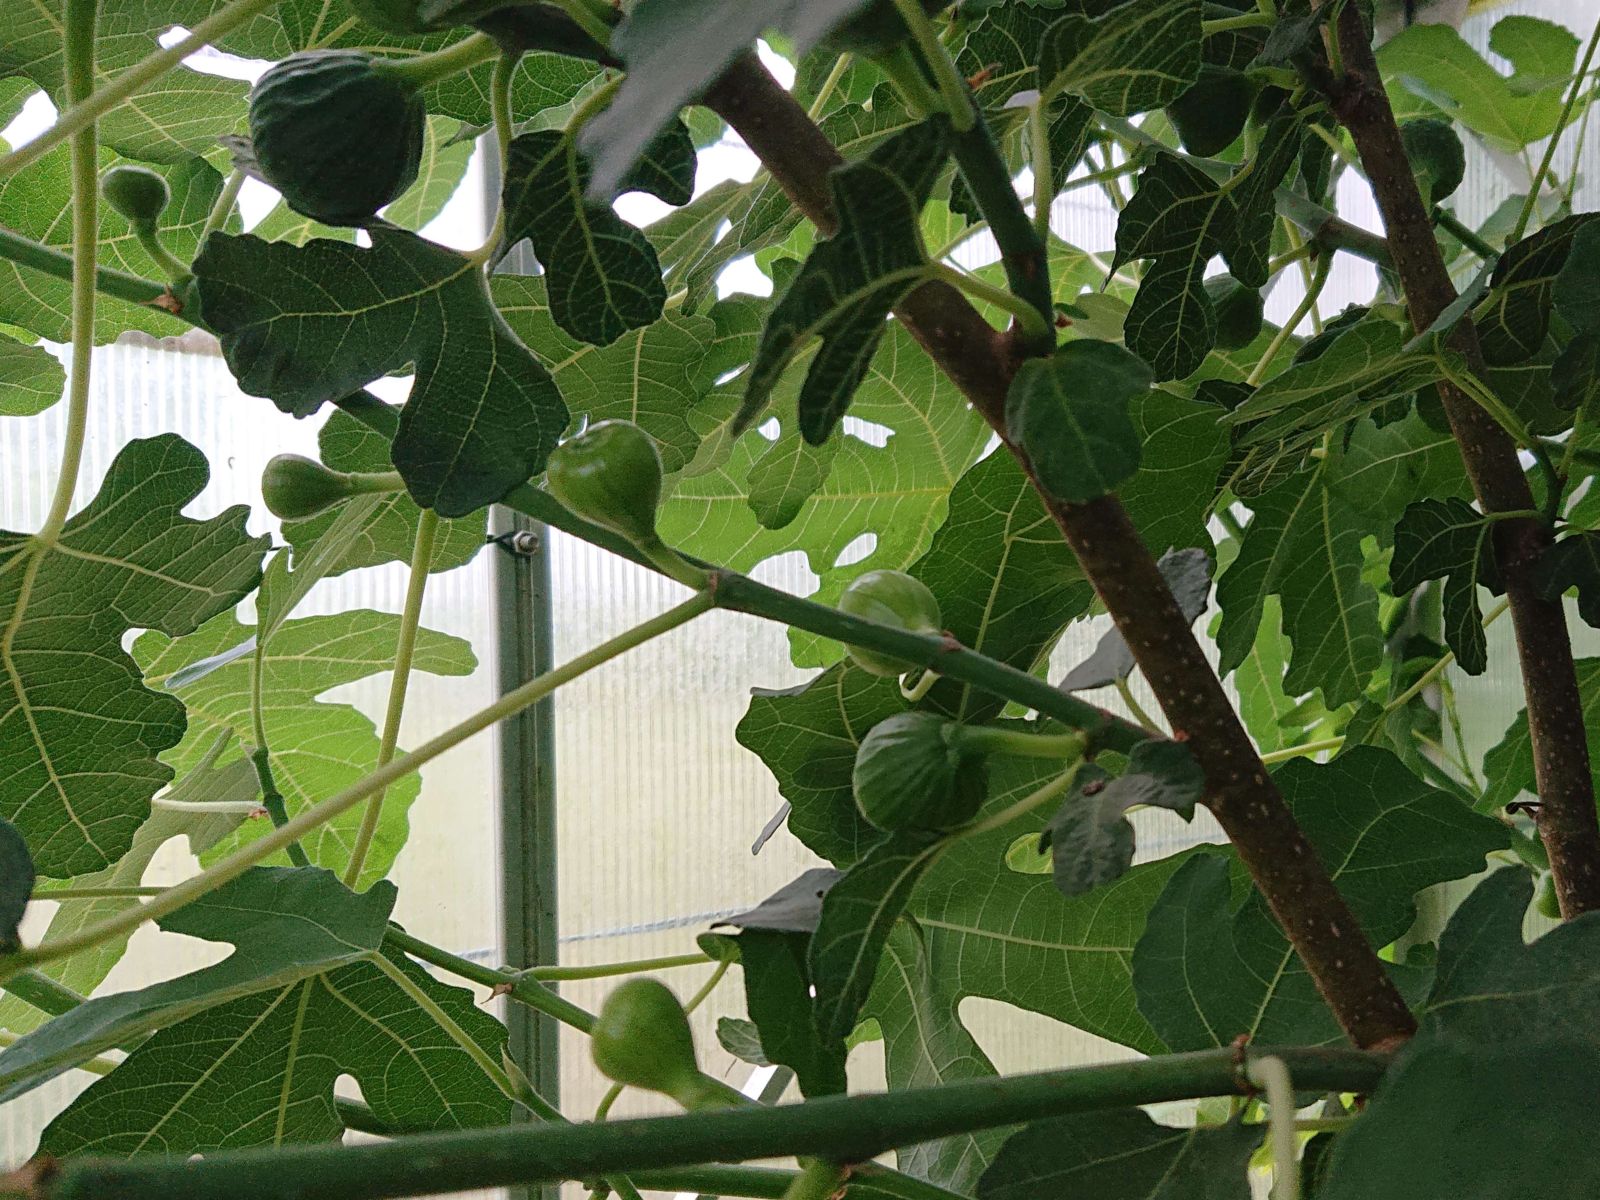
© Charly, all rights reserved. Click for full size.
I did not manage to do it all in one go; I had to spread the work over several days. It was approximately three buckets of pea pods overall, which my parents shelled in the evenings while watching TV.
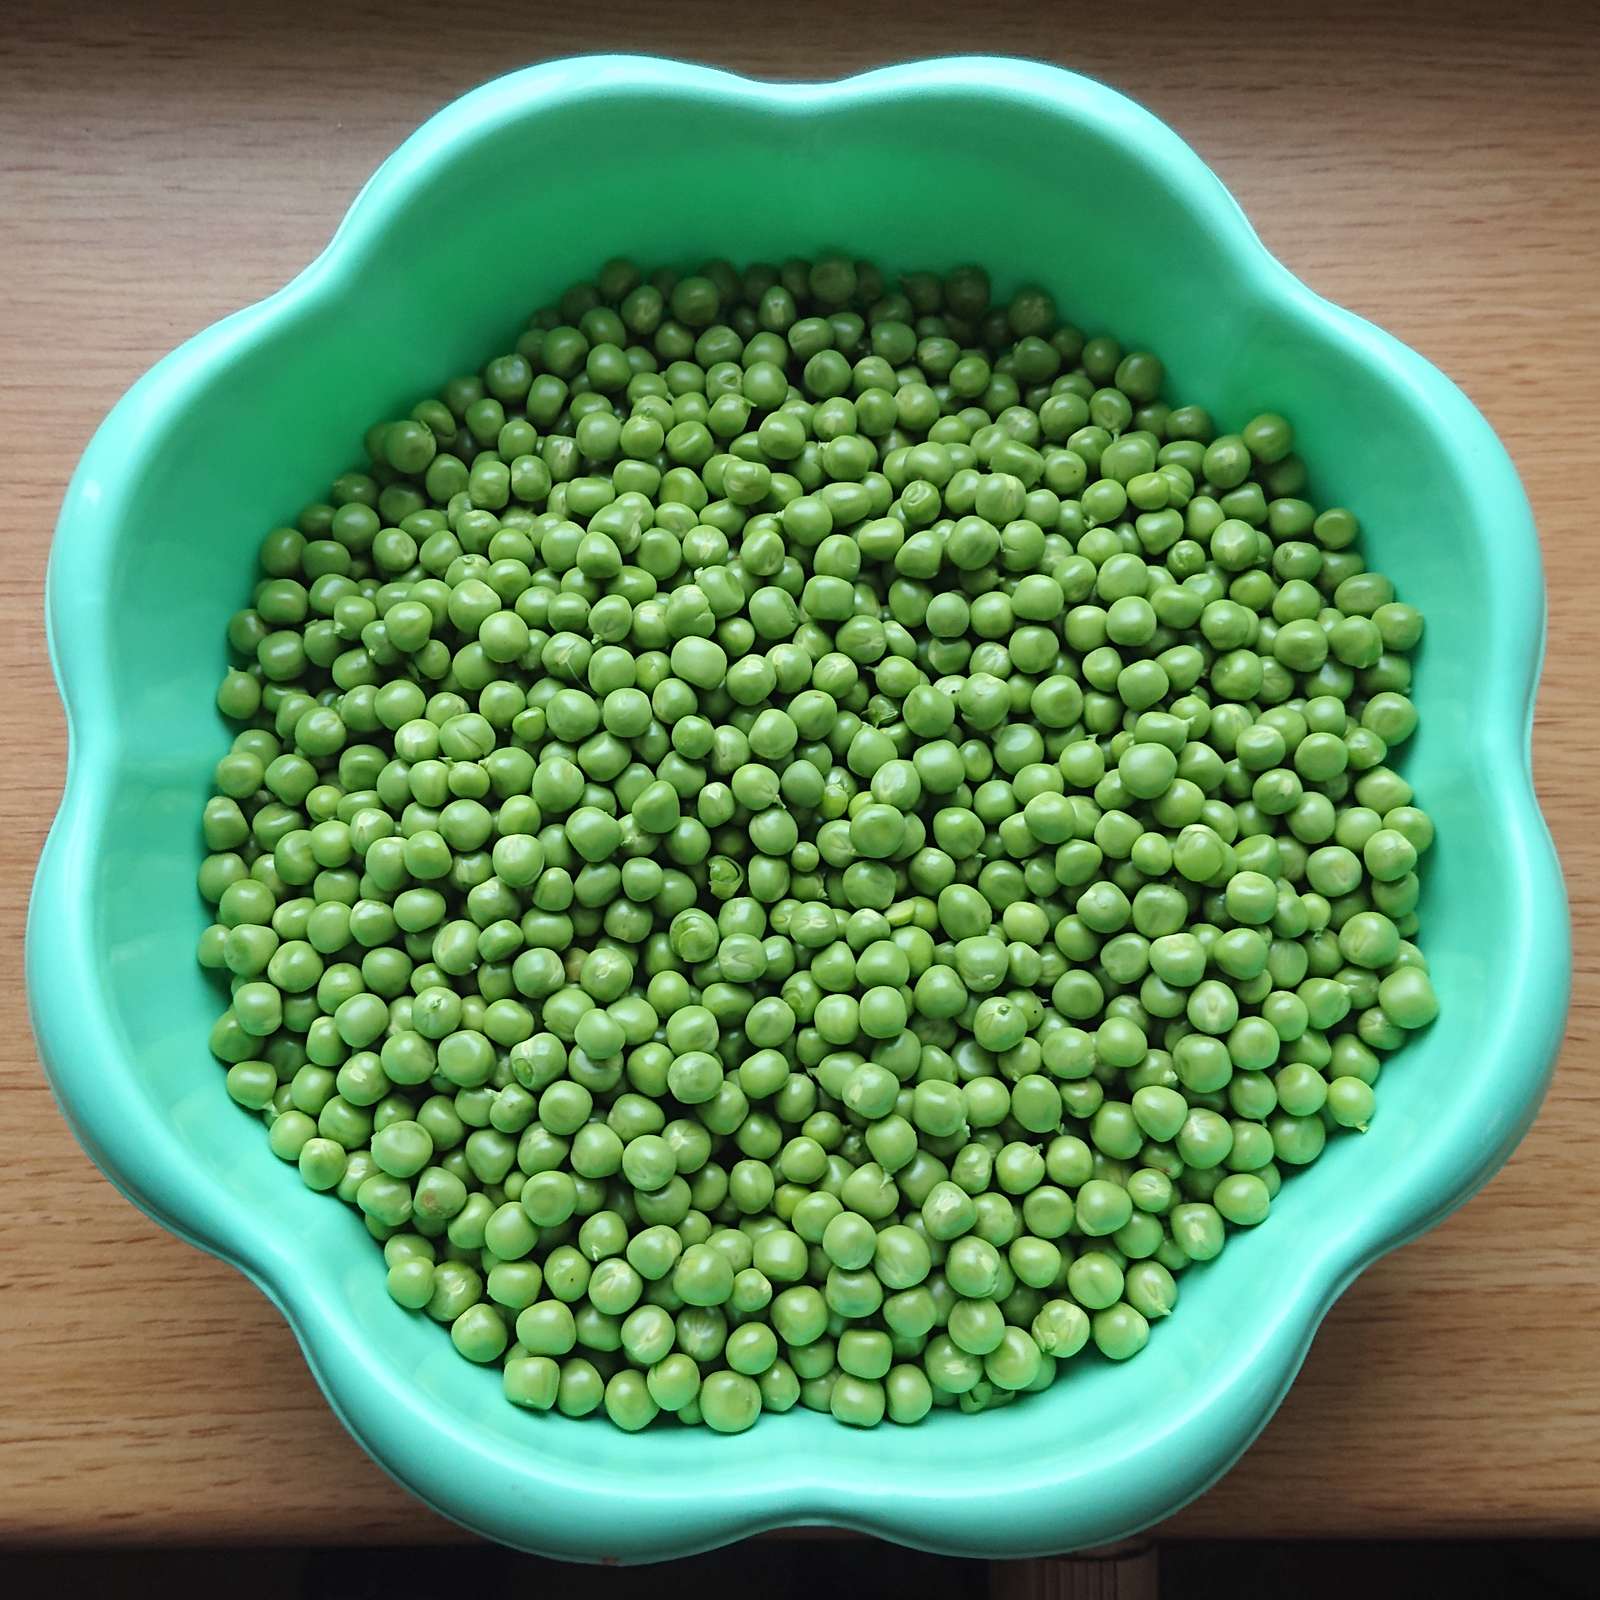
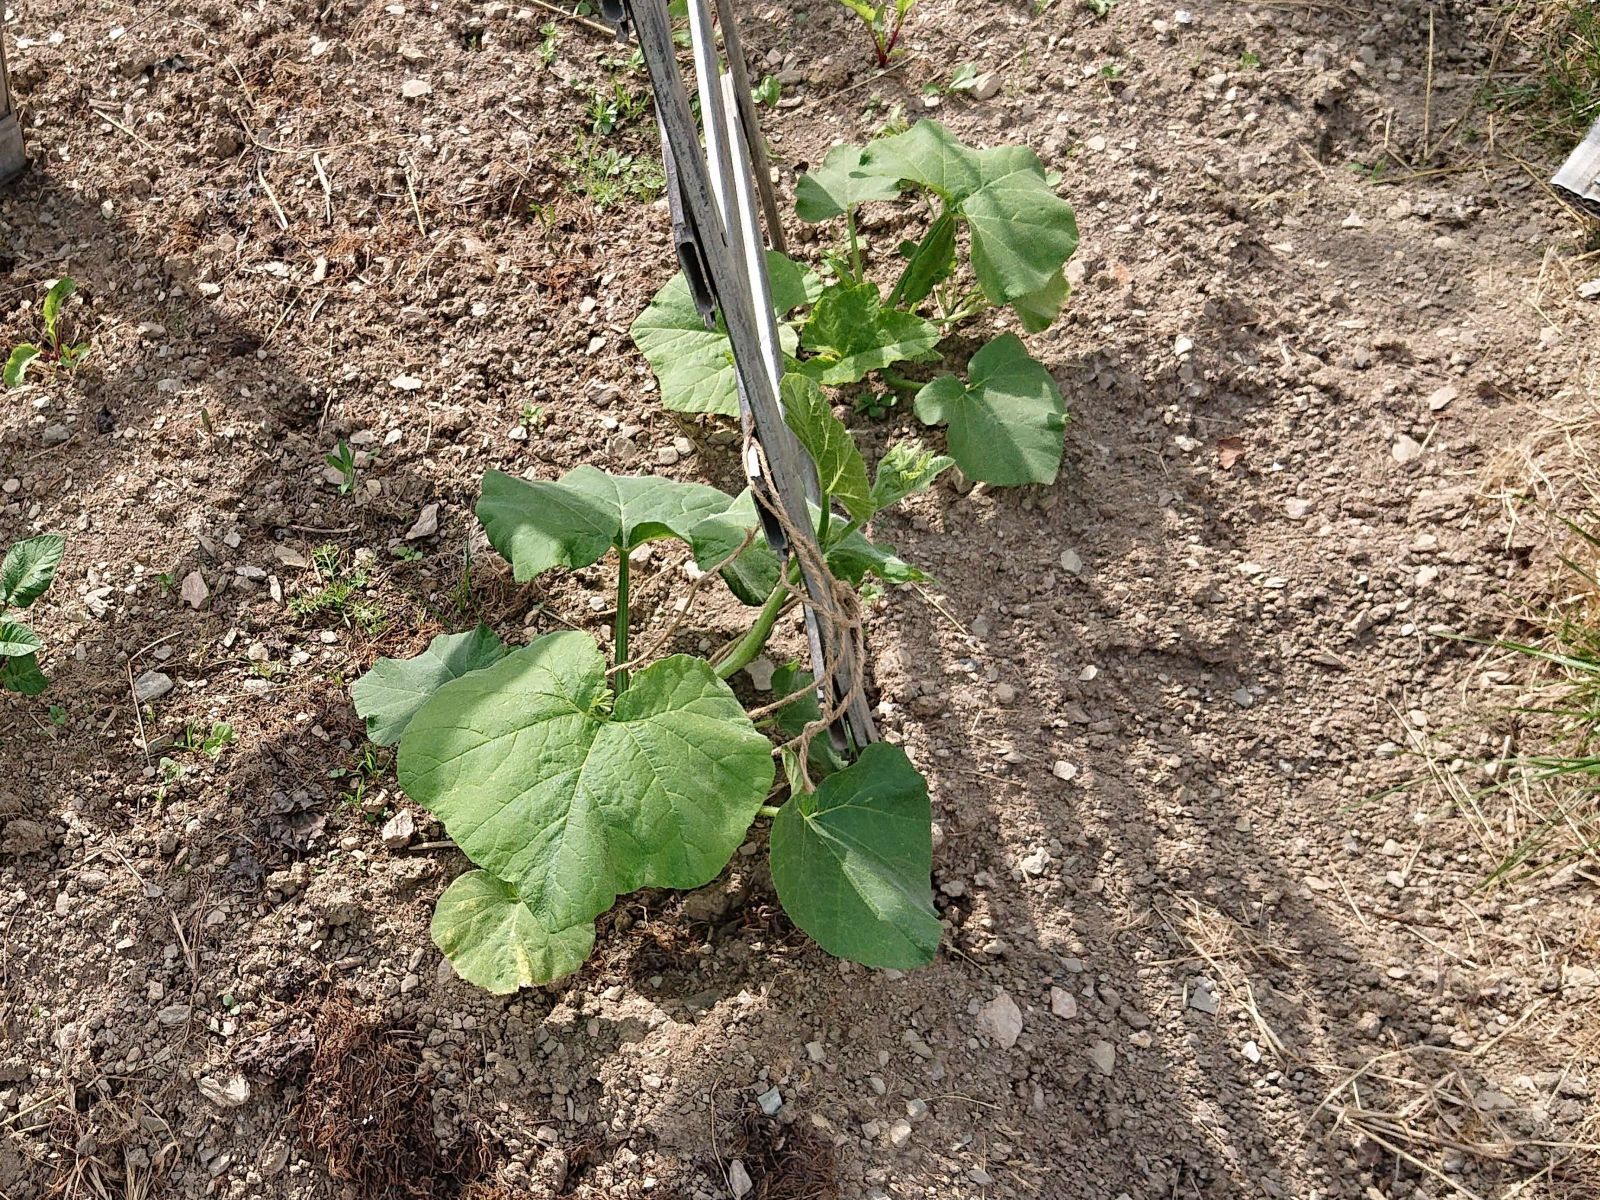
© Charly, all rights reserved. Click for full size.
I got about 4500 g of green peas from 500 g of seeds. About 500 g was lost to voles and drought, but 4500 is still a respectable amount that made the whole endeavour worth it. Now they are in the freezer awaiting further fate. We are still considering whether to keep them there and slowly use them in soups and foods, or to thaw them all and preserve them in jars.
And whilst I was sick, I was able to take a picture of a frequent visitor to my windowsills.
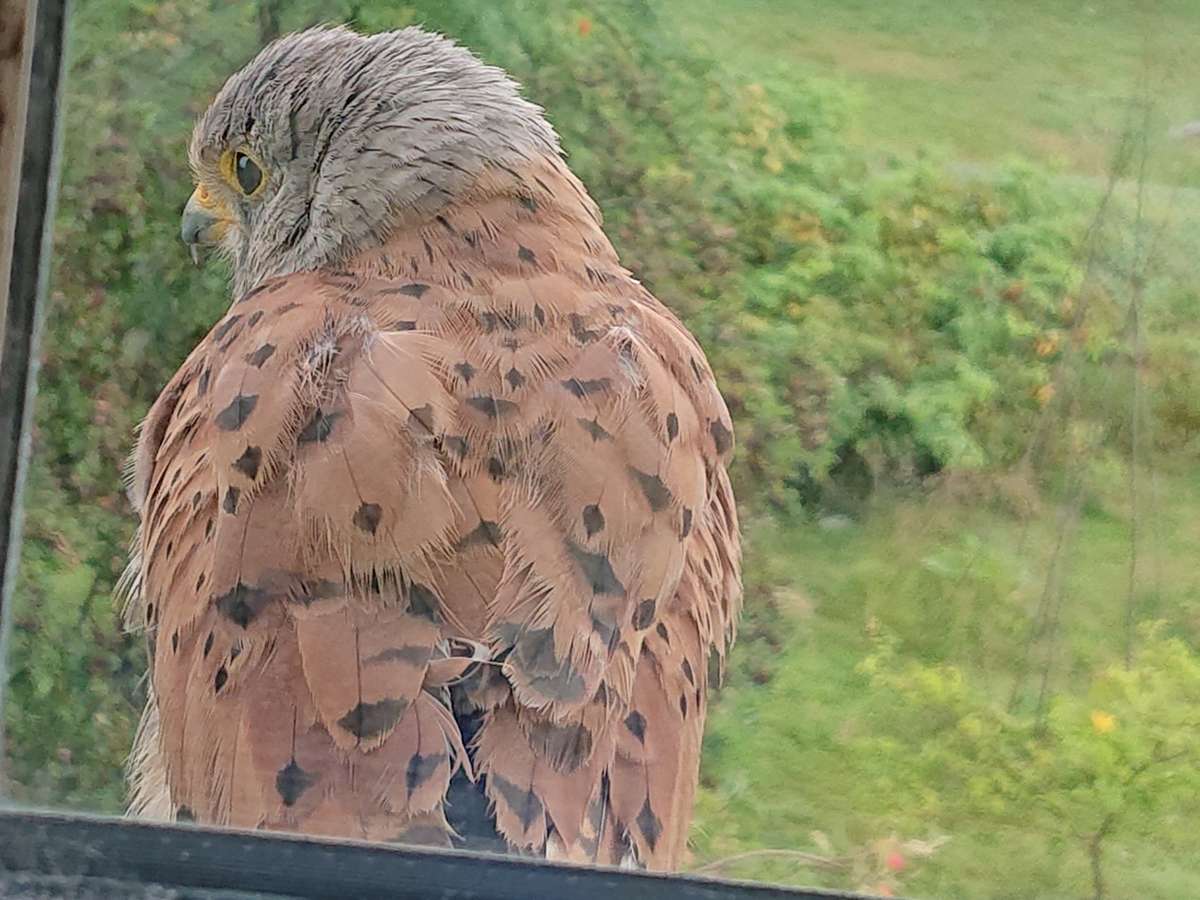
© Charly, all rights reserved. Click for full size.
I hear kestrels chirping all the time, but they are not easy to take a picture of. I am very glad to see them. They are an invaluable vole predator, and if I could convince them to nest nearby, I would.