Making a Rondel Dagger – Interlude 2 – Measuring the Hardness

I am not done with the “Behind the Iron Curtain” series, but right now my mind is way too focused on other things.

One such thing was the conundrum of measuring hardness of steel. There is no way I can spend thousands of € on measuring equipment. And the cheapest “sort of” evaluation of hardness is a set of five needle files that costs over 200,-€. I would rather spend that money on materials, but I do not mind spending a few hours of work.

So yesterday I had my first shot at this issue.

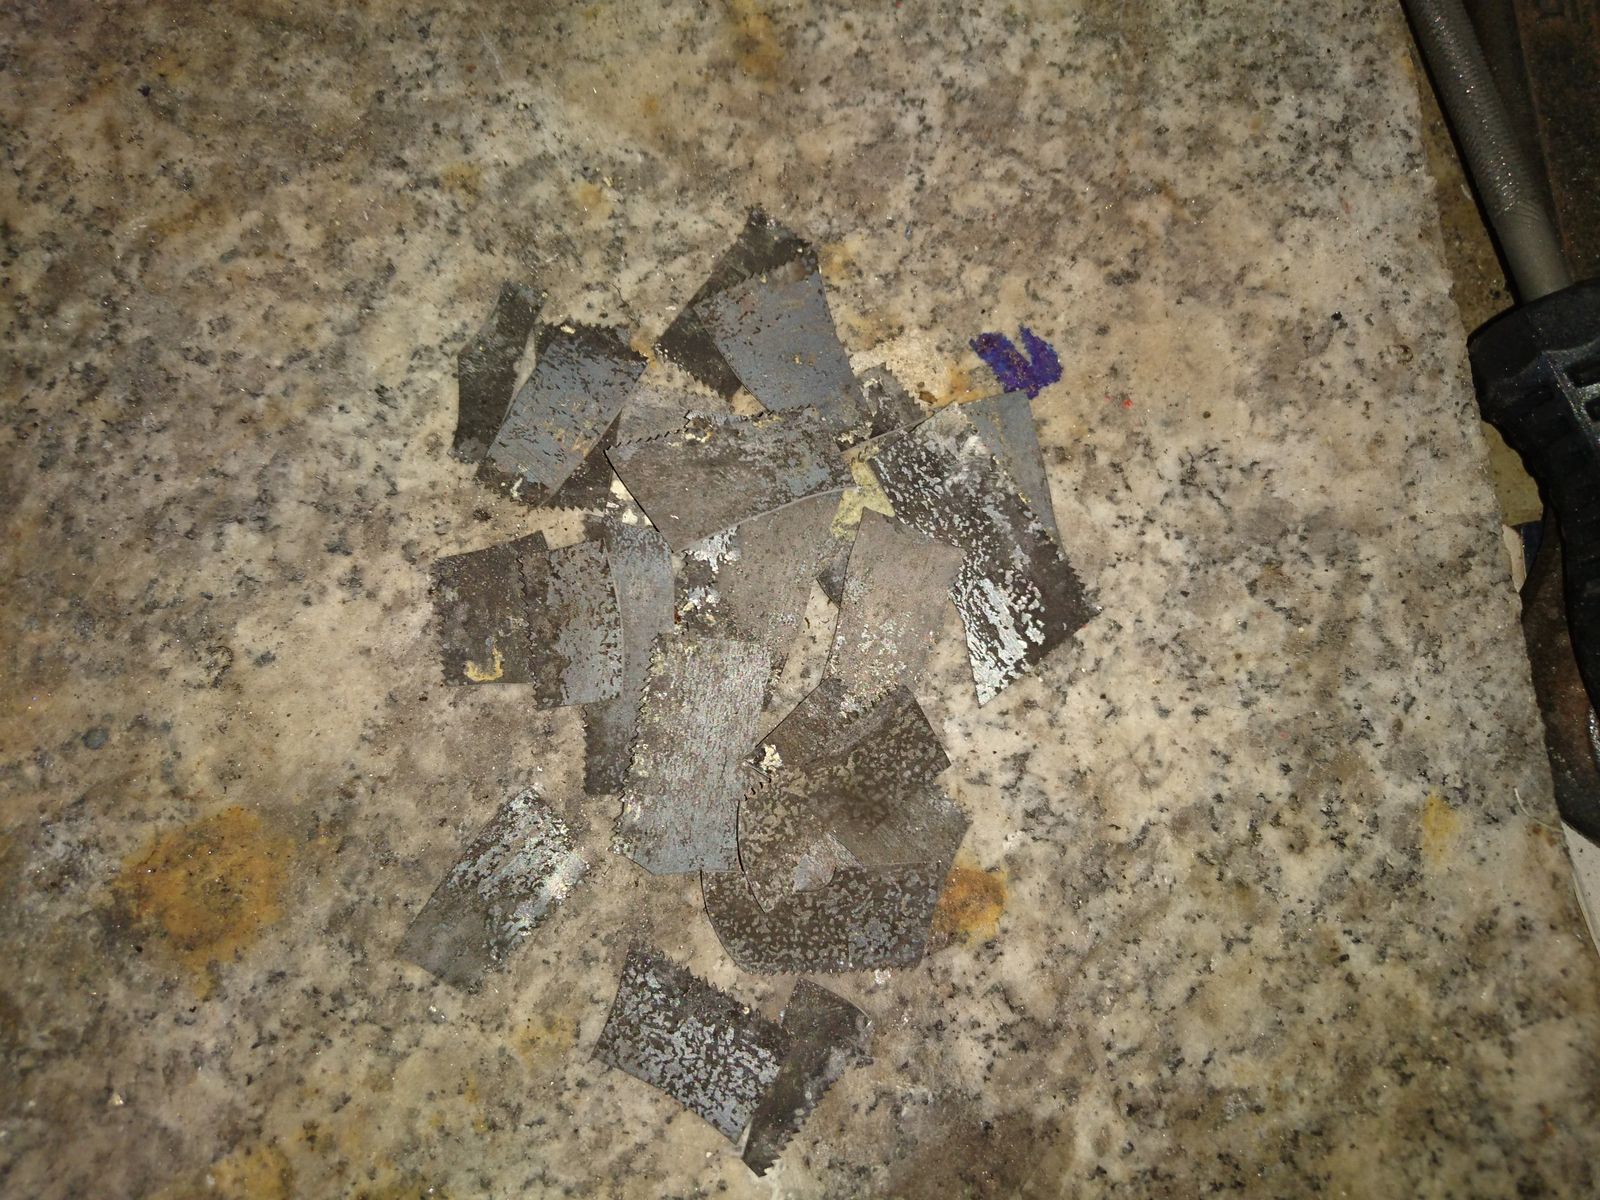
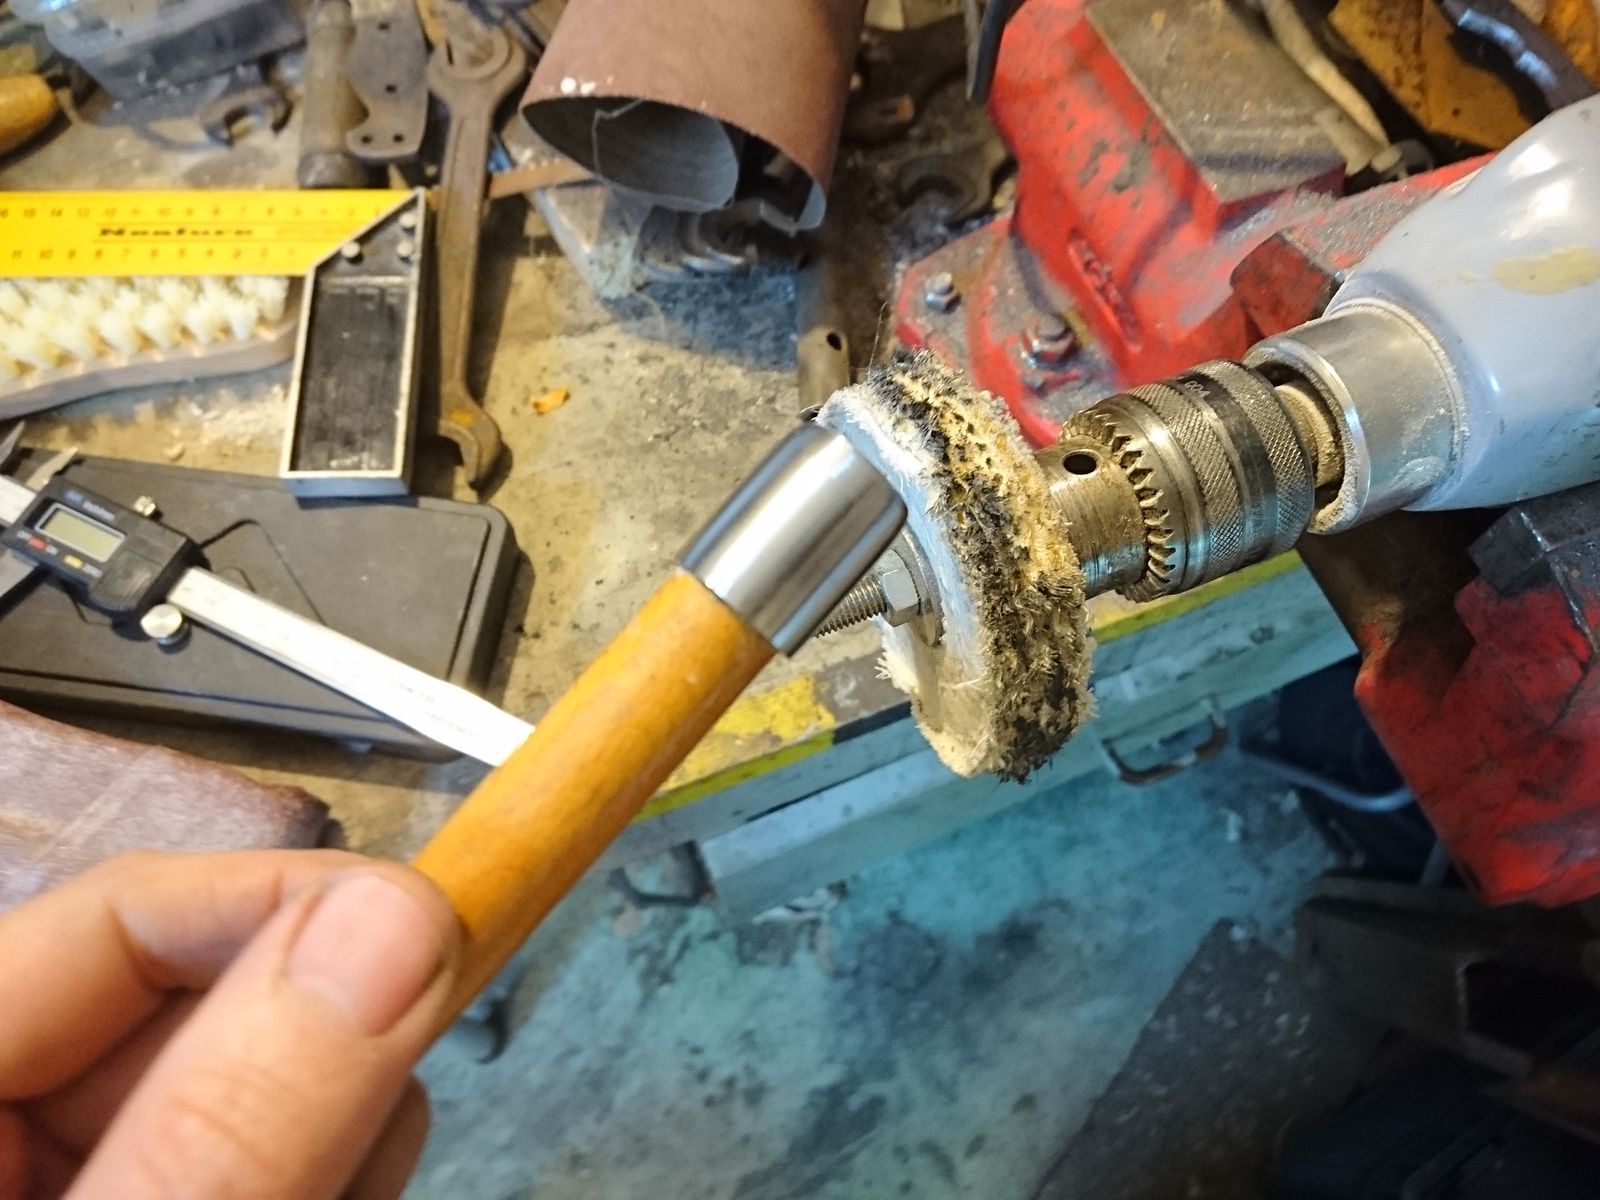
First thing I have done was to find in my scrap pile old and damaged hack saw blade. I have heated it piecemeal with handheld propane torch to orange heat and quenched it in a bucket of water. Since it is uniform thickness, the water does cause no cracking this way and quenches the steel very nicely and without flames or stink.

After quenching each segment I broke it off (it breaks really easy) and proceeded further, untill there was no unhardened steel left. After that I broke all the pieces into much smaller pieces until I had a nice little pile of extra hard steel shards.

These I have dunked straightaway in a pot with about 1 cm of sunflower seed oil and proceeded to my kitchen. There I was heating the oil very slowly to temper the steel whilst measuring the temperature with my IR thermometer. The higher the temperature, the lower the steel hardness, so I had  temperature steps predefined at which I took a few pieces of steel out of the oil bath.

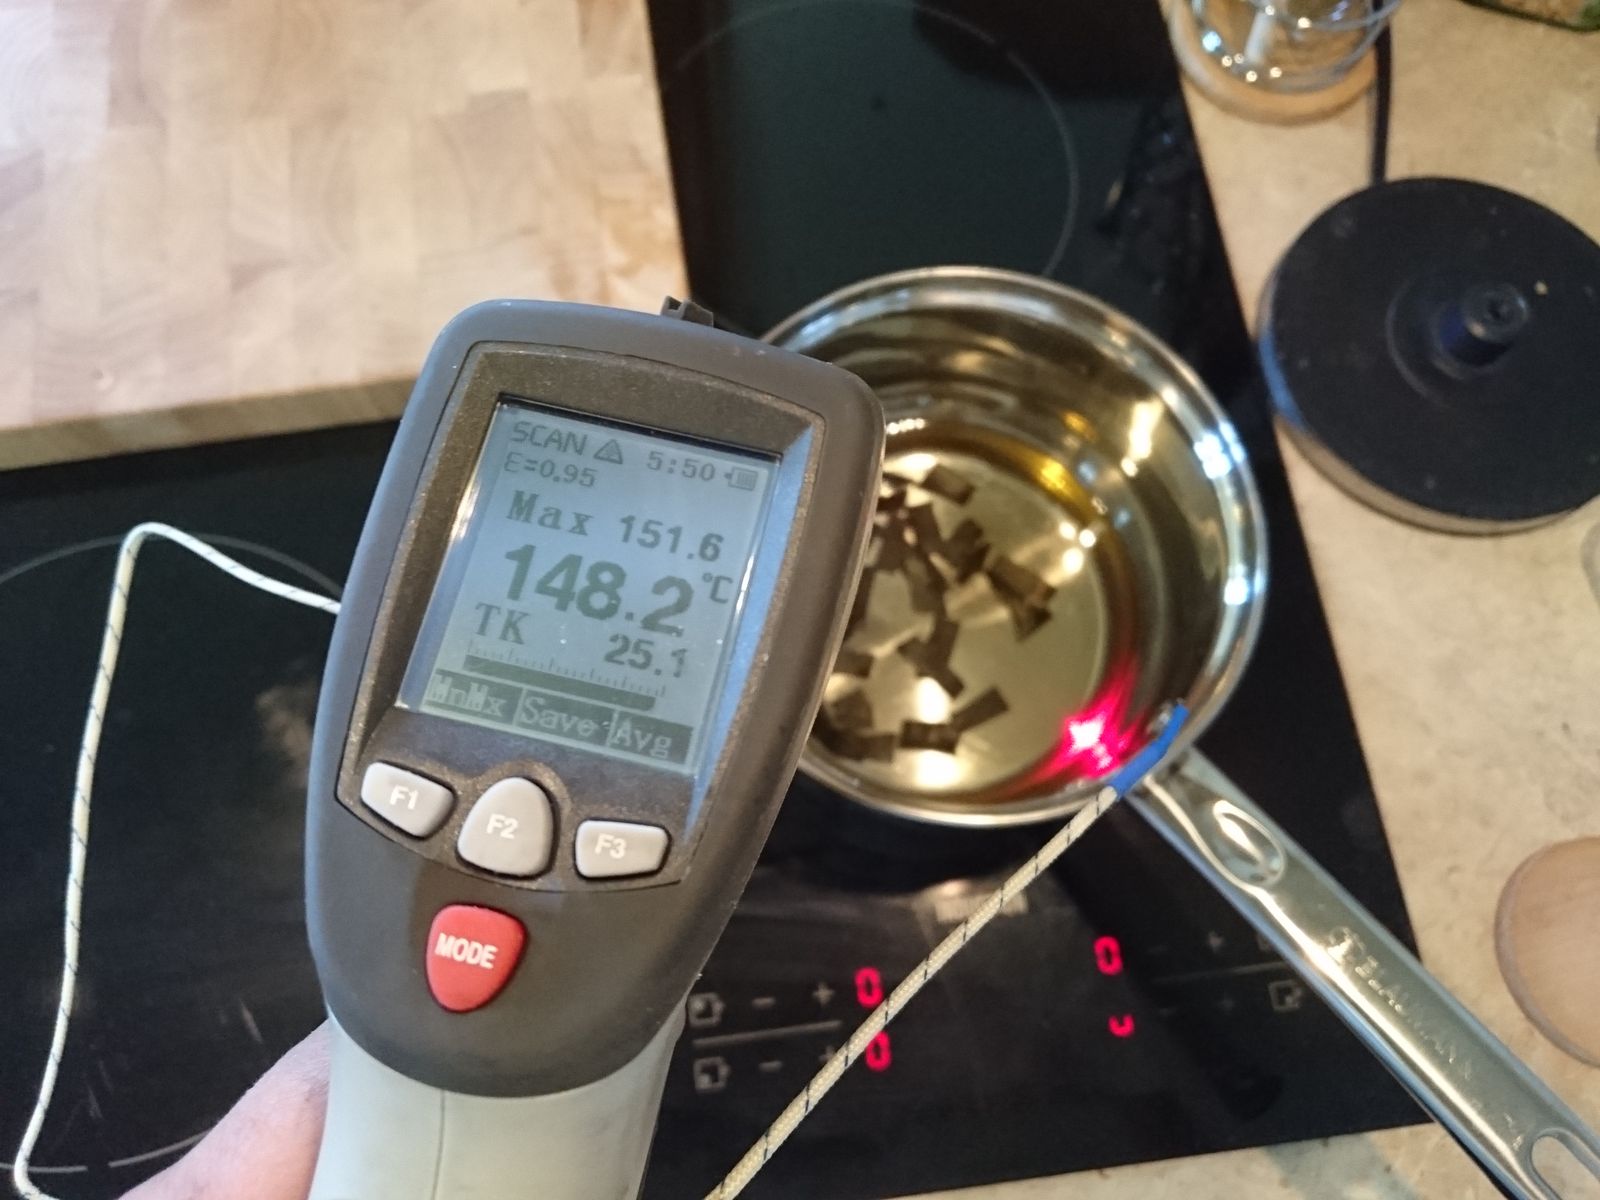
For that I have found this site on the Interwebs that was kind enough to post a table of  hardness versus tempering temperature with not only the silly units the USA uses but also the sensible units the civilised world uses¹, so I could actually understand what temperature ranges we are talking about. I wrote the temperatures from the table on pieces of paper and put them into small receptacles in which I have placed the tempered shards. I did try to hold the temperatures for about 15 minutes, but for a steel this thin that is not completely necessary.

At 260°C I stopped, because after that the oil could ignite, and I made the remaining temperatures on a fireclay brick with handheld torch. For these soft rangers I do not need much precision anyways.

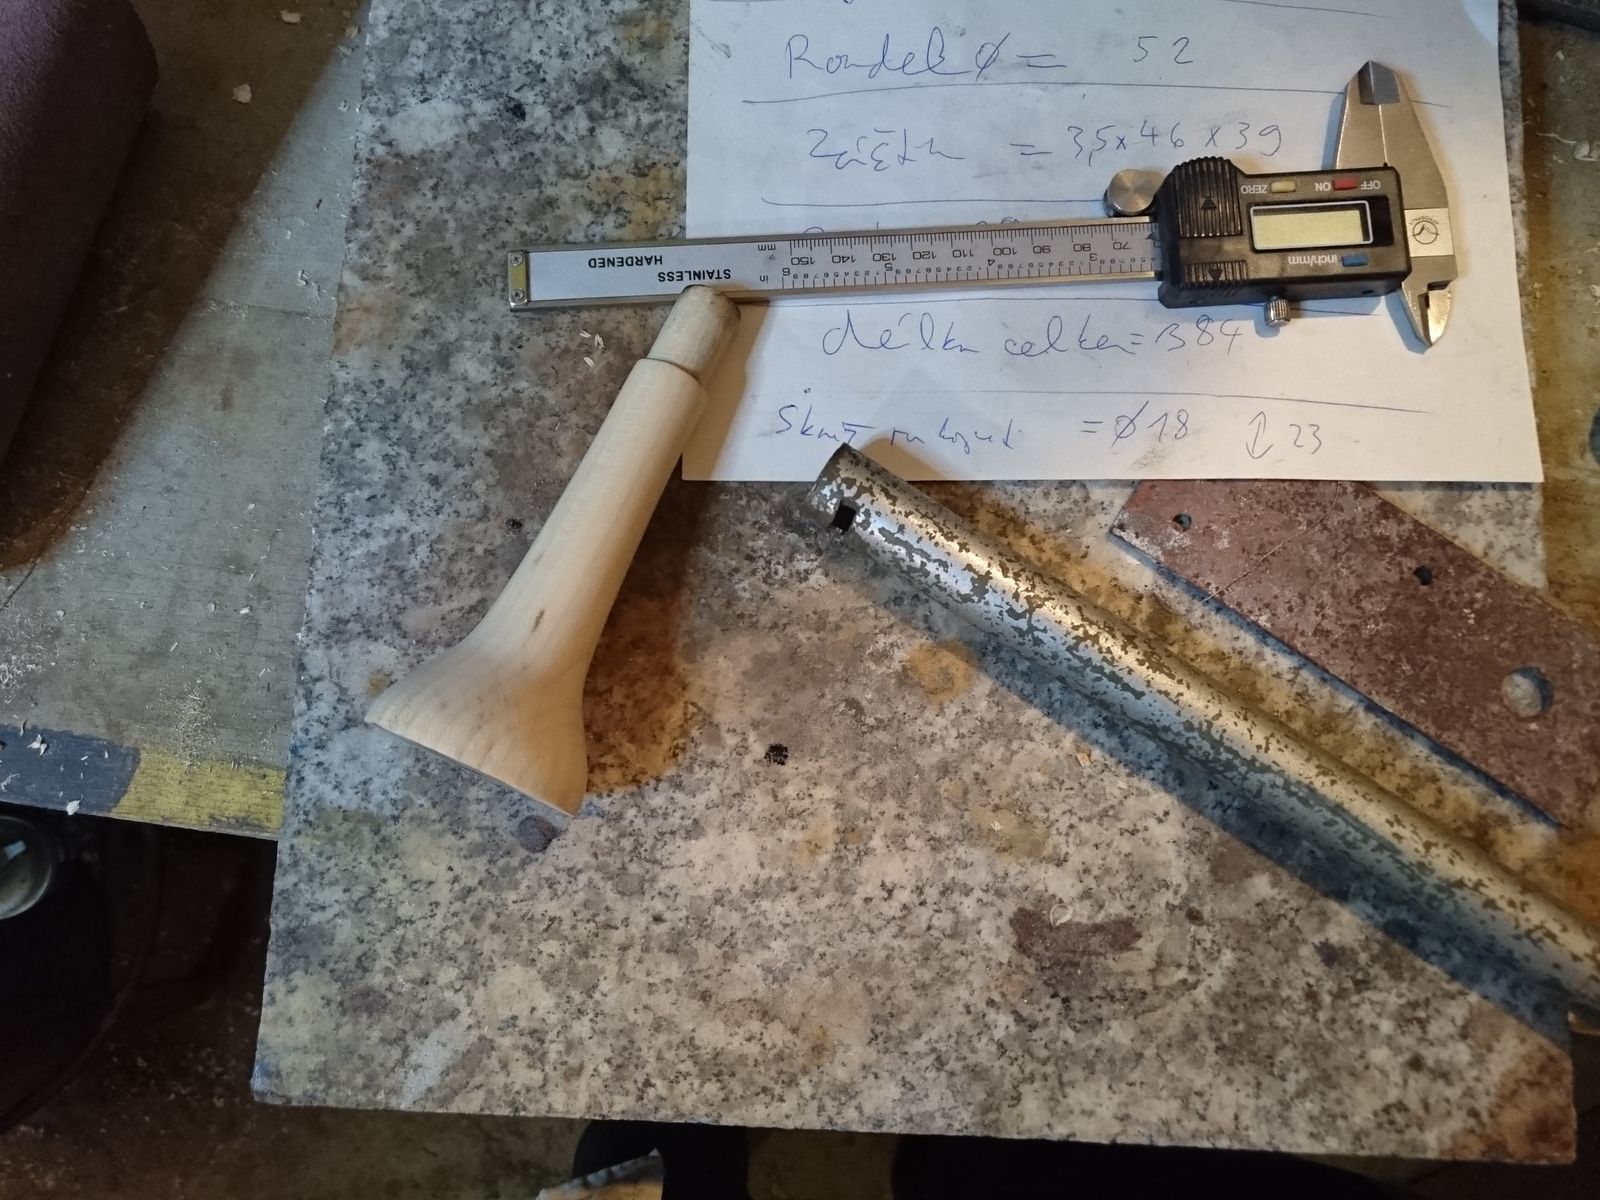
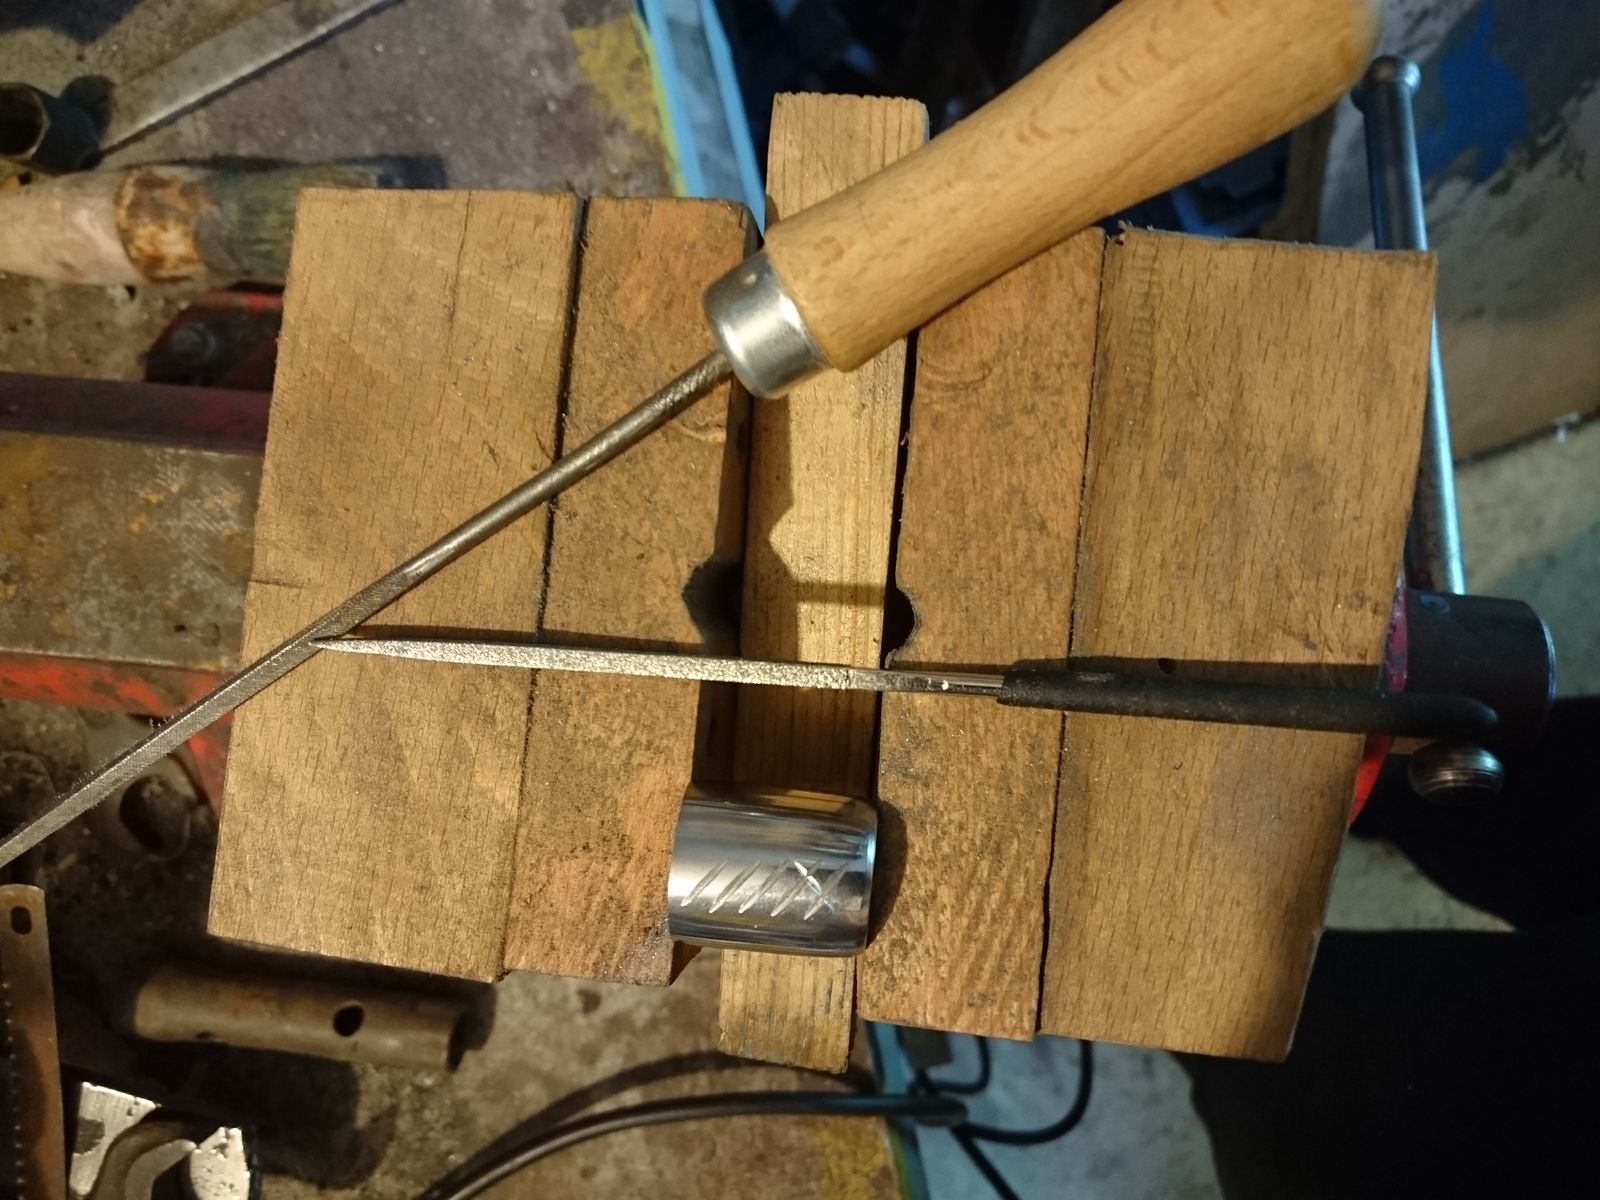
With all the shards tempered and hardened I have cut ten pieces of hardwood from old spokes from my crib.  They are a bit too thick, but I had no wooden dowels of the right thickness in my pile and I did not want to use wood set aside for arrows. I cut a groove in each piece and marked the pieces 1 to 10 with roman numerals (because those are easy to carve with a knife).

After that I glued one shard in each groove with fast healing epoxy. The softest one in the I and the hardest one in X. Once the epoxy has healed, all that was left was to sharpen the shards on my belt grinder and I was done.

I have tried whether the hardness progresses from I to X and it does. 10 is able to scratch everything, I scratches nothing, and each higher number seems to scratch the one below but not the one above. Here they are (one is missing in the picture, I do not know why, how typical of me to miss-lay things in a matter of seconds).

I measured the dagger on the tang where it is hardened but will not be visible later on. VIII scratched, VII almost scratched, VI did not scratch at all. The hardness should be therefore somewhere around 58 HRC. That is hard enough to keep an edge, but not so hard as to shatter or break easily or eat sharpening stones.

As a proof of concept I would call it a definitive success. I have a set of tools that allows me to estimate the hardness of steel from about 40 to 65 HRC. Not with great precision, but well enough to be useful. After I get my hands on some suitable high carbon steel (about 1% is needed) of thickness about 2-3 mm, I will make better ones, chisel-like, with not only a tip to scratch, but also an area to be scratched.

A little backyard scientist project.


1 – I hate that USA insists on using the silly units and infests half the internet with that nonsense. Finding well written articles on the internet that are not in English is difficult and when something is written in English, it is often US-centric. As if USA did not spread enough misery as it is, it has to keep poisoning sciences and engineering with this utter garbage.

Forest Path Statues – Part 1 – Beginning

The location where I spent this spring’s vacation has a very interesting path through the forest – many tree stumps along it are carved into beautiful statues, some somewhat realistic, some completely abstract. I saw an empty truck parked there with link to this website  of  Czech artist Jan Kužel. The style of the statues there corresponds to statues in the forest, so it is reasonable to deduce those statues are at least in part his work. These are done mostly with the use of a chainsaw, which is very impressive.

I checked and double checked and AFAIK Czech Law does not prohibit photographing and sharing of photographs of any art that is permanently displayed on public land with unrestricted access. Which is this case. So the photographs are mine, but the art they are depicting belongs to someone else. I will post only a couple of pictures at a time, because there is a lot of them.

It has begun on a clearing with a simple table and a couple of benches, and a road sign reading “To the Mountains” on the left and “Home” to the right.

©Charly, all rights reserved. Click for full size.

Anatomy Atlas Part 14 – Hand Muscles

Several of my pictures are about hands, one way or the other. I liked drawing hands. Not so dissecting them.

What I said about watching human heads sans skin in formaldehyde being creepy goes doubly so for hands. Mucking around in someones guts left me cold, but dead hands I have found disconcerting. In many aspects a human hand is much more intimate than, not to put a too fine a point on it, genitals. Genitals in a jar are just another organ. A hand is a part of someone’s life in a much more profound way.

©Charly, all rights reserved. Click for full size.

Human hands are a marvel. Their flexibility is nearly unsurpassed in the animal kingdom and they are extremely good in their ability to grasp things ranging from feathers and eggs to sticks and stones. But what people generally do not know is that the strength of the hand does not lie in the muscles in the palm. Palm muscles  only position the fingers and shape the palm, but what curls and straightens the fingers – and thus gives them strength – ale muscles of the forearm, whose tendons go under a series of ligaments to the base of the last digit segment like ropes through pulleys.

I have also found that many people do not realize that the smallest of fingers – the pinky – is essential for strong grip. Without pinky it would be difficult to get a firm grip on a tool or a weapon, be it a hammer or a chisel, an axe or a sword.

The one interesting thing that Professor Kos has mentioned and I remember is the muscle Musculus palmaris longus. This muscle is not present in all people, and in some people it is present only in one hand. Its absence has no ill effect whatsoever, so from evolutionary point of view it seems to be a neutral trait.

The Beautiful Town Idstein – Part 11 – The Brewery

We have finished our day in the town in this beautiful building, that has originally served as a firefighter’s armoury/base or whatever the proper English terminus technicus is. The building has been converted into a brewery and restaurant today, and one that probably has no problem getting enough customers. Luckily we were only two persons so we have managed to get places for dinner.

I am no beer connoisseur, but of course I could not miss this opportunity and I had to drink one here. It was good and refreshing, I would not mind drinking such beer more often.

The restaurant has two storeys and in the lower room is actually the brewery, just behind the counter. Very interesting arrangement that, one that must be very comfortable in the winter, but very uncomfortable in the summer. We were there during a hot spell in the spring and even with the door open wide, the room was very warm inside – the beer was just brewing.

The meal was also very good and if you per chance ever visit Idstein, I can recommend dining at this establishment. Highly recommend. I have eaten my fill and I was sorry that there is only so much one can eat in one go without bursting.


This concludes my irregular series about this beautiful town. As a final goodbye a picture of the same town square that started it, at night before I went to sleep.

©Charly, all rights reserved. Click for full size.

Making a Rondel Dagger – Part 10 – A Bolster and a Guard

Whilst the blade was the most time-consuming part, in a project like this there is still a lot of metalwork to be done. Once the handle is turned, next step is to make a bolster and a guard, and fit all these four parts together. Precision is important here. Not precision as in adhering to measurements from a drawing, but precision of how the parts fit together. I have made myself a set of measurement from the game 3D model that I aim to get near to, but I will not fuss about getting them exactly.

The bolster I have made from a piece of pipe of unknown origin that has almost the exact diameter that I actually want to have. It is also completely free of rust, which has made me suspicious whether it is not stainless steel. No matter, I have simply cut off a piece and polished it.

I did not polish it on the belt grinder all the way through the finest belts, but I stopped at around Trizact A16 and I went straight tot he buffer after that. Only I did not use the felt wheel straightaway, but a coarse sisal one with coarse polishing paste, then a felt wheel with medium polishing paste, then felt with fine polishing paste and finally felt wheel with jeweler’s rouge.

In order to be able to work with the piece on the buffer safely I have hammered it on a round dowel. During the polishing I took care to turn it in different angles against the wheel in order to get slightly satin surface – buffing in one direction only makes mirror polish and I did not want that.

The bolster is not completely round, but very slightly oval. I wanted to be able to feel the edge alignment of the dagger when held in bare hand. To further help with this I have also filed a fine grid of grooves on each side of the bolster. With that done, I could affix it to the handle. For that I have coated the relevant part with hot hide glue, stuck the bolster on there and hammered a few wooden splinters between the bolster and the handle to center it properly and to hold it in place.

With that done I had to shape the tang on the belt grinder so it was continuously ever so slightly smaller than the blade and square the shoulders (those were round prior to hardening because a sharp edge could lead to the tang breaking of in quench). To protect it from scratches I have covered the whole blade with masking tape. When the tang was shaped, I have affixed the blade in the vice with additional protection of a wet rug, and I shaped the hole in the handle to fit by the previously shown burning technique. I had to be careful for the heat to not overheat the blade base, but to be hot far enough to get a fit where the bolster was mere 3 mm from it.

Next piece in this jigsaw was the guard. I wanted that to be between 3 to 3,5 mm thick, but I had no suitable piece of steel that was not pitted too much. In the end I had to cut a piece of a structural steel V profile that was way too thick. I have spent rather more time on truing it and grinding it down to desired thickness than I wished to. Unlike for the bolster, I had no good and comfortable way to hold on that small flat piece of steel safely, so I nearly ground my finger tips off. Luckily only fingernails got slightly chewed and I have learned how to do this safely later on, when I was polishing it. I have to finish the supporting table for my belt grinder in order to do these finicky things.

When ground to slightly above the desired thickness, I have punched the centre and drawn the design of the guard. I like to make my own tools, and I have indeed made my drawing needle, but I wimped out and bought the compass. The work required to make it might be fun, but it would be way too much time that would definitively be spent better elsewhere.

Next step I have just drilled a 4 mm hole in the center, 0,5 mm smaller than the maximum width of the tang at the blade base. In order to transfer the outline of the blade base onto the steel I have poked a hole with the tang into a piece of paper – Lipton tea box was the right thickness and firmness.

Cutting the hole for the tang I have done with a fret saw. In the past I broke a lot of blades whilst doing this, but it seems I have finally learned how to do it properly this time. I broke none and it was done in lickety-split. Note the aluminium covers for the vice jaws. These are important, because I need the piece to be held firmly and safely, but I do not wish the hardened jaws of the vice damage the soft steel of the worked piece.

After cutting the rough outline of the hole came of course the most difficult part – fitting and shaping the hole to fit the tang precisely. This took the better part of an hour with fine and diamond files, and another hour or so the final shaping and polishing of the piece to the same finish as the bolster.

Here you can see the face of the guard. The other side, facing the hand, has rounded edges. I was thinking about doing that, then I was thinking about doing both sides flat and in the end I had no choice because before I figured out how to polish it properly, my hand slipped and I chamfered an edge that I did not want to chamfer. I was lucky – the result is comfortable even against bare hand and it looks good. I might however take some more time for polishing this piece. A few hand courses with coarse hematite might be needed, right now it shines a bit like a bare arse among the bushes.

Here you can see the parts assembled. Of course there is a lot of masking tape covering all the bits that I do not want to get dirty or scratched, and most of the focus is on the mess that is my workbench. But you would not expect me to show you pretty pictures at this stage, would you?

Lilac Potato Blossom

Some potatoes have lilac colored blossoms, I do not know why. It does not seem to be entirely dependent on which variety it is, since there are both white and lilac in one row and that row allegedly contains only one variety. My suspicion is however that my dad mixed up the tubers inadvertently and that the lilac blossoms are those from the red potatoes (I do not know the exact variety we bought this year).

©Charly, all rights reserved. Click for full size.

Anatomy Atlas Part 13 – Facial muscles

Looking at preserved human heads in formaldehyde was not one of the most enjoyable experiences  during my studies. One gets accustomed to pretty much anything but looking at someone’s actual face with removed skin is very disconcerting.

©Charly, all rights reserved. Click for full size.

Drawing faces is one area where my skill is seriously lacking. I do not have problem recognizing people or remembering their faces, but I have great trouble picturing or recalling human face in my mind, and as a consequence I have trouble drawing it. Even when my drawing skills were at their best, I would not be able to draw an identikit. I also have trouble describing people verbally, there is some disconnect in my head between recognizing someone and remembering how they look like. I can be way over my head in love with a person, yet I would not be able to tel the color of her eyes unless I make conscious and targeted effort to remember it.

Regarding this the interesting experience is not the study of anatomy, but the study that I attempted afterward – study of arts. During the practical part of admission exams we were given a bust of Goethe to draw and I broke cold sweat. I would prefer to draw anything else but a human face.

I have passed, but only just. Therefore I could not enlist in my preferred program because It filled with people with much better scores, and I had to settle in my secondary choice. That was in the end one of the reasons why I abandoned these studies after one year, respectively that has made the inevitable decision a lot easier.