It was cold outside (well duh!, it’s winter), I did not want to heat the workshop and I did not feel particularly well either, so what little work I have done was indoors with leather.
First, do you remember that mobile phone I had to repair nearly three years ago? My mother’s phone gave up the ghost so we have decided that she will try whether she can work with a smartphone, so I gave it to her.
But the old folding case was disintegrating (purely from age, it was obviously not made to last, it started to crumble despite spending most of the last two years in a drawer). Thus I have decided to make her a leather one. I could have done a better job, if ever I have to do this again, I will know better. It is a very thin leather and it deformed around the edges a bit and I should have left the folding spine a tiny bit wider. But it works and she likes it.
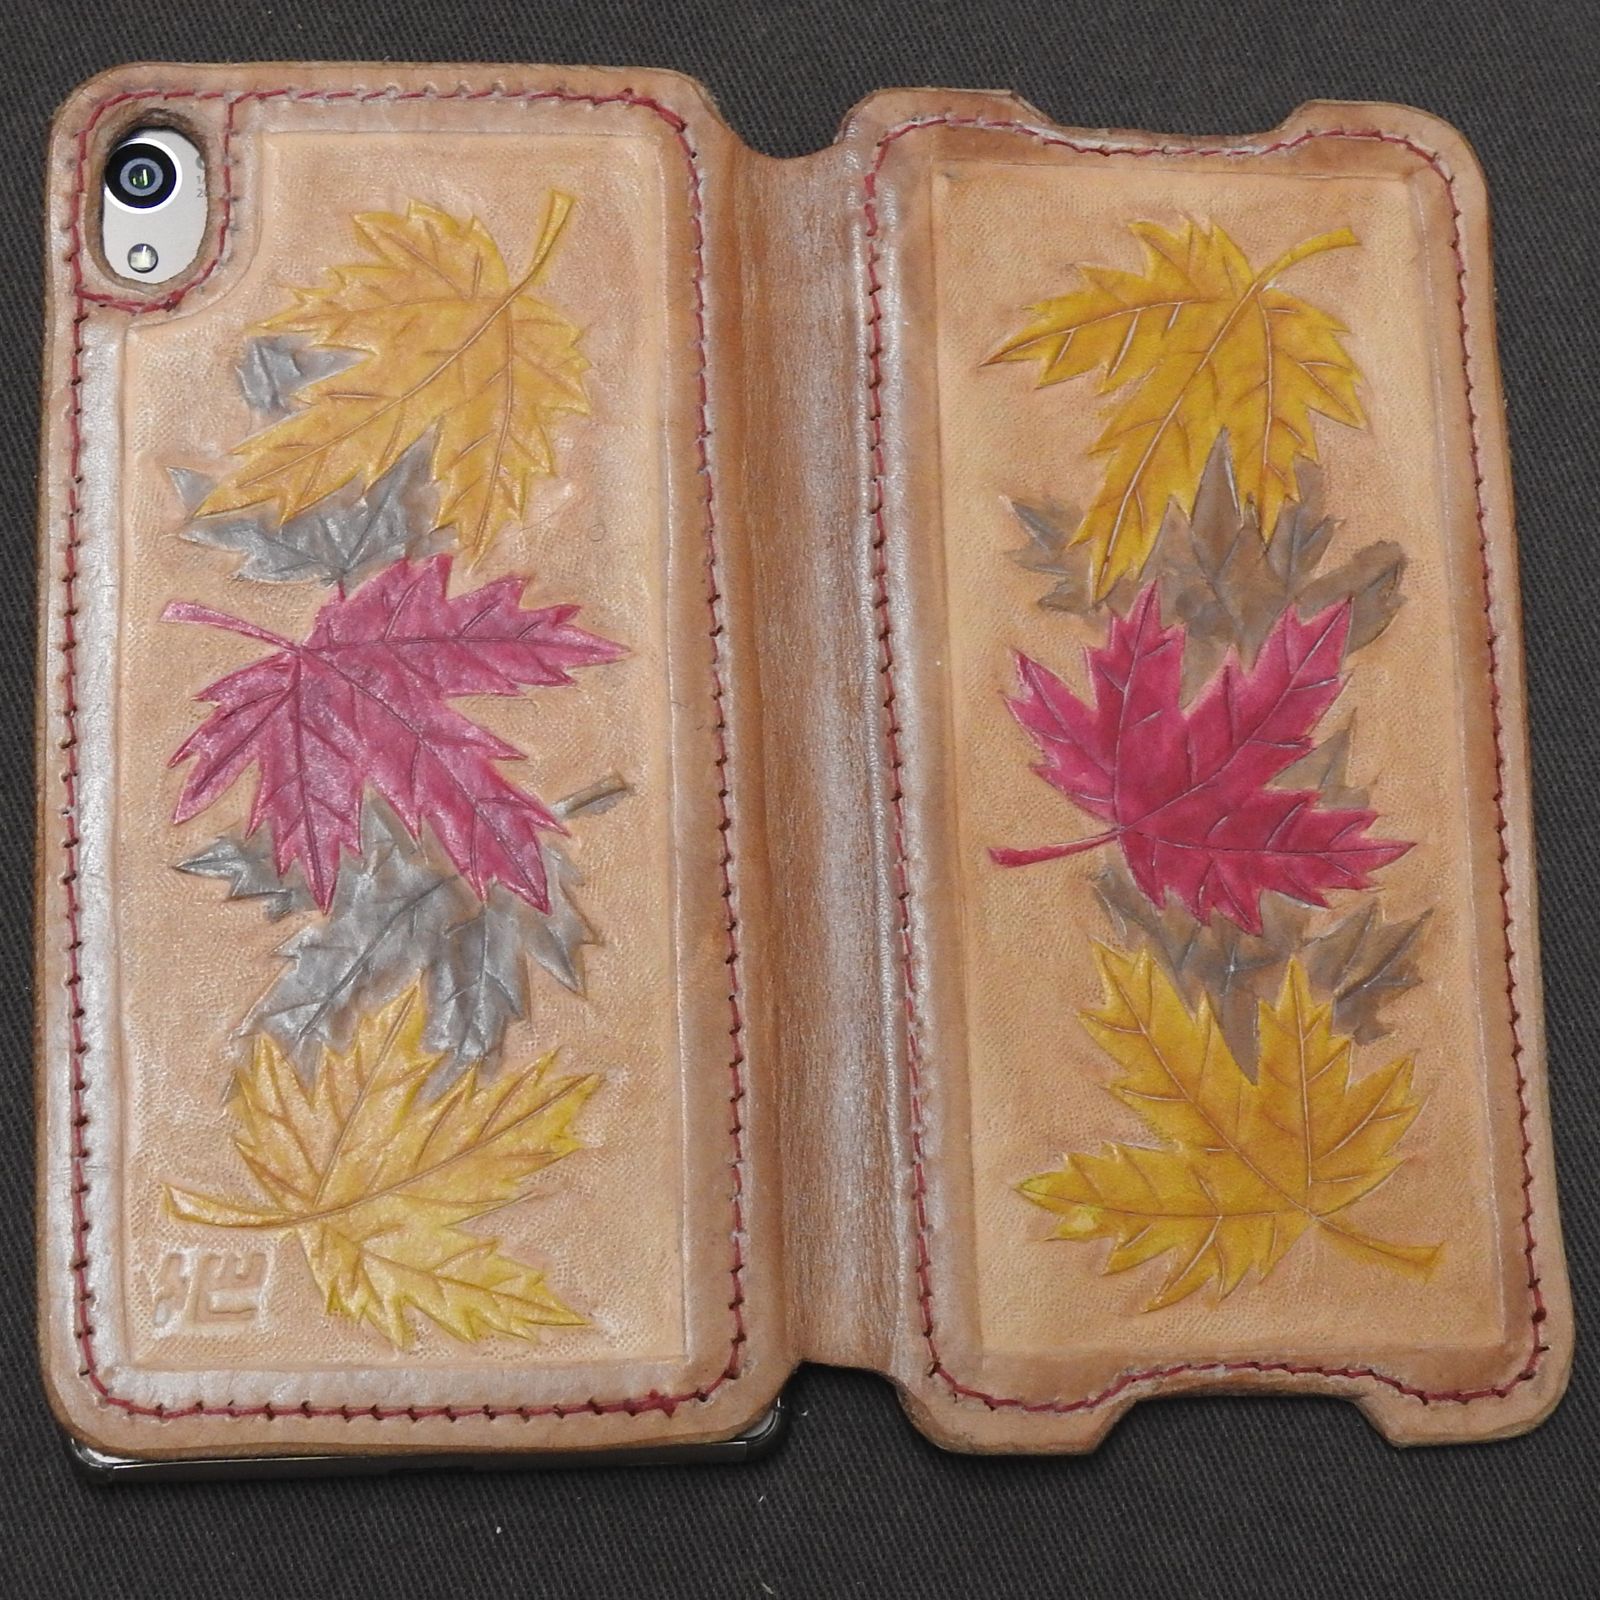
© Charly, all rights reserved. Click for full size.
It turns out that my mother is for her age relatively tech-savvy and she can work with a smartphone just fine whereas my father still struggles with his. It was the same with PC and the internet. So I do hope the phone works for her well and lasts a few more years, justifying the repair and saving us no insignificant amount of money.
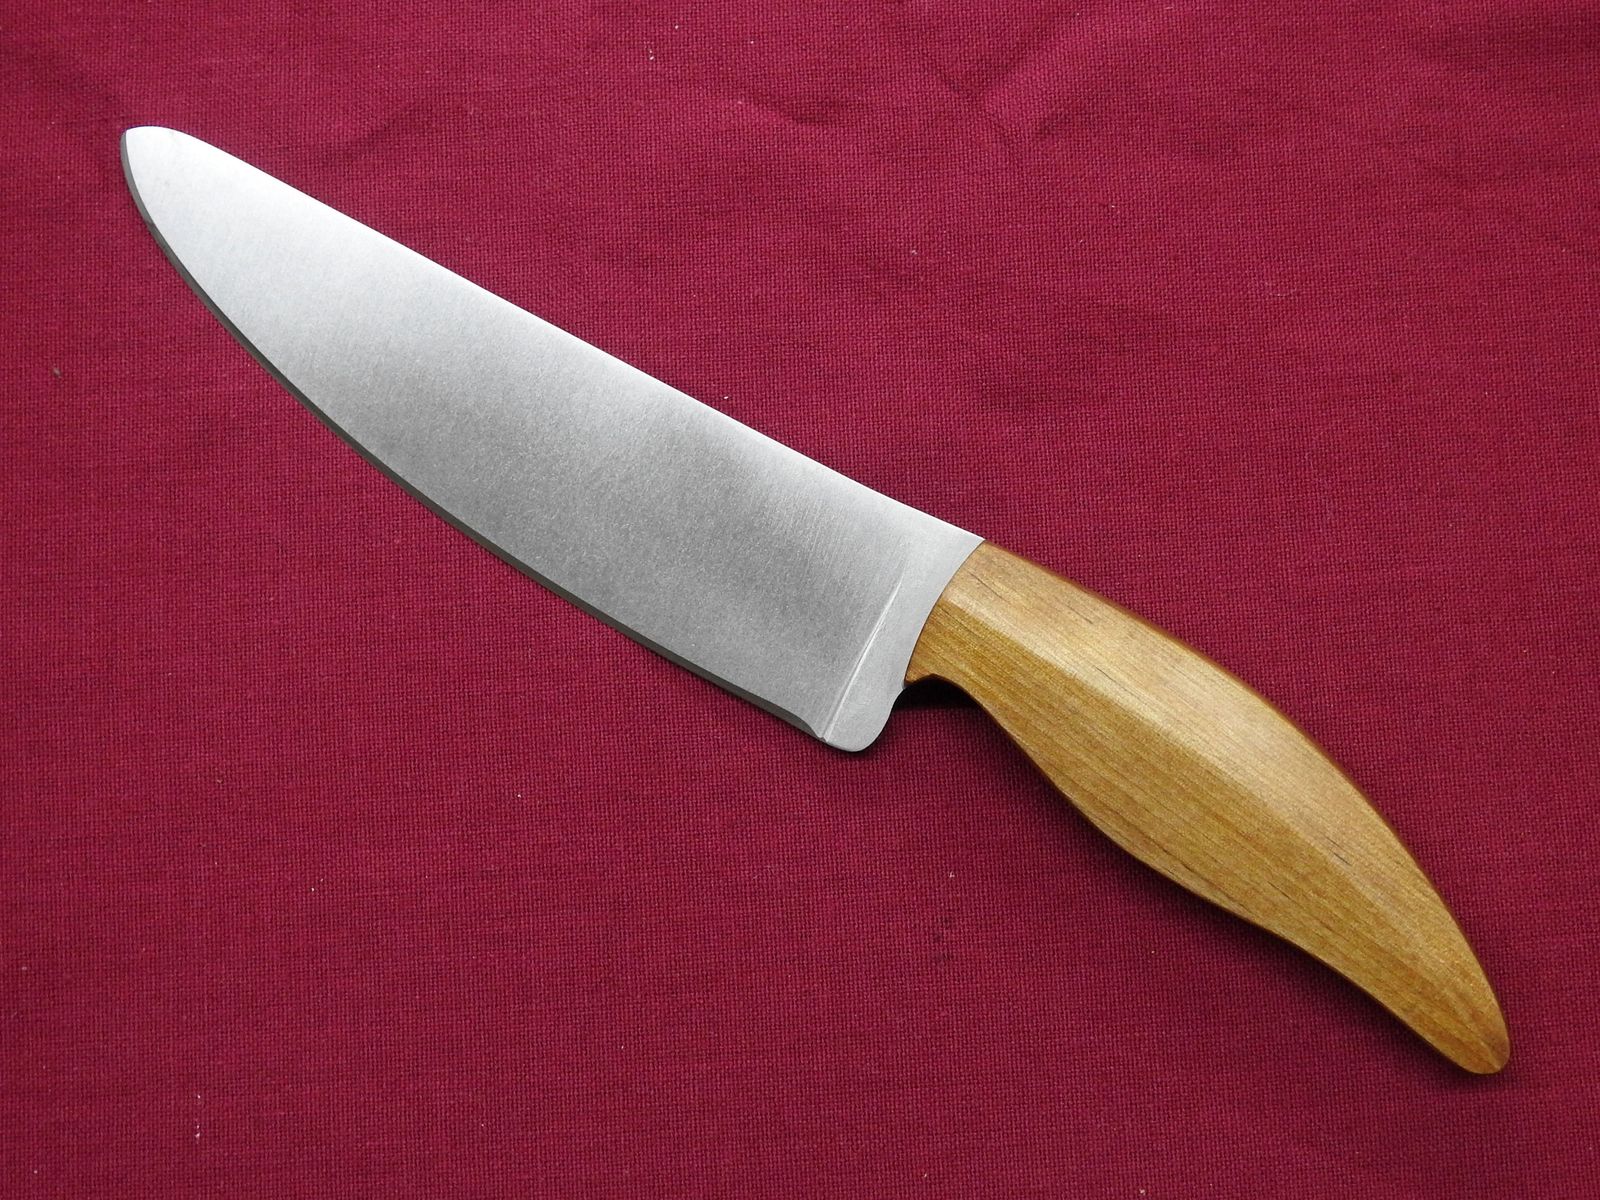
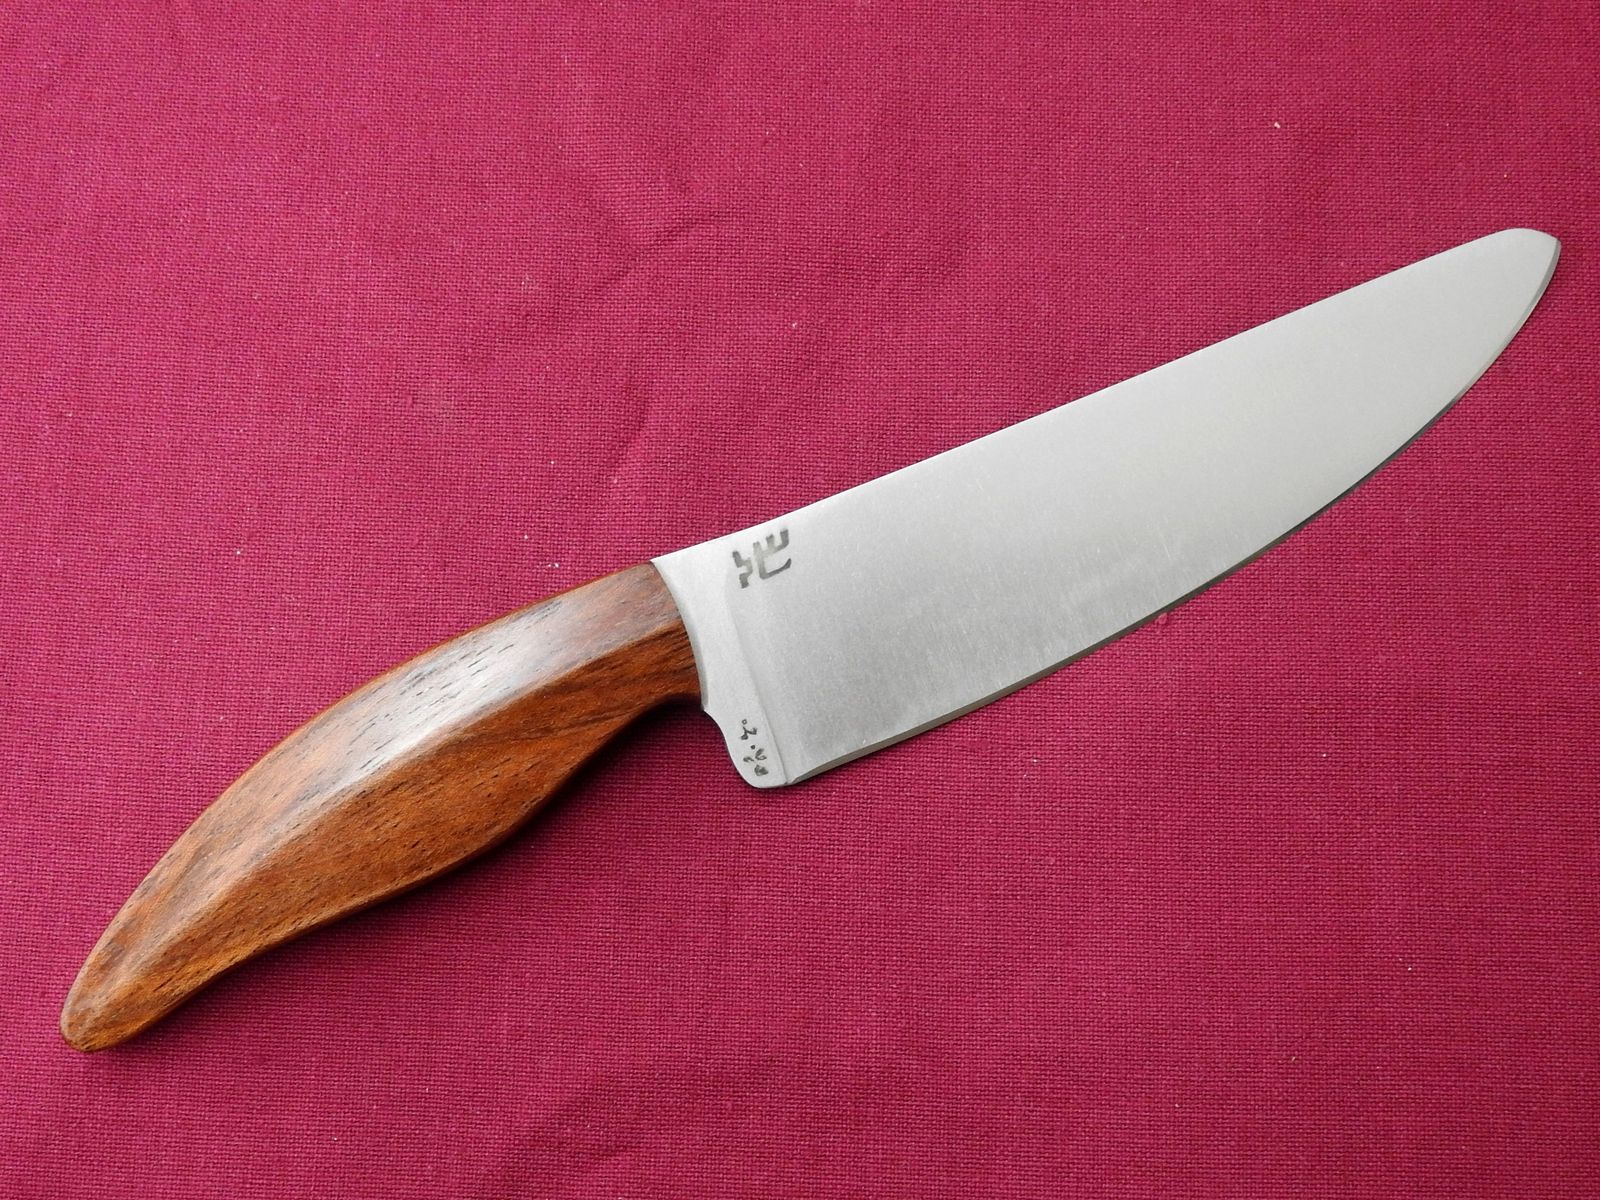
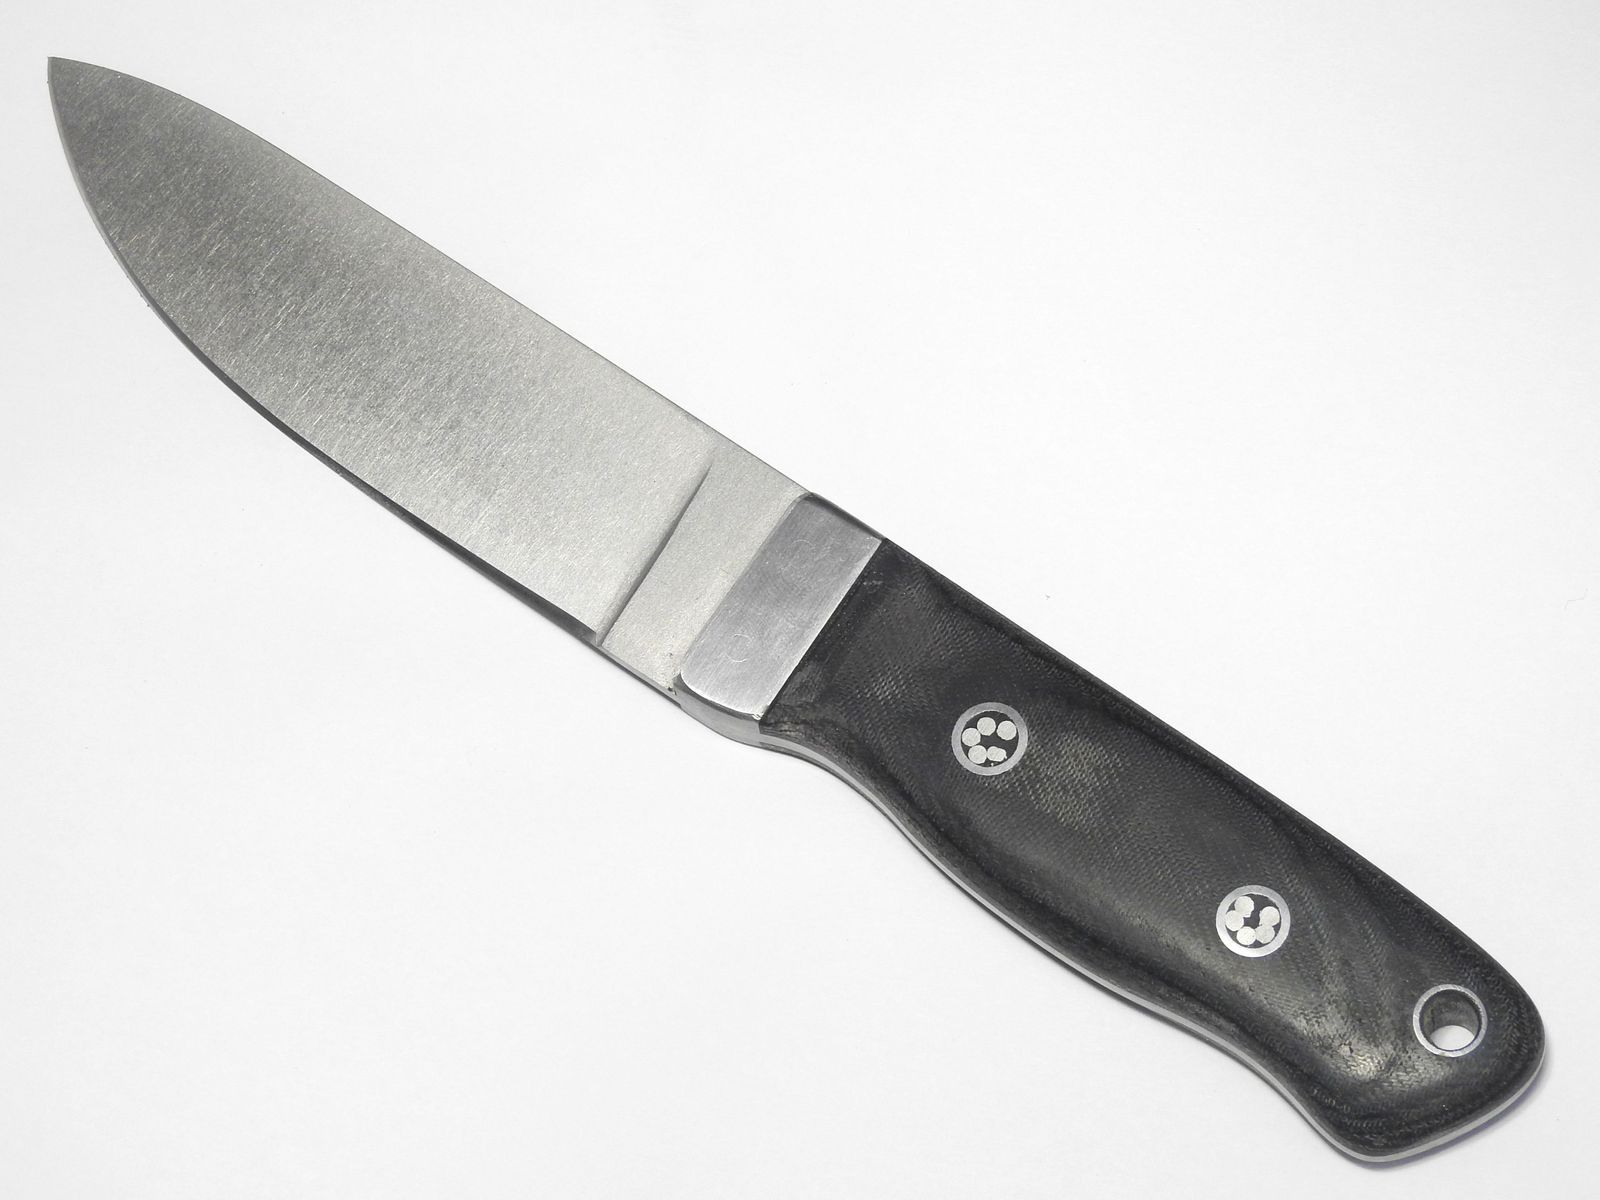
I have also made leather sheaths for the accidentally tacticool knives. I went for simple sheaths, but with a basket weave pattern. So essentially the time that I have saved by tumbling the blades instead of polishing them went into the sheaths.

© Charly, all rights reserved. Click for full size.
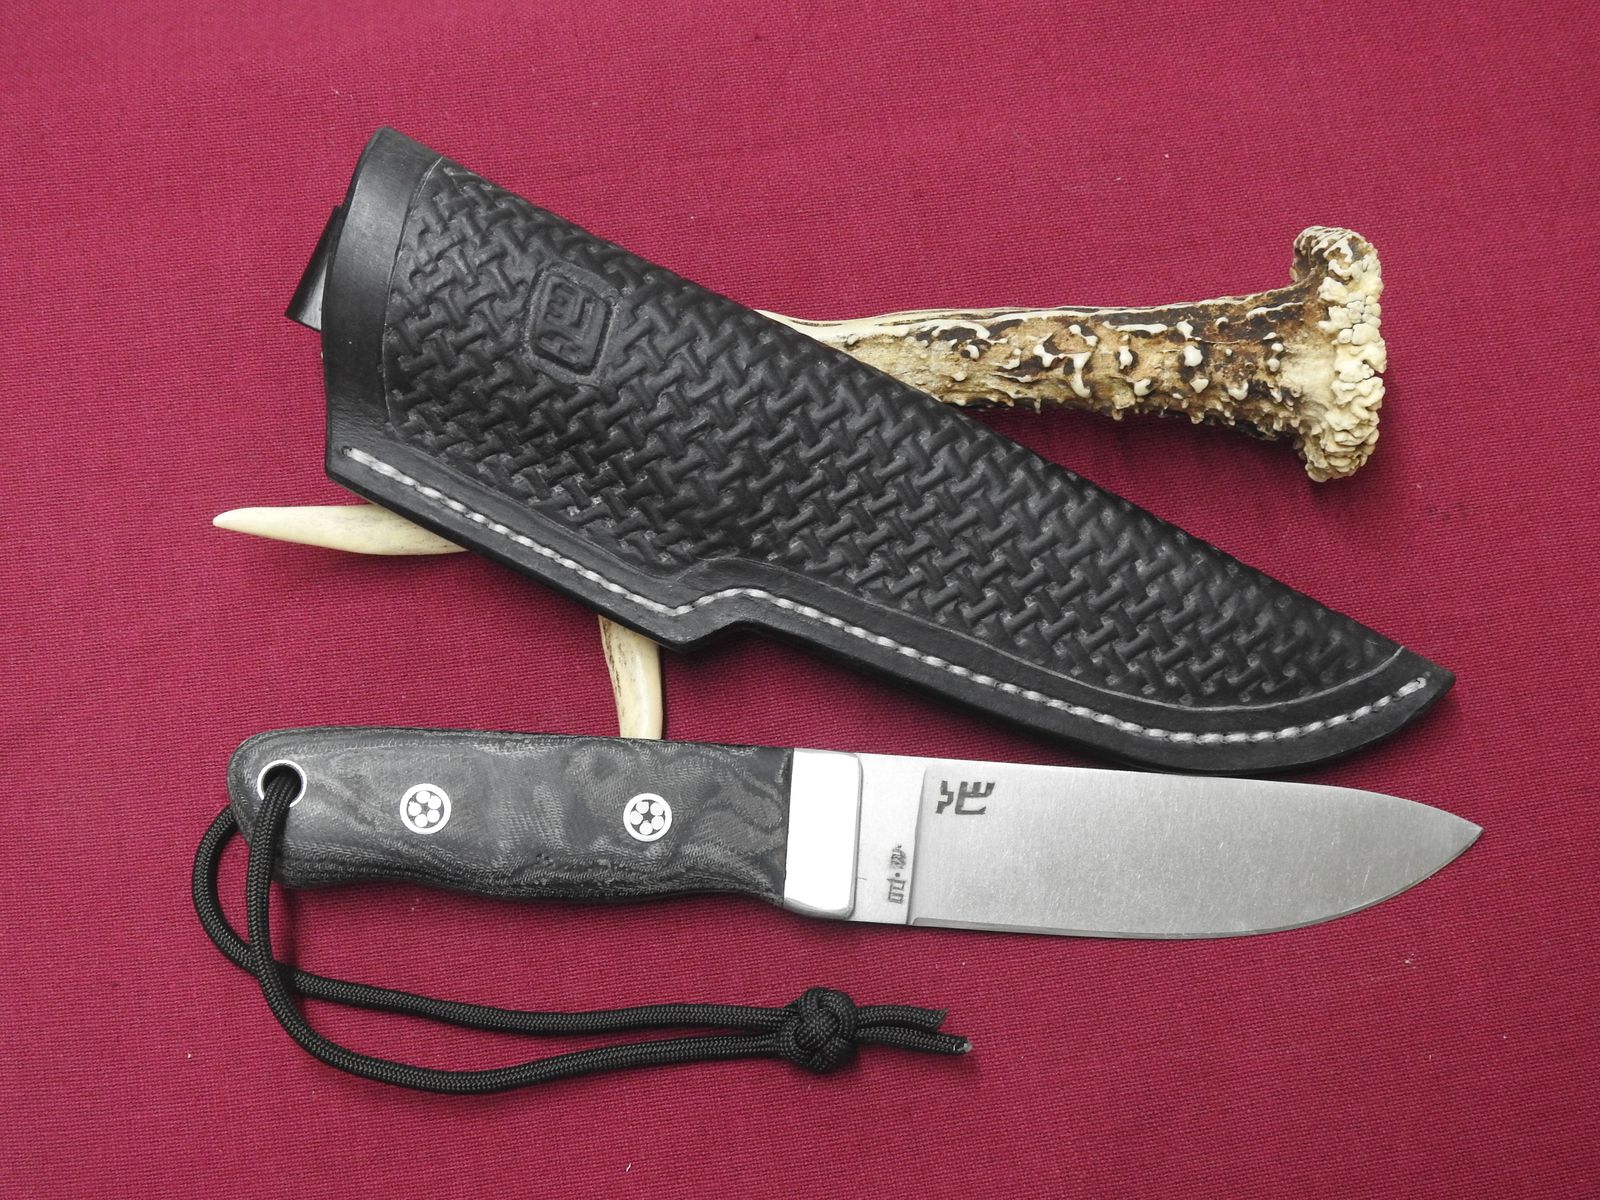
© Charly, all rights reserved. Click for full size.
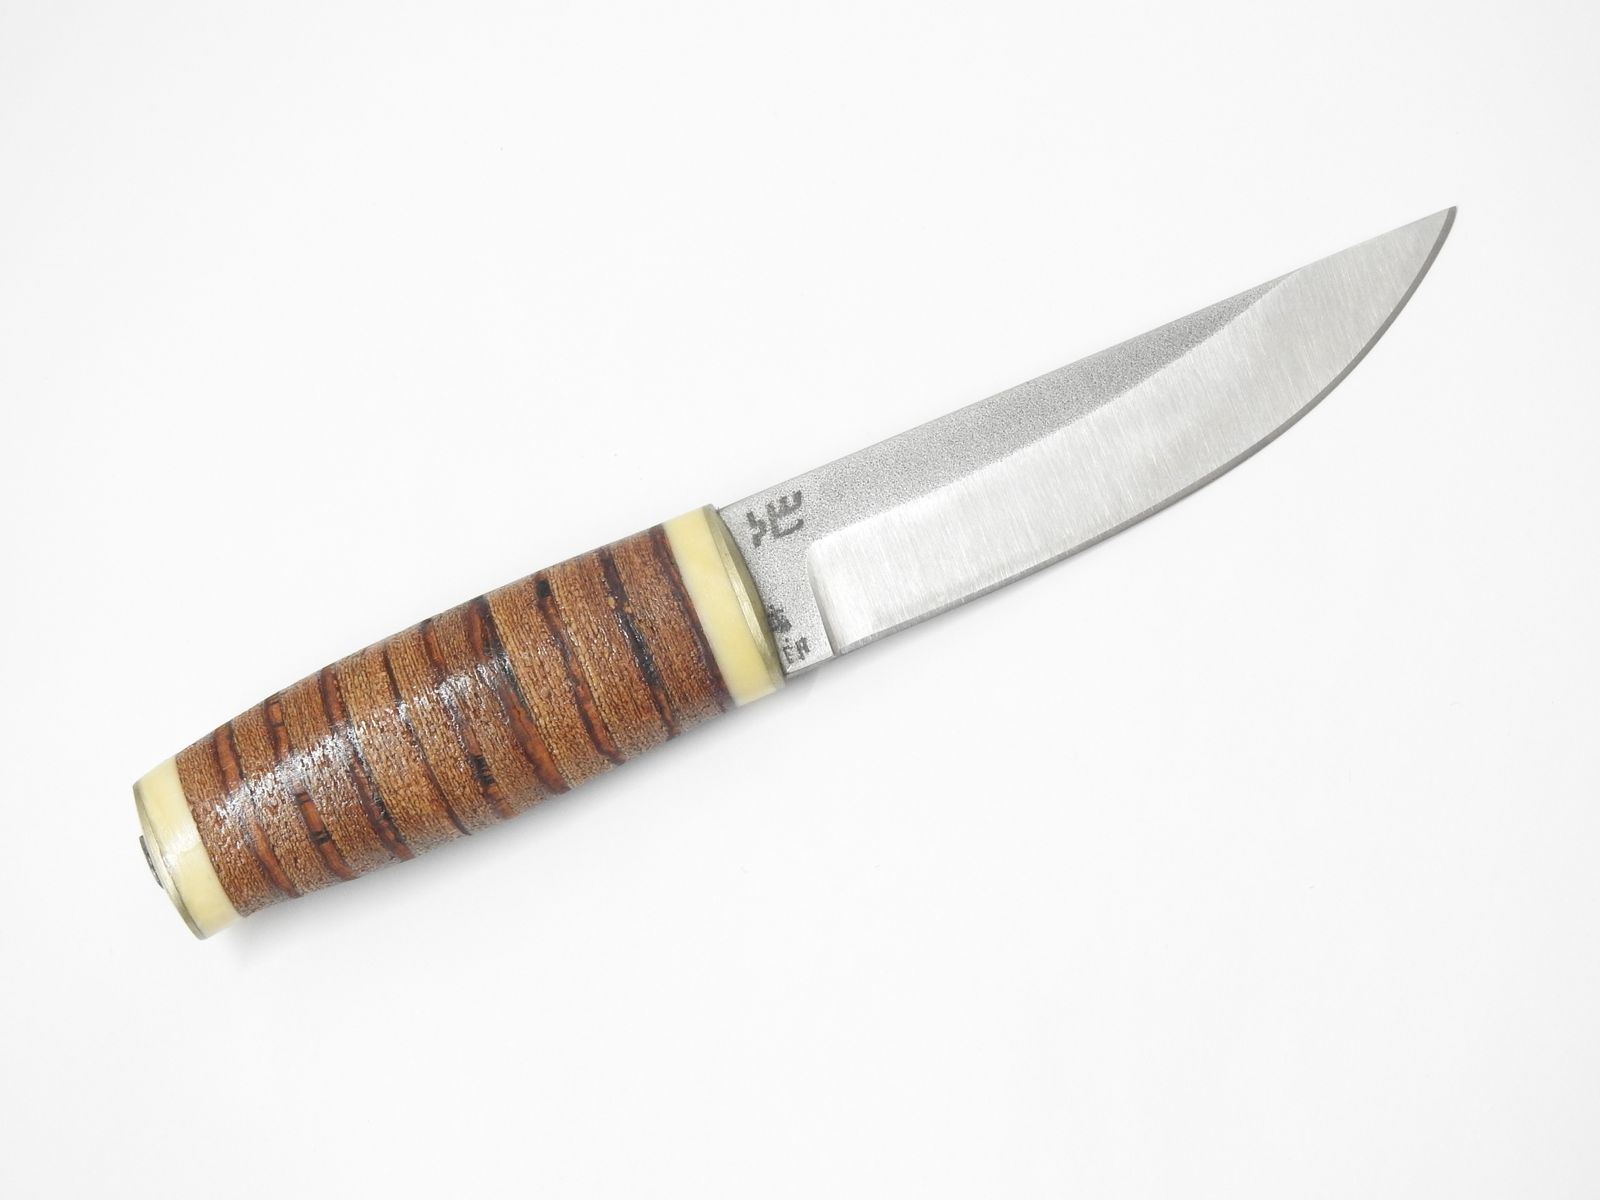
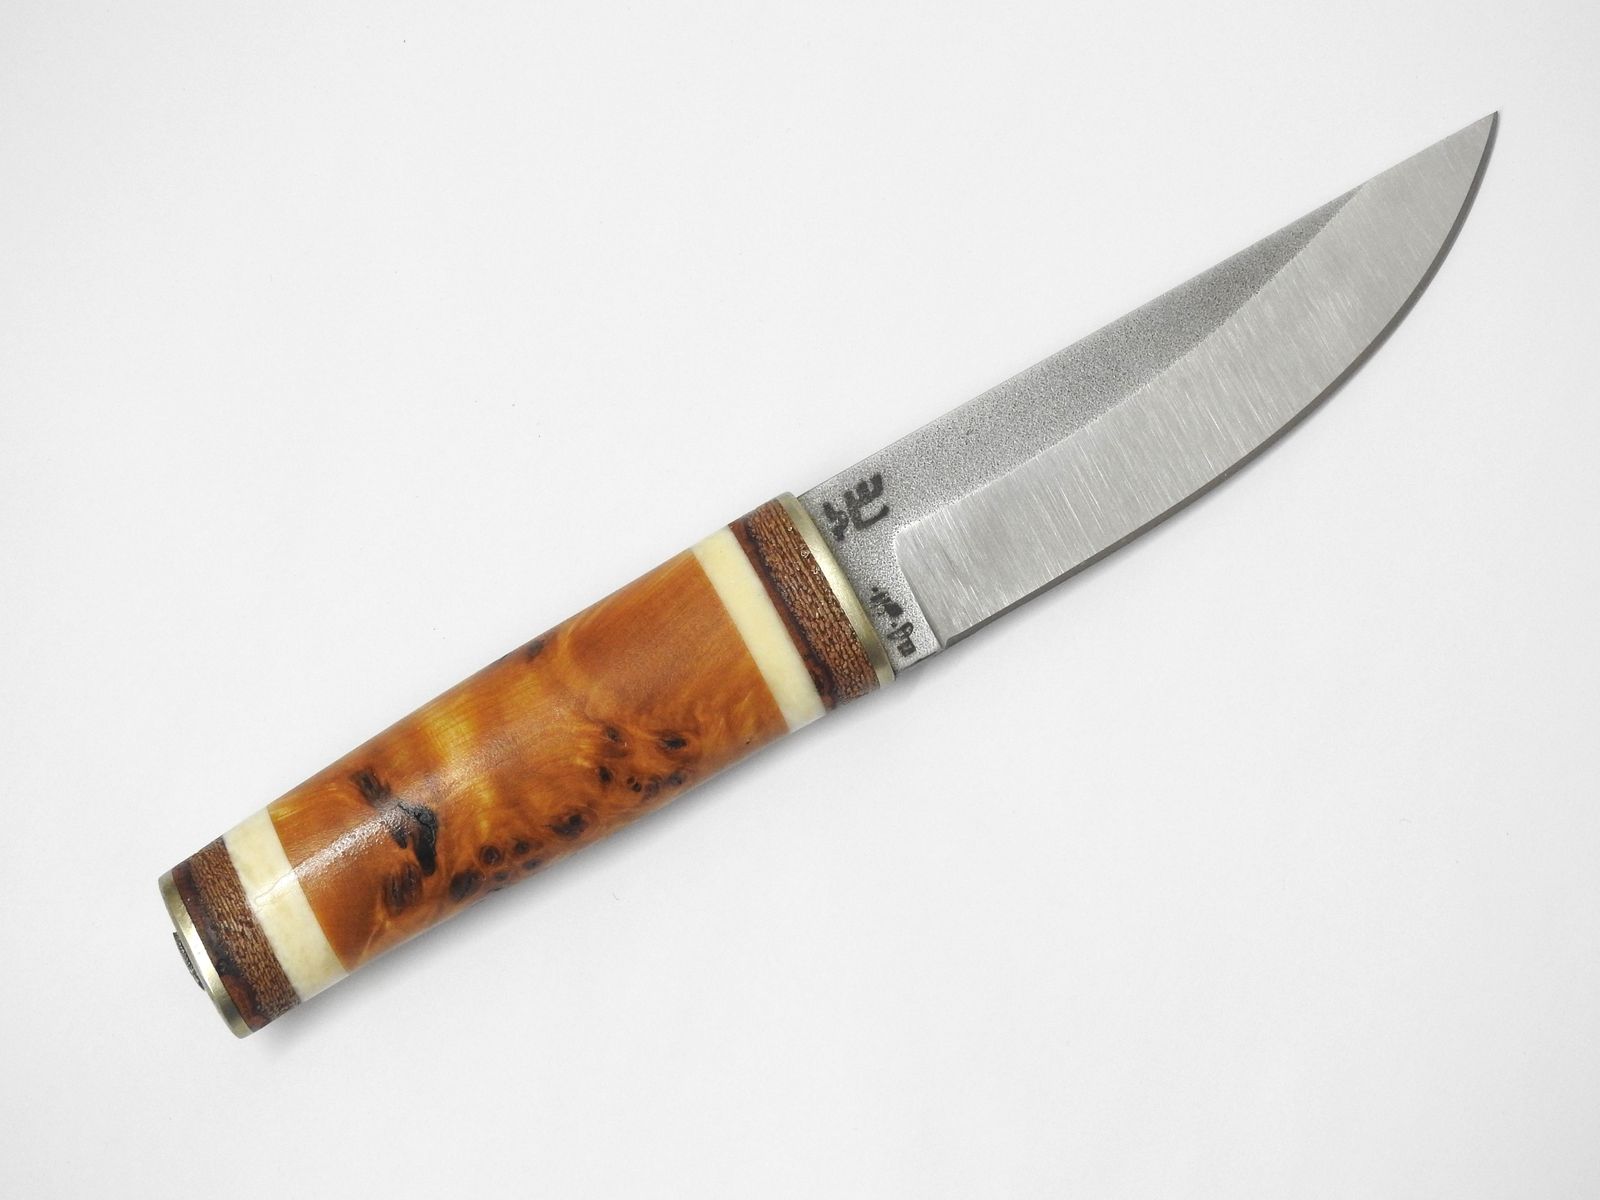
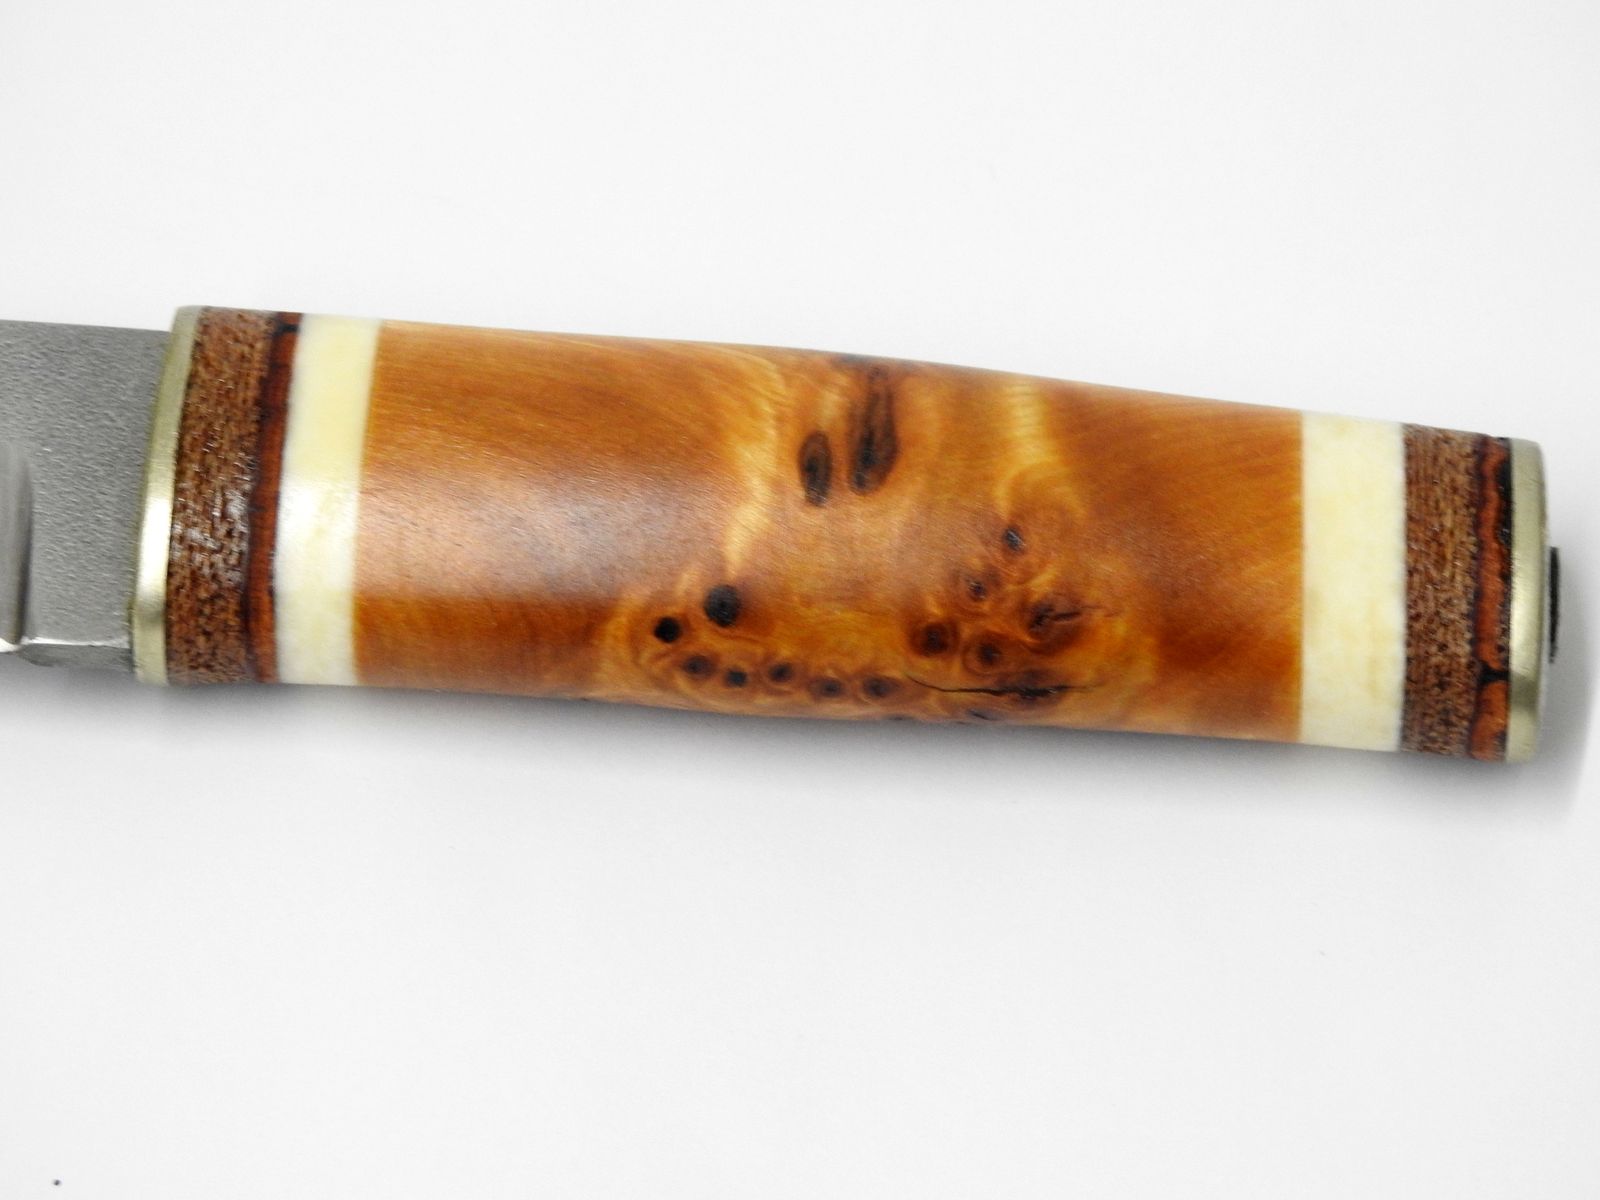
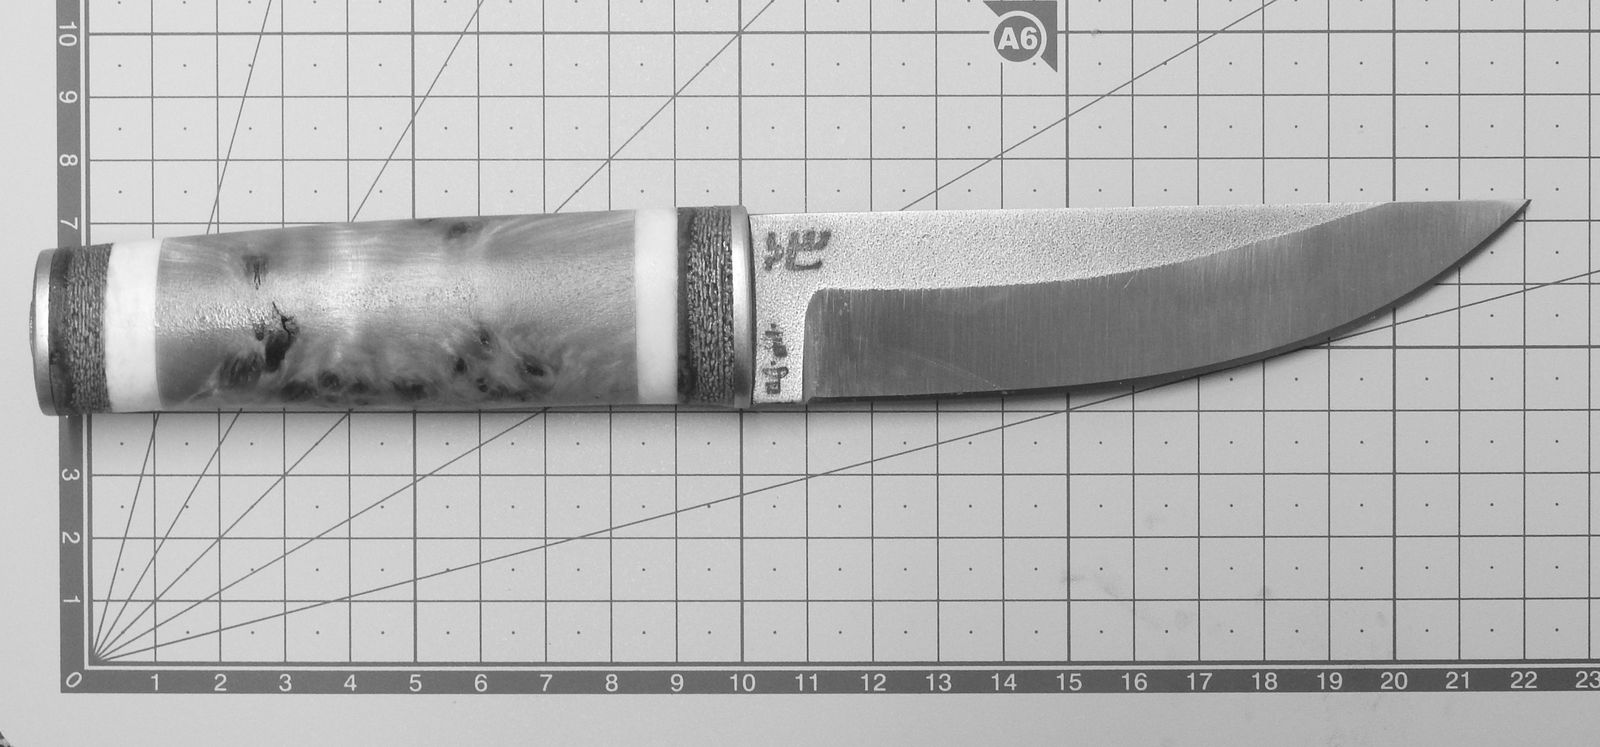
I have also made sheaths for the birch bark handle knives. I am not entirely satisfied with how they turned out, especially the bigger one. I am blaming ice swimmer for this because he implanted in my head the idea of embossing a sheath with birch leaves and catkins.

© Charly, all rights reserved. Click for full size.

© Charly, all rights reserved. Click for full size.
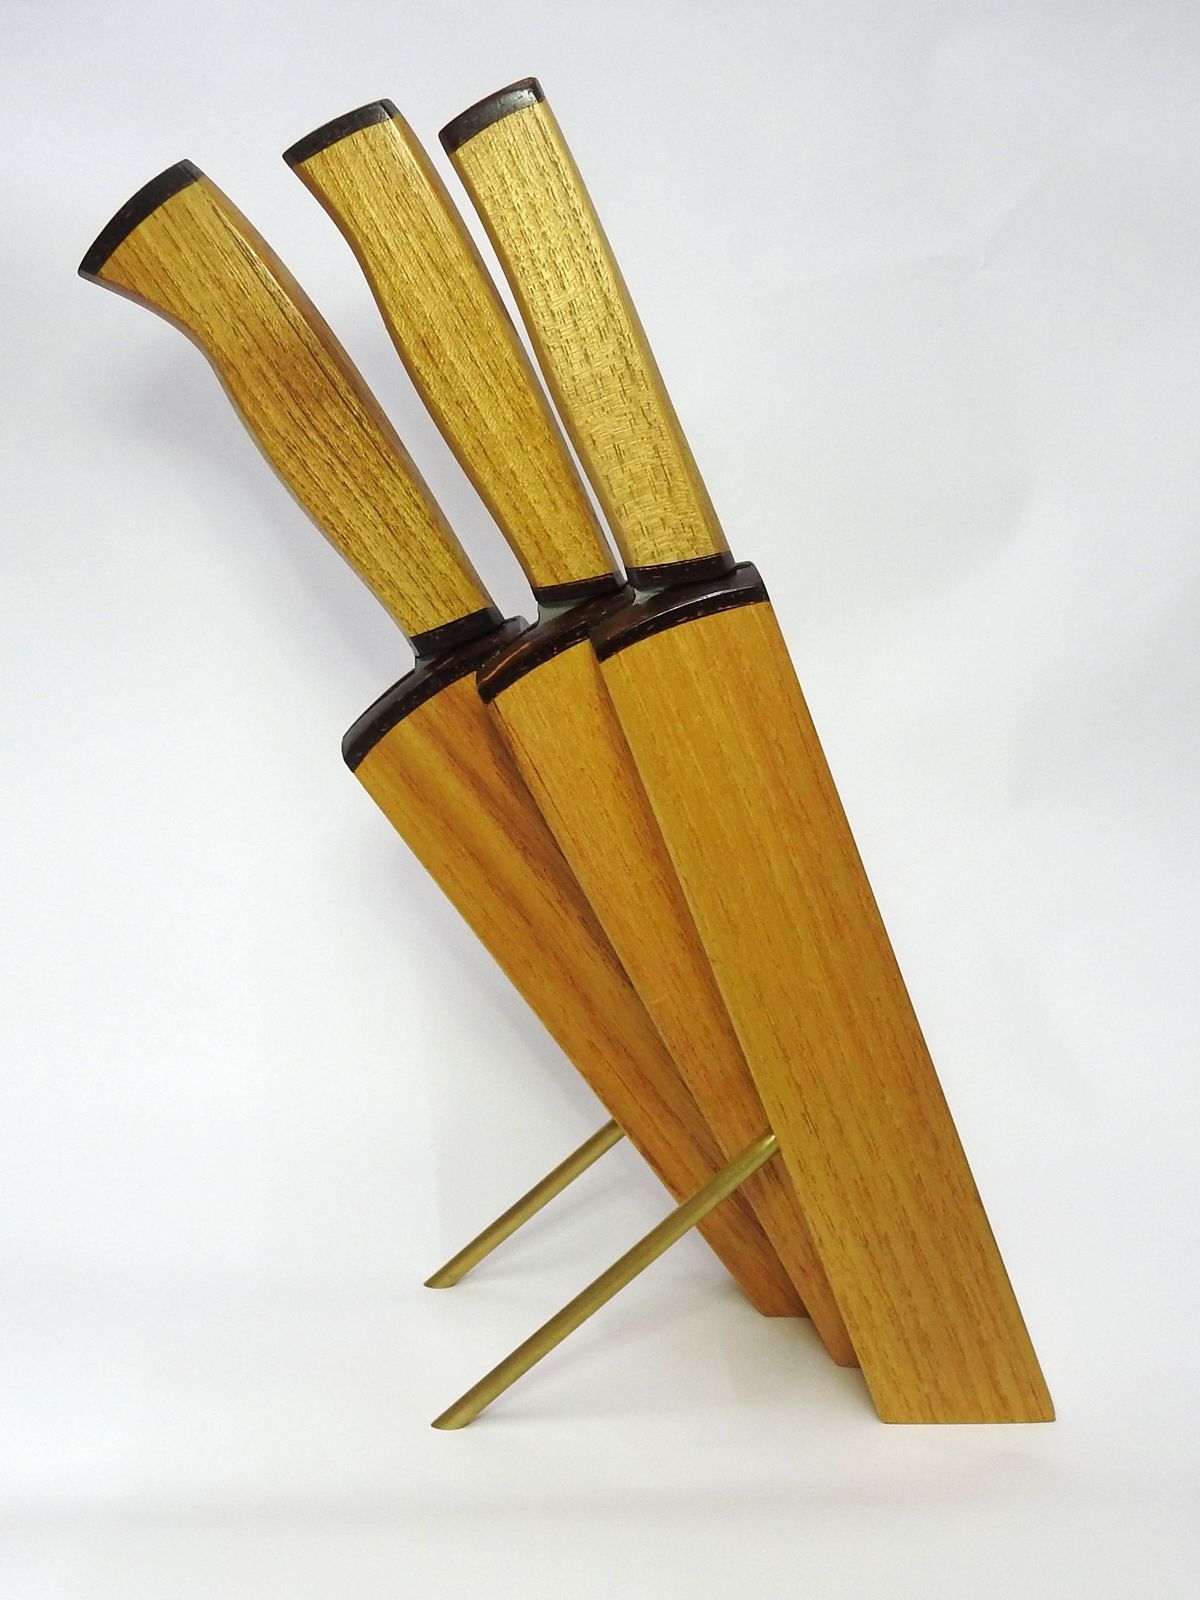
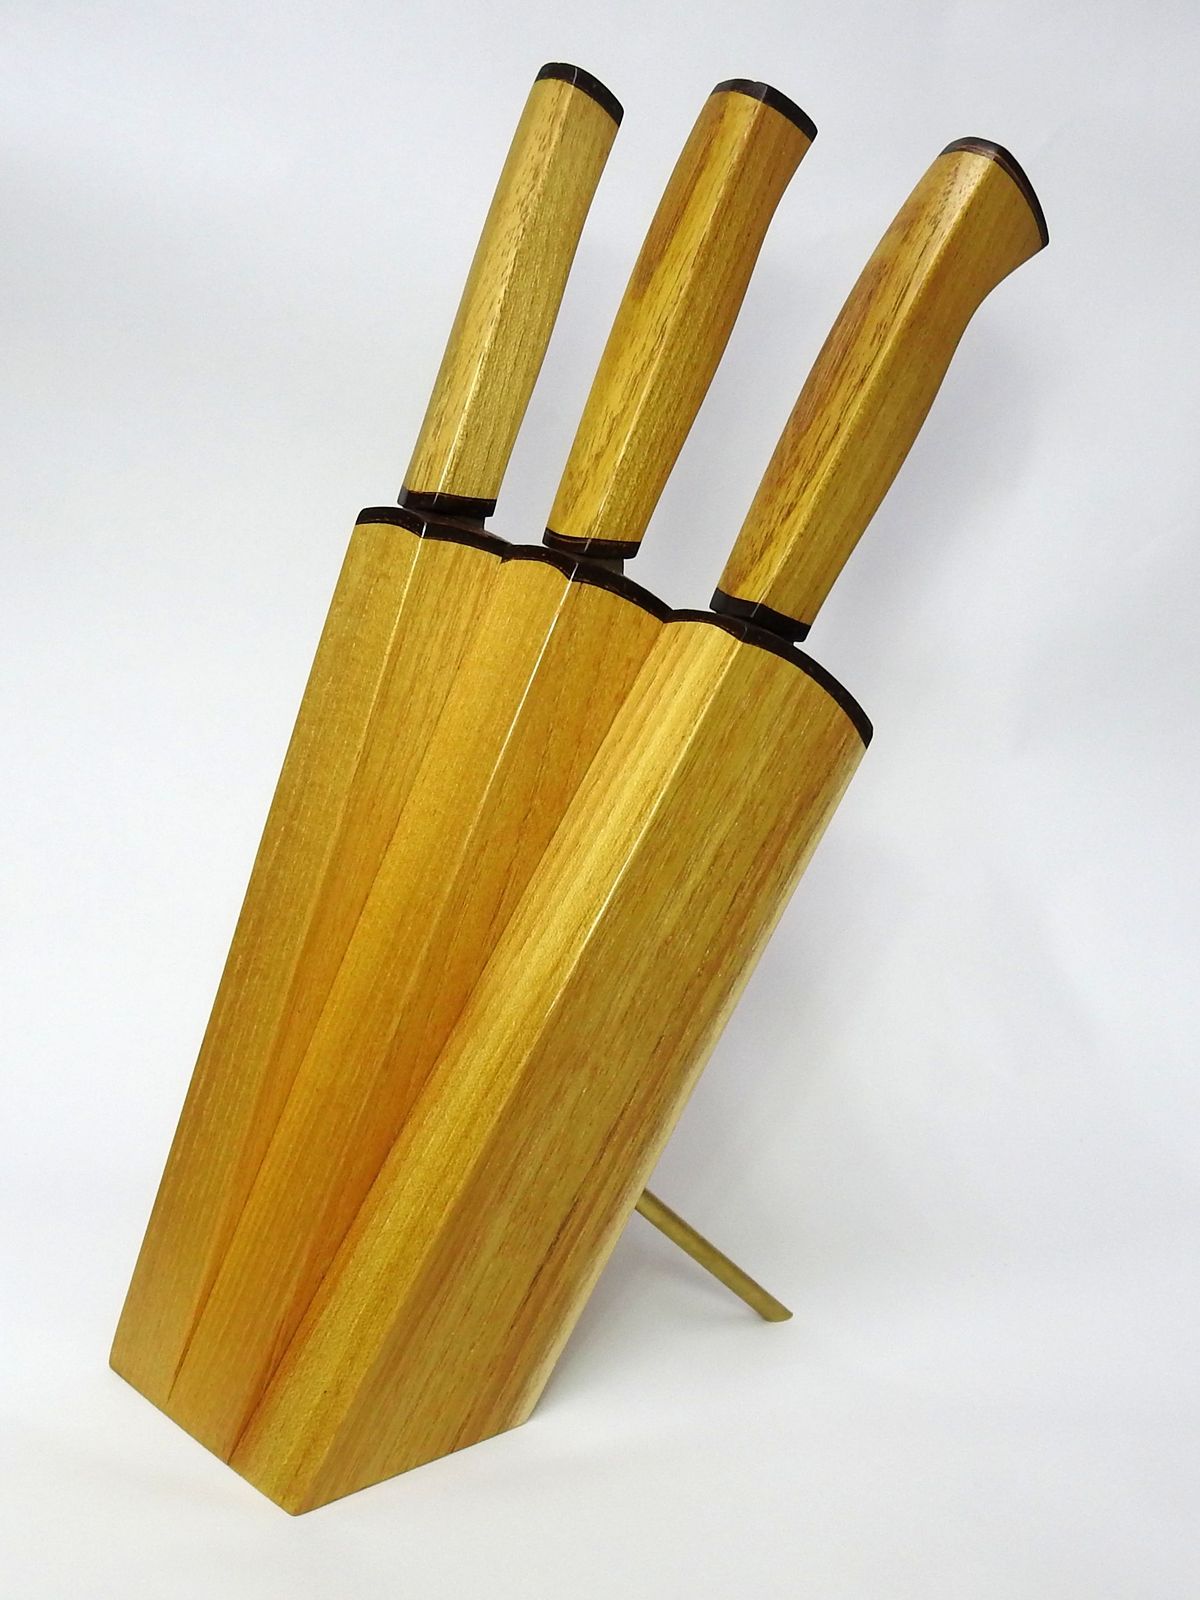
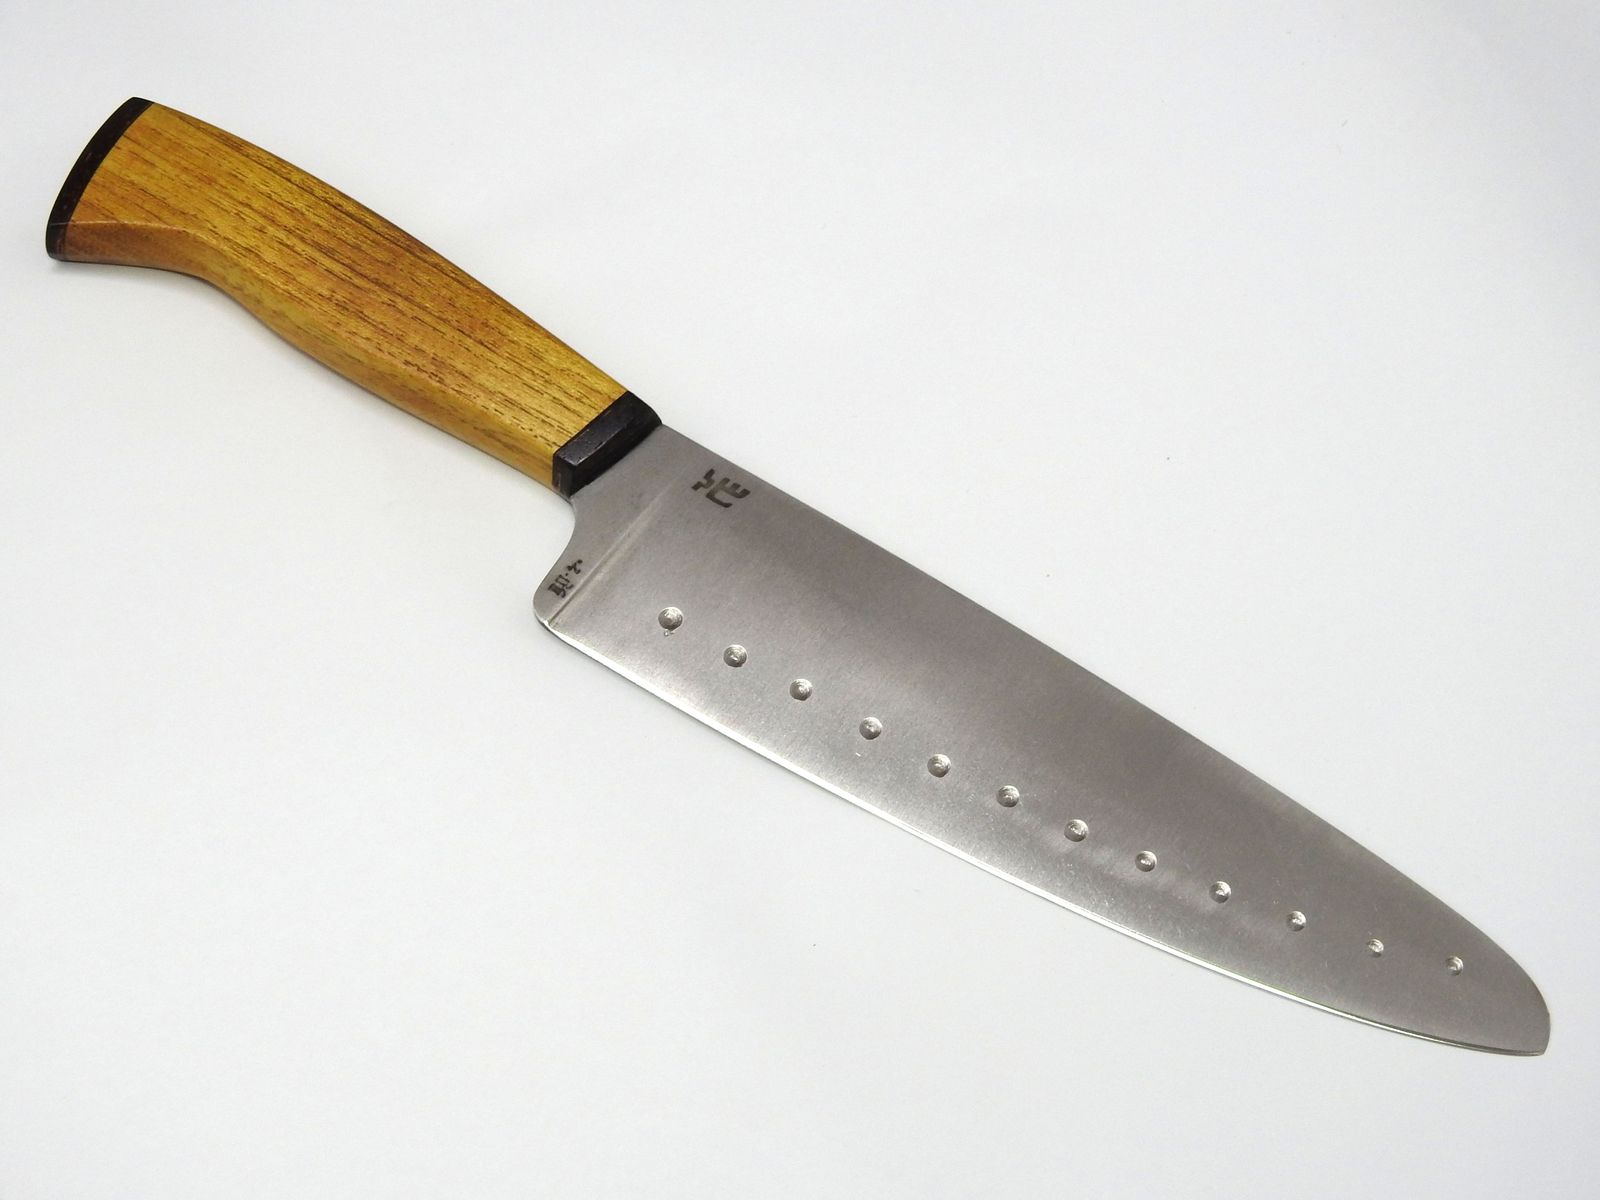
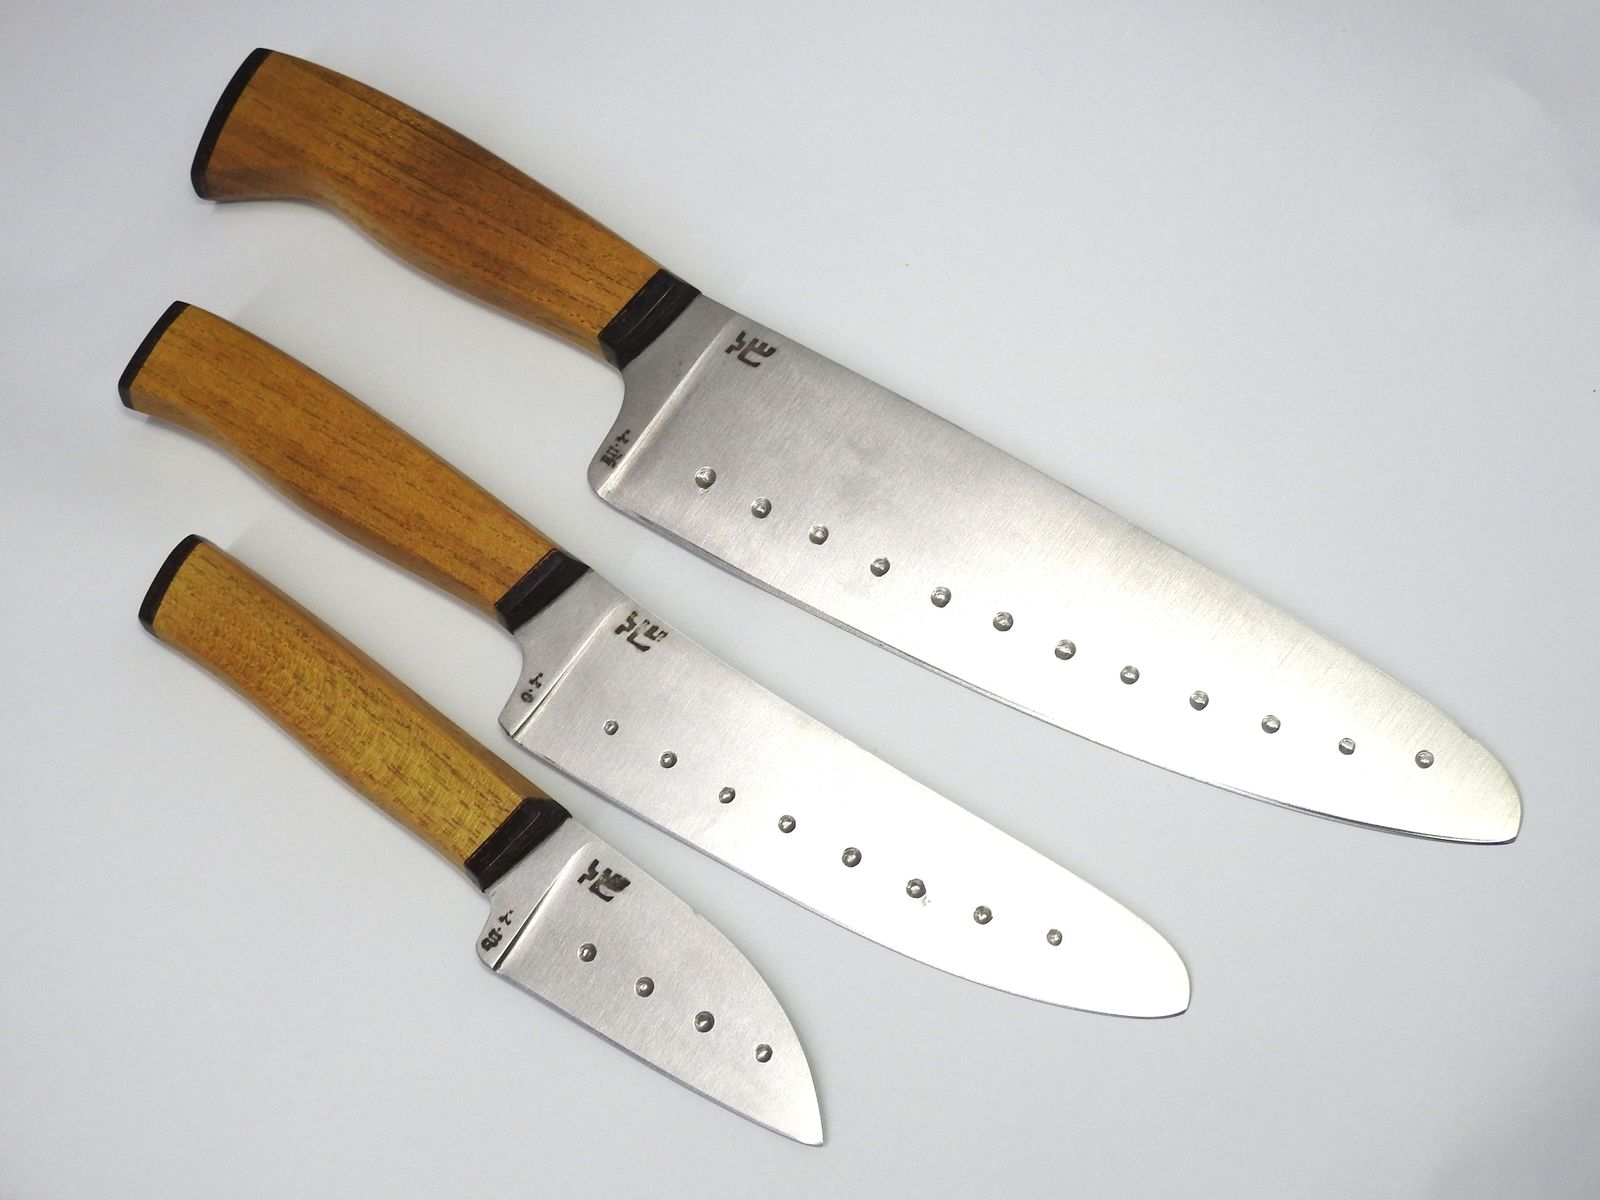
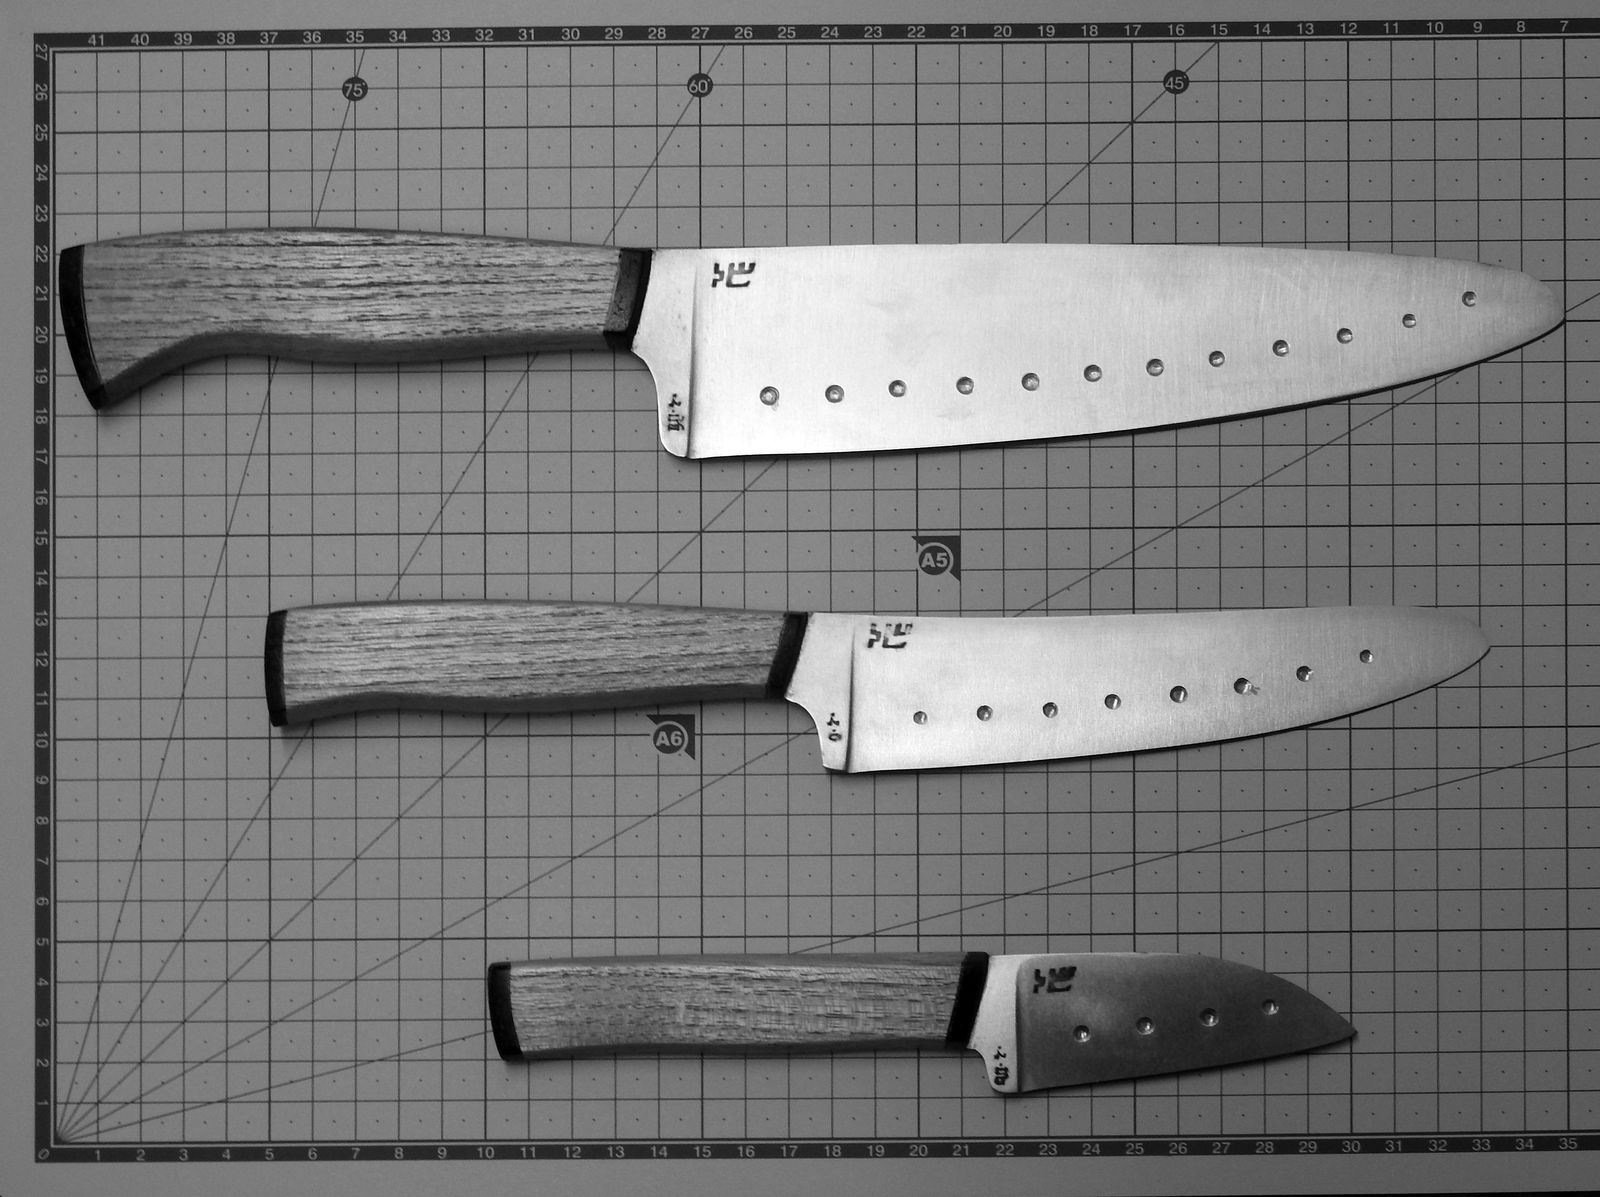
The knives are now available at The Shoppe.